

WebP images are ideal for saving space without compromising quality, making them perfect for websites and fast-loading pages. However, things get messy when it comes to resizing a bunch of them at once. Many tools reduce image size but also compromise quality, resulting in blurry and pixelated results.
Luckily, there are ways to resize WebP pictures in bulk and at a lossless quality online without jumping through hoops. Hence, in this guide, we'll break down what WebP images are and the top online tools to resize them. Moreover, we'll show you how to keep your image quality sharp even after resizing it in detail.
In this article
Part 1. What is a WebP File, and What's the Usage
It is a modern image format created by Google that helps make the web faster by shrinking the image size without losing too much quality. The format supports both lossy and lossless compression, so you get the best of both worlds. These images are much smaller compared to traditional formats; lossless WebP images are about 26% smaller than PNGs.
Plus, lossy WebPs are around 25–34% smaller than JPEGs of similar quality and use an 8-bit Y’CbCr 4:2:0 format. The lossless WebP images use RGBA format, which supports transparency without compromising quality. With a maximum resolution of 16,383 pixels, it is a great choice for high-resolution needs.
Use Cases and User Groups
Before we do WebP resize, know that it is widely used across the web and is popular among web developers. Designers and content creators. Apart from this e e-commerce managers and app developers need fast-loading visuals without sacrificing clarity. Common use cases include optimizing website performance and improving mobile apps' efficiency. Plus, reducing page load time for blogs or online stores and replacing larger formats like JPEG in both static and animated content.
Pros & Cons

Versatile WebP Resizer
Part 2. 5 Popular WebP Resizing Tools Online
Now that you have an idea of this image format, if you want to know how to resize a WebP image, we have got you covered. The following section has the top tools that let you change the size of the WebP images:
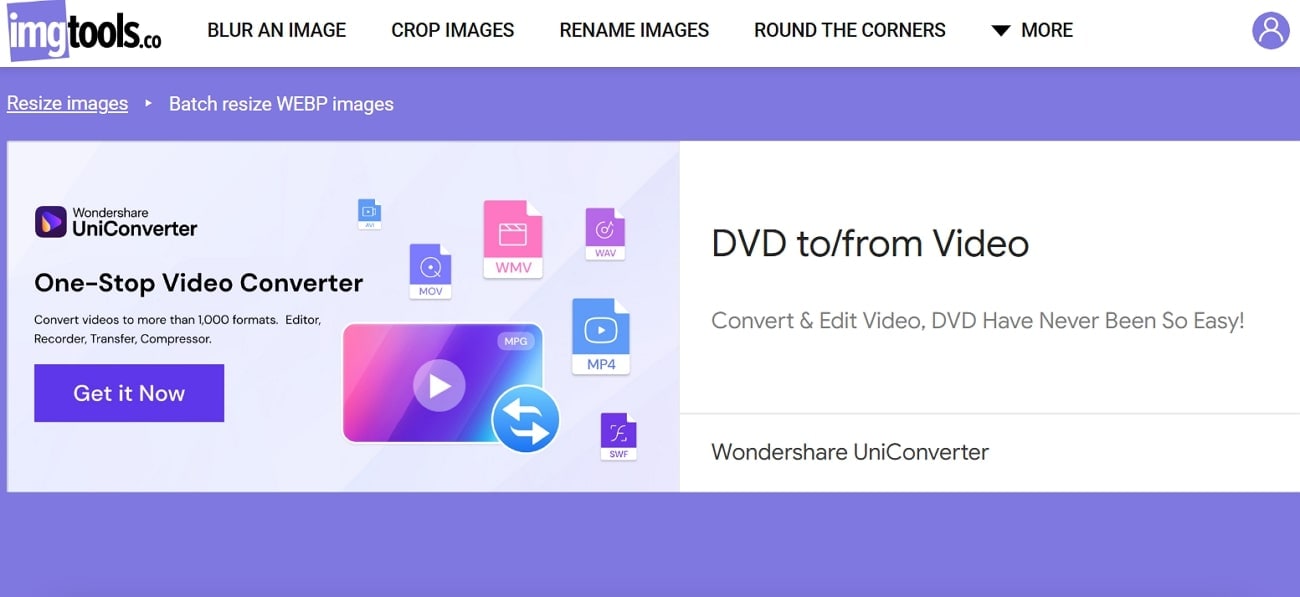
1.Imgtools.co
To resize WebP online, this tool allows you to reduce the size of a wide range of formats, such as JPEG, PNG, etc. It lets you change the dimensions of the image in height and width according to your desired preference. Moreover, you can also choose the pixel option and the percentage option before you resize the image to your target size.
Key Features
- The tool provides information about your file name, type, and size before resizing it.
- You can resize more than one file at a time, which is perfect for large projects.
- By toggling the allow enlargement option, users can resize images beyond their original dimensions.
Pros & Cons
Step by Step Guide
Detailed Guide on How to Resize WebP Image Using this Tool
Let’s learn how to use this tool to resize WebP images:
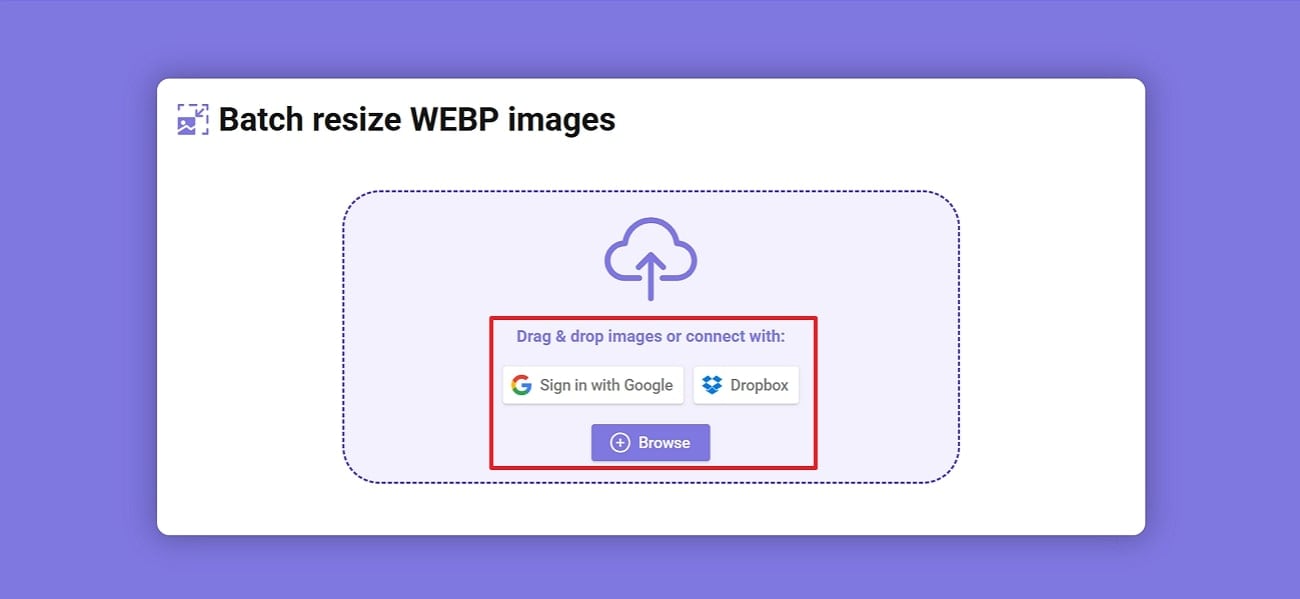
Step 1. Access the tool and press the “Browser” button to upload your WebP image.
Step 2. Adjust the “Weight and Height” based on your liking and press the “Apply” button
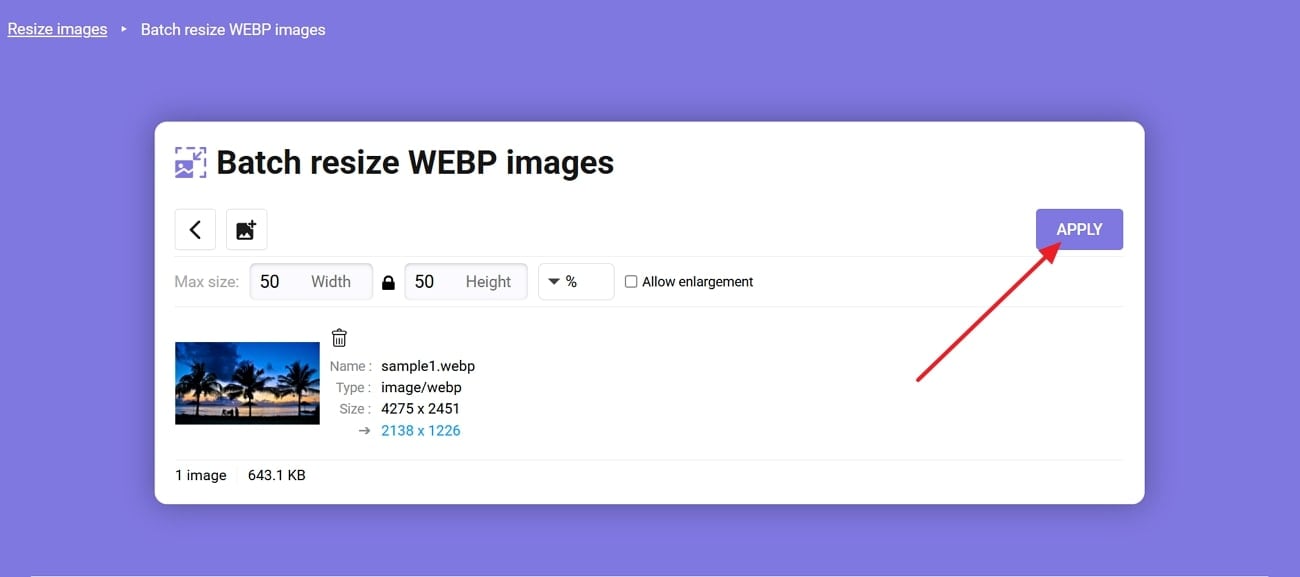
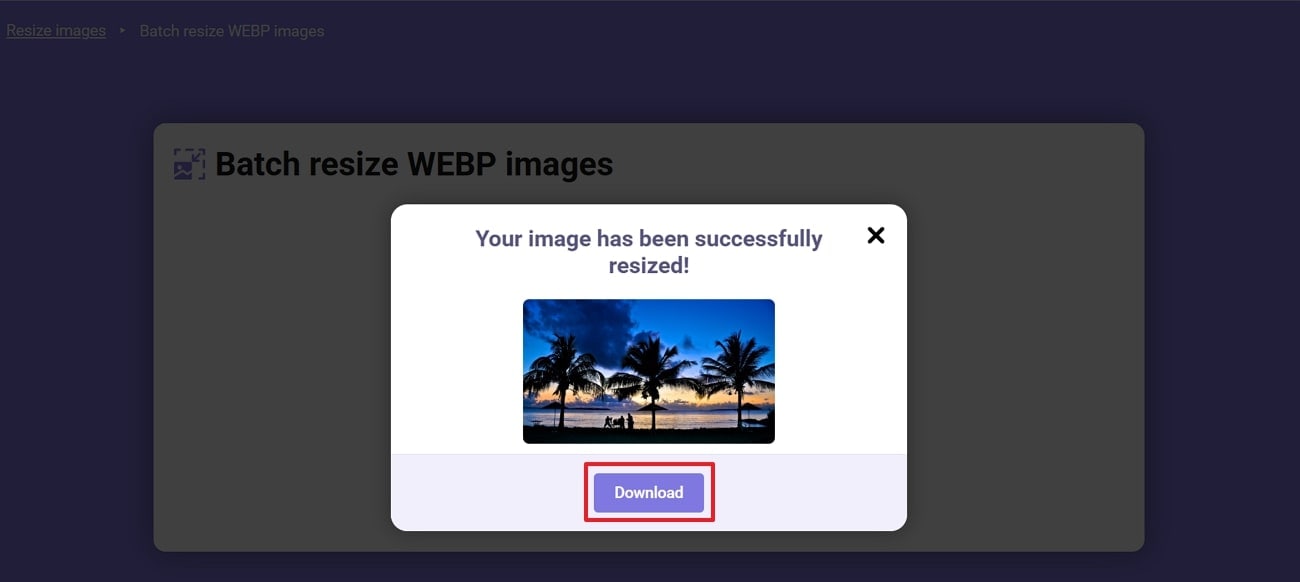
Step 3. Then, a pop-up menu will open where you hit the “Download” button to save the file.
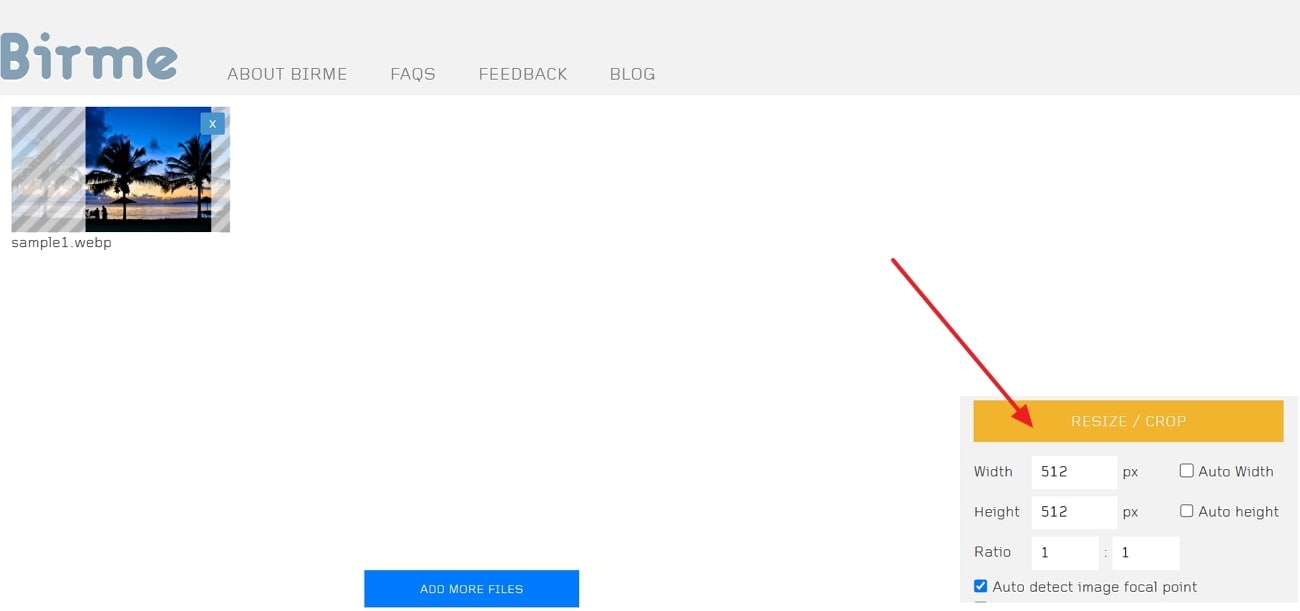
2.Birme
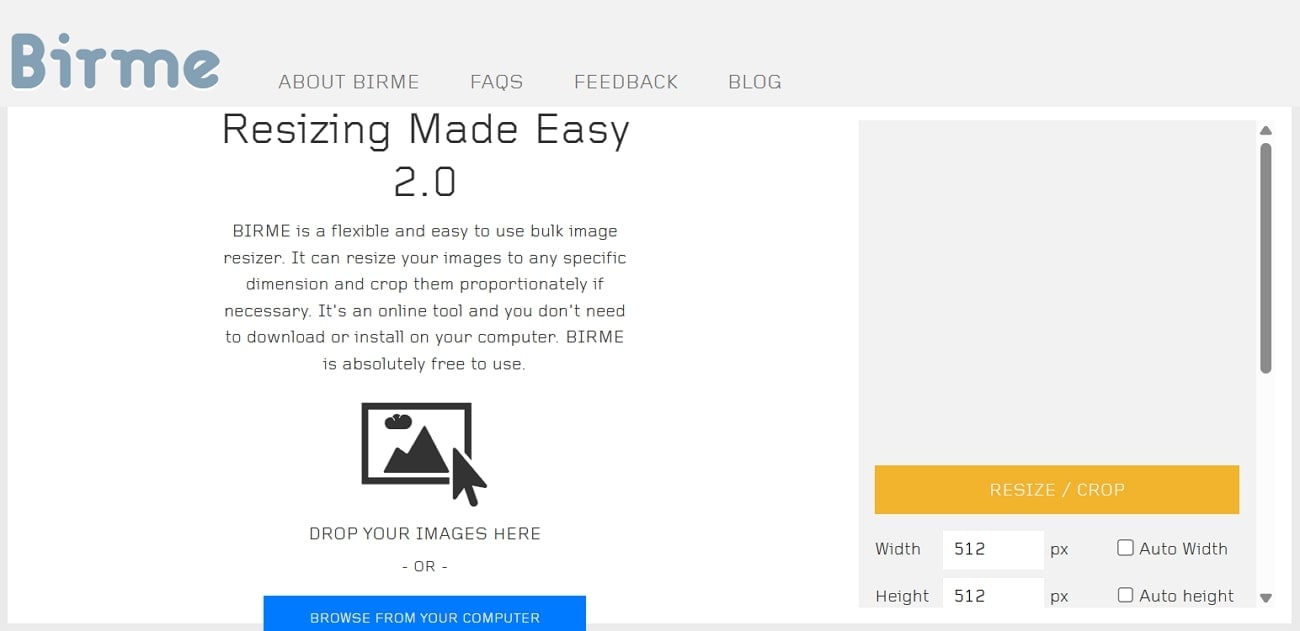
If you want to resize WebP images, Birme is an online tool that reduces the size by letting you adjust the focal point of each photo individually. You can change the size of multiple files at once with its batch resizer. Furthermore, it then allows you to save those resized images in a ZIP file.
Key Features
- The tool automatically loads its previous settings to resize the image.
- For efficiency, there is an option to rename the files in bulk.
- Photographers can customize watermarks for their photos.
Pros & Cons
Step by Step Guide
Guideline to use Birme for Resizing WebP Images
Here is how you can reduce the size of your WebP image format using Birme:
Step 1. Start by pressing the “Browse From Your Computer” button to upload the image.
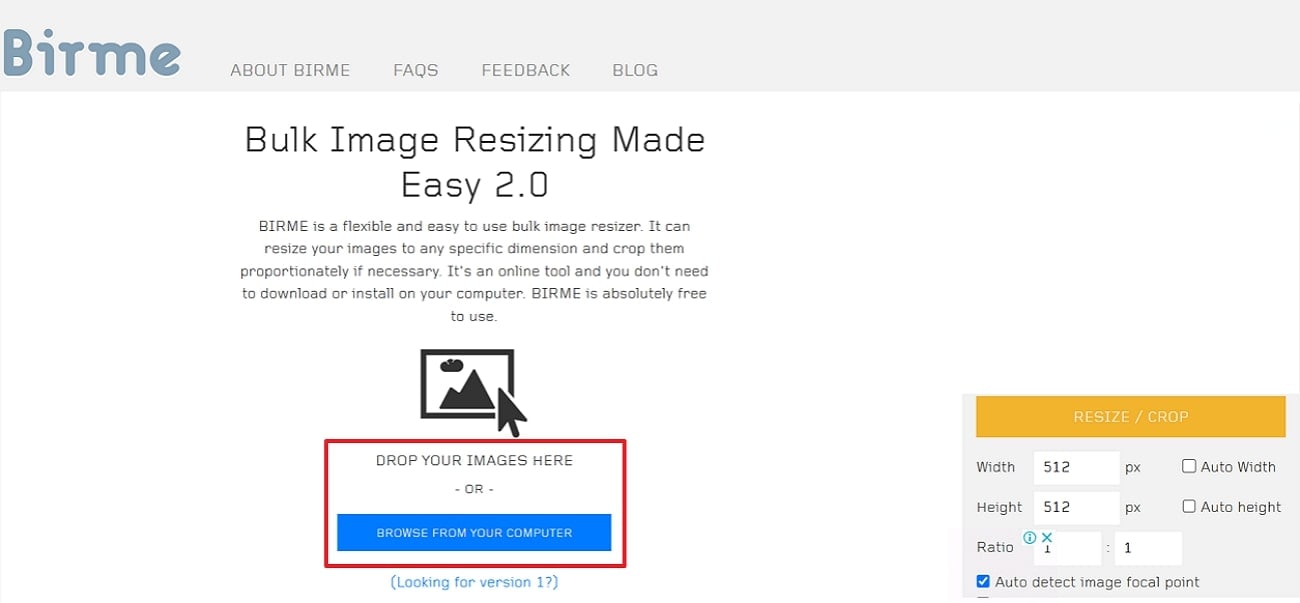
Step 2. Now, change the “Height and Width” from the right toolbox and press the “Resize/Crop” button to reduce the image size.
Versatile WebP Resizer
3. Online Image Tool
Resize WebP images online by up to 90% using this tool, which preserves great image quality while greatly lowering the file size. You can adjust the dimensions of various formats, like PNG and JPEG, to fit your specific requirements. It lets you resize the WebP pictures by percentage or exact pixel dimensions for precise control over the image size and quality optimization.
Key Features
- If you have a rotated image, it automatically detects and corrects the image orientation with its rotate images tool.
- All the operations are performed locally in your browser using this tool, which ensures privacy and speed.
- It allows you to process hundreds of images at once without restrictions on file size and quality.
Pros & Cons
Step by Step Guide
Stepwise Instructions on How to Resize a WebP Image Using this Tool
Let’s examine this tool in a detailed, step-by-step manner to adjust the size of WebP images:
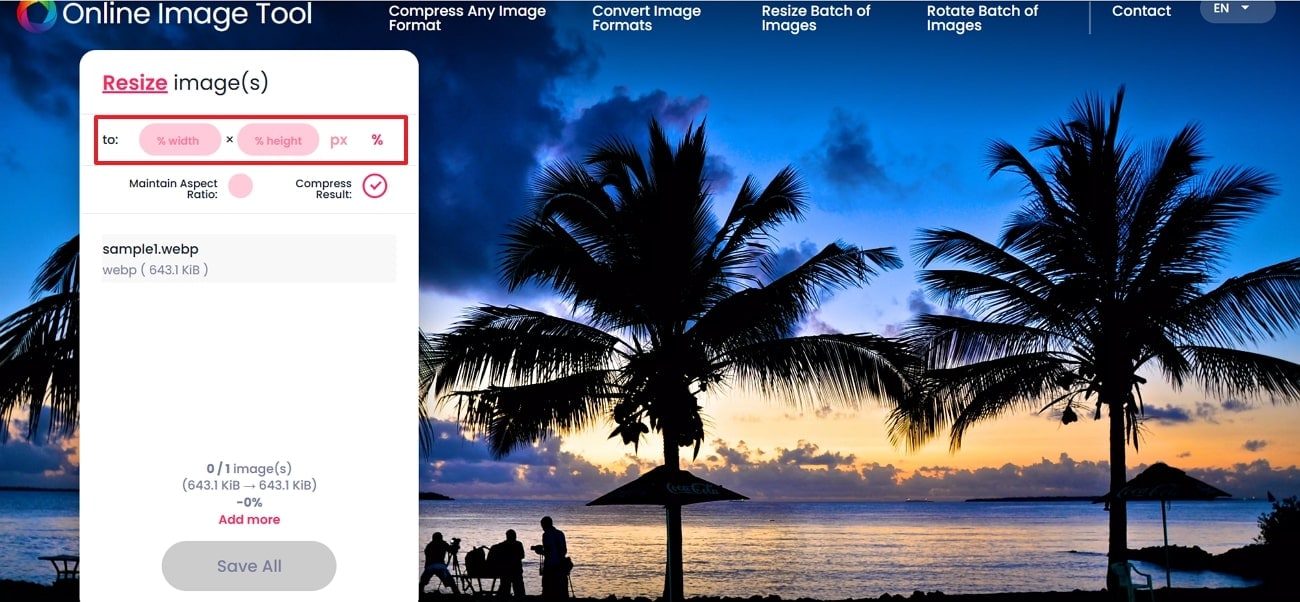
Step 1. Click the “Add Images” plus icon to upload the target photo.
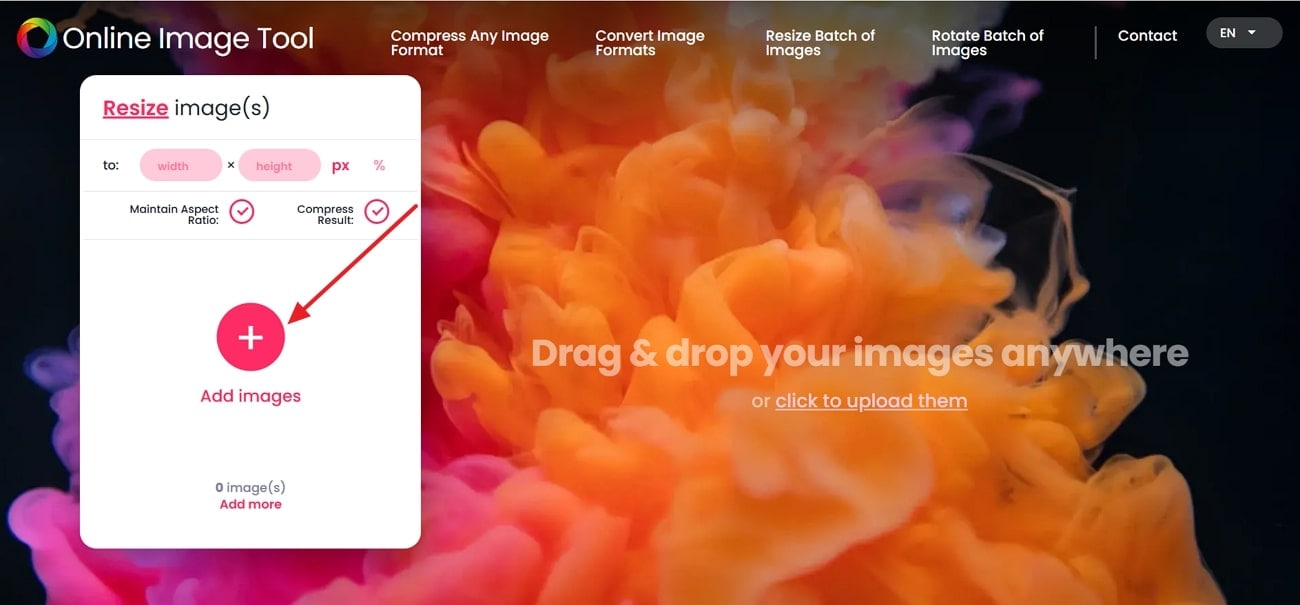
Step 2. Change the required “Width and Height,” and the tool will automatically resize it according to your input.
4.Imglarger
This WebP image resizer lets you change the size of multiple photos at once, making it ideal for photographers with large photos. It supports formats like JPEG, PNG, and many more, which makes it versatile for all your image resizing needs. Apart from this, it offers cropping, rotating, and adjusting brightness, contrast, and saturation to help you fine-tune your image exactly the way you want.
Key Features
- It offers built-in filters that allow you to improve the visual appeal.
- After resizing the multiple images, you can download them in a ZIP file.
- Imglarger offers other tools, such as Object Removers and converters.
Pros & Cons
Step by Step Guide
Detailed Steps to Resize WebP Image Using Imglarger
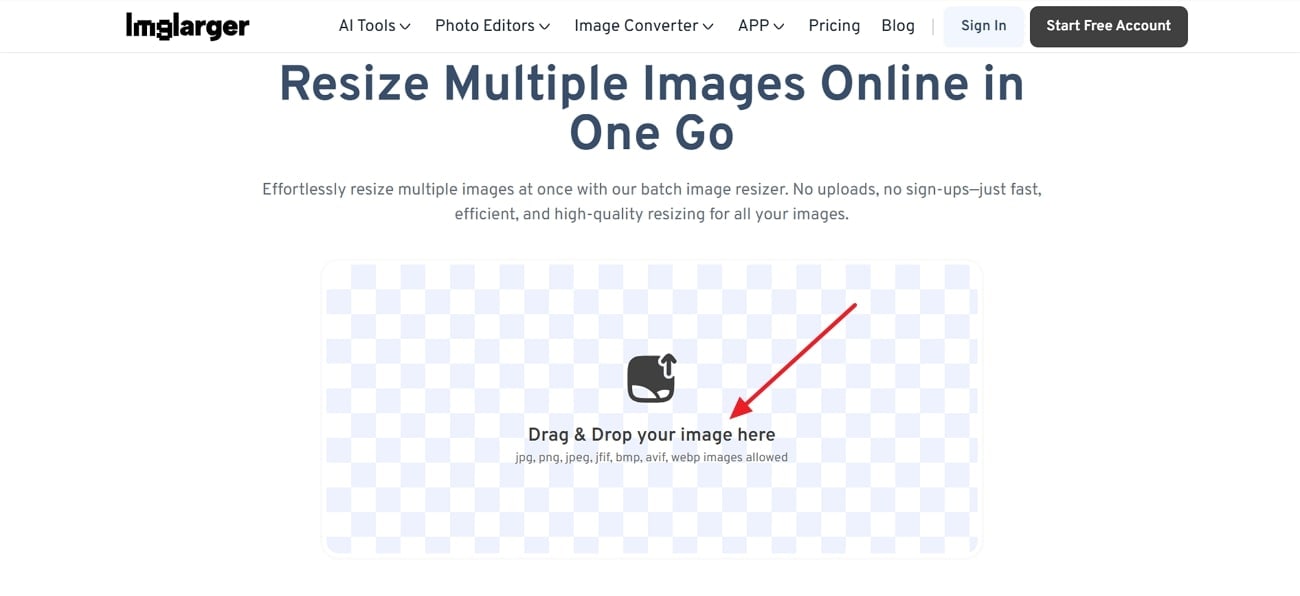
To know how to reduce the size of the WebP image, let’s explore the detailed guide:
Step 1. Press the “Drag & Drop Your Image Here” button to upload the target file.
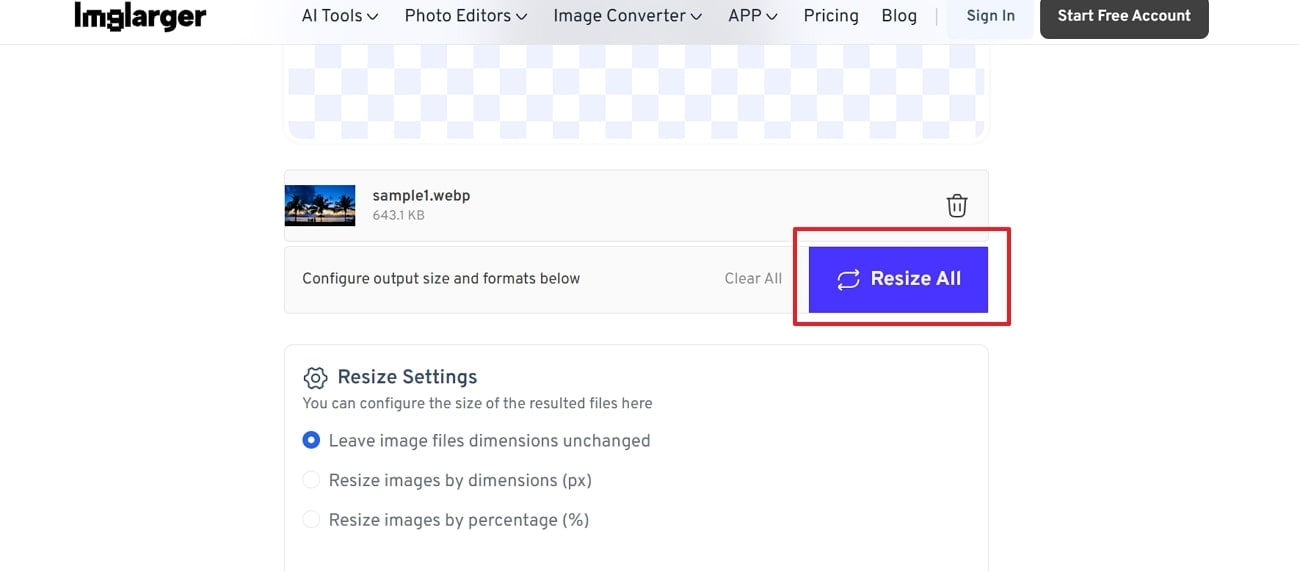
Step 2. Next, reduce the height and width by adding the desired dimensions and click the “Resize All” button to save it.
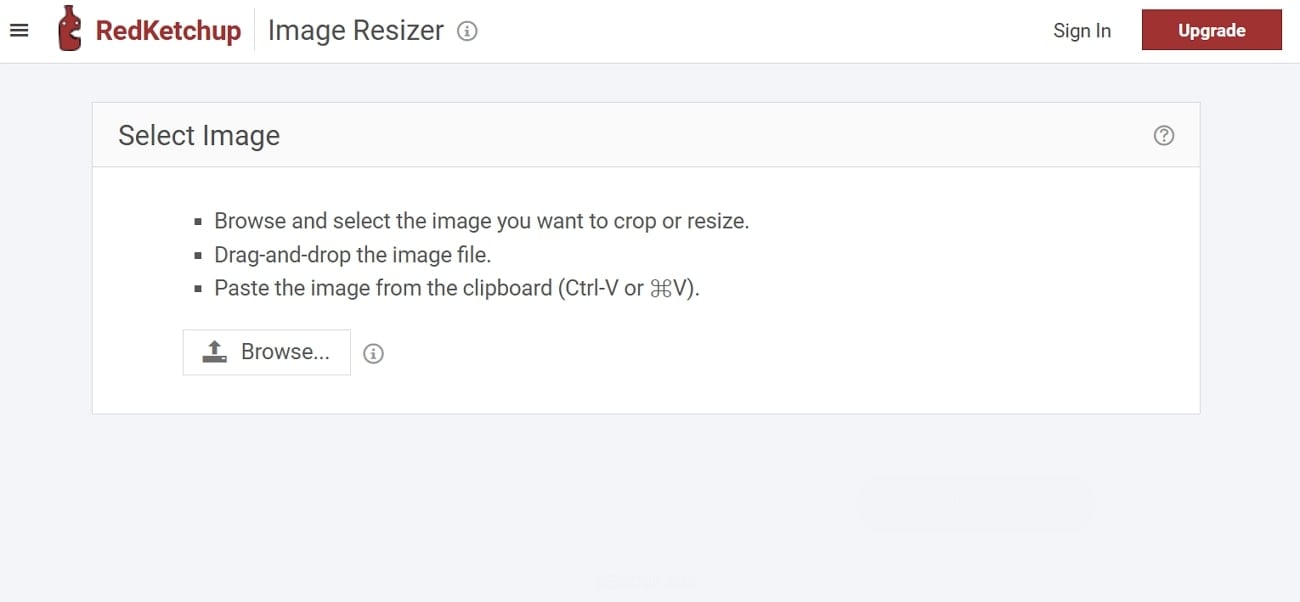
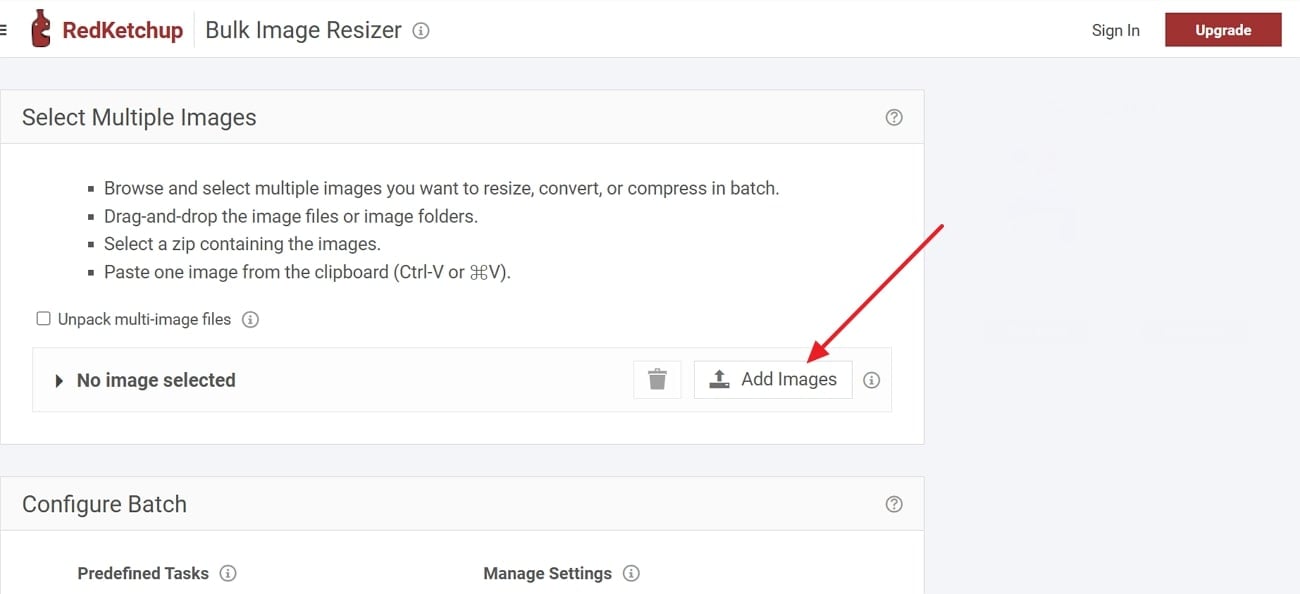
5.RedKetchup
Resize WebP images by specifying the exact pixels as a percentage according to your desired needs. It provides a batch processor that adjusts the volume of multiple files simultaneously, making it perfect for managing extensive projects. Furthermore, you can convert multiple image formats, such as PNG, JPEG, and others, allowing you to edit and improve images without concern for format restrictions.
Key Features
- The tool allows for resizing the photos by dimension, padding, long side, and many other ways.
- With the optional effect, you can choose the sharpened, pixelated, or blurry option.
- Users can access and utilize the tool without the need for registration of login.
Pros & Cons
Step by Step Guide
Comprehensive Guide on Using WebP Image Resizer
For a better understanding, here is how you can reduce the size of the WebP images.
Step 1. Open the tool and press the “Add Images” button to upload the WebP file.
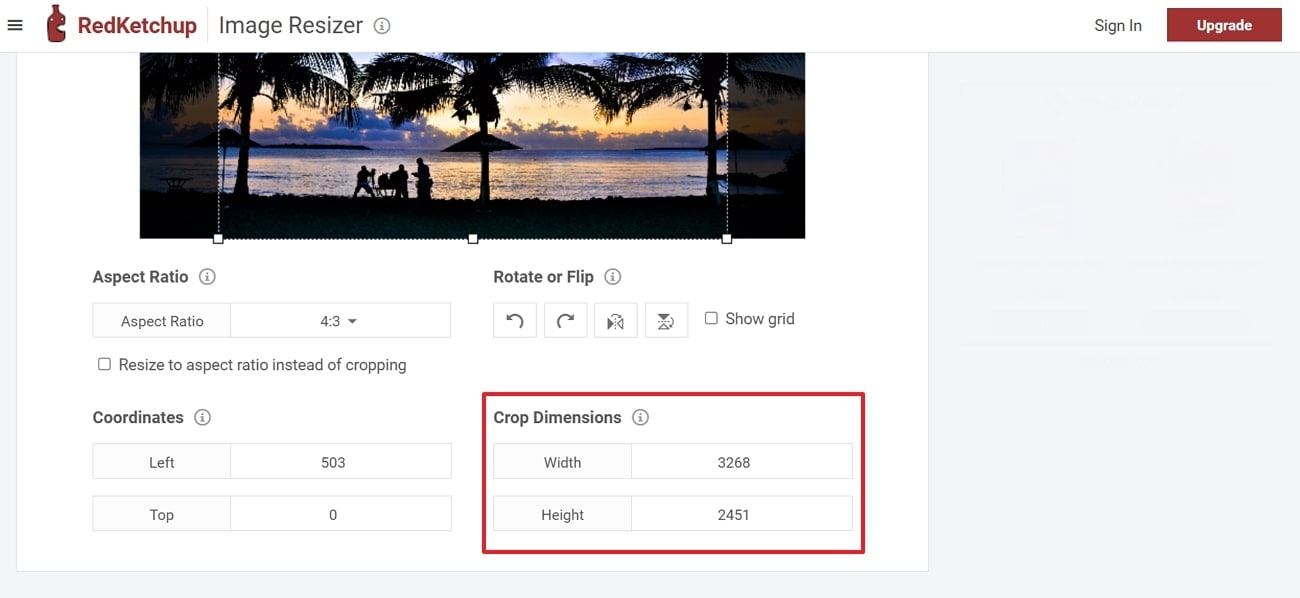
Step 2. Now, from the “Crop Dimension” section, change the “Height and Width” of the image.
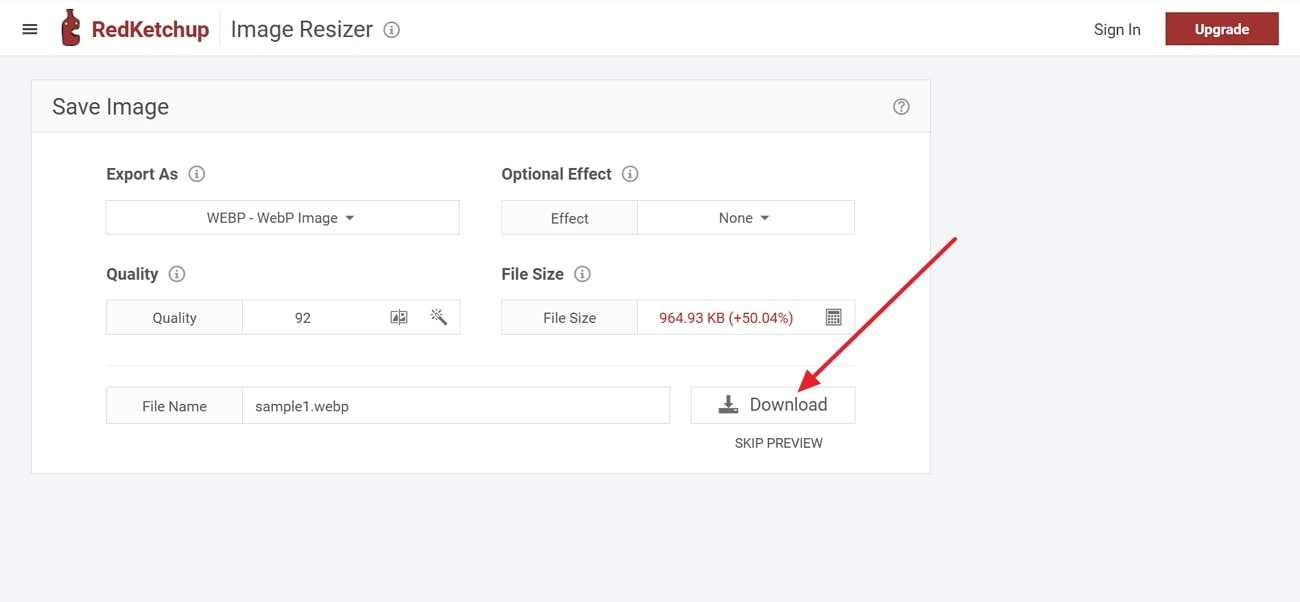
Step 3. Upon doing hit the “Download” button to export it on your device.
Part 3. How to Ensure Image Quality While Resizing WebP Images?
When it comes to resizing an image WebP, UniConverter is the most reliable platform, as it offers batch processing to deal with multiple files. The tool provides a custom dimension setting, which enables precise control over image size by specifying the exact pixels. To avoid disruption and interference, it maintains the original width and height ratio.
You can likewise crop the image to eliminate unwanted edges or highlight a particular section of the picture. UniConverter provides format conversion services, enabling you to alter file types like JPEG, PNG, and others to suit your specific needs. With the quality adjustment feature, users can balance the size of the file and image clarity by selecting the appropriate compression level.
Key Features
- Flip and Align Images: Users can flip the photo horizontally and vertically as they like and use the Align feature to bring it to the center.
- Adjust Photos: To make them visually pleasing, it enables you to make adjustments like brightness, contrast, etc.
- Background Remover: You can also remove the background of the images while resizing them.
- Preview the Picture: To help you know if the tool is worth considering, it lets you see the before and after results of the photo.
- Add Watermark: Photographers and other people can add a watermark to their images.
Detailed Guidelines to Use UniConverter to Resize the WebP images
Follow the given steps to learn how to WebP resize with the help of UniConverter:
Step 1
Choose the Photo Editor After Installing the Tool
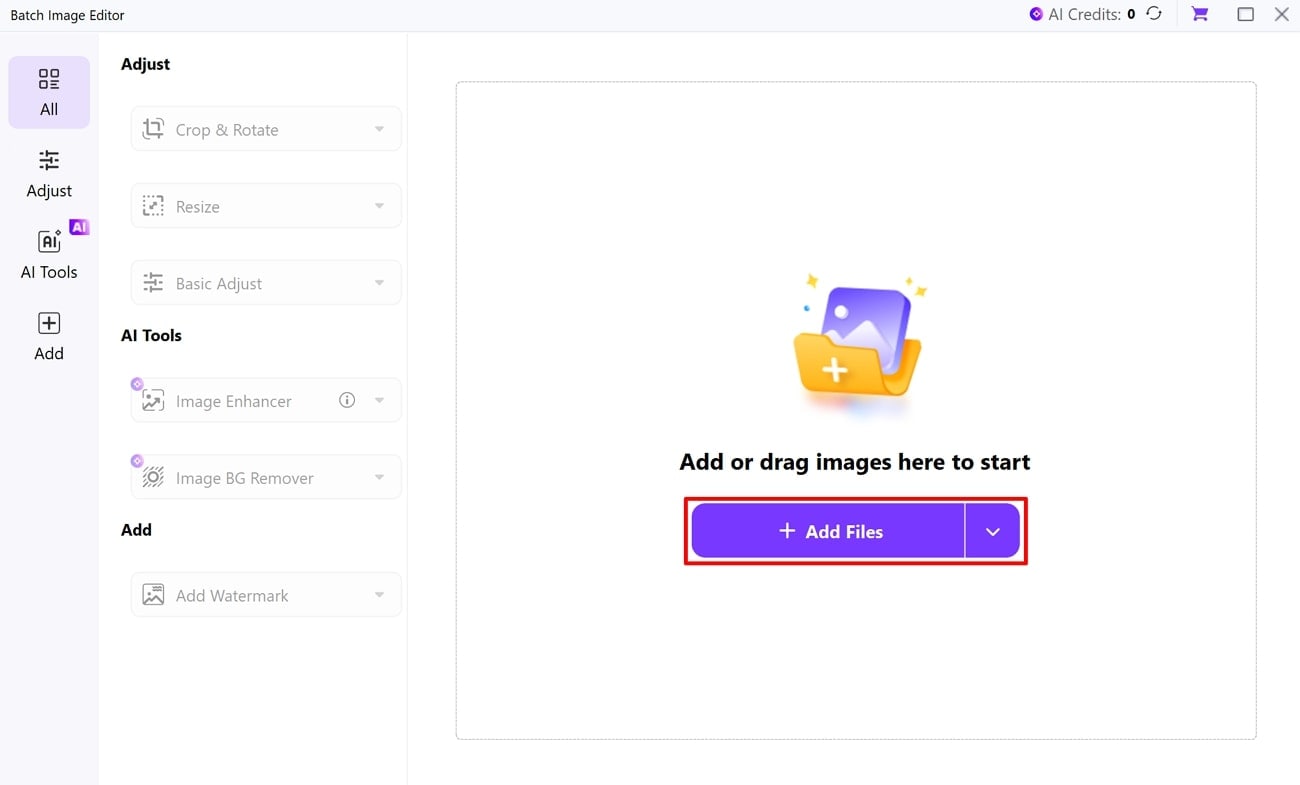
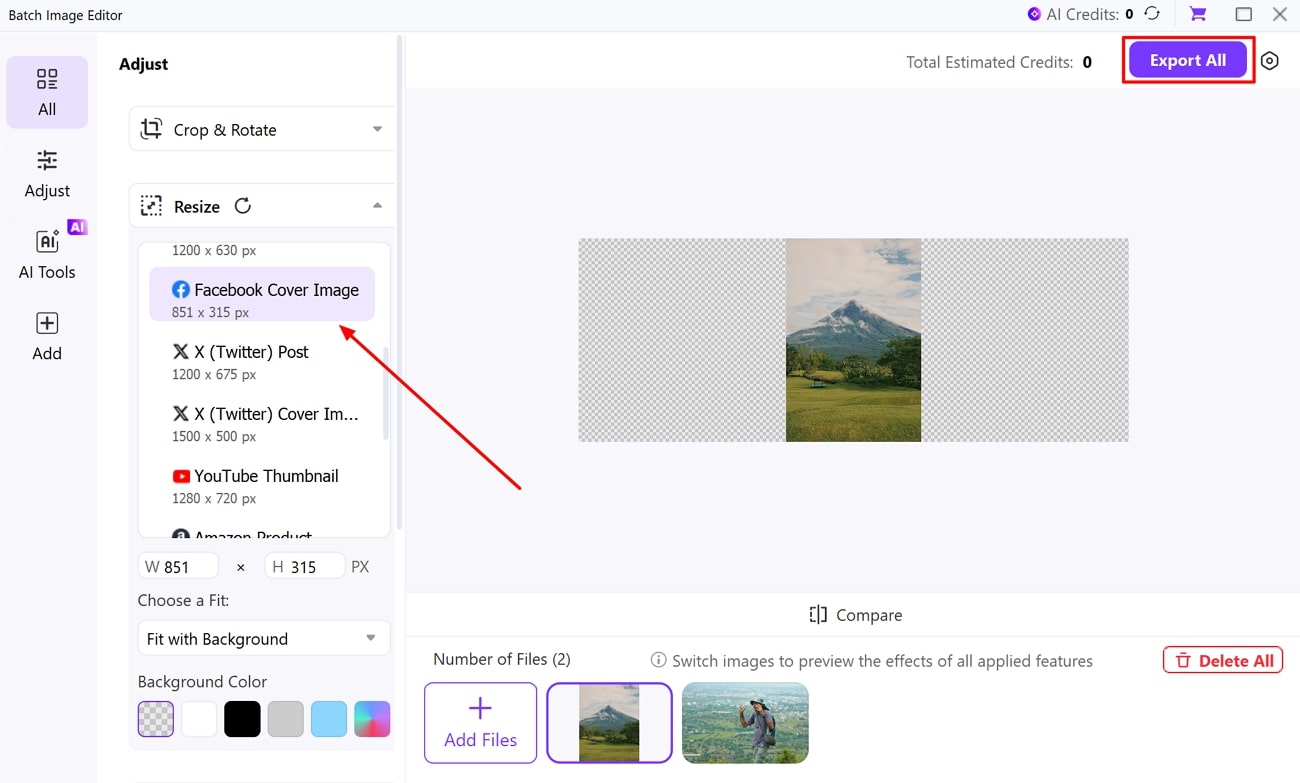
Access the “Batch Image Editor” of UniConverter and import a WebP file by clicking the “Add Files” button.
Step 2
Expand the Resize Option
Next, from the left sub-panel, press the “Downward” arrow beside the “Resize” section to expand the drop-down menu.

Step 3
Select the Desired Size and Download It
Subsequently, choose the preferred size from the “Custom Size” option or the preset options. After reducing the image size, press the "Export All" button to save the outcome.
Versatile WebP Resizer
Part 4. How to Fix Blurry WebPs After Resizing Images
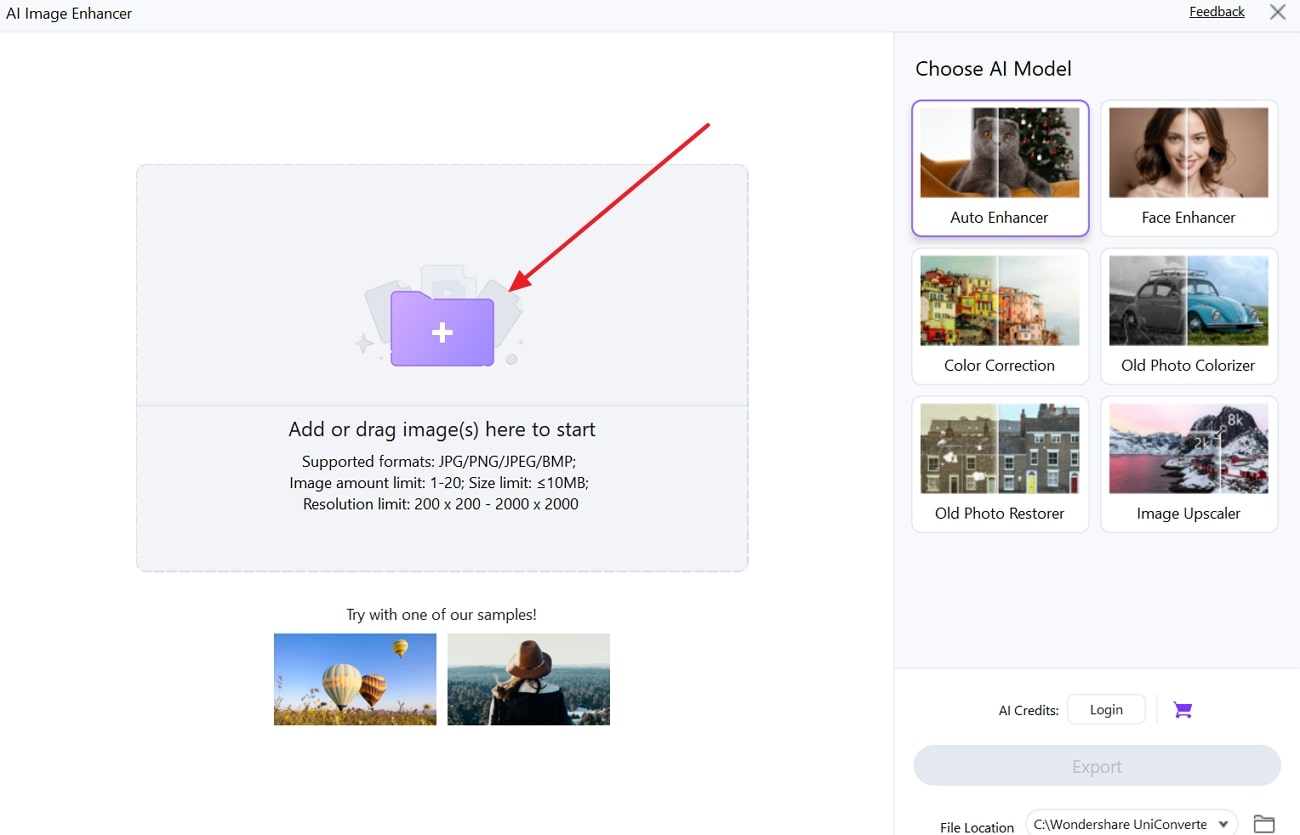
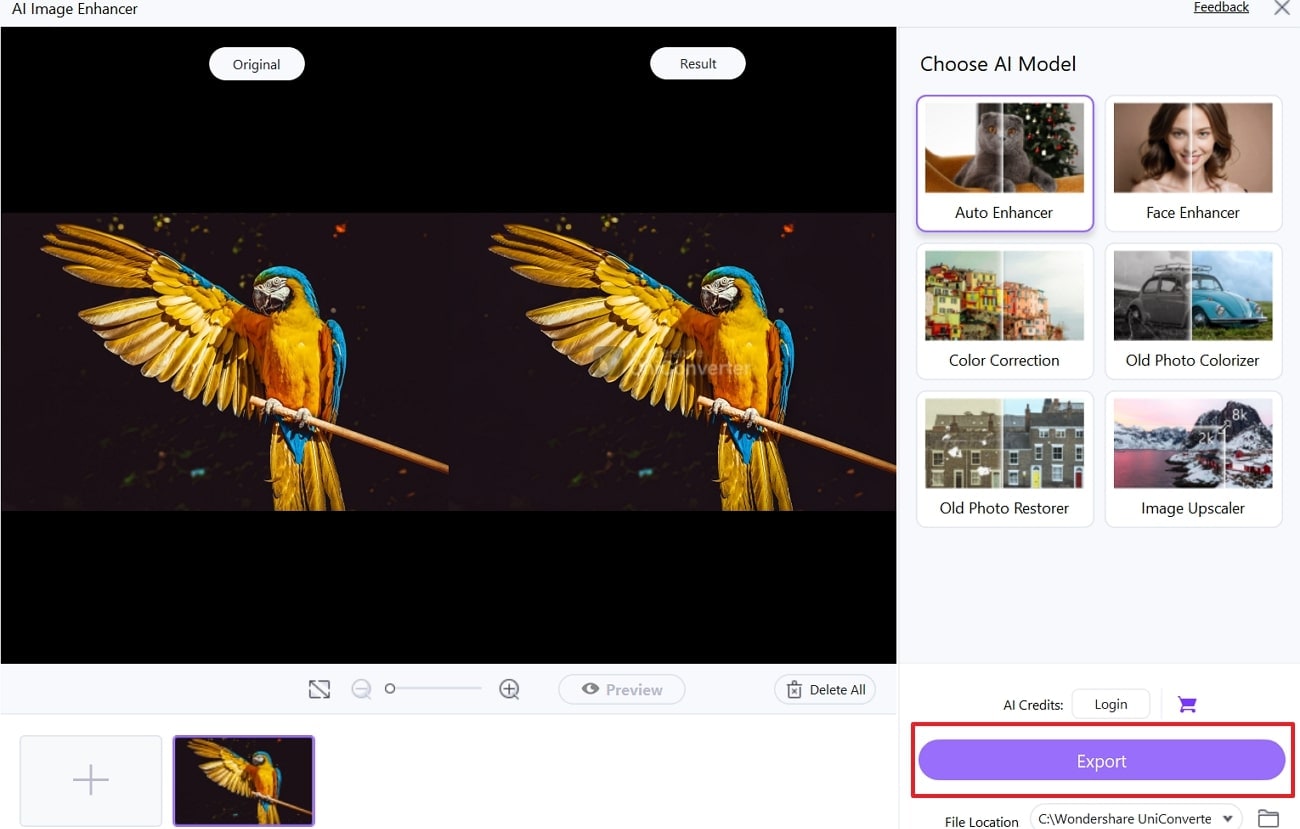
After you resize the WebP image, you can enhance the image for sharper and more detailed visuals, and for that, we recommend you use UniConverter’s Enhancer tool. With the limit of 1 to 20 images, you can enhance multiple photos as one. It offers a Face Enhancer and Color Correction to make the images visually appealing and vibrant for your personal and professional images.
Moreover, you can also use its Old Photos Restorer, which removes the scratches from the pictures. Image Upscaler allows you to select the image resolution from 2x, 4x, and 8x according to your desired needs.
Stepwise Guide to Enhance the WebP Images With UniConverter
Let’s learn how to use this tool Enhancer tool to increase the quality of your photos:
Step 1
Access the Tool and Select Image Enhancer
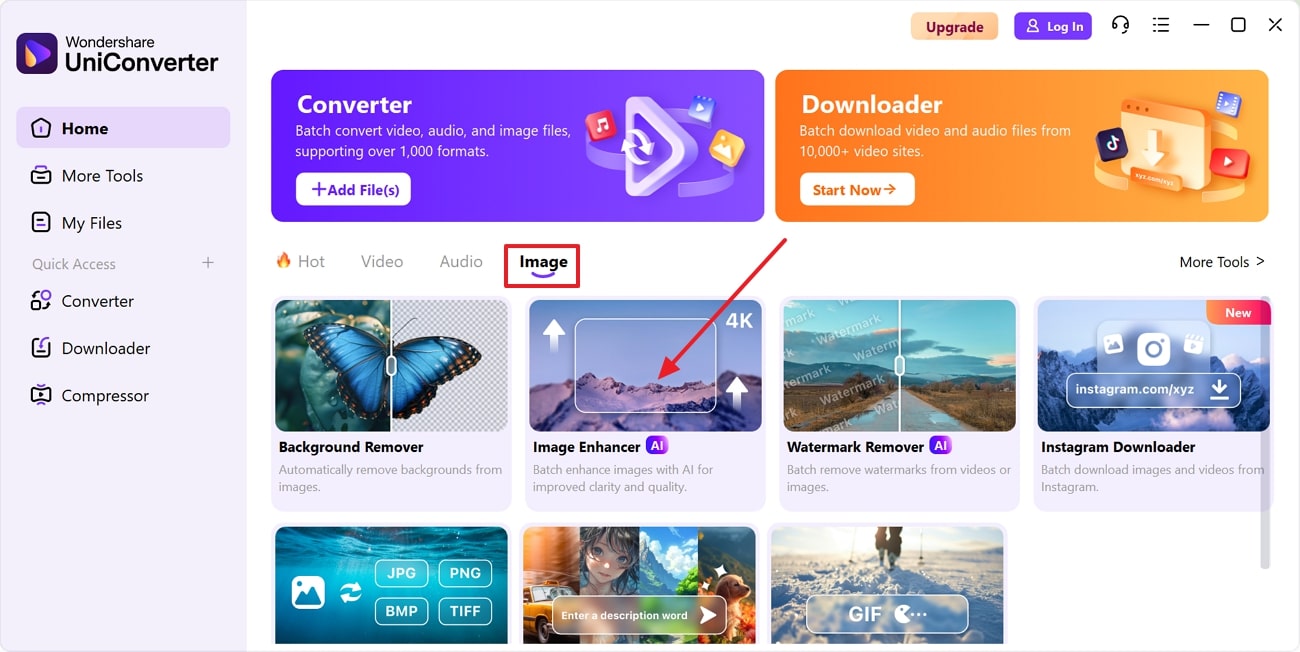
On the main interface of UniConverter, choose the “Image Enhancer” tool from the “Image” tab.
Step 2
Add the Target Image
Press the “Add or Drag Image(s) Here to Start” button to upload the image you wish to improve.
Step 3
Choose the Model and Preview It
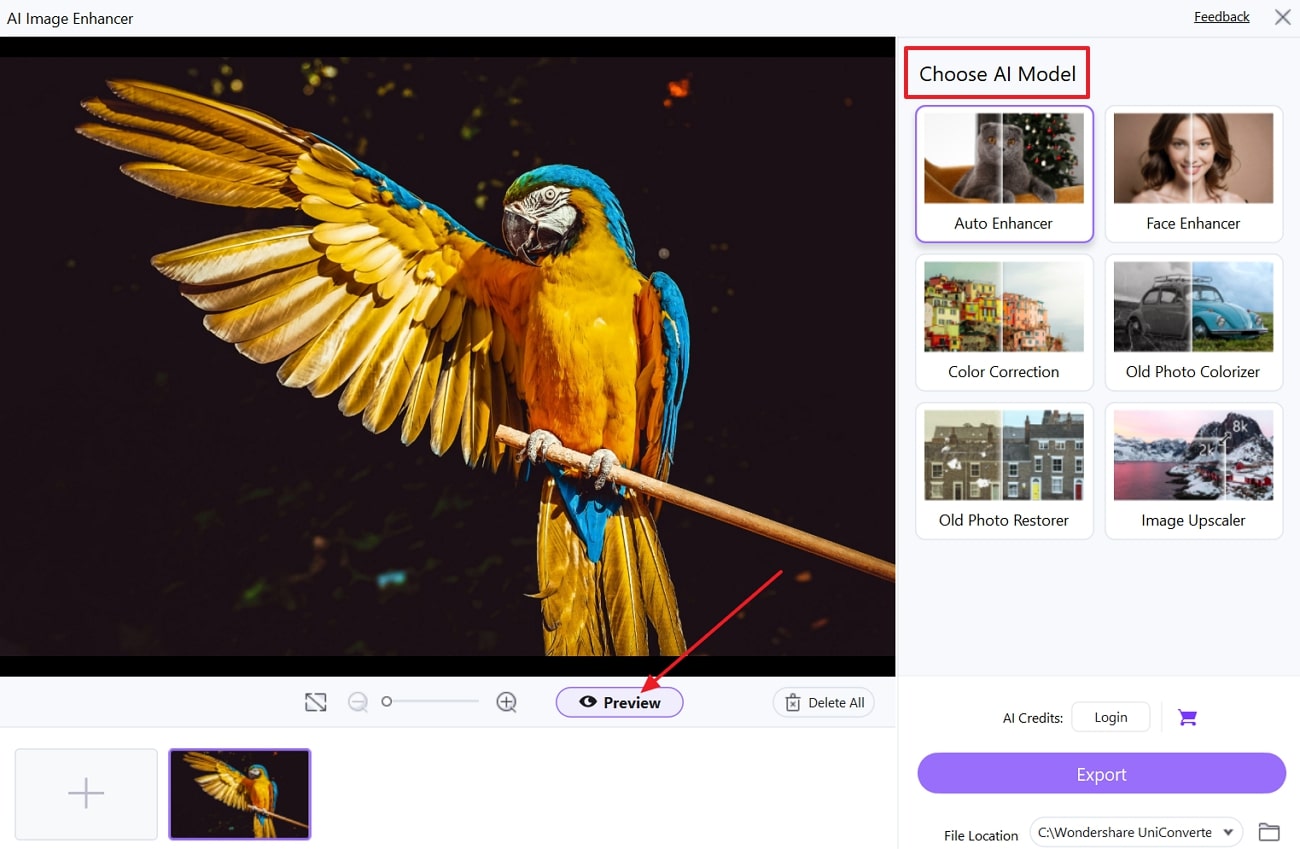
Afterward, from the “AI Model” section, select the desired model and press the “Preview” button to start the process.
Step 4
Review the Results and Export It
Once you are satisfied with the results, hit the “Export” button to save it.
Conclusion
Resize WebP online in bulk doesn’t have to be a complicated or quality-compromising task. With the right tools, reduce image size, speed up your websites, and maintain crisp visuals. This guide has introduced you to the top web-based tools that make bulk resizing easy and lossless. Plus, with reliable software, UniConverter, which not only resizes the image but also allows you to enhance images.
Frequently Asked Questions
Versatile WebP Resizer
FAQs
-
1. What methods can I use to preserve the original quality of WebP images during resizing?
To preserve quality when you resize WebP images, select tools like UniConverter that offer lossless compression and allow adjustments to quality settings. Refrain from overly downscaling or upscaling since it can result in blurriness or pixelated images. -
2. What is the optimal resolution for WebP images on a site?
The ideal resolution varies based on the image's intended use, as 1200px is excellent for banners, whereas 600 to 800px is suitable for blog or content images. Always use the lowest resolution that remains clear on your site to guarantee quick loading speeds. -
3. Can I rename files during the WebP resizing process?
Yes, many tools, such as UniConverter, offer a renaming feature so you can organize your files while resizing them. This is especially helpful when dealing with multiple images for a project or product catalog. -
4. Are there any file size limits when resizing WebP images online?
Most online tools have uploaded size limits, usually between 5MB to 20MB per file. For large files or batches, you may need to use a premium version or switch to desktop-based tools like UniConverter.

