

Flipping an image may seem like a simple edit, but it can quickly become confusing if you’re not sure which option to use in Photoshop. Using the wrong method can affect sharpness, alignment, or even the overall resolution of your image.
In this guide, you’ll learn how to flip an image in Photoshop using the right approach for your specific needs, whether that means mirroring the entire canvas or adjusting a single layer. You will also learn an easier alternative tool that lets you flip images in just a few clicks without compromising quality.
In this article
Part 1. Quick Comparison Table: Methods to Flip an Image in Photoshop
The table below provides you with a quick comparison of the different methods available in Photoshop to flip or rotate an image.
| Method | What it Flips | Ease of Use | Best Use Case | Impact on Other Layers | Precision Control |
| Flip Entire Canvas | All layers & canvas | Very easy | Mirroring the whole image | Yes | Low |
| Flip a Specific Layer | Selected layer only | Easy | Flipping logos, subjects, or individual elements | No | Medium |
| Free Transform Shortcut | Selected layer or object | Moderate | Fast edits with visual control and flexibility | No | High |
| Rotate 180° | Entire document | Very easy | Turning an image upside down | Yes | Low |
Part 2. What Are the Different Ways to Flip an Image Horizontally or Vertically in Photoshop?
Photoshop offers four different methods to flip an image, depending on whether you want to mirror the entire canvas or adjust a specific element. Each method has its own application, so you need to choose the right one to prevent unwanted changes to your layers or composition.
Method 1: Flip Entire Canvas (Image Menu)
The Flip Entire Canvas method mirrors everything, including all layers and the canvas itself. It is suitable if you want to mirror the entire image without picking a subject.
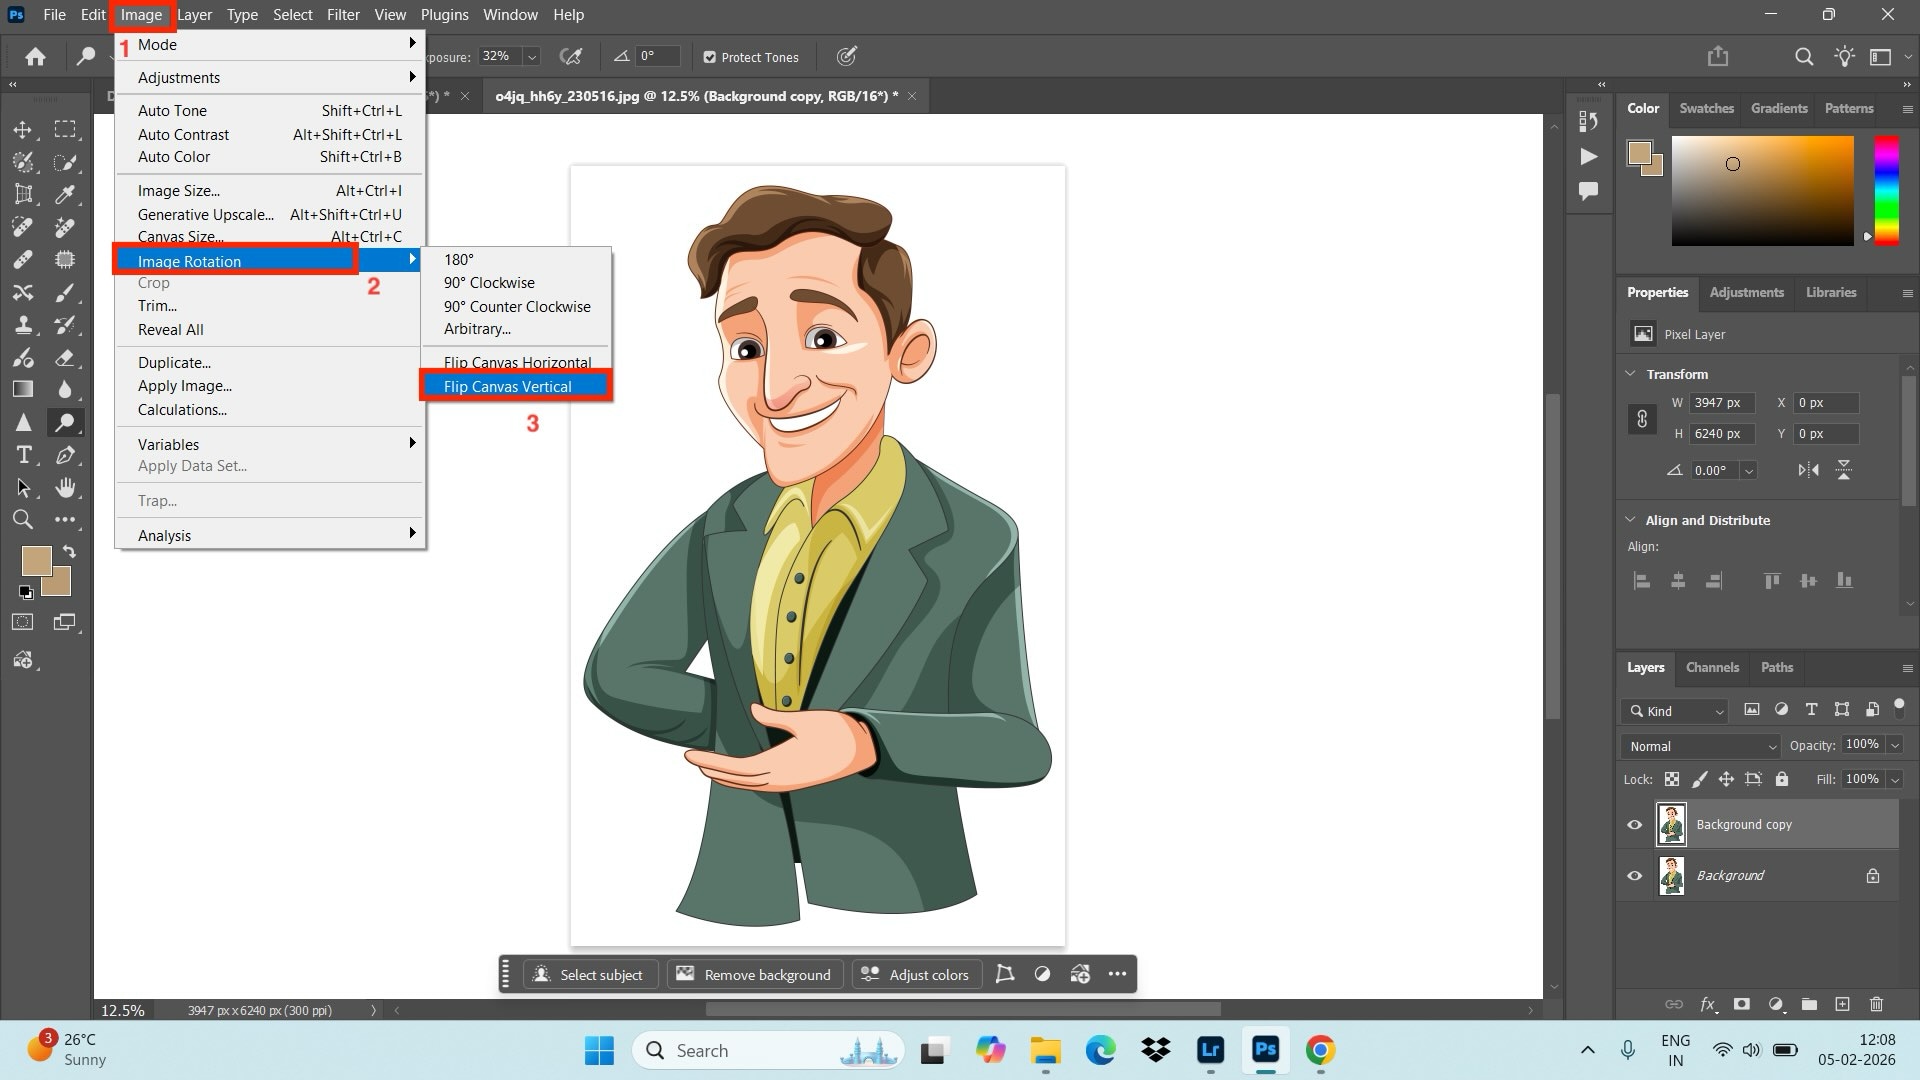
Step 1.Choose Image Rotation
Navigate to “Image” in the top menu bar, select “Image Rotation,” and choose from the “Flip Canvas Horizontal” or “Flip Canvas Vertical” option.
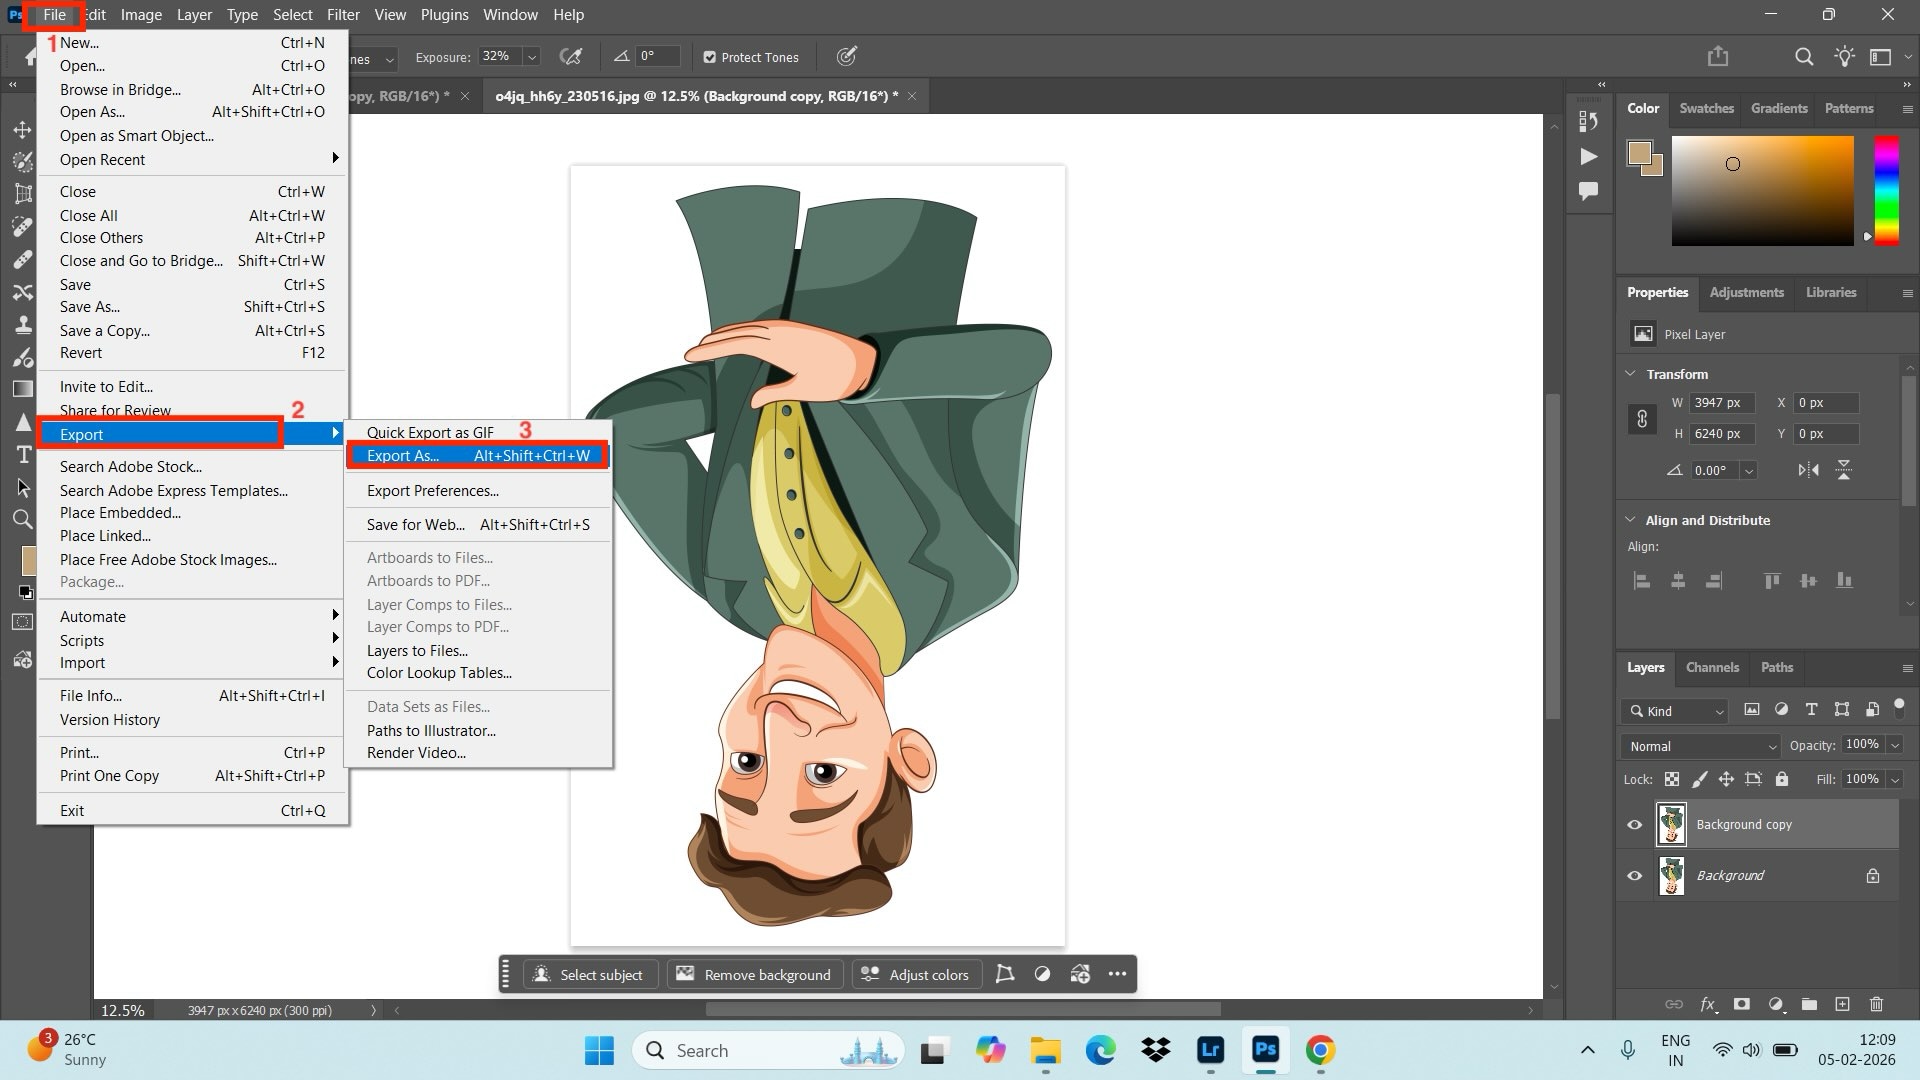
Step 2. Export Flipped Image
After flipping the photo, navigate to the “File” option in the top menu bar and click “Export.”
Method 2: Flip Specific Layer (Edit Menu)
The Flip Specific Layer method is best for flipping only a specific, unlocked layer. It allows you to flip an image around a subject.
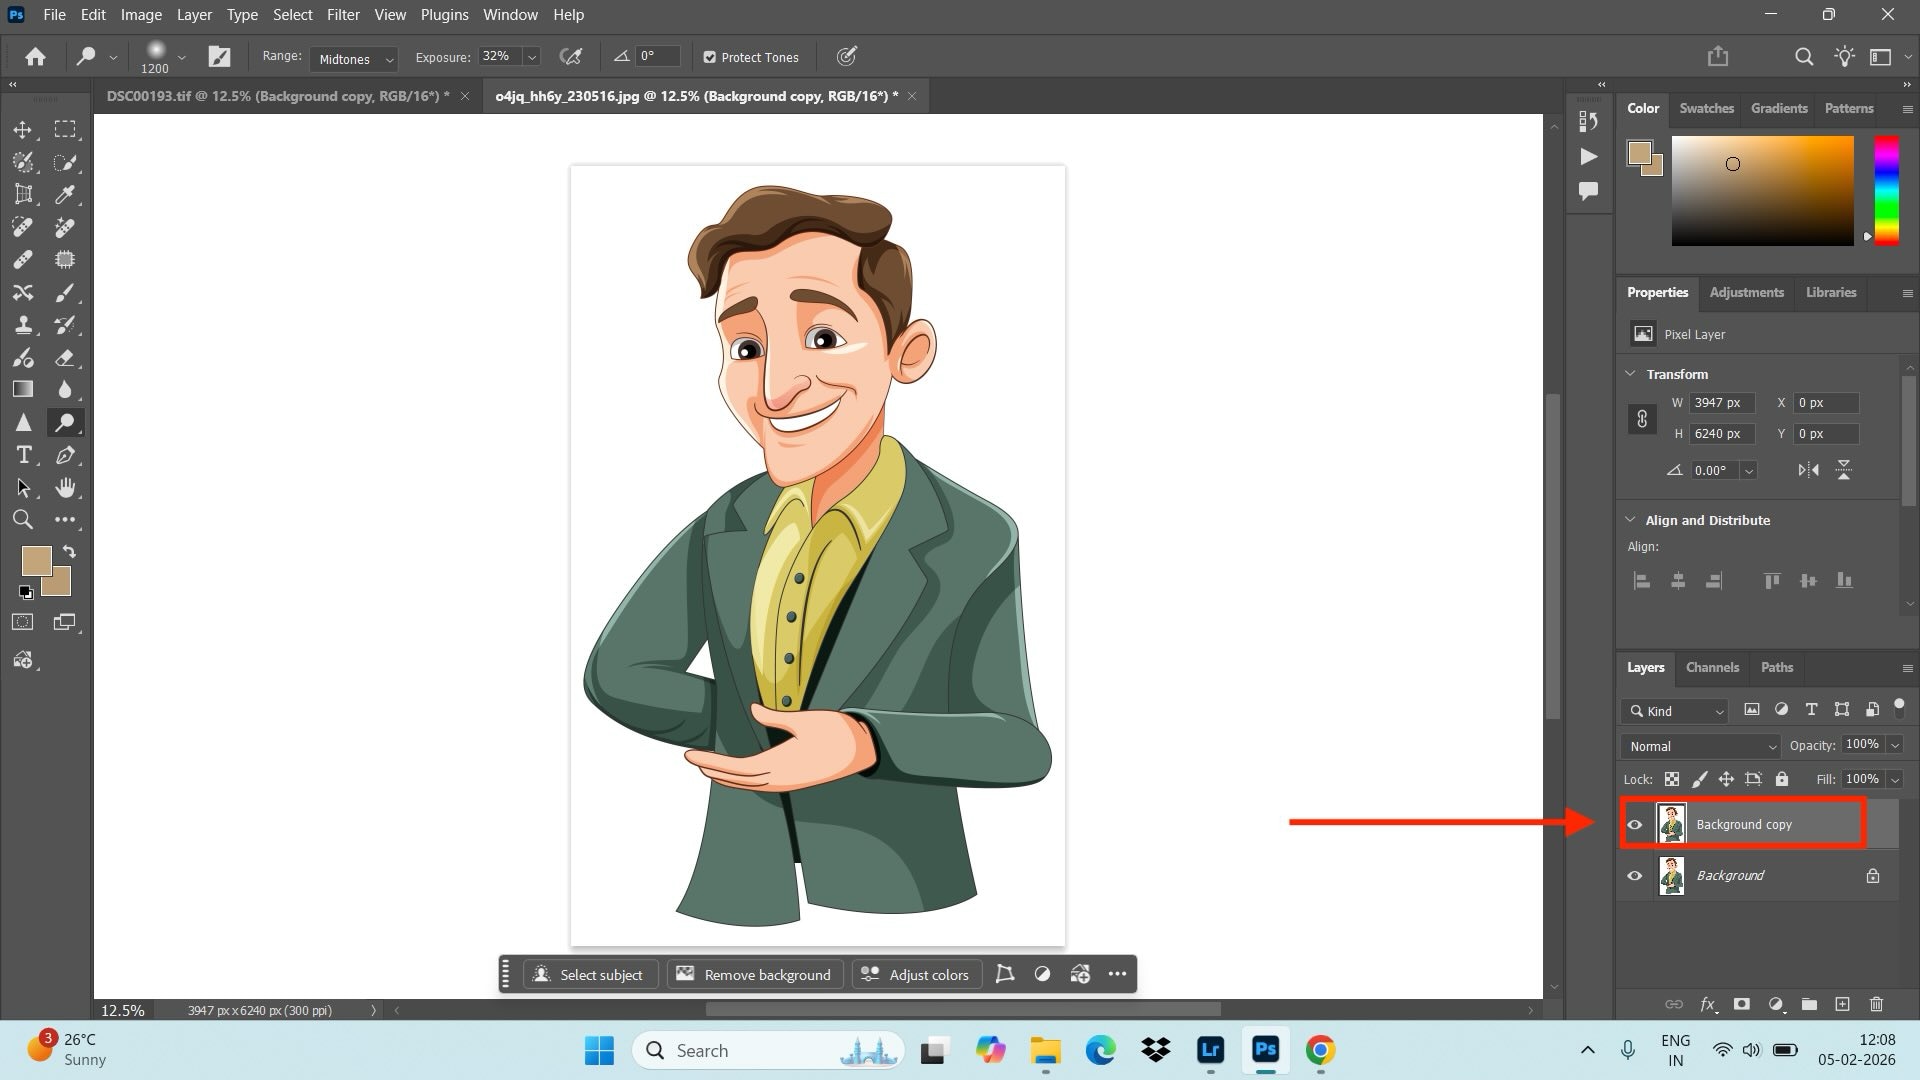
Step 1. Select Layer
Select the desired layer in the Layers panel (ensure it is not locked).
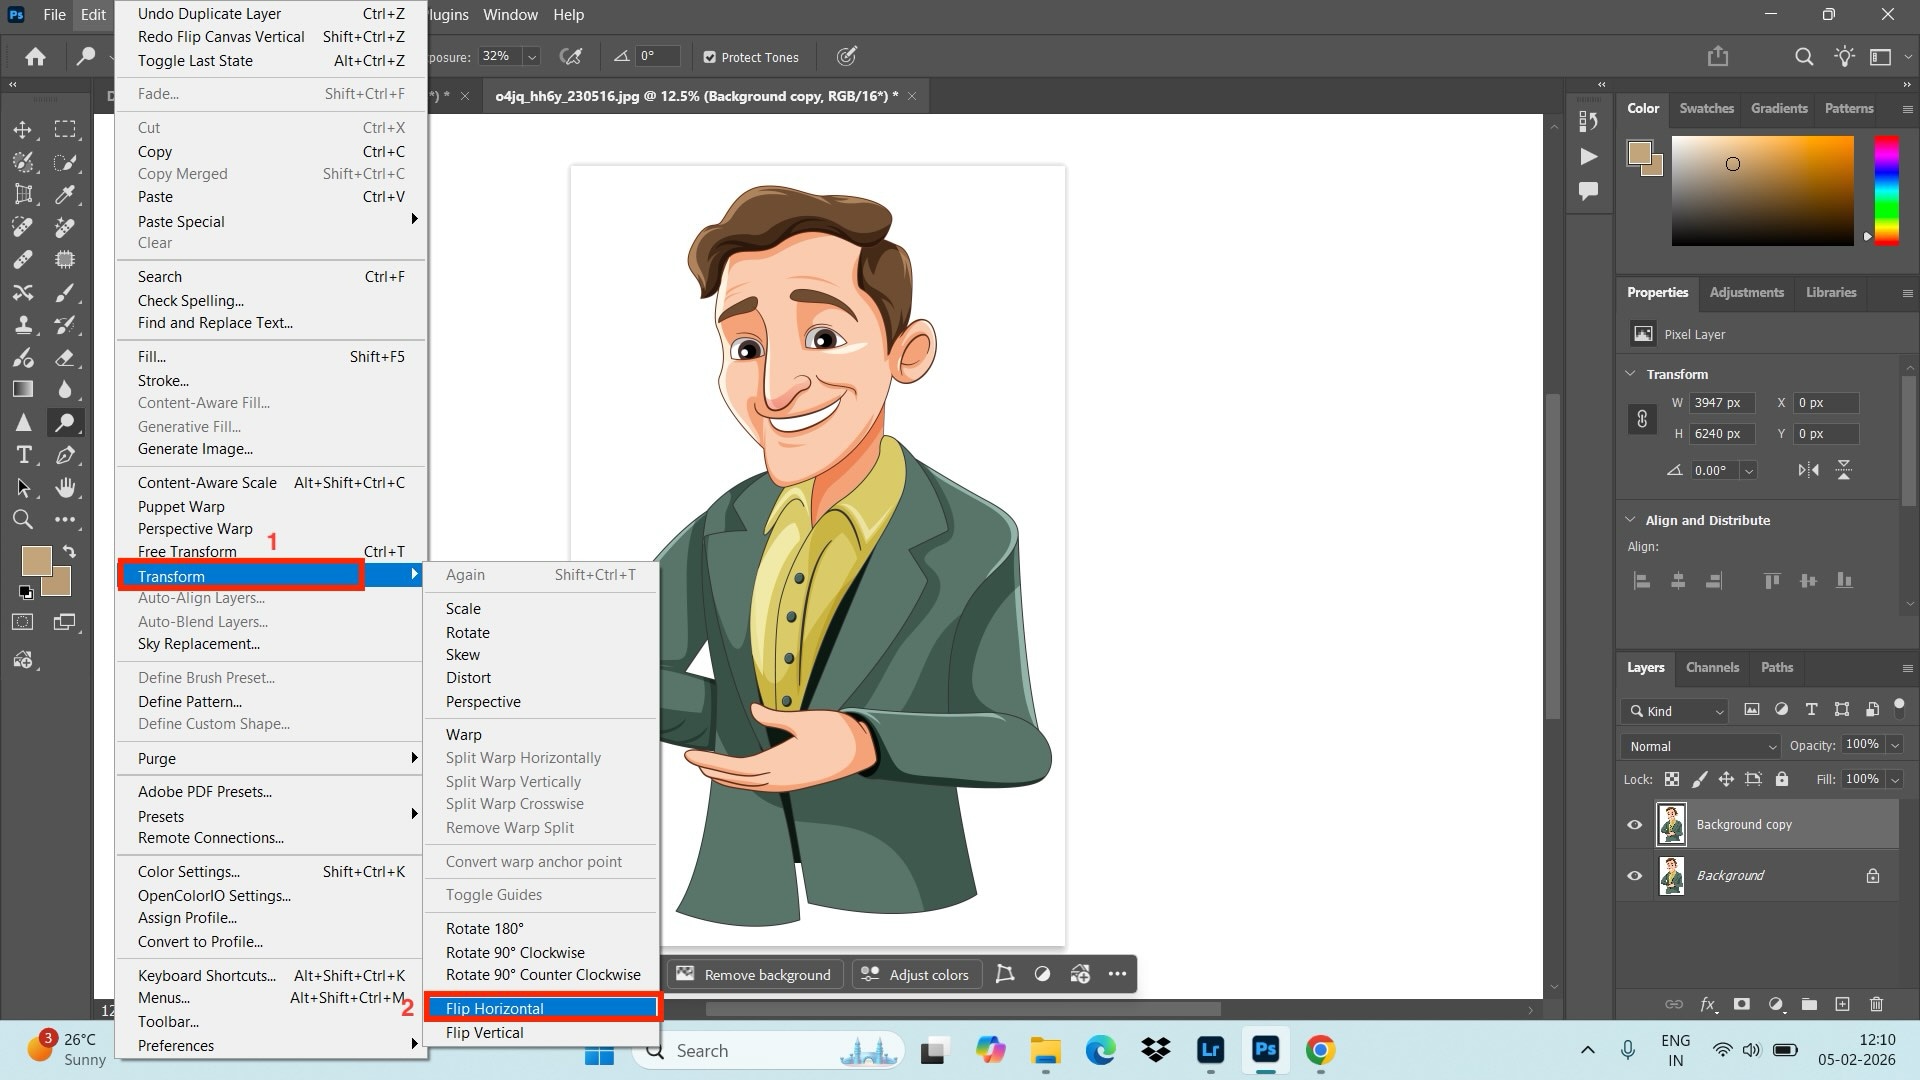
Step 2. Choose Transform
Go to “Edit > Transform,” and select “Flip Horizontal” or “Flip Vertical.”
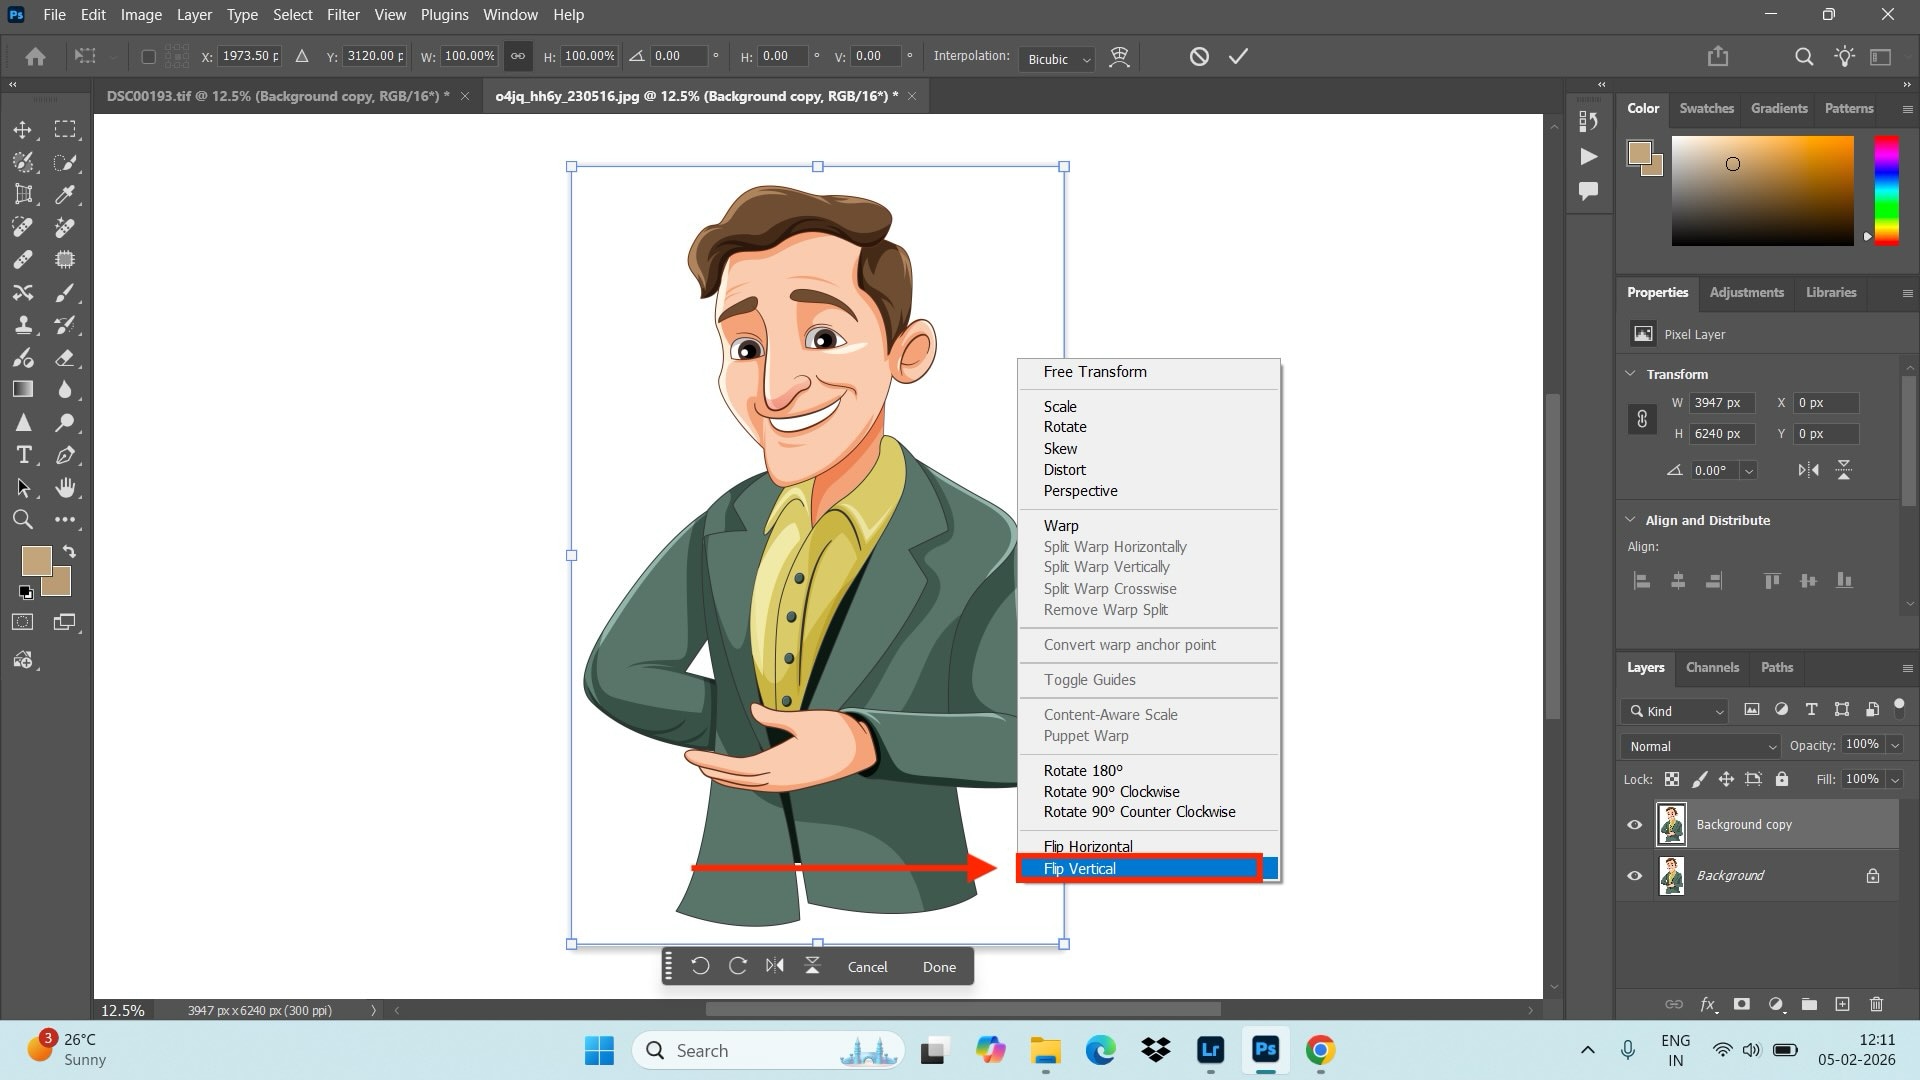
Method 3: Free Transform Shortcut (Ctrl/Cmd + T)
A fast, versatile method to flip elements. This method is best suited when editing a landscape image with multiple intricate objects.
Step 1. Select the Layer
Select the layer and press Ctrl+T (Windows) or Command+T (Mac).
Step 2. Choose Orientation
Right-click inside the transform box and select Flip Horizontal (left-to-right) or Flip Vertical (top-to-bottom).
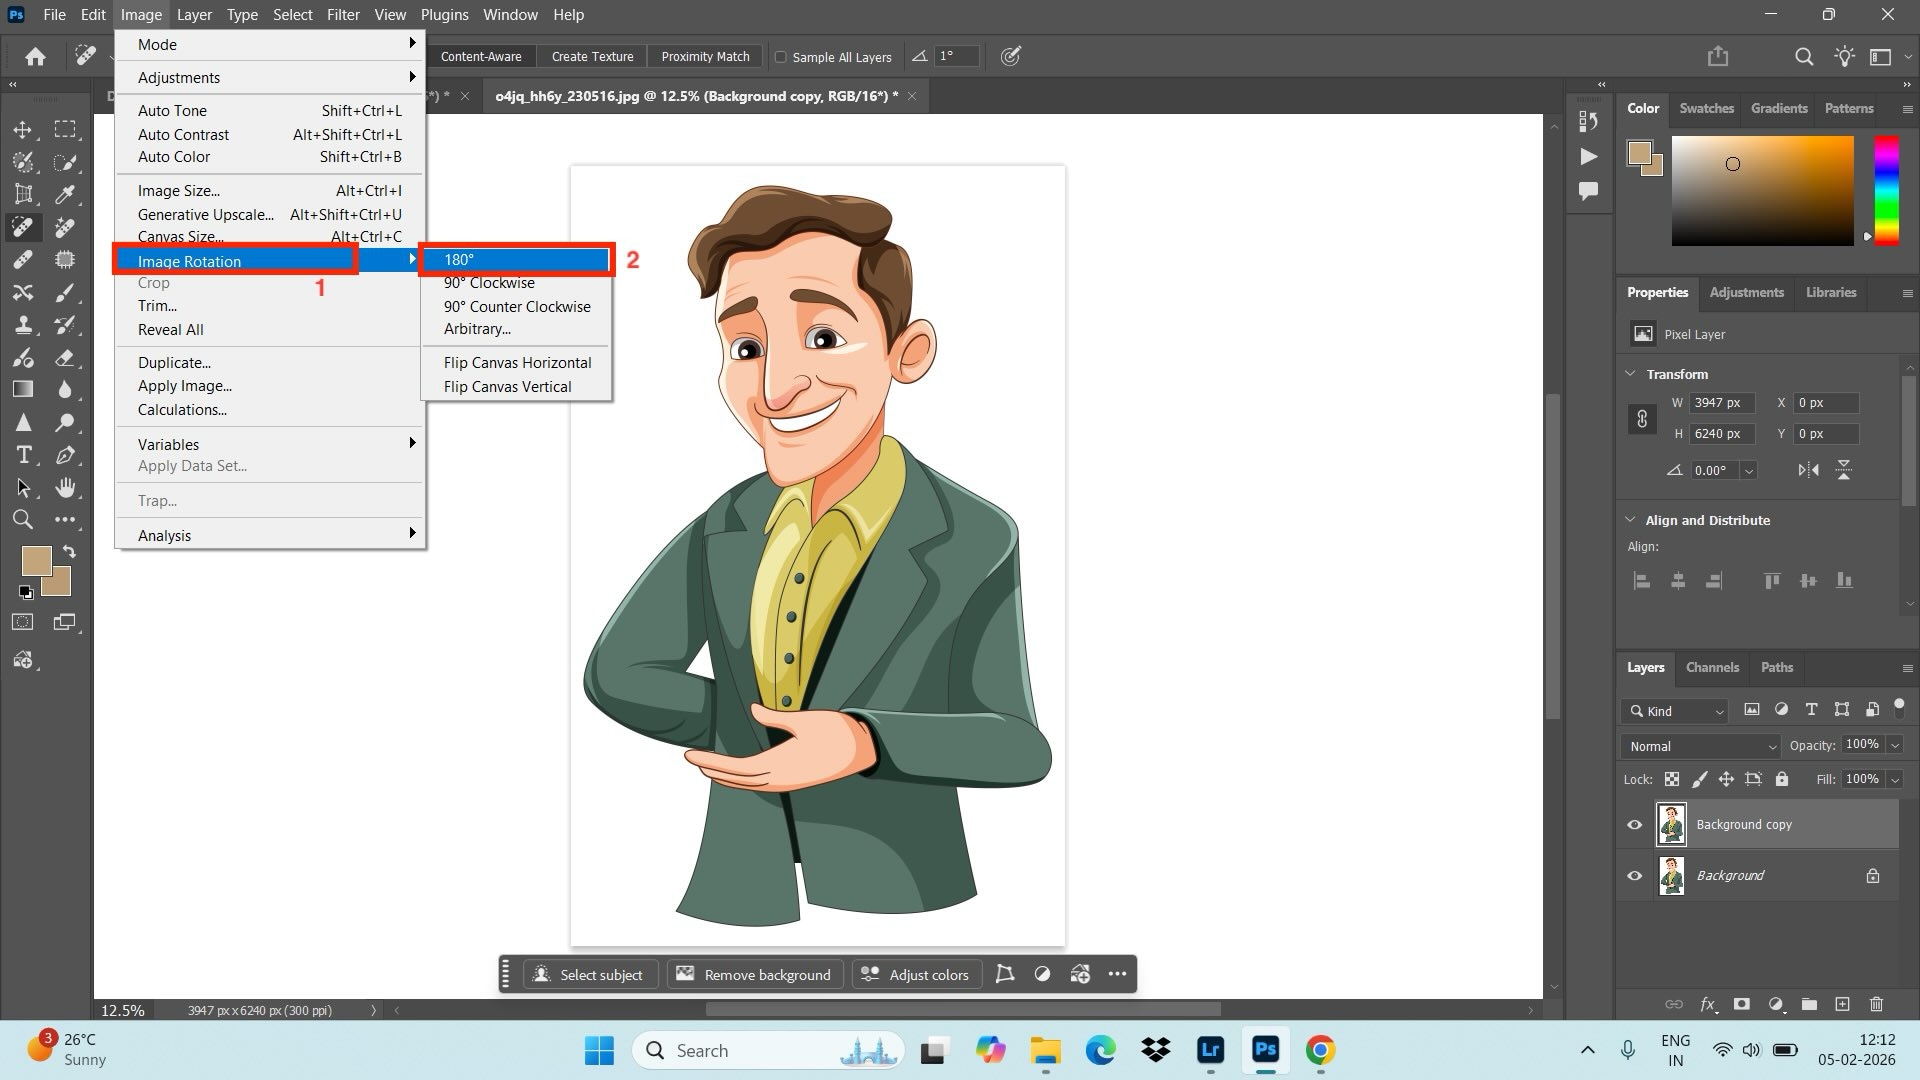
Method 4: Rotate 180° (Full Canvas)
To turn an image upside down, use rotation instead of a flip. It lets you create a new perspective and build symmetrical designs.
Step 1. Choose Image Rotation
Go to Image > Image Rotation and select 180° to flip the entire document.
Part 3. How to Flip an Image Using UniConverter as an Alternative to Photoshop?

Wondershare UniConverter Image Editor is a great choice for those who want to edit images and media without dealing with complicated tools or steep learning curves. You can crop, resize, rotate, enhance image quality with AI, remove backgrounds or watermarks, and edit multiple photos at once. If you’re searching for how to flip photos in Photoshop, UniConverter offers a much simpler way to do the same task, saving time while still delivering clean, professional-looking results.
Key Features
- With the AI old photo restoration tool, you can refresh your memories by repairing old and damaged images. UniConverter is suitable for high-resolution photos, as it does not compress or degrade the image quality while editing or processing.
- Uniconverter supports multiple image formats like JPG, PNG, BMP, TIFF, SVG, WebM, and others, thereby ensuring compatibility across devices.
- With the built-in rotation control options, you can rotate images by 90° or 180°, along with flipping an image.
- You can preview the edited image before saving to ensure accuracy and correctness.
- The built-in AI watermark remover helps you remove logos or other marketing on the image without compromising quality.
- The online image converter lets you convert images to different formats as per your device compatibility.
How to Use Wondershare UniConverter to Flip an Image?
Follow the step-by-step guide below to flip an image using Wondershare UniConverter:
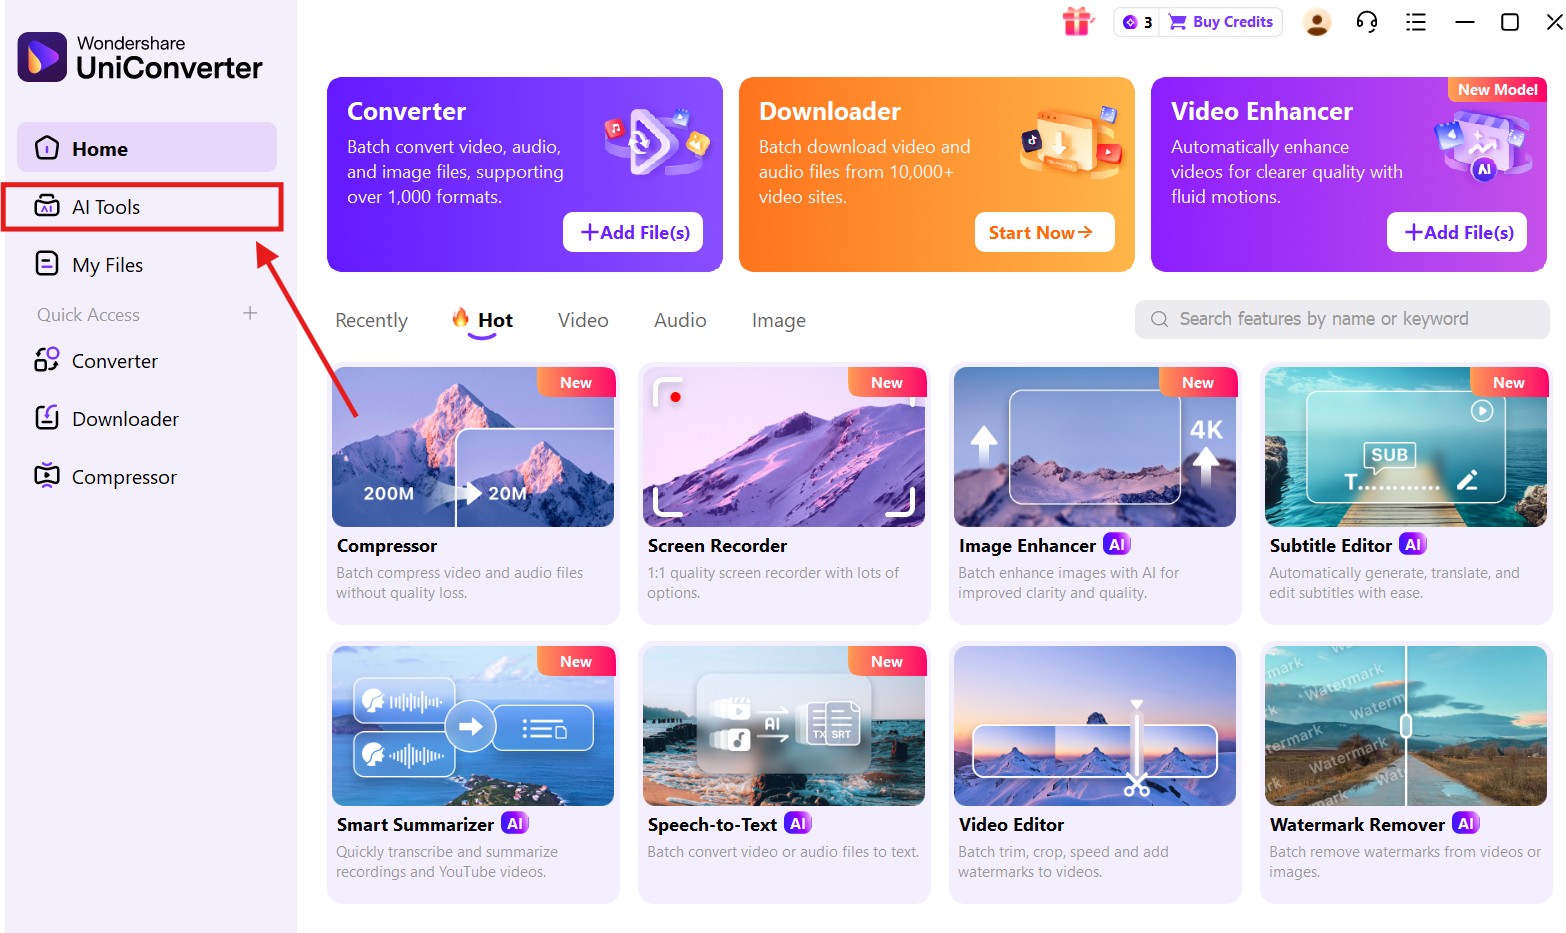
Step 1. Choose AI Tools
Click on “AI tools” in the left-hand menu.
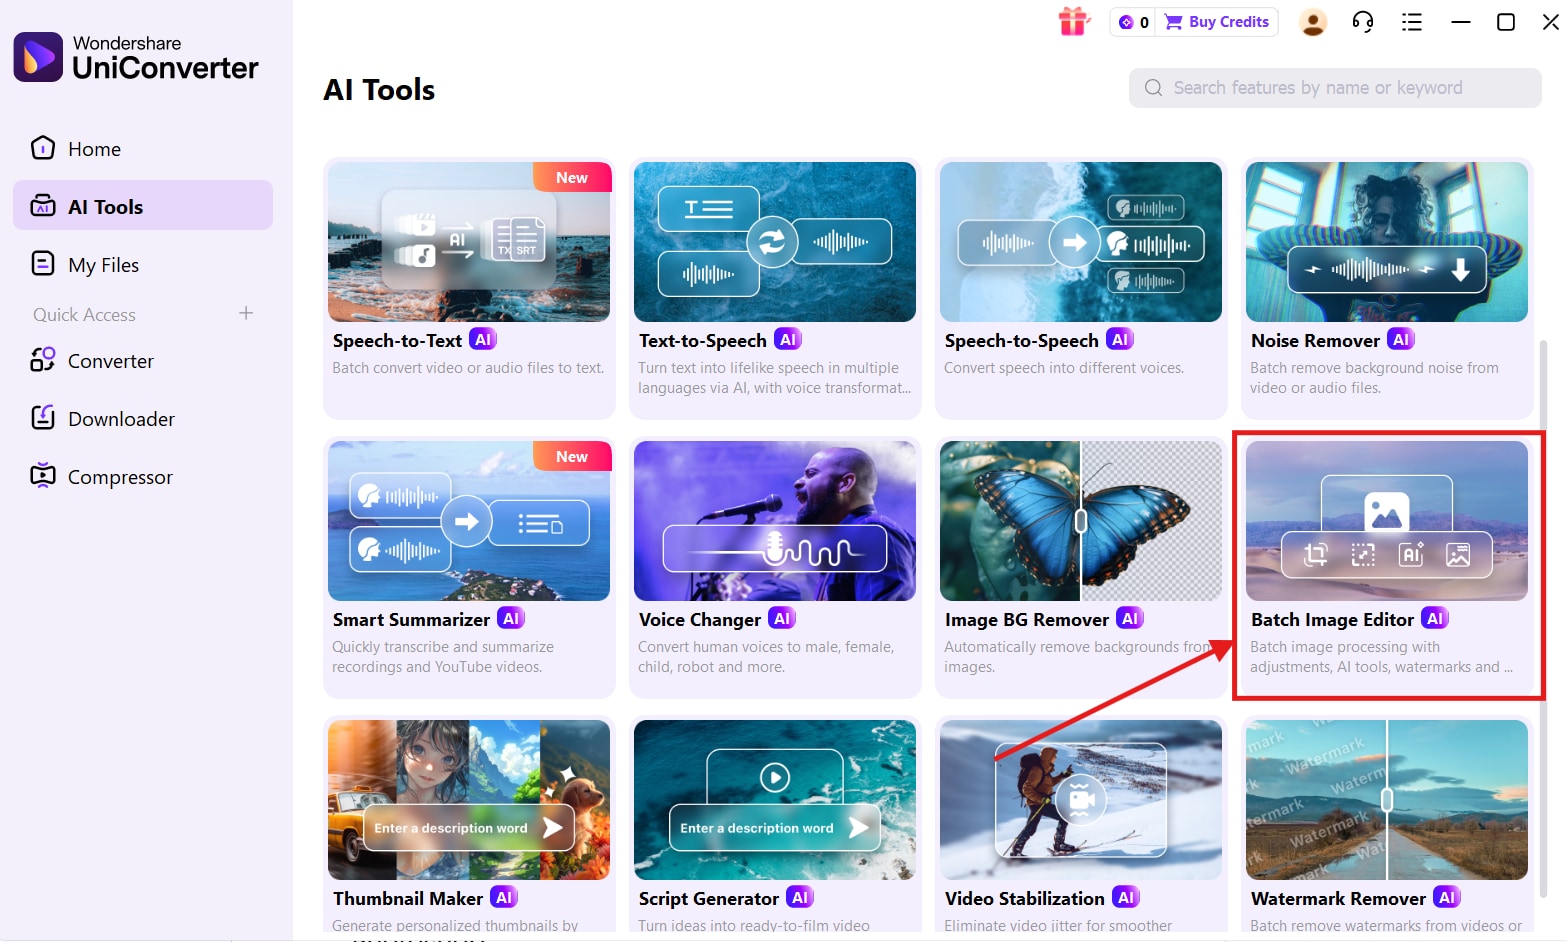
Step 2. Choose Batch Image Editor
Scroll down and click on the “Batch Image Editor” option.
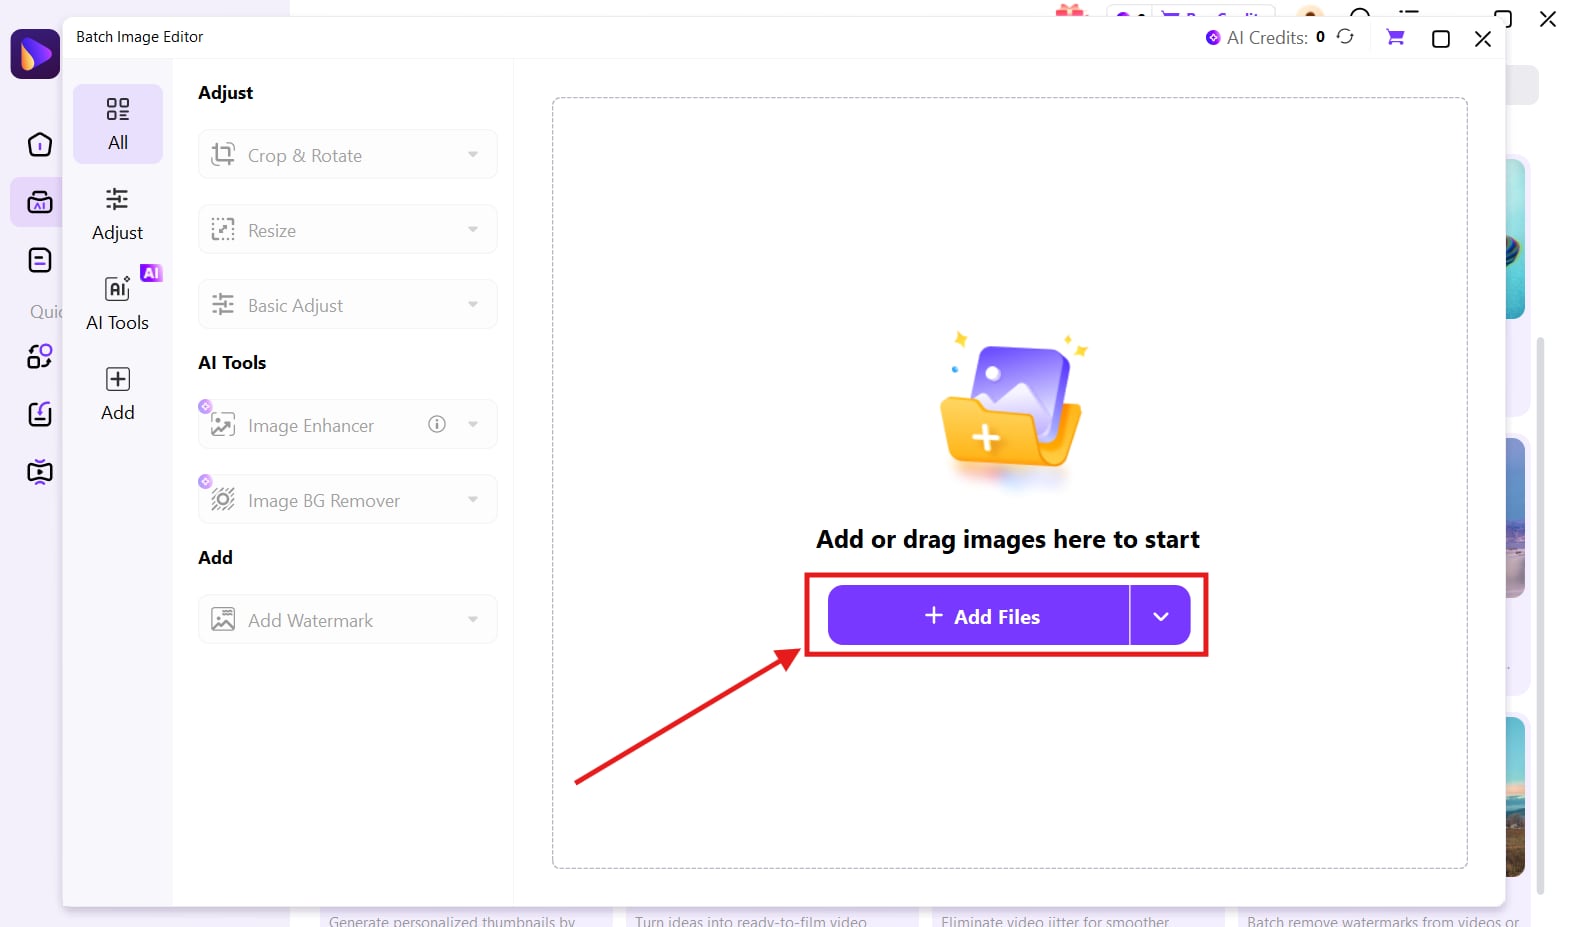
Step 3. Add File
Click “Add File” and upload the image you want to edit.
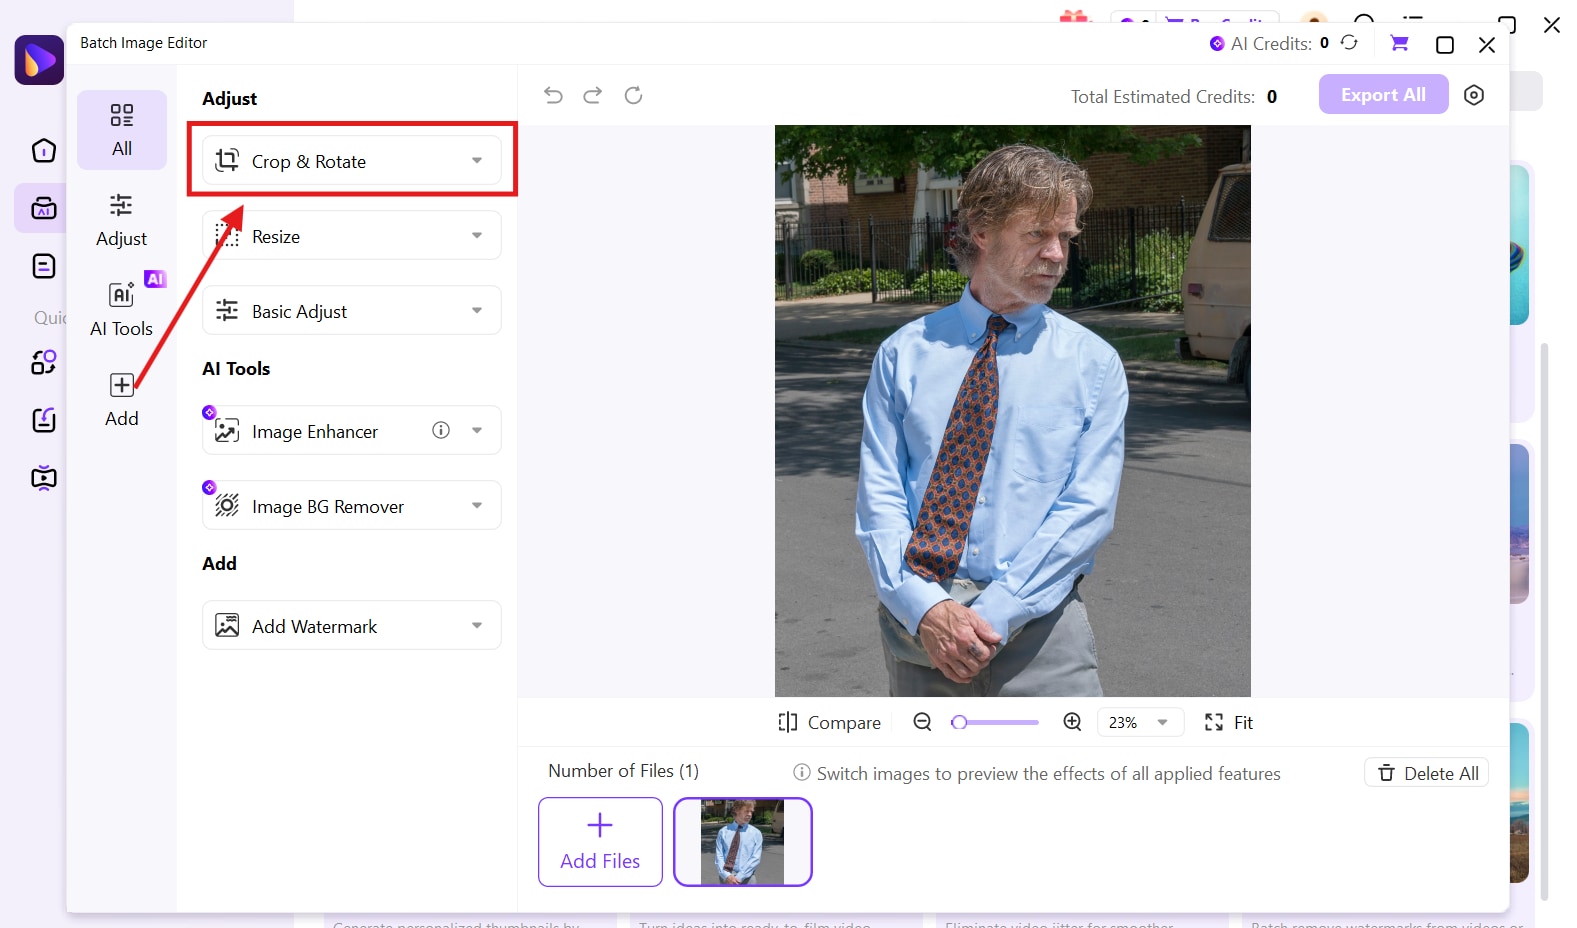
Step 4. Crop & Rotate
Click on the “Crop & Rotate” drop-down option.
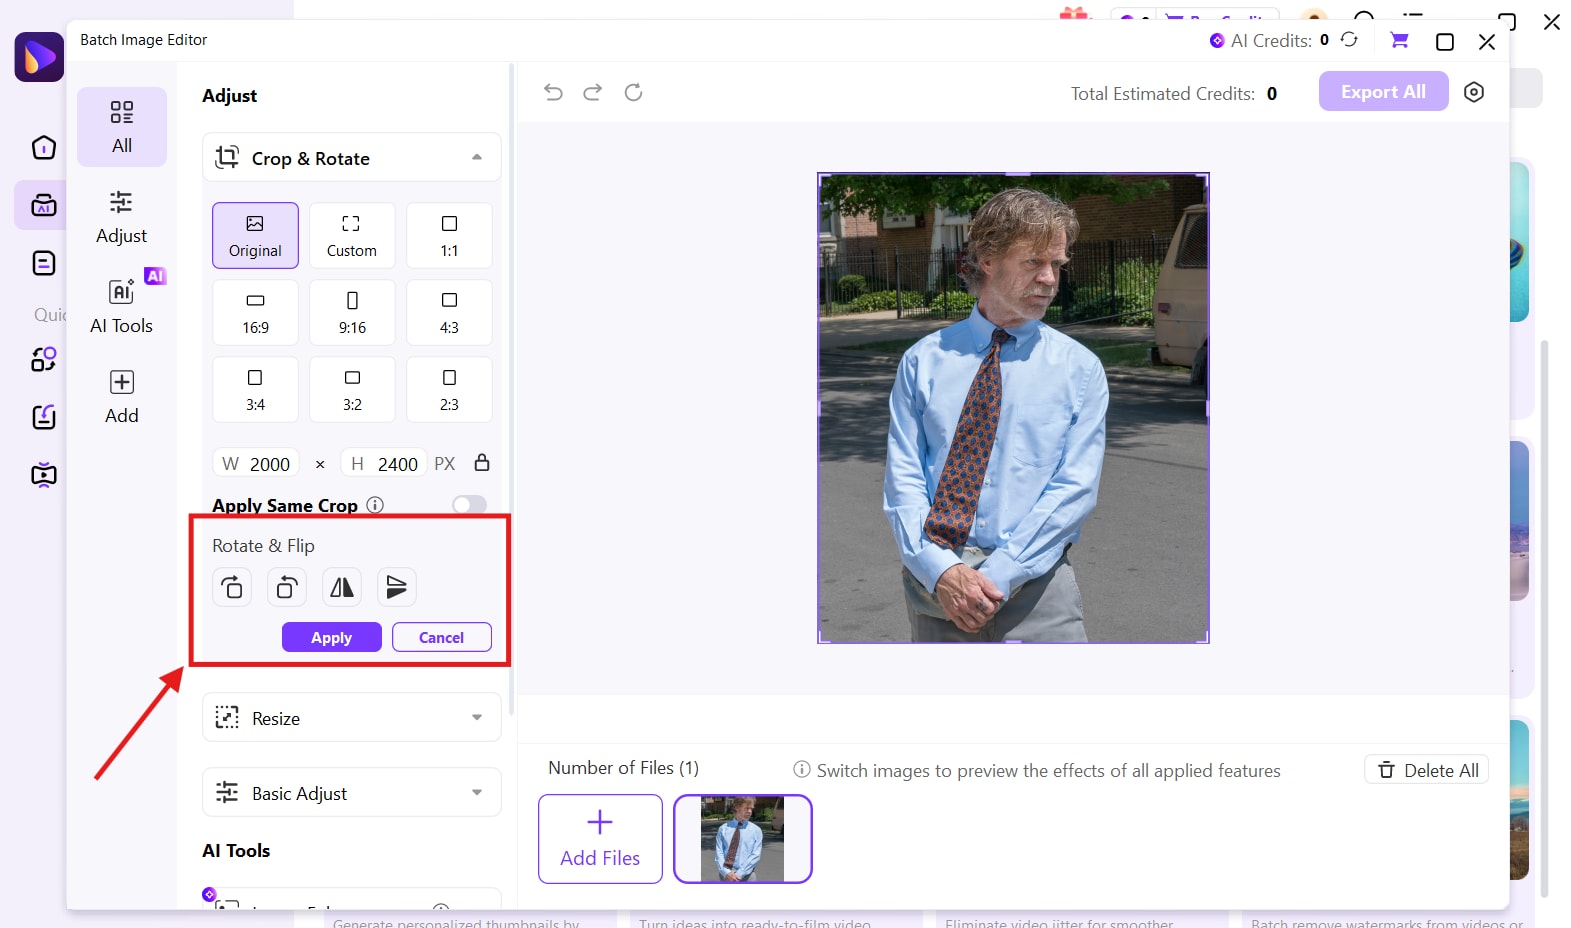
Step 5. Flip or Rotate the Image
You can click on the different tools to flip or rotate the image as per your requirements.
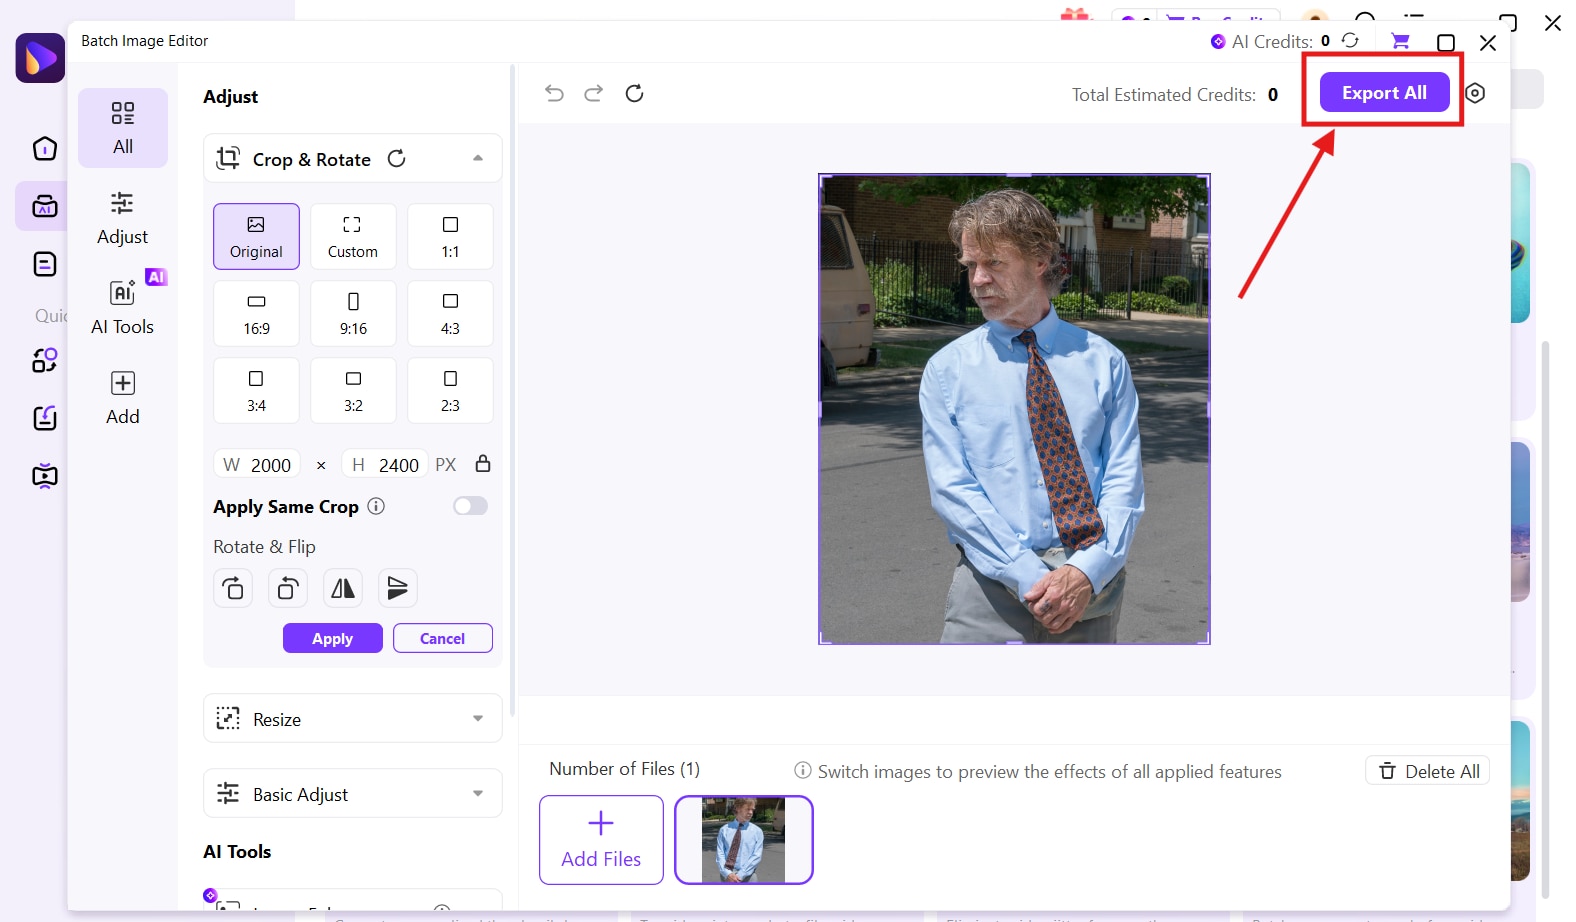
Step 6. Export Images
Click on the “Export All” button to save the edited image to your device.

Simple & Flexible Image Flipping Tool — No Photoshop Needed
Part 4. Common Mistakes to Avoid When Flipping Images in Photoshop
Flipping an image in Photoshop can result in distorted visuals, flipped text, or unexpected layer issues if you make mistakes in any of the steps. Below you will find the most common mistakes and the ways to avoid them.
Flipping the Entire Canvas Instead of a Single Layer
This happens when you use the “Flip Canvas Horizontal/Vertical” option. This mirrors the entire image, including background, text, and other layers.
How to Avoid it
To flip one object, select the layer and click on Edit → Transform → Flip Horizontal/Vertical.
Forgetting to Unlock the Layer
Photoshop will not let you flip a locked layer. If the object you want to flip is in a locked layer, you may assume that the tool is not working.
How to Avoid It
Unlock the layer and convert the background into a normal layer. Then, proceed with the image-flipping steps.
Quality Loss After Multiple Transforms
If the image is in a JPEG format, the quality may be compromised after multiple flips, rotations, and scaling layers.
How to Avoid It
You should convert the layer to a smart object before performing edit actions. This will preserve the original data and prevent quality loss during transformations.
Confusions between Flip vs. Rotate
You may end up flipping the image when you actually want to rotate the image by 90° or 180°, resulting in incorrect orientation.
How to Avoid It
Use rotate to change orientation and flip to apply a mirror effect.
Conclusion
Learning how to flip an image in Photoshop becomes much easier when you choose the right method for your editing needs. Photoshop offers flexible options to flip the entire canvas, adjust individual layers, or use quick transform shortcuts while preserving image quality.
However, if you want a faster, more beginner-friendly solution with batch editing support, Wondershare UniConverter is a great alternative. Try Wondershare UniConverter today to flip images effortlessly and get professional results in minutes.
FAQs
-
1. Does flipping an image in Photoshop affect the original file?
No. Photoshop edits can be non-destructive if you save the flipped version as a new file or work within layers without overwriting the original PSD. -
2. Is there a way to flip multiple layers at once in Photoshop?
Yes. You can select multiple layers, group them, and then apply the flip transformation to the entire group at once. -
3. How do I flip an image in Photoshop while keeping shadows and lighting realistic?
After flipping, you may need to manually adjust shadows, highlights, and gradients to maintain a natural look, especially for product photos or portraits. -
4. Will flipping an image change its EXIF or orientation metadata?
No. Flipping changes the pixel orientation of the image but does not automatically update EXIF orientation metadata. This can be important when exporting for web or print. -
5. Why does my flipped image look different when exported for the web?
Differences may occur due to color profile conversions or export settings. Always review options like “Export As” or “Save for Web” to ensure consistent output.

