People prefer raw images and videos as they speak volumes. However, in this professional era, edited videos count the most. Creative professionals use different software to trim the video and get rid of unnecessary parts. To crop video Mac, selecting the right crop tool for Mac is the smartest choice you would make. The article gives a tutorial on how to crop a video on Mac and introduces top video editors for Mac to crop videos.
Part 1. How to crop a video on Mac easily?
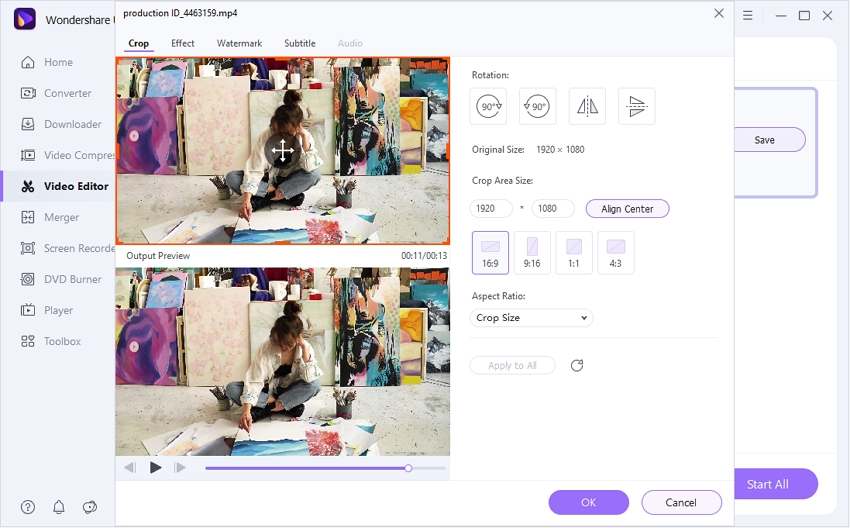
Before getting into how to crop a video on Mac, getting hands-on the best crop tool for Mac is mandatory. Wondershare UniConverter is a comprehensive solution that allows users to compress, convert, record screens, merge videos, and play videos like a pro. The software presents an intuitive user interface, and no background technical knowledge is required to use it.
Being compatible with Mac and Windows, UniConverter is the perfect tool to carry out the trimming function. You can delete the unnecessary parts of a video from the beginning or end to add a professional vibe to the video.
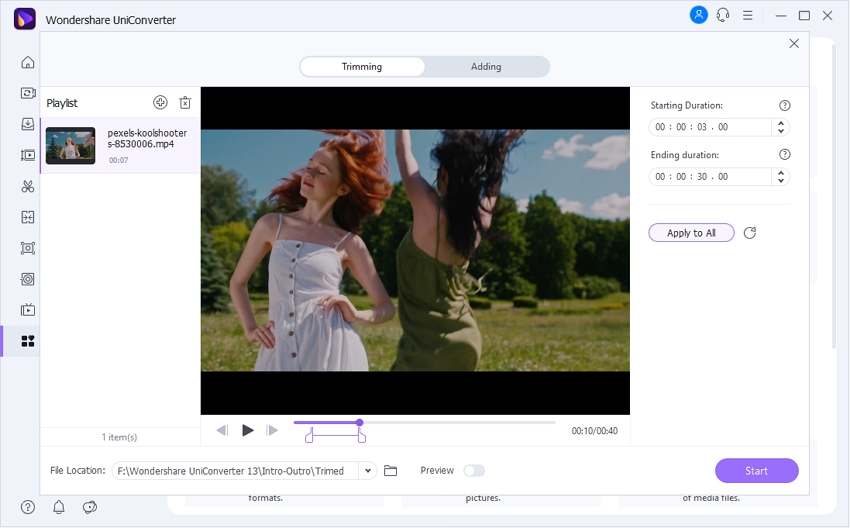
Aside from basic functions, UniConverter provides Al-powered features that we never knew would be important. For instance, you can automatically trim a video with the "Smart Trimmer" feature.
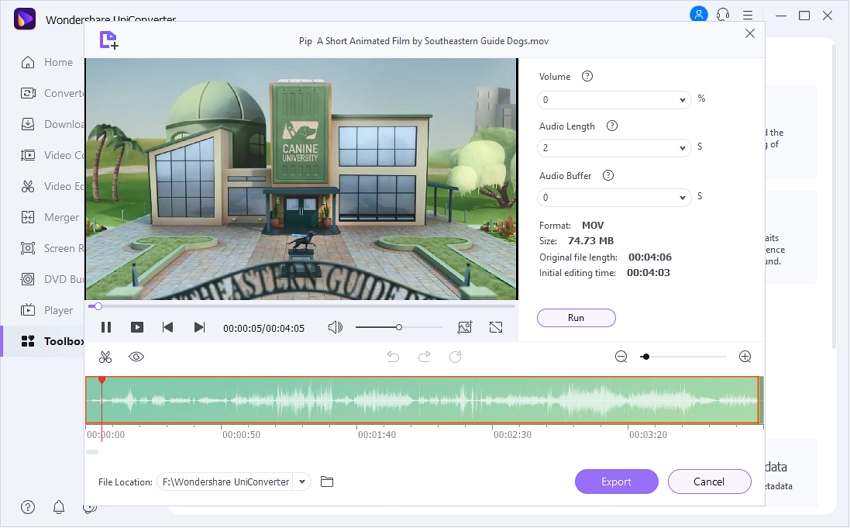
Additionally, the “Auto Reframe” plays a vital role in identifying the movement of the frame while keeping the real subject under consideration. It can automatically resize the video for different social media channels.

Follow the steps below to crop a video on Mac through Wondershare UniConverter.
Step 1 Choosing the crop functionality.
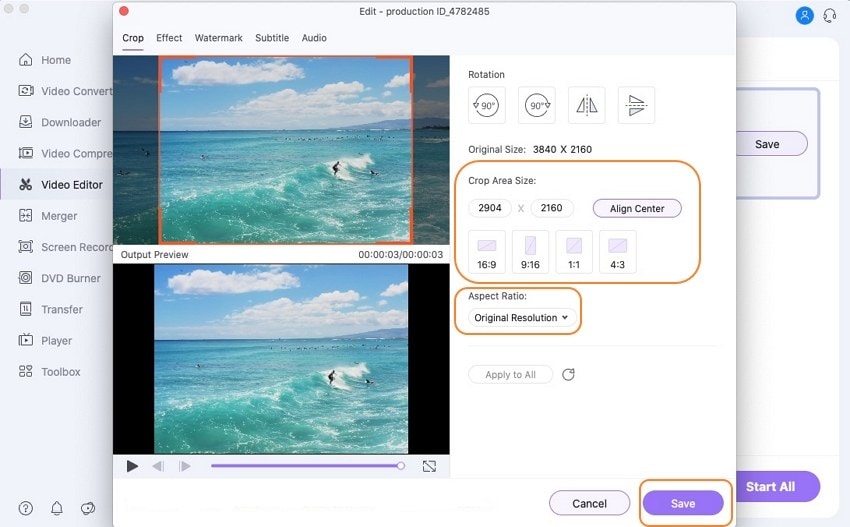
Launch Wondershare UniConverter from your Mac computer. Choose Video Editor from the left panel. Multiple tools appear on the interface. Pick Crop from there. Browse the targeted video from your system.
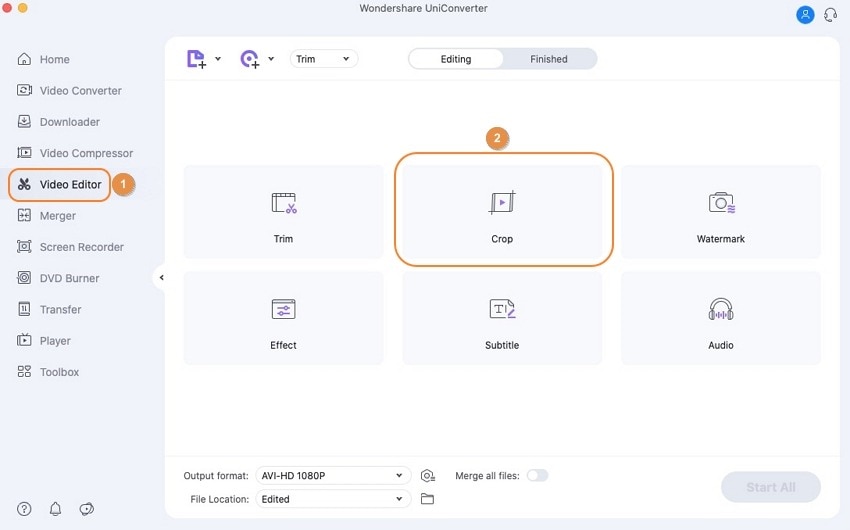
Step 2 Changing the settings.
Now, change the aspect ratio and crop area size of the video. Moreover, you can also use the orange-colored boundaries to adjust the size manually. The output preview displays the result. Tap Save afterward.
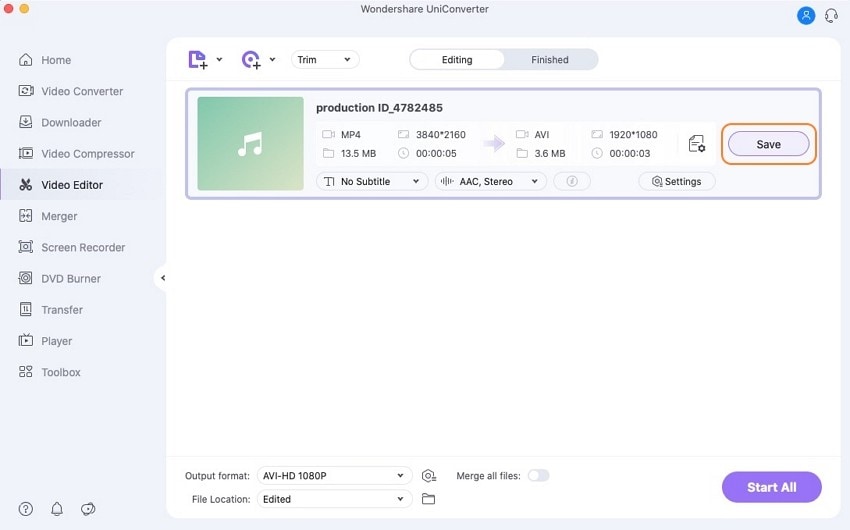
Step 3 Saving the video.
Save the video to your system.
Wondershare UniConverter — All-in-one Video Toolbox for Windows and Mac.
Crop or trim your video files on Mac without any hassle.
Support more than 1,000 video and audio formats.
Compress your video or audio files without quality loss.
Add dynamic watermark to your video or remove any watermark from your video easily.
AI-powered features such as Smart Trimmer, AI Portrait, Background Remover take your video to the next level.
Save any online video from more than 10,000 platforms and sites.
Part 2. Another 5 crop tools for Mac to crop videos recommended
There is an extensive range of crop tools for Mac bringing innovation to the market. The decision gets harder when every application is offering the best. However, weighing down the pros and cons of each crop tool helps in making the smart choice. The subsection shall reflect upon five crop tools for Mac with their advantages and disadvantages.
1.iMovie
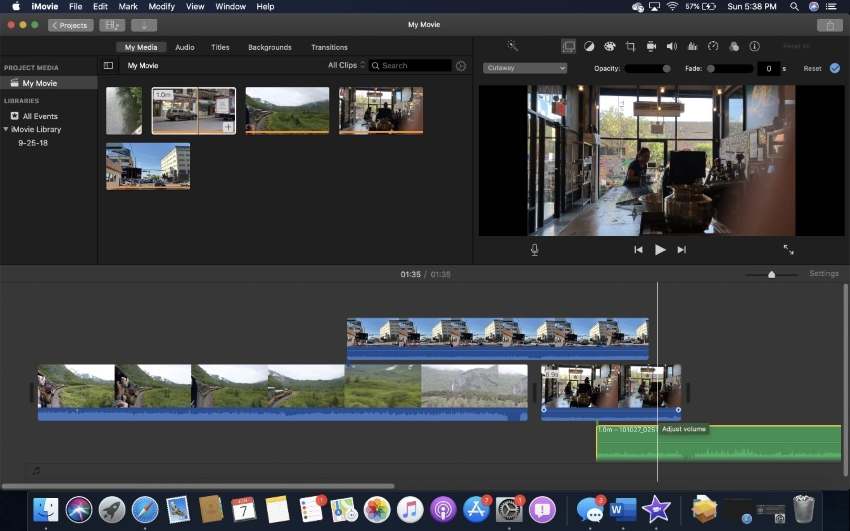
iMovie is an in-built cropping tool in Mac. Turning your videos into movie magic is one of the purposes of iMovie. It is an entry-level tool that makes it workable for beginners. The pros and cons of iMovie include:
Pros
It offers integration with iTunes and iPhoto.
There are numerous templates to choose from.
As a user-friendly tool, any beginner can access it to give a professional vibe to the video.
It has an organized layout design that enhances productivity and efficiency.
Cons
The tool gets fussy when importing formats.
It has limited workability for advanced users.
2.QuickTime
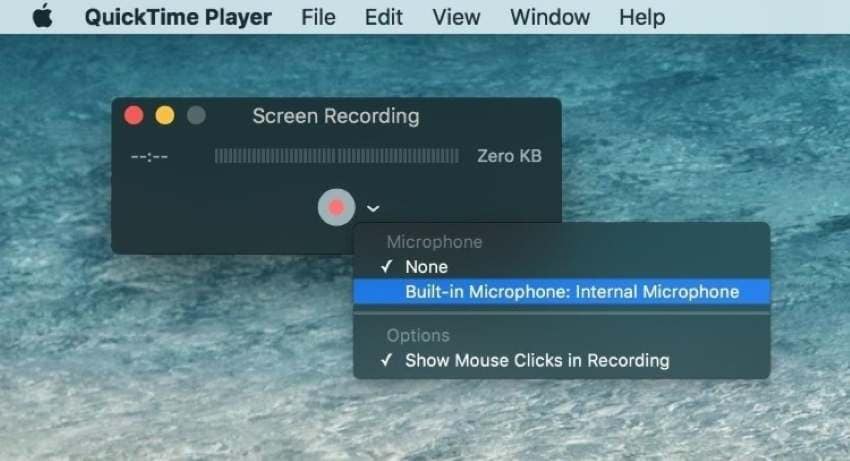
The next crop tool for Mac is QuickTime Player that takes full responsibility for editing your video and giving it a unique outlook. With a smooth user interface, QuickTime provides the following benefits.
Pros
It is free that enhances its usage among Mac lovers.
The tool presents additional features to manage and create playlists.
One can count on QuickTime to customize the movie-watching experience.
It is in-built in Mac which is why no additional software has to be downloaded.
Cons
QuickTime has compatibility issues.
Mac users face trouble playing videos of different formats.
3.VLC
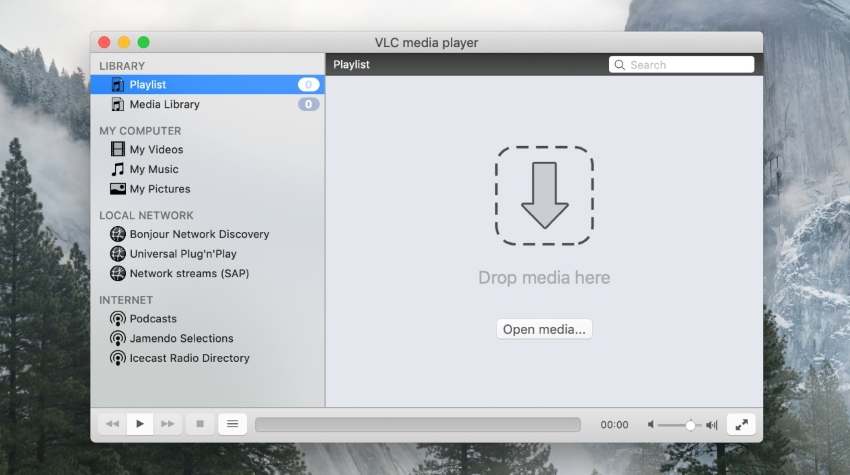
The king of the lot, allow me to introduce you to VLC Media Player. Compatible with macOS, Windows, and Linux, VLC is the true game-changer for you. It is a free, open-source, and lightweight platform that makes cropping the video effortless. It has hardware decoding on most platforms. The pros and cons are as under:
Pros
You can adjust playback speeds and perform subtitle synchronization effectively.
VLC supports a wide range of formats.
There are no annoying ads to slow down the process.
VLC is fast with a built-in podcast manager.
Cons
It doesn’t offer a good battery life.
The editing of metadata is complicated.
4.VideoProc Converter
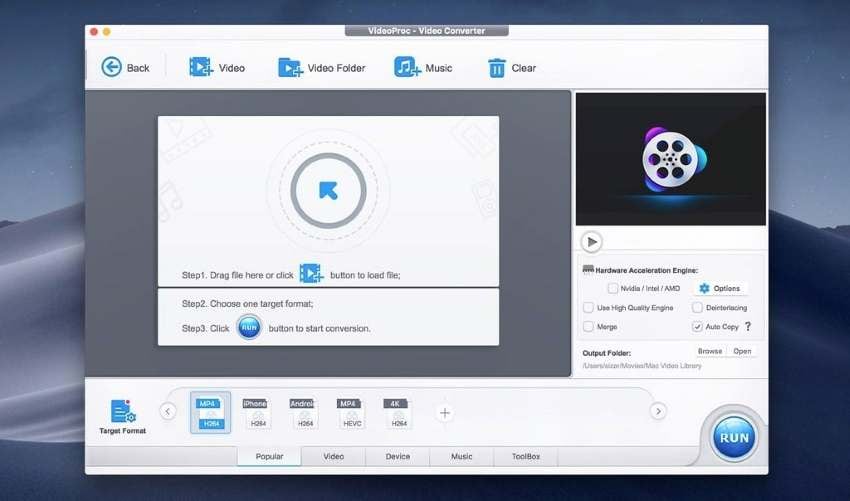
VideoProc Converter is the next best way to crop video, Mac. The editing features have brought a revolution to the market. You are free to cut, crop, merge and add effects whenever you have to. You can also stabilize video, remove noise, and add a watermark as an expert.
We have sketched out some pros and cons for you to make a conscious decision. Let us have a look!
Pros
You can create GIFs using VideoProc Converter.
The user is free to download online videos from more than 1000 audio sites.
The utility tools include cropping, drawing, voice-over, and adding arrows while recording.
The video quality is 4K and 8K.
Cons
It has lag and drop rates during the rendering process.
The navigation from landscape to portrait is complicated.
5.Vidmore Video Converter
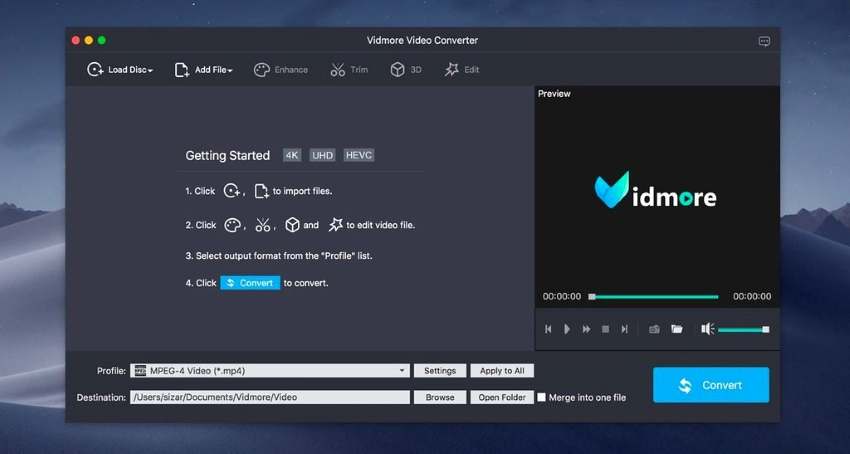
Vidmore Video Converter is your complete video toolbox to deal with multiple problems of daily use. You can convert video from one format to another and convert from any device. The trimming function is one of the most effortless features in this crop tool for Mac.
Following are the advantages and disadvantages of Vidmore Video Converter:
Pros
You can create videos for different platforms.
The various templates enhance the user’s experience.
Video and photo collages can be made in a series of easy steps.
The speed is fast, making it usable in high operating workplaces.
Cons
It doesn’t have Android and iOS versions.
The drag and drop process of video is hard.
Part 3. FAQs about crop videos on Mac
How do I crop a video in Mac Photos?
Cropping a video in Mac Photos is easy. For starters, launch the "Photos" app from your Mac and input the targeted video. Hit "Edit," located in the top right corner. From there, click on "Crop" and then use the handlebars to manually drag and crop—tap on "Done" afterward.
What is the best software that can crop and trim videos?
To crop and trim video, Wondershare UniConverter is the best software that exists out there. It presents an effortless user interface that enhances navigation from one tool to another. Any beginner can access UniConverter and bring efficiency to the professional work.
Is there free and easy software that allows me to crop and trim a video?
Wondershare UniConverter is one such free and easy software that accelerates the cropping and trimming functionality process. The users can totally depend on the tool to keep their pockets safe while using advanced features on the go.
How do I trim a video on a Mac?
You can trim a video on Mac using the QuickTime Player. Initially, open the tool and tap “File.” Click on “Open File” afterward and browse the targeted video. Use the top menu to hit “Edit.” From the dropdown menu that appears, choose “Trim.” After that, the user is expected to drag the handles and trim the video as required. Hit "Trim" located on the right side and save it from the "File" menu.
Bottom line
The article offered an overall review on how to crop a video on Mac through Wondershare UniConverter. Moreover, the five crop tools for Mac were also the crux of the article. The users are expected to make the right call by keeping in view the pros and cons of multiple cropping tools in the business.


