All Topic
- YouTube Tips
-
- AI Tools Tips
-
- AI Photo Enhancer Tips
- Voice Changer Tips
- AI Thumbnail Maker Tips
- AI Script Generator Tips
- Smart Summarizer
- AI Subtitle Generator Tips
- Watermark Remover
- Vocal Remover Tips
- Speech to Text Tips
- AI Video Tips
- AI Image Tips
- AI Subtitle Translator Tips
- Video Extractor Tips
- Text to Speech Tips
- AI Video Enhancer Tips
- DVD Users
- Social Media Users
- Camera Users
- Photography
- Creative Design
- Movie Users
- Travelling Fans
- Educational Users
- More Solutions
- Holidays and Commemoration
- Game Lovers
- Other Tips
How to Screencast on iPhone Easily
by Christine Smith • 2026-01-21 19:01:11 • Proven solutions
Although taking a screenshot on iPhone is super-easy, you may need a little help to screencast iPhone. Screencasting iPhone is all about taking a video recording of the screen activity. So, this article will introduce you to several methods on how to screencast on iPhone with high-quality. You’ll also learn how to edit your iPhone screencast to make it more attractive to watch. Keep reading!
- Part 1. Complete User Guide for Recording a Video Screencast from an iPhone
- Part 2. Top 5 Apps on How to Screencast on iPhone
- Part 3. Bonus Tips for Editing Recorded iPhone Video with Wondershare UniConverter
Part 1. Complete User Guide for Recording a Video Screencast from an iPhone
With the iPhone’s Screen Recording feature, you can quickly and easily capture the screen alongside voice narrations. You don’t even require a third-party app because everything comes pre-installed on your phone. Below is how screencast from iPhone:
Step 1. Open the Settings app, tap Control Center, then click More Controls. After that, click the Add (+) button beside Screen Recording.
Step 2. Leave the Control Center, then open the app you wish to record.
Step 3. Again, open the Control Center, then tap and hold the grey Record function. Here, you can also enable/disable audio recording by clicking the Microphone icon. Plus, you can change the folder path.
Step 4. Lastly, click the Screen Recording option, then wait for the 3-second countdown to finish to start recording.
Step 5. If you’ve captured enough content, open Control Center, and then click the red Record button to finish recording. It’s this simple!
Part 2. Top 5 Apps on How to Screencast on iPhone
If the inbuilt screen capture tool doesn’t impress you, maybe you should try one of these third-party iPhone and iPad apps.
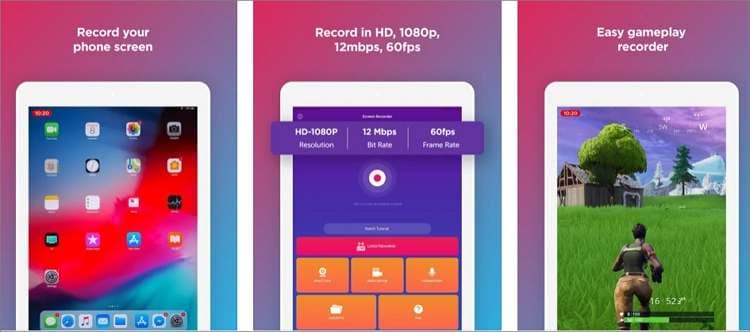
1. Screen Recorder – Record Game
Screen Recorder – Record Game is a simple iOS screen capture tool that will screencast your iPhone with a few taps. This free app is perfect for recording games, videos, phone settings, and any other iPhone activity. Interestingly, it features an intuitive video editor for trimming videos, adding filters, applying texts, and so much more. Best of all, users can directly export the recorded video to YouTube, Instagram, Facebook, Twitch, and more.
Pros:
- Easy to use.
- It features an inbuilt video editor.
Cons:
- Video editor lacks essential functions.

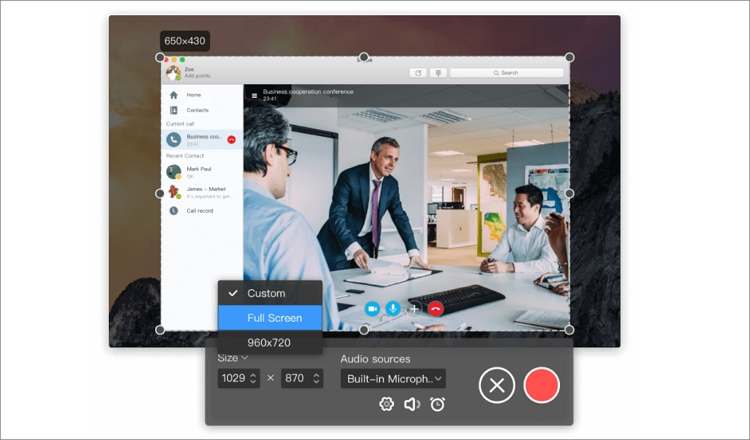
2. Record it Pro – Screen Recorder
Here is another top-class iPhone screen capture software that delivers excellent HD videos. Unlike most third-party apps, it lets you record videos in partial or full-screen modes. Users can also record a screencast along with the system audio and voice narrations. Meanwhile, you can set a recording duration and export the video to GIF or MP4. Furthermore, this app records videos in 4K, 1080p, and 720p quality.
Pros:
- Records excellent HD-quality videos.
- It includes a GIF maker.
Cons:
- No video editing function.

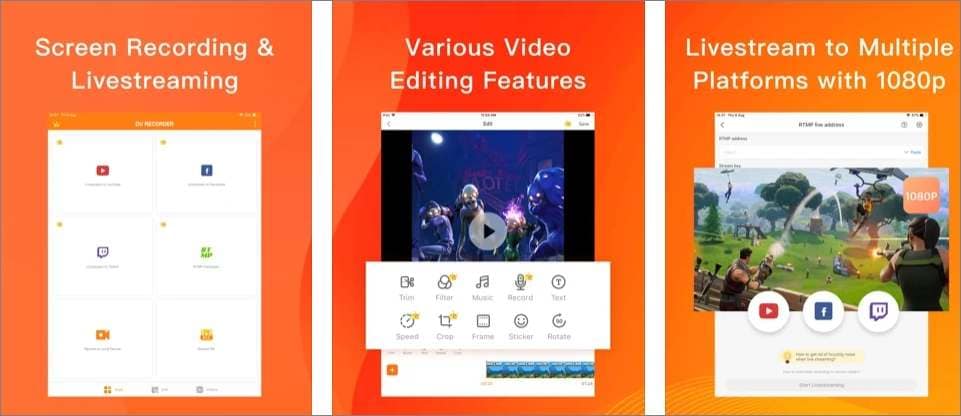
3. DU Recorder – Screen Recorder
If you want an app that can Livestream your iPhone to multiple social media platforms, here it is. With DU Recorder, you can Livestream to Facebook, Twitch, or YouTube. But that’s not all because this app also comes with multiple video editing functions. Users can trim, rotate, crop, add voice narrations, apply filters, and more. Even better, you can record the system audio and microphone concurrently.
Pros:
- Powerful video editing features.
- Livestream your iPhone to multiple platforms.
Cons:
- Clumsy live streaming feature.

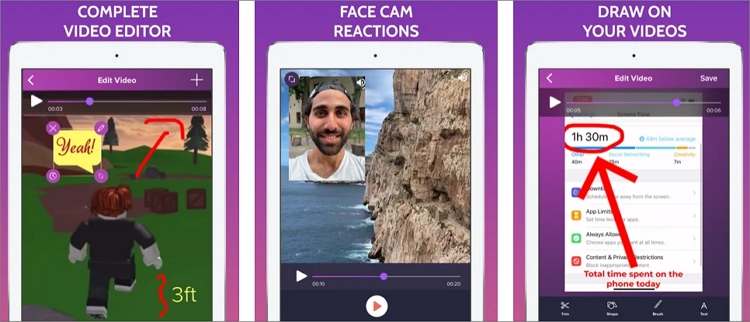
4. Screen Recorder Pro
What sets Screen Recorder Pro apart from the rest is its ability to record the iPhone screen activity alongside a Facecam or Picture-in-Picture effect. This is an important feature that you should always look for when selecting a screen capture software. Surprisingly, this iPhone app lets you add annotations like drawings and texts while recording. What’s more, you can edit the video by rotating, trimming, adding texts, etc.
Pros:
- Supports adding annotations.
- Records the screen with a PIP effect.
Cons:
- An expensive subscription plan.

5. Full Screen Video Recorder
Lastly, use this app to create the perfect video demos and app tutorials for your online friends. With just a single tap, you can capture the entire iPhone or iPad screen and add commentary using the microphone. As expected, it features an excellent video editor for cropping, trimming, applying filters, adjusting brightness, etc. Further, users can directly save videos to camera roll and share via email or AirDrop.
Pros:
- Intuitive video editor.
- Saves videos directly to the camera roll.
Cons:
- It lacks basic editing tools.

Part 3. Bonus Tips for Editing Recorded iPhone Video with Wondershare UniConverter
As you can see, the inbuilt iPhone screen capture tool doesn’t feature video editing capabilities. The same is true for most third-party apps listed above. Therefore, transfer the recorded iPhone video to your computer, then use Wondershare UniConverter to edit it professionally. With this software, you can retouch the video by cutting, rearranging, cropping, rotating, adding subtitles, applying watermarks, and more. In addition to that, you can convert the video to all standard video and audio formats. Oh, lest I forget, it features a powerful computer screen recorder as well.
Wondershare UniConverter – Best iPhone Video Editor
Wondershare UniConverter - Best Video Converter for Mac/Windows
-
Convert the recorded iPhone video to MP4, MOV, VOB, MP3, M4A, and other video and audio formats.
-
Edit videos by cropping, rotating, cutting, adding watermarks, applying subtitles, etc.
-
It supports device-optimized file conversions like iPhone X, iPhone XS, HTC One, Samsung Note, etc.
-
Downloads videos from 10000+ video-sharing websites.
-
It features an excellent computer screen recorder for capturing videos with annotations, PIP effects, and voice overlays.
-
Best iPhone screencast editor for macOS 10.9+ & Win 10/8/7.
Below are the steps to edit the iPhone screencast using Wondershare Video Editor. But first, use a USB cable to transfer the screencast to your computer.
Step 1Launch the Video Converter tool.
Download, install, and run Wondershare UniConverter on your computer, then click the Video Converter tab. You can now locate your iPhone video, then drag and drop it on the Video Converter window. Alternatively, click the Add Files (+) button to open your local folders and add the iPhone screencast.
![]()
Step 2Edit the video.
You’ll see the Trim, Crop, and Effect icons on your uploaded iPhone video. To remove the video’s unwanted sections, click the Trim icon. After that, drag the handles at the start and endpoints to trim the video. If satisfied, close the window, then click the Crop or Effect icons to rotate, flip, add video effects, apply watermarks, and so on.
![]()
Step 3Convert and save the video.
Open the Output Format menu, then choose an output video format under the Video tab. Suppose you want to enjoy a smooth playback on your iPhone, then select MP4 or MOV. You can also click the Device tab, go to Apple, and then choose the name of your iPhone as the target format. Better still, you can maintain the original file format and click Convert to save your new video.
![]()
Conclusion
That is how to screencast an iPhone without breaking a sweat. But as said, you will need a powerful video editor like Wondershare UniConverter to create top-quality iPhone screencasts. And don’t forget to use this app to record your computer screen as well.
Your complete video toolbox
 Record the computer screen in full-screen mode or select a specific capture area.


Christine Smith
chief Editor