All Topic
- YouTube Tips
-
- AI Tools Tips
-
- AI Photo Enhancer Tips
- Voice Changer Tips
- AI Thumbnail Maker Tips
- AI Script Generator Tips
- Smart Summarizer
- AI Subtitle Generator Tips
- Watermark Remover
- Vocal Remover Tips
- Speech to Text Tips
- AI Video Tips
- AI Image Tips
- AI Subtitle Translator Tips
- Video Extractor Tips
- Text to Speech Tips
- AI Video Enhancer Tips
- DVD Users
- Social Media Users
- Camera Users
- Photography
- Creative Design
- Movie Users
- Travelling Fans
- Educational Users
- More Solutions
- Holidays and Commemoration
- Game Lovers
- Other Tips
8 Recording Annotation Tools for Windows and Mac in 2026
by Christine Smith • 2026-01-21 19:01:09 • Proven solutions
Many people are still searching for the best recording annotation tools for Mac/Win despite the plethora of options online. That’s because most of these apps don’t offer value for their subscription plans. Finding the best screencast tool requires you to dig even deeper, which we all know can be time-consuming. So, to save you time, this list contains eight excellent apps to record computer screens with annotations effortlessly.
1. Wondershare UniConverter
Wondershare UniConverter is undoubtedly the best screen recorder on this list. It’s simple, smooth, and packs excellent screen capture features. First, it supports several recording modes, including full-screen and customized modes. Second, it allows users to apply voice narrations, system audio, and PIP effects using a web camera. Also, users can apply annotations like texts, drawings, shapes, arrows, and lines as they record videos. And lastly, it comes with a robust video editing component to retouch your captured computer screen.
Key features:
Wondershare UniConverter - Best Video Converter for Mac/Windows
-
It supports multiple screen recording modes, including custom and full-screen.
-
Users can capture screens alongside voice narrations, PIP effects, and system sounds.
-
It allows users to apply annotations like shapes, texts, lines, drawings, etc.
-
Users can customize the target format, frame rate, output quality, folder path, etc.
-
It features an excellent video editor for converting, cutting, cropping, adding watermarks, etc.
-
Best recording annotation tool for Mac OS X 10.9+ & Win 10/8/7.
Follow these steps to record annotations on Mac/Win using Wondershare UniConverter:
Step 1Load the Screen Recorder tool.
After installing the software successfully, click the Screen Recorder tab on the left pane. Now proceed to launch the video recording function by clicking the Camcorder icon.
![]()
Step 2Select a screen area to record.
Before going any deeper, launch the app you wish to record first. After that, customize the recording frame to fit a particular area you want to record. Alternatively, choose Custom or Full Screen as the recording format. If you select the Custom mode, enter your desired frame dimensions before clicking the Lock Aspect Ratio checkbox.
![]()
Step 3Configure device preferences and settings.
After selecting the perfect capture area, choose whether to record the video with computer sounds on the System Audio menu. You can also set a voice input device on the Microphone menu and a PIP effect recorder on Webcam.
![]()
Meanwhile, click the Advanced Settings button and select the target format as MP4, AVI, Or FLV. As if that’s not enough, you can also set the output frame rate, quality, and folder path.
![]()
Step 4Start recording a video with annotations.
Is the capture area good enough? You can preview that make some necessary changes. If everything looks okay, click REC to start capturing the video. As said earlier, this tool lets you highlight subjects with colorful drawings, shapes, arrows, texts, and more. To do that, launch the taskbar, then press the Annotation icon. Now wrap up the session by clicking Stop. That’s it!
![]()
2. Wondershare DemoCreator
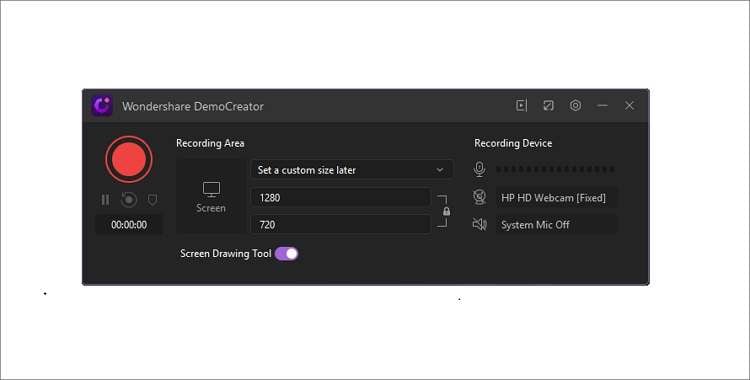
With Wondershare DemoCreator, you can capture the best computer moments and share them with friends and family. Like the UniConverter, it features a clean but slightly advanced UI that pro users would find appealing. It can also record videos with voice narrations, system sounds, and PIP effects. Still, on the similarities, Wondershare DemoCreator lets you include demos using texts, shapes, lines, drawings, etc. Best of all, it comes with an excellent video editor.
Pros:
- Perfect for both Mac and Windows PCs.
- It supports high-quality annotations.
Cons:
- Requires a bit of a learning curve.
3. Camtasia
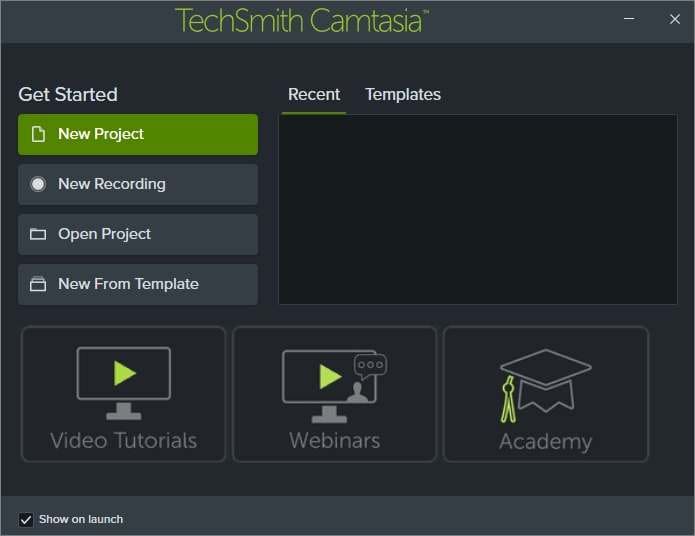
Camtasia is a true testament to TechSmith’s prowess in producing excellent desktop video editing apps. As expected, this all-in-one program lets you record videos and edit them professionally. The app is quick to learn and doesn’t require any fancy video editing skills to get started. As you record videos, you can include PIP effects, voice narrations, system audio, and annotations. Plus, you can import local media files and edit them easily.
Pros:
- Compatible with Mac and Windows PCs.
- Features all essential screen capture tools.
Cons:
- Hefty subscription fee.
4. Bandicam
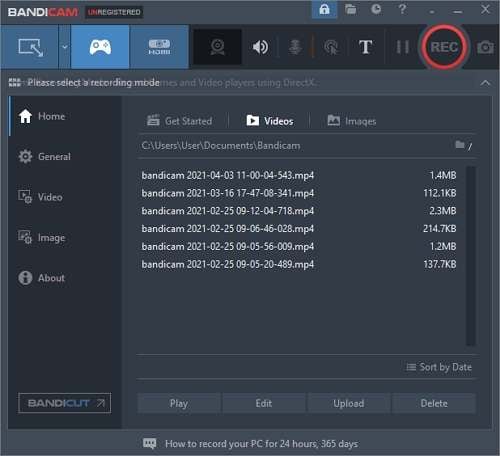
Bandicam is one of the most well-respected names in the computer screen recording scene. With this Windows app, you can capture an award-winning video demo on your PC and share it with friends on YouTube and Vimeo. It supports tens of ready-made screen capture modes and allows you to grab videos with texts, watermarks, drawings, and other annotation features. What’s more, Bandicam records videos up to 480 frames per second, perfect for any desktop action.
Pros:
- It records up to 4K UHD quality.
- 480fps outputs.
Cons:
- It doesn’t feature an inbuilt video editor.
5. Snagit
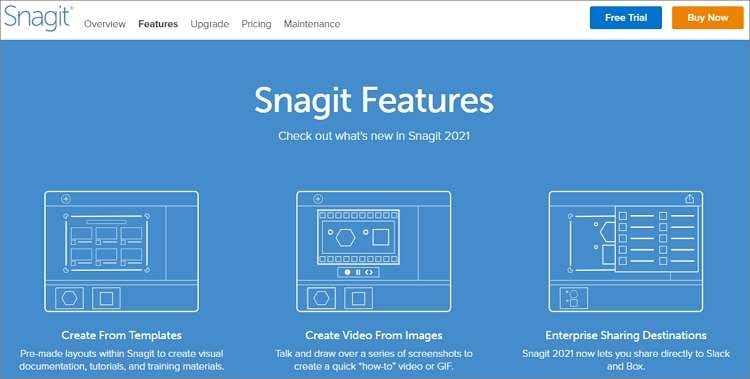
Snagit is another TechSmith all-in-one software for recording and editing videos. This affordable app features a helpful screen recording tool that instantly takes videos and images. But that’s not the main point; this software boasts video editing capabilities that allow you to explain the recording process and apply visuals to documentation. You can do this using texts, custom graphics, shapes, etc.
Pros:
- It captures videos and screenshots.
- It records the system and microphone audio.
Cons:
- It exports videos in MP4 and GIF only.
6. Loom
If you’re still looking for something that gets the job done quickly and effortlessly, choose Loom. Loom is a lightweight desktop app that won’t take you a second to master. Here, you can capture videos of up to 4K quality and take screenshots. While taking videos, you can include voice narrations, system sounds, and a web camera recording. However, free Loom users have a 5-minute recording limit. Even worse, the app doesn’t support annotations.
Pros:
- It offers basic screen recording capabilities.
- It records up to 4K quality.
Cons:
- It doesn’t support adding annotations.

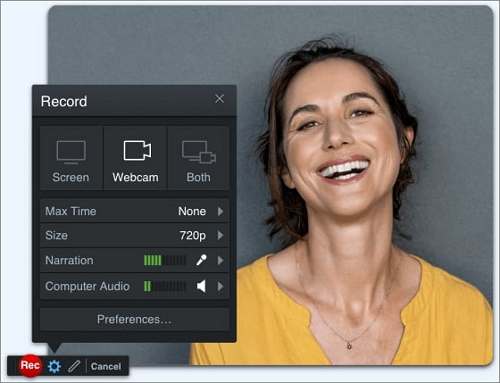
7. Screencast-O-Matic
When it comes to simplicity, Screencast-O-Matic gives Loom a run for its money, albeit with more video recording functionalities. With this Mac/Windows app, you can access all the features to create tutorials, presentations, and screencasts for as little as $1.5/month. That aside, users can add narrations and customize their videos using overlays and animations. Surprisingly, you can Zoom in and out of the screen.
Pros:
- It supports speech-to-text captioning.
- Affordable subscription plans.
Cons:
- No video editing support.
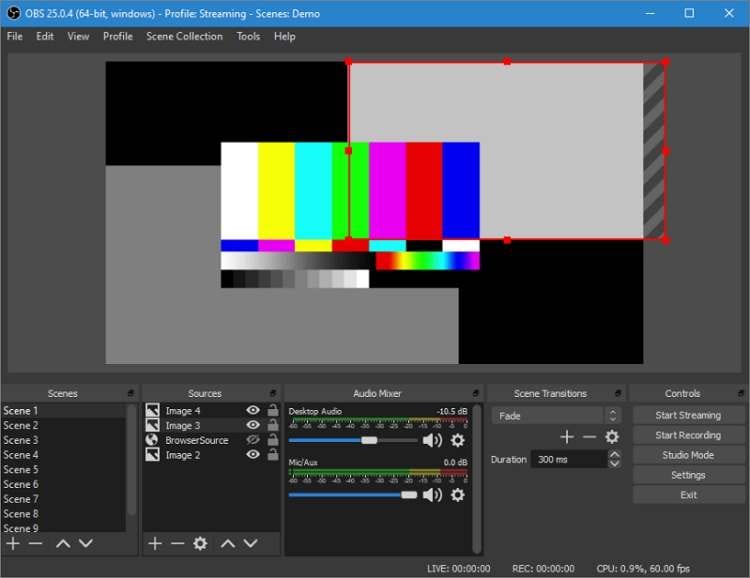
8. OBS Studio
Finally, let’s close the list with one of the best recording annotation tools when it comes to offering free lunch. Here, you’ll enjoy multiple screen recording features that you won’t realize you’re using a free, open-source app. Apart from creating instructional videos, this software is also great for live streaming and uploading videos to Twitch and YouTube accounts. Most importantly, it offers real-time video and audio editing.
Pros:
- HD video game recording.
- It features an intuitive audio mixer.
Cons:
- Not best for beginners.
Conclusion
I hope you’ve already identified the perfect screen capturing tool. Based on the reviews above, choose OBS Studio or Loom if you want something free but with several limitations. But if you’re serious about your business presentations, use Wondershare UniConverter. Thank me later!
Your complete video toolbox
 Record the computer screen in full-screen mode or select a specific capture area.


Christine Smith
chief Editor