

It often feels like chasing the impossible when you need to capture a perfect photograph. There might be issues like the background doesn't match the subject, or a key detail is missing from the scene. Typical photography has its limits, especially when you try to tell a complex story or create a surreal visual experience.
That is why compo image is a powerful technique that blends multiple photos into one seamless composition. Whether you are a digital artist or just someone who wants to elevate your creative edits, it gives you complete control over pixels. Hence, in this guide, we’ll walk you through what photo composition is, the visual effect it can create, and the top tools for this purpose.
In this article
Part 1. What is Photography Compositing?
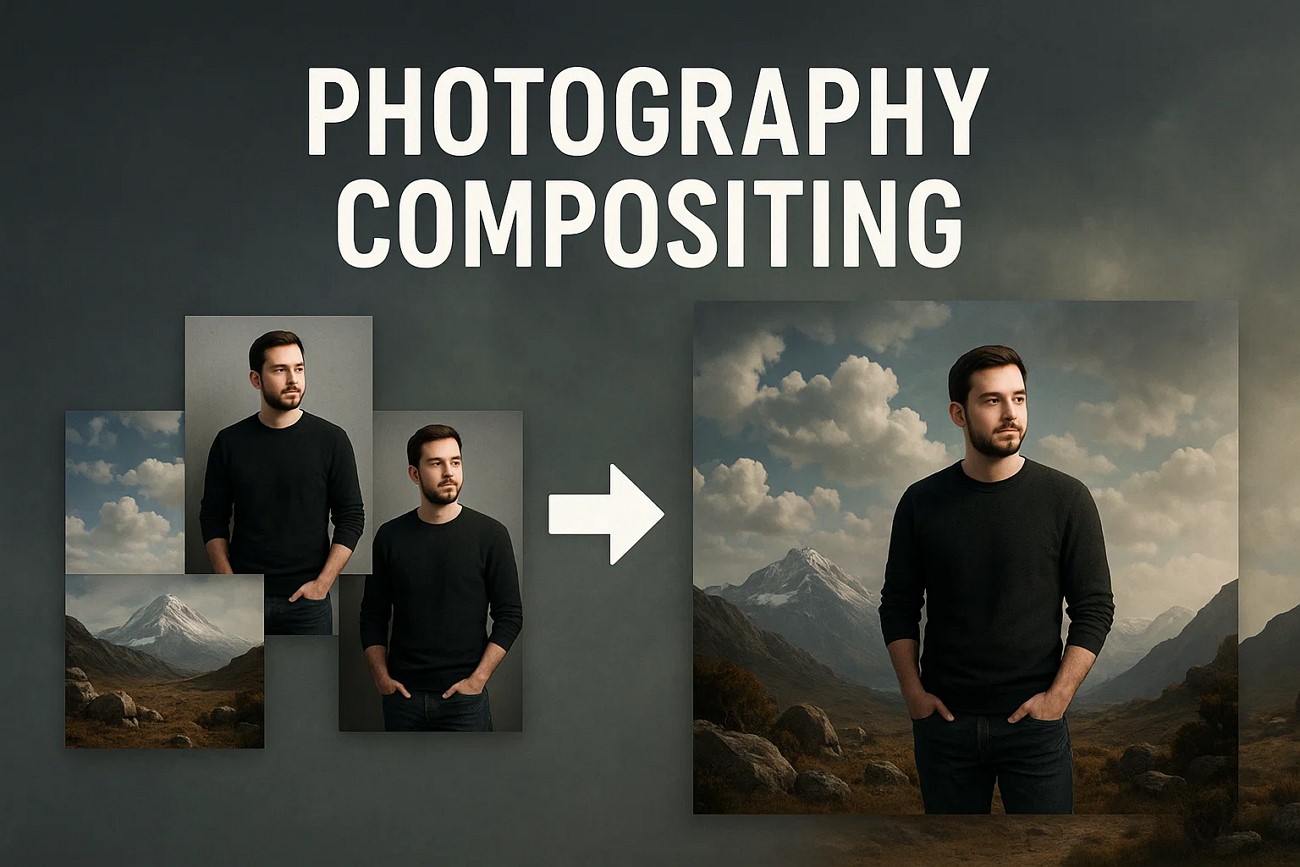
It is often called composite photography, which is the art of combining two or more separate images into one seamless, visually compelling final picture. The goal is to make all the parts appear as if they were shot in the same scene, with just one click. While this can be done in camera, like classic double or multiple exposure, it's now most commonly achieved digitally using various composite editors.

Differences Between Photography Compositing, Collage, and Picture Overlapping
You might be wondering if it's similar to collage or picture overlapping, so the following section will give you a detailed comparison table between the 3 terms:
| Feature | Photography Compositing | Collage | Photomontage / Overlapping |
| Definition | Digitally blend elements from multiple photos into a unified, seamless image | Cutting, gluing, rearranging & overlapping 2+ photos, edges and overlaps visible | Arrangement of various photos overlapping, and can be visible or partially blended |
| Technique | Advanced software: masking, color/lighting matching | Analog (cut/paste) or digital collage tools | Simple layering or overlapping—minimal blending |
| Goal/Visual Effect | Smooth, cohesive, photo‑real, or fantastical | Fragmented, textured, expressive | Layered, perhaps narrative, and can be rough or refined |
| Creative Purpose | Creates realistic or imaginative scenes, widely used in visual media | Emphasizes collage aesthetic, concept, or emotion | Displays multiple perspectives or moments; simpler narrative |
| Use Cases | Advertising, film posters, fantasy scenes, product visualizations | Artistic/mixed-media prints, expressive art | Personal storytelling, concept previews |
Part 2. Effects of Photography Compositing
Now that you know the difference between compositing in photography and similar terms, let's learn the benefits of this technique:
Creative Freedom
It lets photographers break free from the reality constraints to build imaginative or surreal scenes. You can place your subject anywhere, such as in outer space or a fantasy world, without leaving your studio.
Enhanced Results
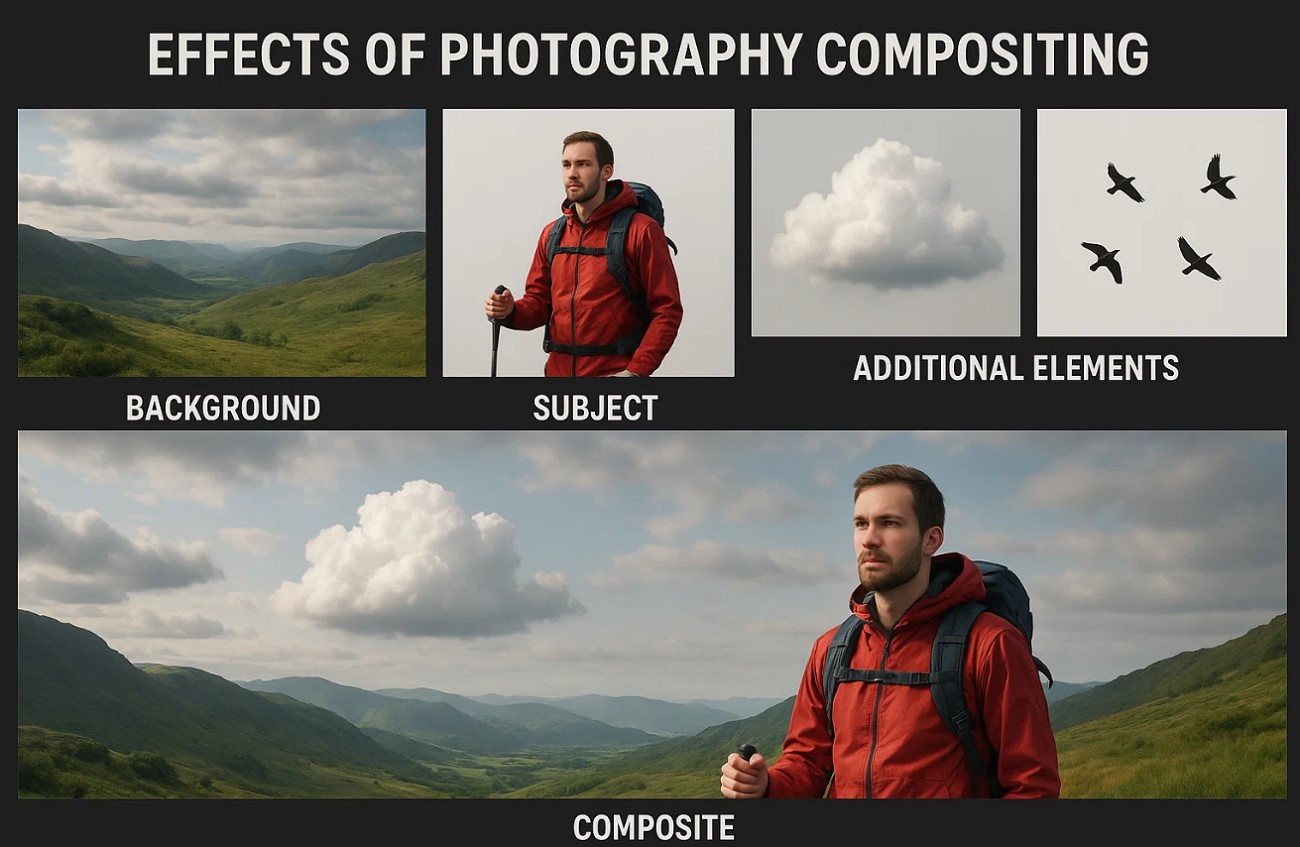
When you merge elements like dramatic skies and light effects, composites grab attention. This creates images that are unforgettable and leave an impact on the viewer's eye.
Overcoming Limitations
Users can build their perfect scene piece by piece, whether they are stuck with bad lighting or limited access to the location. It gives you control over elements that you couldn't manipulate in a single shot.
Technical Control
This technique offers precision over lighting, color grading, and perspective, which ensures every element blends with ease. The level of control helps create realistic results that feel like a single-captured moment.
Depth Immersion
The foreground to background layer, with proper scaling and light, adds rich dimensionality to an image. It draws the viewer into frame, creating a cinematic and emotionally engaging experience.
Efficiency
Build complex scenes using existing assets or stick images and save your valuable time and money. With this, you can speed up your production and lower costs while maintaining high visual quality.
Part 3. 3 Popular Photography Composition Tools
After learning about the effects of composing photos, if you want to know the tools to achieve these results, we have got you covered. The following section will provide you with the top 3 software to compo your images:
1. Microsoft Image Composite Editor
The first option to consider is the MS image composite editor, which introduces the smart auto-fill feature that fills in the missing parts of a panorama. A pattern recognition algorithm powers it and ensures smooth images without manual cloning. Moreover, users can create a composition photograph frame from panning videos, extracting still frames, and stitching them into a single frame.

Key Features
- The tool merges images together, 2400 22-megapixel images, which make a 360-degree view.
- Users can use various types of images by applying a wide range of effects, such as eye-shape, spherical, and many more.
- It offers multiple stitching options, which include rotating motion for a dynamic, immersive perspective, which is for the scene.
- You can backtrack and adjust image selections mid-process without restarting your whole project.
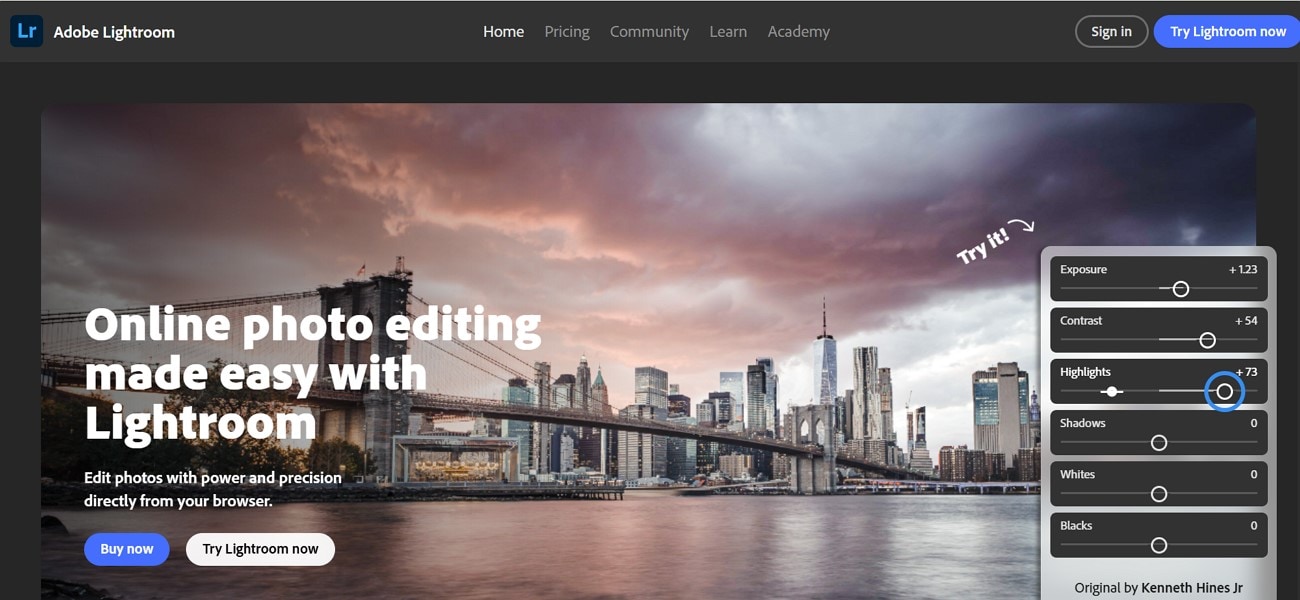
2. Adobe Lightroom
Lightroom features a flexible masking panel that enables you to isolate and edit specific areas of the image, like the sky to compose a photo. The Select Sky or Subject tool, enhanced by AI, along with the manual Brush, offers accurate control for editing. Using Photo Merge, you can combine images into a continuous panorama or HDR picture directly in the app.
Key Features
- It offers spherical de-ghosting controls, which are ideal for removing and building expensive backgrounds.
- The Generative Remove tool removes unwanted objects and fills gaps with the AI-generated content.
- Using virtual copies, create multiple versions of RAW files with different edits.
- With the Lens Blur feature, you can stimulate the depth of the field and add natural bokeh to the selected area.
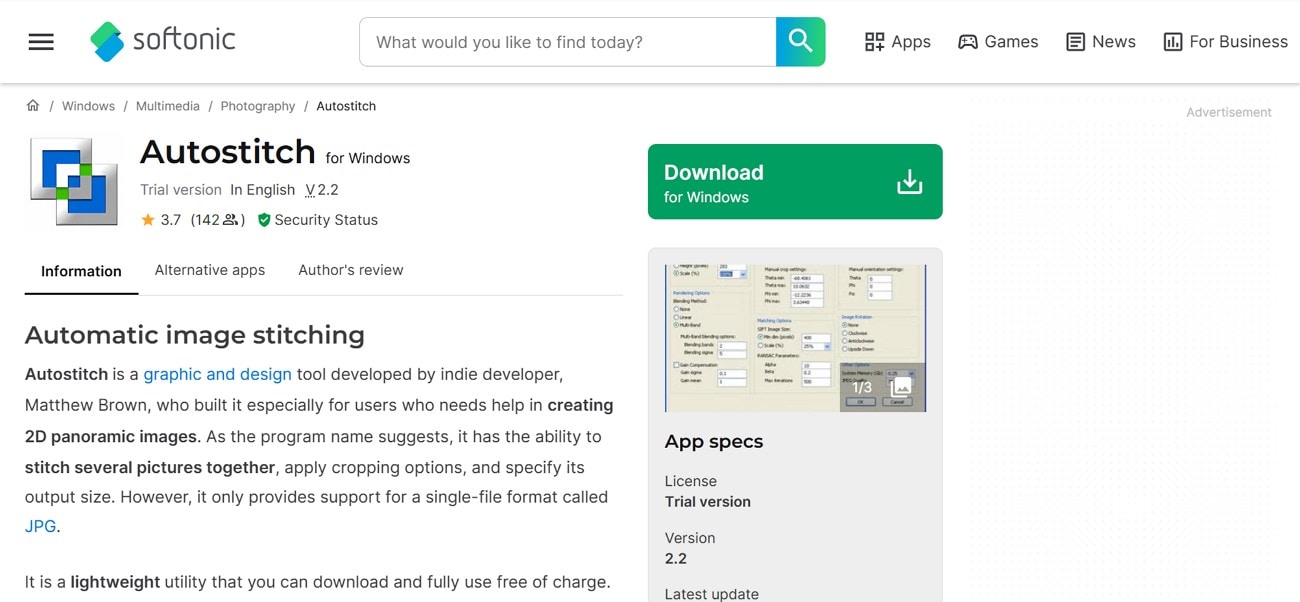
3. Autostitch
For composing still life photography, you can use this software that excels at creating panoramas images. Its robust algorithm aligns and merges overlapping photos without the need of user input, even if they are misaligned. Not only that, the tool is ideal for users who want a 360° or a wide-angle image without the need for technical knowledge.
Key Features
- The tool is lightweight and portable despite providing advanced capabilities, and requires no installation.
- AutoStitch lets you customize the output size and crop settings, which makes it a smooth integration.
- When you upload all the images, it automatically processes the design for the 2D photo.
- You can set the orientation of the photos and let you download the image in the quality you want.
Part 4. Easy to Use Subject Cutter for Photo Composition
As some tools do not offer an object cutter for composing photographs, you need a reliable software for this. Therefore, you can use Wondershare UniConverter, which provides a background remover tool and extracts the subject using advanced AI technology. Users just need to toggle the Remove background option, and this tool automatically removes it from the image. You can add any solid color from the given options as its new background.

Moreover, it lets you preview the results after cutting the subject using its Compare button to check if it's worth considering. The tool supports all platforms, such as Windows and macOS, giving access to everyone. From the Adjust tool, you can do basic adjustments such as brightness and contrast of the images.
Key Features
- Batch Tool: When you want to extract the subject from more than one image, you can use this feature, which saves you time and effort.
- Improve Pictures: This is an auto-enhancer tool that increases the quality of photos and makes them clean and defined.
- Background Images: With options like Custom, General, and Scene, the tool lets you add any image as an alternate in your target photo.
- Format Support: It supports almost all types of formats, including JPG and more, making it efficient for everyone.
- Crop and Resize: Users can cut and adjust the size of the photos using various pre-made resolutions, changing the height and width.
A Complete Guide to Cut the Subject from an Image for Composing a Photograph
Having learned about this tool, you might desire to understand how to operate it. If you require a background-free image for composing landscape photos, adhere to the outlined steps:
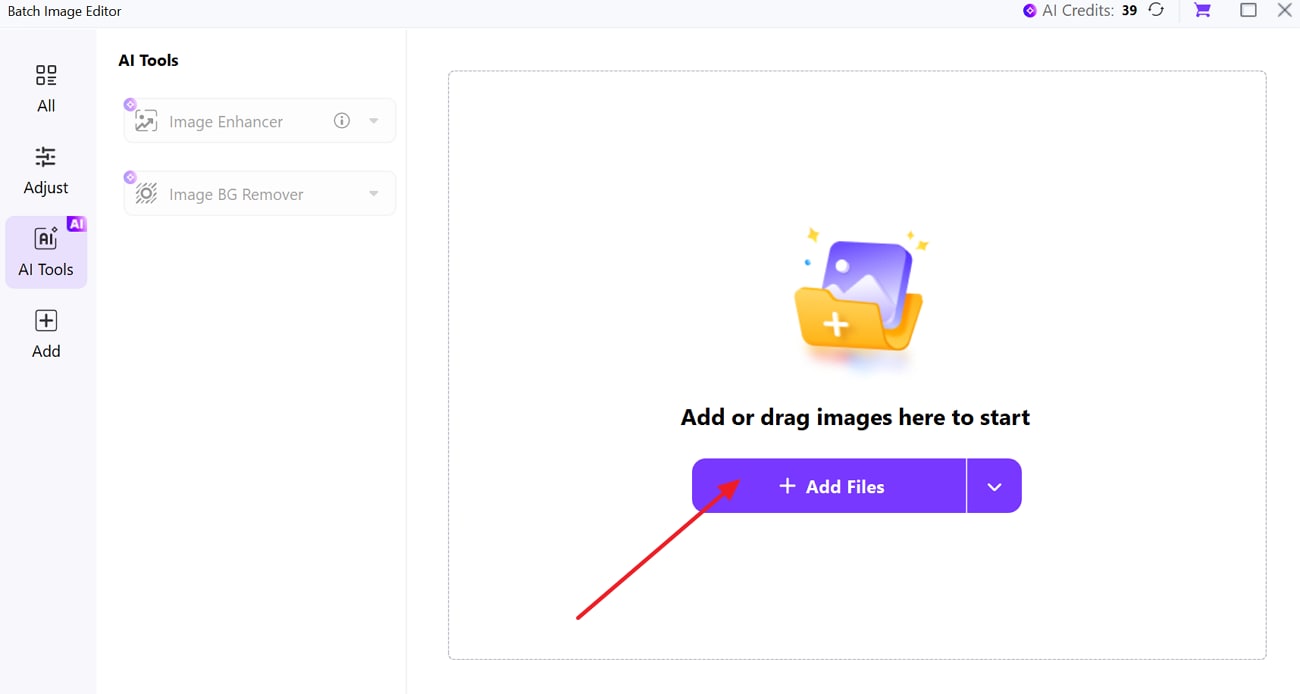
Step 1. Choose the Background Remover from the Image Tab
Open the tool, press the “Home” tab from the side panel, then click the “Image” tab to choose the “BG Remover” tool.

Step 2. Drop the Target Picture for Removal
From the pop-up menu screen, press the “Add Files” button and insert the image from where you want to remove the background.
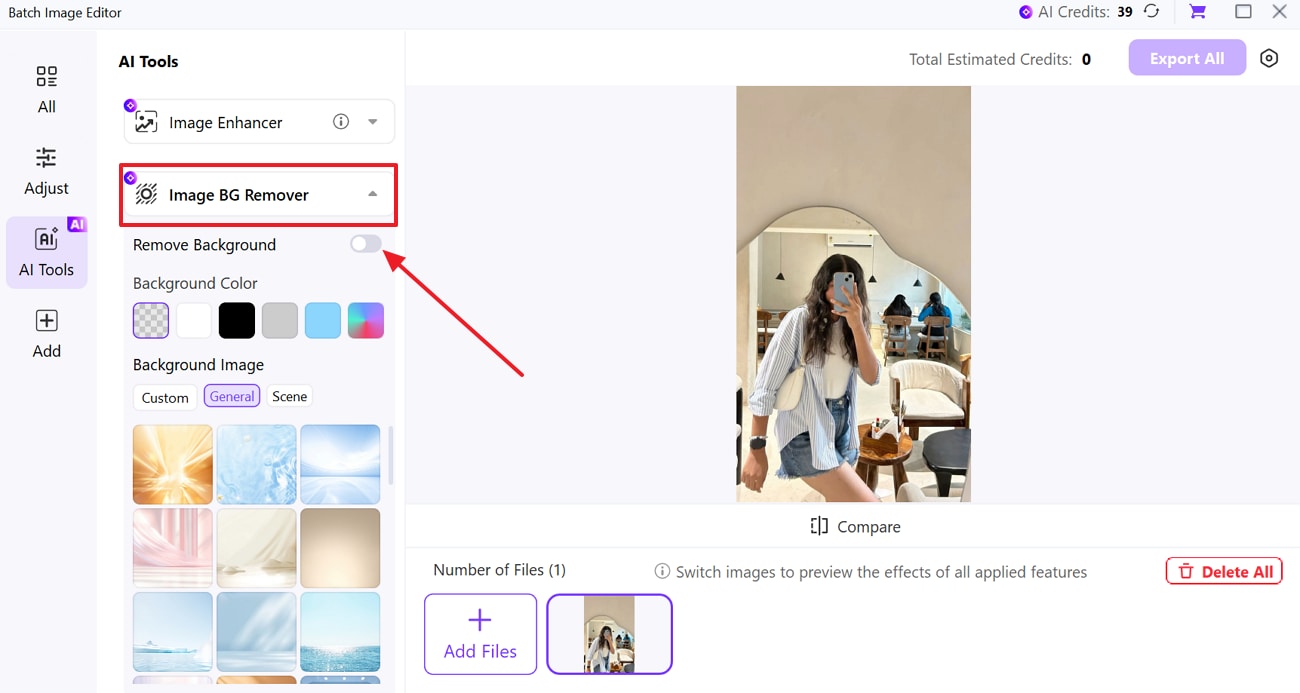
Step 3. Toggle Image BG Remover To Begin
Next, click the “Downward” arrow beside Image BG Remover and expand the list. From there, toggle the “Remove Background” option to start the background removal process.
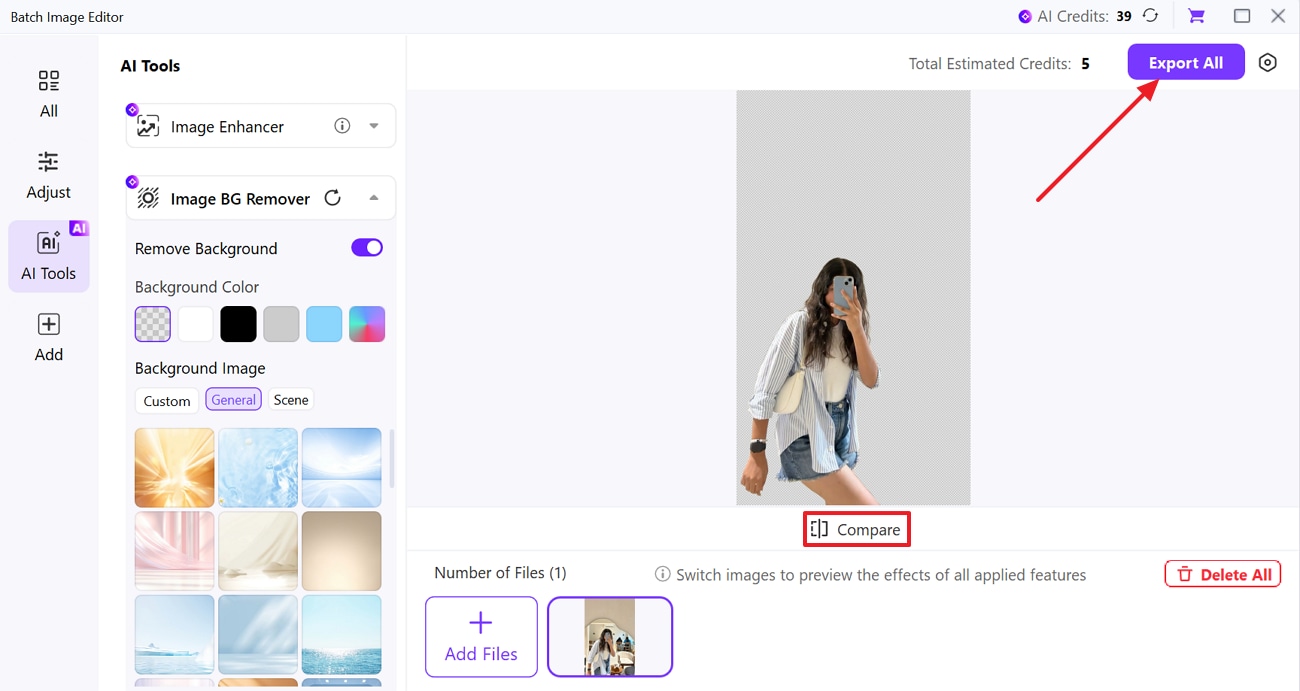
Step 4. Check Results and Save Edited Photo
Once the tool extracts the subject, click the “Compare” button to check the results and hit the “Export All” button to download it.
Part 5. Tips for Better Photography Compositing Effect
After learning about tools to composite material images, there are a few considerations that you should know. The following section will provide you with a few tips to get better composition photographs:
Lock the Frame
When you capture more elements for a composition, such as background, subjects, and poses, use a tripod to lock your frame. This guarantees the angle stays uniform and the shadow is cast in a constant direction.
Shoot in Raw
Always shoot in RAW with a camera that captures high dynamic range. By doing this, you can recover highlights and shadows separately for each layer during editing, giving more control.
Match Lens and Settings: If you shoot subjects one by one, such as a model and background, try to match the focal length and aperture. So, the depth of the field looks natural, and the perspective or scale match realistically.
Color Match Layers
After you place elements together, use Curve, Hue, or LUTs to grade each component individually. The environment must adjust shadows and highlights using Curves, plus match the color cast as well.
Real Shadows
Artificial drop shadows often look fake, so instead, create a duplicate of your subject, fill it with black, and create your own shadow. For reflection, flip the layer vertically and apply gradient masking and blur.
Depth Effects
To blend all the elements, add subtle atmospheric fog or haze to match the distance. Not only that, apply depth of field blur based on the original scene and film grain or noise to all layers to unify the texture.
Conclusion
In conclusion, to capture the perfect picture, photographers use a composition technique that stitches more than one image at a time and creates a perfect one. This guide has introduced you to the top composite editor, but some of them don't provide a subject cutter. You can use UniConverter for this purpose, which is a reliable option to remove the background from the subject to create composite pictures.
FAQs
-
1. What are the composition details in photography?
It includes visual components like subject arrangement and lighting to produce a harmonious and striking photograph. Techniques such as the rule of thirds and symmetry assist in directing the viewer's gaze and improving narrative. -
2. What file formats should I use for the best quality in compositing?
Use RAW for capturing composite material images and PSD or TIFF for editing to retain extra detail and support layers. Avoid JPEG during compositing as it compresses image data and reduces editing flexibility. -
3. What is the difference between compositing and simple photo editing?
These composting elements from multiple images are combined into one seamless or surreal scene. Simple photo editing involves adjustments to a single image, like brightness, contrast, etc. -
4. How do I cut out subjects accurately without losing hair or fine details?
Utilize tools such as Select Subject or Refine Edge in Photoshop to maintain delicate edges like hair. Plus, zoom in and employ layer masks for enhanced control and non-destructive editing.

