

Whether you are a designer fine-tuning website assets, a brand manager adjusting logos, or someone simply looking to shrink a large image for email, resizing images is part of our digital routine. But there’s an issue: resizing isn't just about dragging corners in or out. If you do it wrong, then you will end up with blurry edges or pixelated graphics.
There are several tools in the market that help in image scaling or downscaling, but not all tools are built the same. Some require graphic design knowledge, others come with limitations on formats or batch processing, and most free tools compress quality to save space.
In this guide, we will show you exactly how to resize images without losing quality or compromising their clarity or sharpness.
In this article

Versatile Image Resizer Toolbox
Part 1: Types of Image Resizing
Image resizing is broadly categorized into two types: downsampling and upsampling. Most beginners are often confused between the two, but understanding their distinction is crucial as it helps maintain image quality during the resizing process.
Downsampling
Downsampling refers to reducing the number of pixels in an image. In such image resizing, our primary focus is decreasing the file size or meeting specific resolution requirements. For instance, reducing a 4000x3000 image to 2000x1500 for web use is a form of downsampling that can optimize load times without visibly affecting quality.
Upsampling
Upsampling occurs when you wish to increase the resolution of an image by adding new pixel data. Since no new visual information is inherently available, multiple professional software programs use interpolation methods such as bicubic to generate missing pixels. This is especially useful when enlarging images for print or presentations.
Part 2: Tips to Resize Images Without Losing Quality
Resizing an image may seem like a simple task, but ensuring that the quality remains intact requires a deliberate approach. Here are a few handy tips that you can follow when you aim to resize the image.
Start with a High-Resolution Image
It is always recommended to use a high-resolution source image when aiming for resizing, as it gives editing software more pixel data to work with.
Use Tools with Interpolation Algorithms
It is also recommended to prefer such tools that support bicubic or AI-based resampling techniques because they can help generate new pixels intelligently.
Avoid Multiple Resizing Passes
Do not resize one image over and over again, as this can degrade image quality over time. Try to work from the original image and save new versions separately to avoid duplication.
Choose the Right File Format
Try avoiding JPEG images to resize as it can lead to quality loss. When you want to resize an image without losing quality, use lossless formats like PNG or TIFF. You can even use vector formats, like SVG.
Part 3: 4 Best Video & Image Editors to Resize Image Size Without Losing Quality
As a beginner or professional looking to resize an image without losing quality, you should know that not all editing tools are created equal. While many applications offer basic resizing functionality, there are only a few that use AI tech, offer format flexibility, and have advanced resampling algorithms. Here are 4 video and image editors that would help you resize pictures without losing quality:
1. Wondershare UniConverter
Wondershare UniConverter is a multifunctional video and image editor designed for users who need high-quality conversions and resizing without technical complexity. Its AI-powered engine ensures that visual quality remains intact even when altering image dimensions, making it ideal for both professionals and beginners.
Key Features
- It supports batch image resizing with zero loss in quality.
- The tool is compatible with multiple image formats, including JPG, PNG, BMP, and TIFF.
- It offers an intuitive user interface with drag-and-drop functionality.
- It offers built-in compression and optimization tools for web use.
How to use UniConverter to Resize Image Size:
Here is a step-by-step guide that would help you resize the images as per your preference:
Step 1
Launch Wondershare UniConverter and click “Add Files” to import the image(s) you want to resize. If you're using the batch editor, you can upload multiple files.

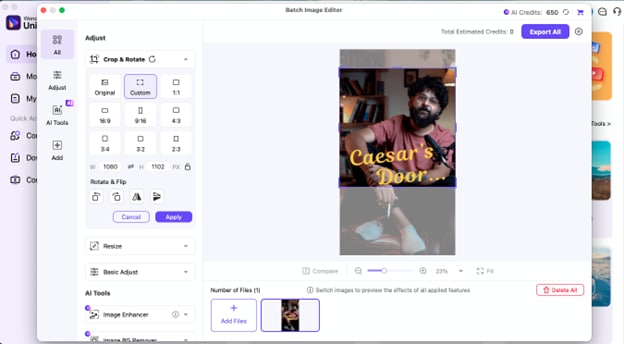
Step 2
Under the "Adjust" panel, select "Crop" to define the image’s framing. You can choose from predefined aspect ratios like 16:9 or manually enter a custom width and height. Once your crop is finalized, click "Apply."
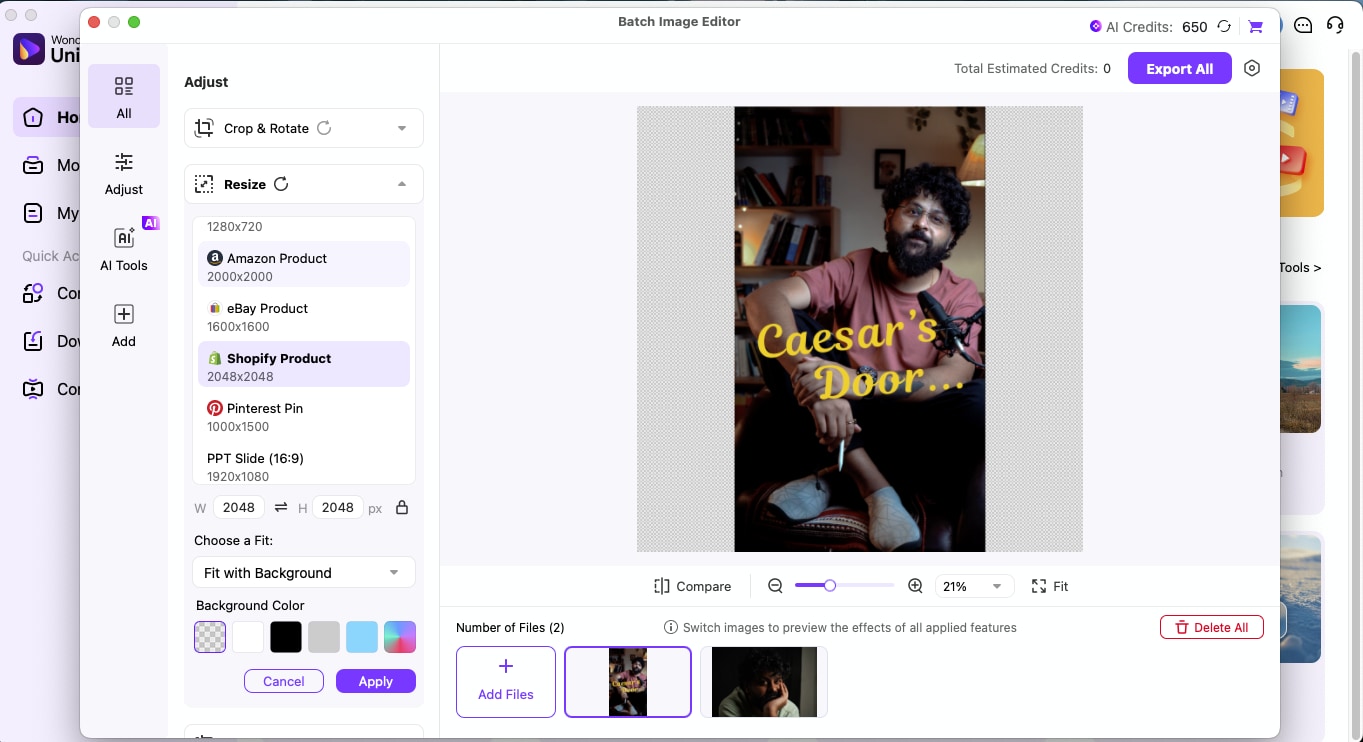
Step 3
Now, go to the "Resize" option in the same panel. Enter your custom width and height, or choose from presets like Instagram Post or YouTube Thumbnail. Based on your output needs, set the fit to "Stretch to Fit" or "Fit with Background."
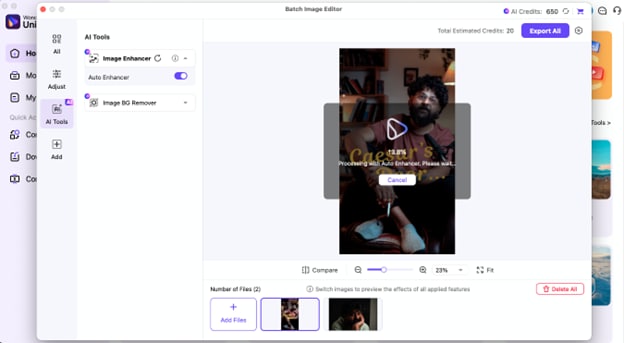
Step 4
Navigate to the AI Tools tab to apply Image Enhancer or Background Remover for professional-quality output. Once done, click “Export All” to download your resized image(s) instantly.
Pros & Cons:
Versatile Image Resizer Toolbox
2. Soona
Soona is a platform that primarily caters to eCommerce businesses and offers professional photo and video services with a quick turnaround. The core functionality of Soona revolves around content production; it also allows basic image editing and resizing that helps the brand quickly resize the product images.

Key Features
- It directly integrates with your Shopify account.
- It is a cloud-based tool that offers access to high-resolution image assets.
- It offers real-time editing with live previews during photo sessions.
- It also offers brand kit integration for consistent visual identity.
How to Use Soona to Resize Images
Here is a step-by-step guide that would help you resize images in Soona as per your preference:
Step 1: Access the Editor
Go to soona.co and click on "Transform Images" on the homepage. This will open Soona's AI-powered media editor.
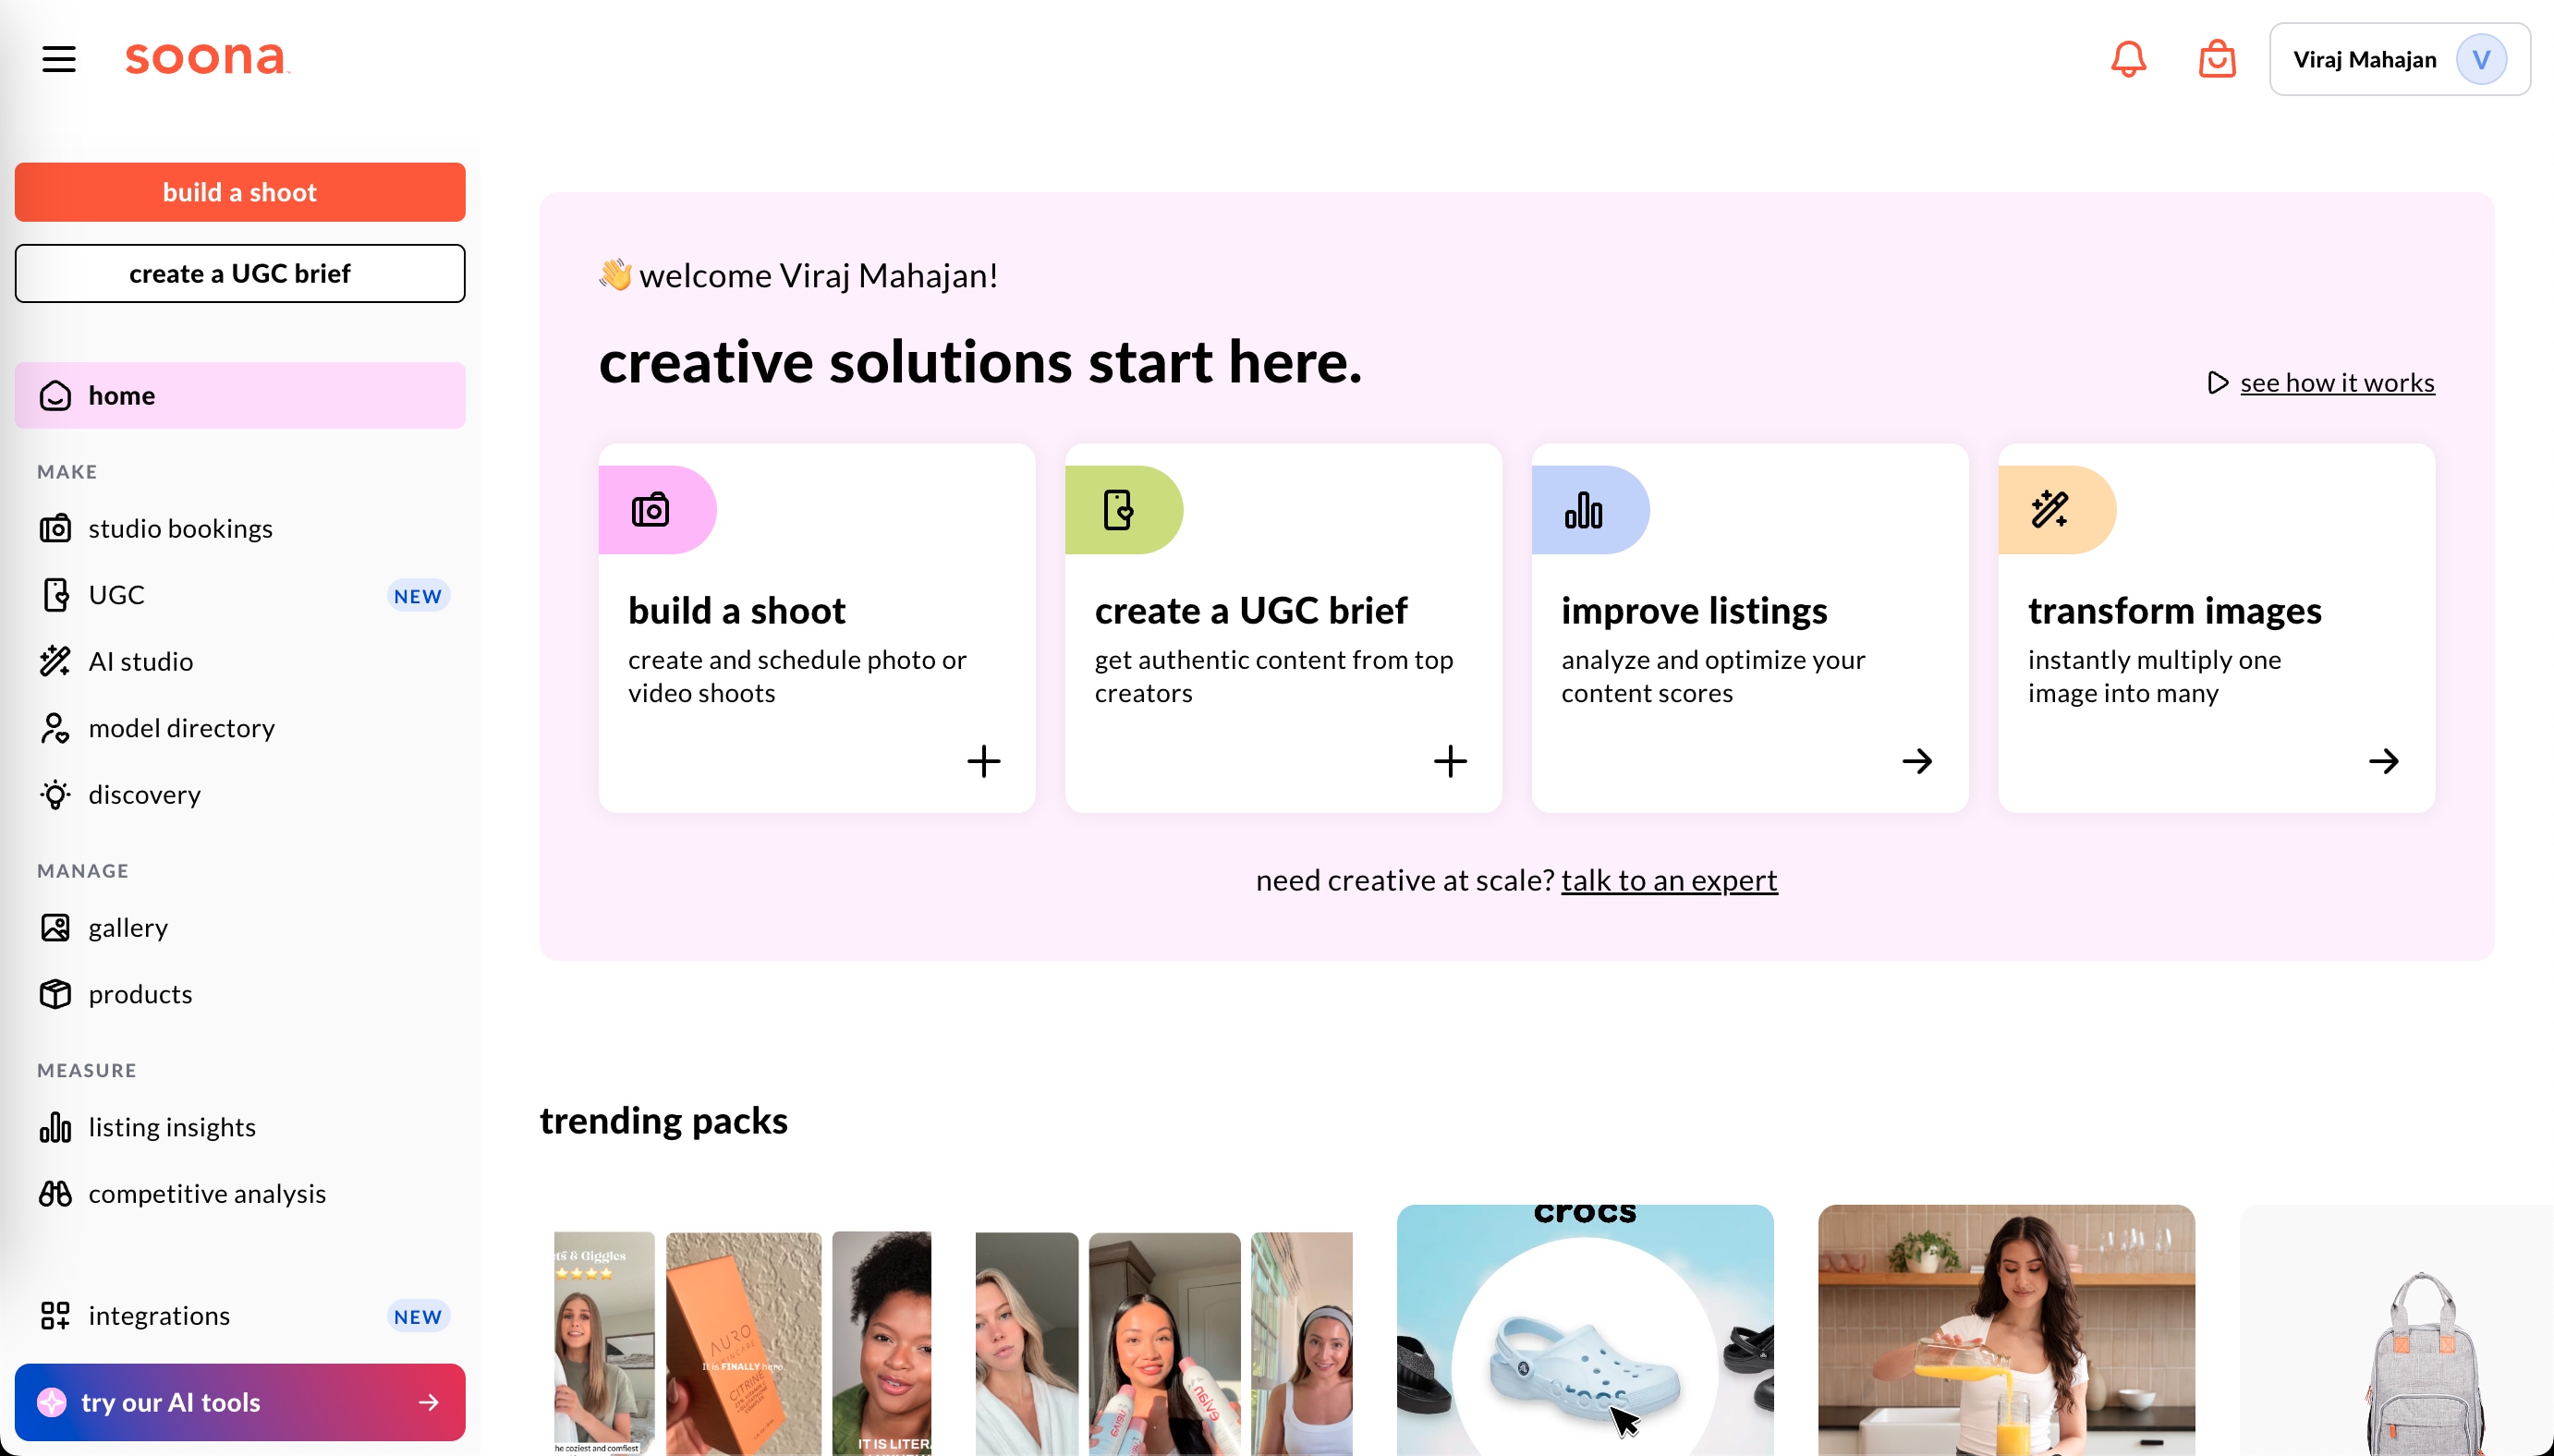
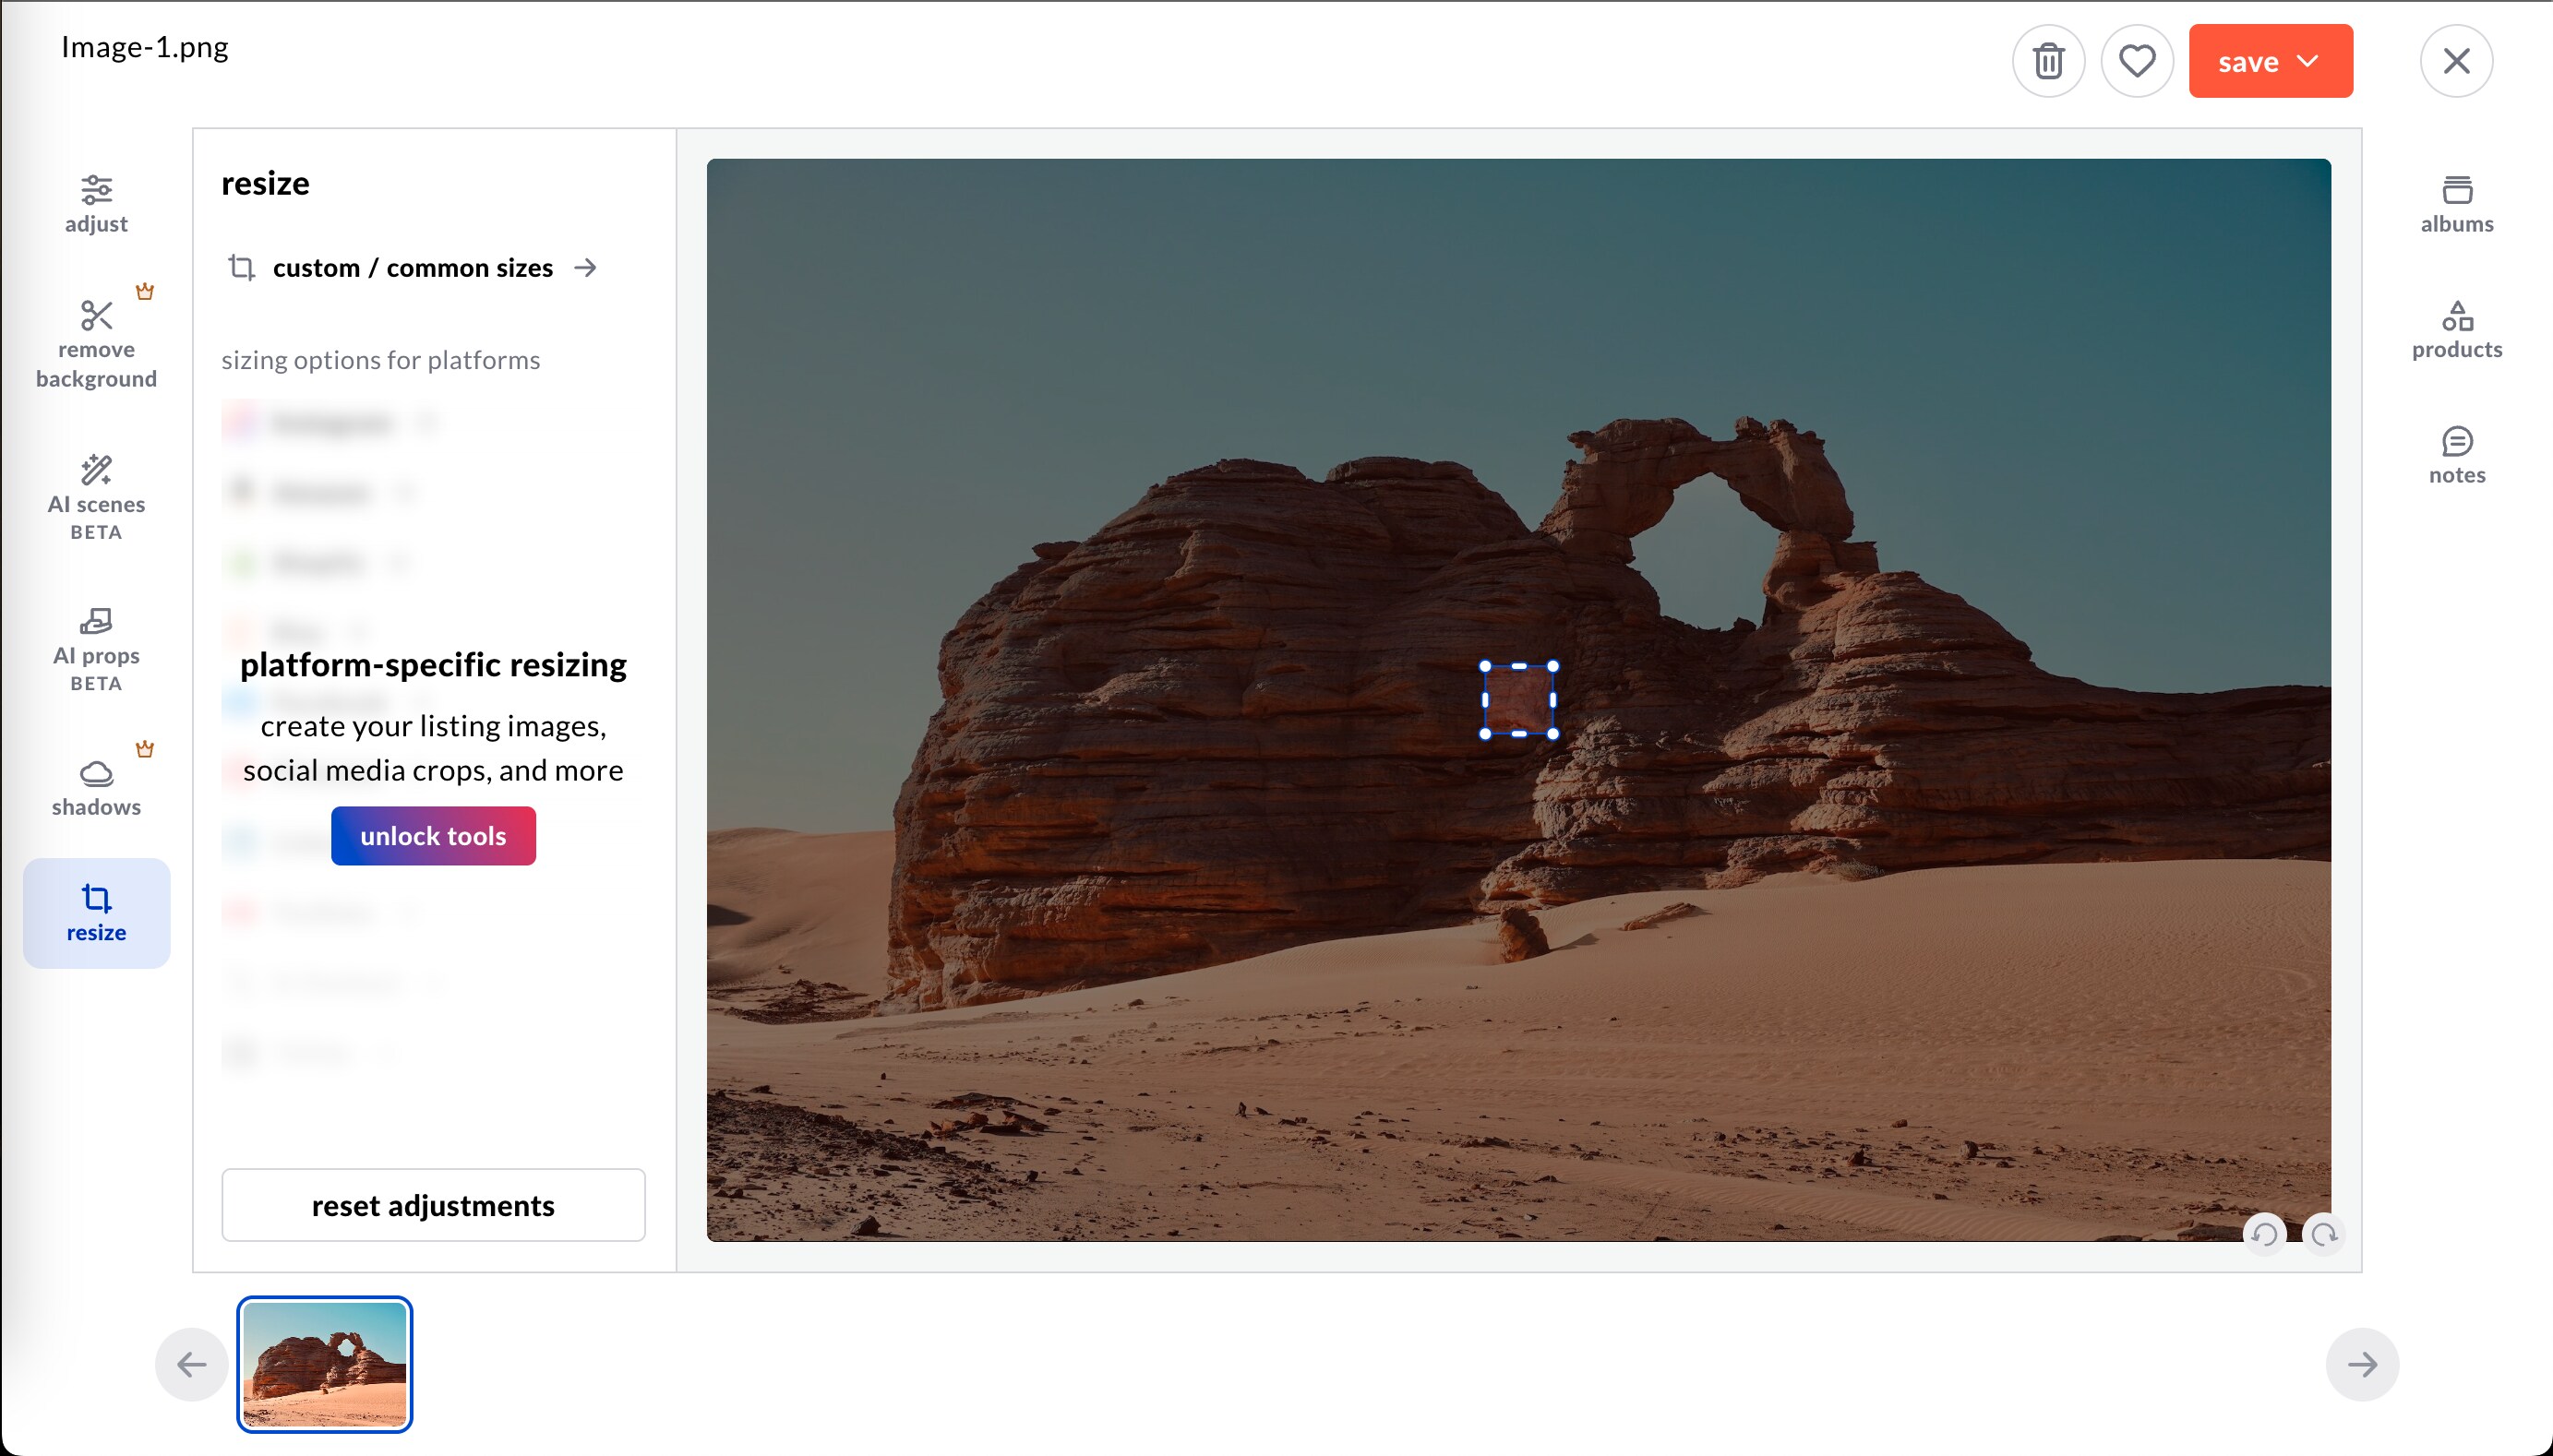
Step 2: Upload and Resize
From the left panel, select “Resize” under the AI Studio tools. Upload your image, and use the adjustable rectangle on the image to define your desired dimensions.
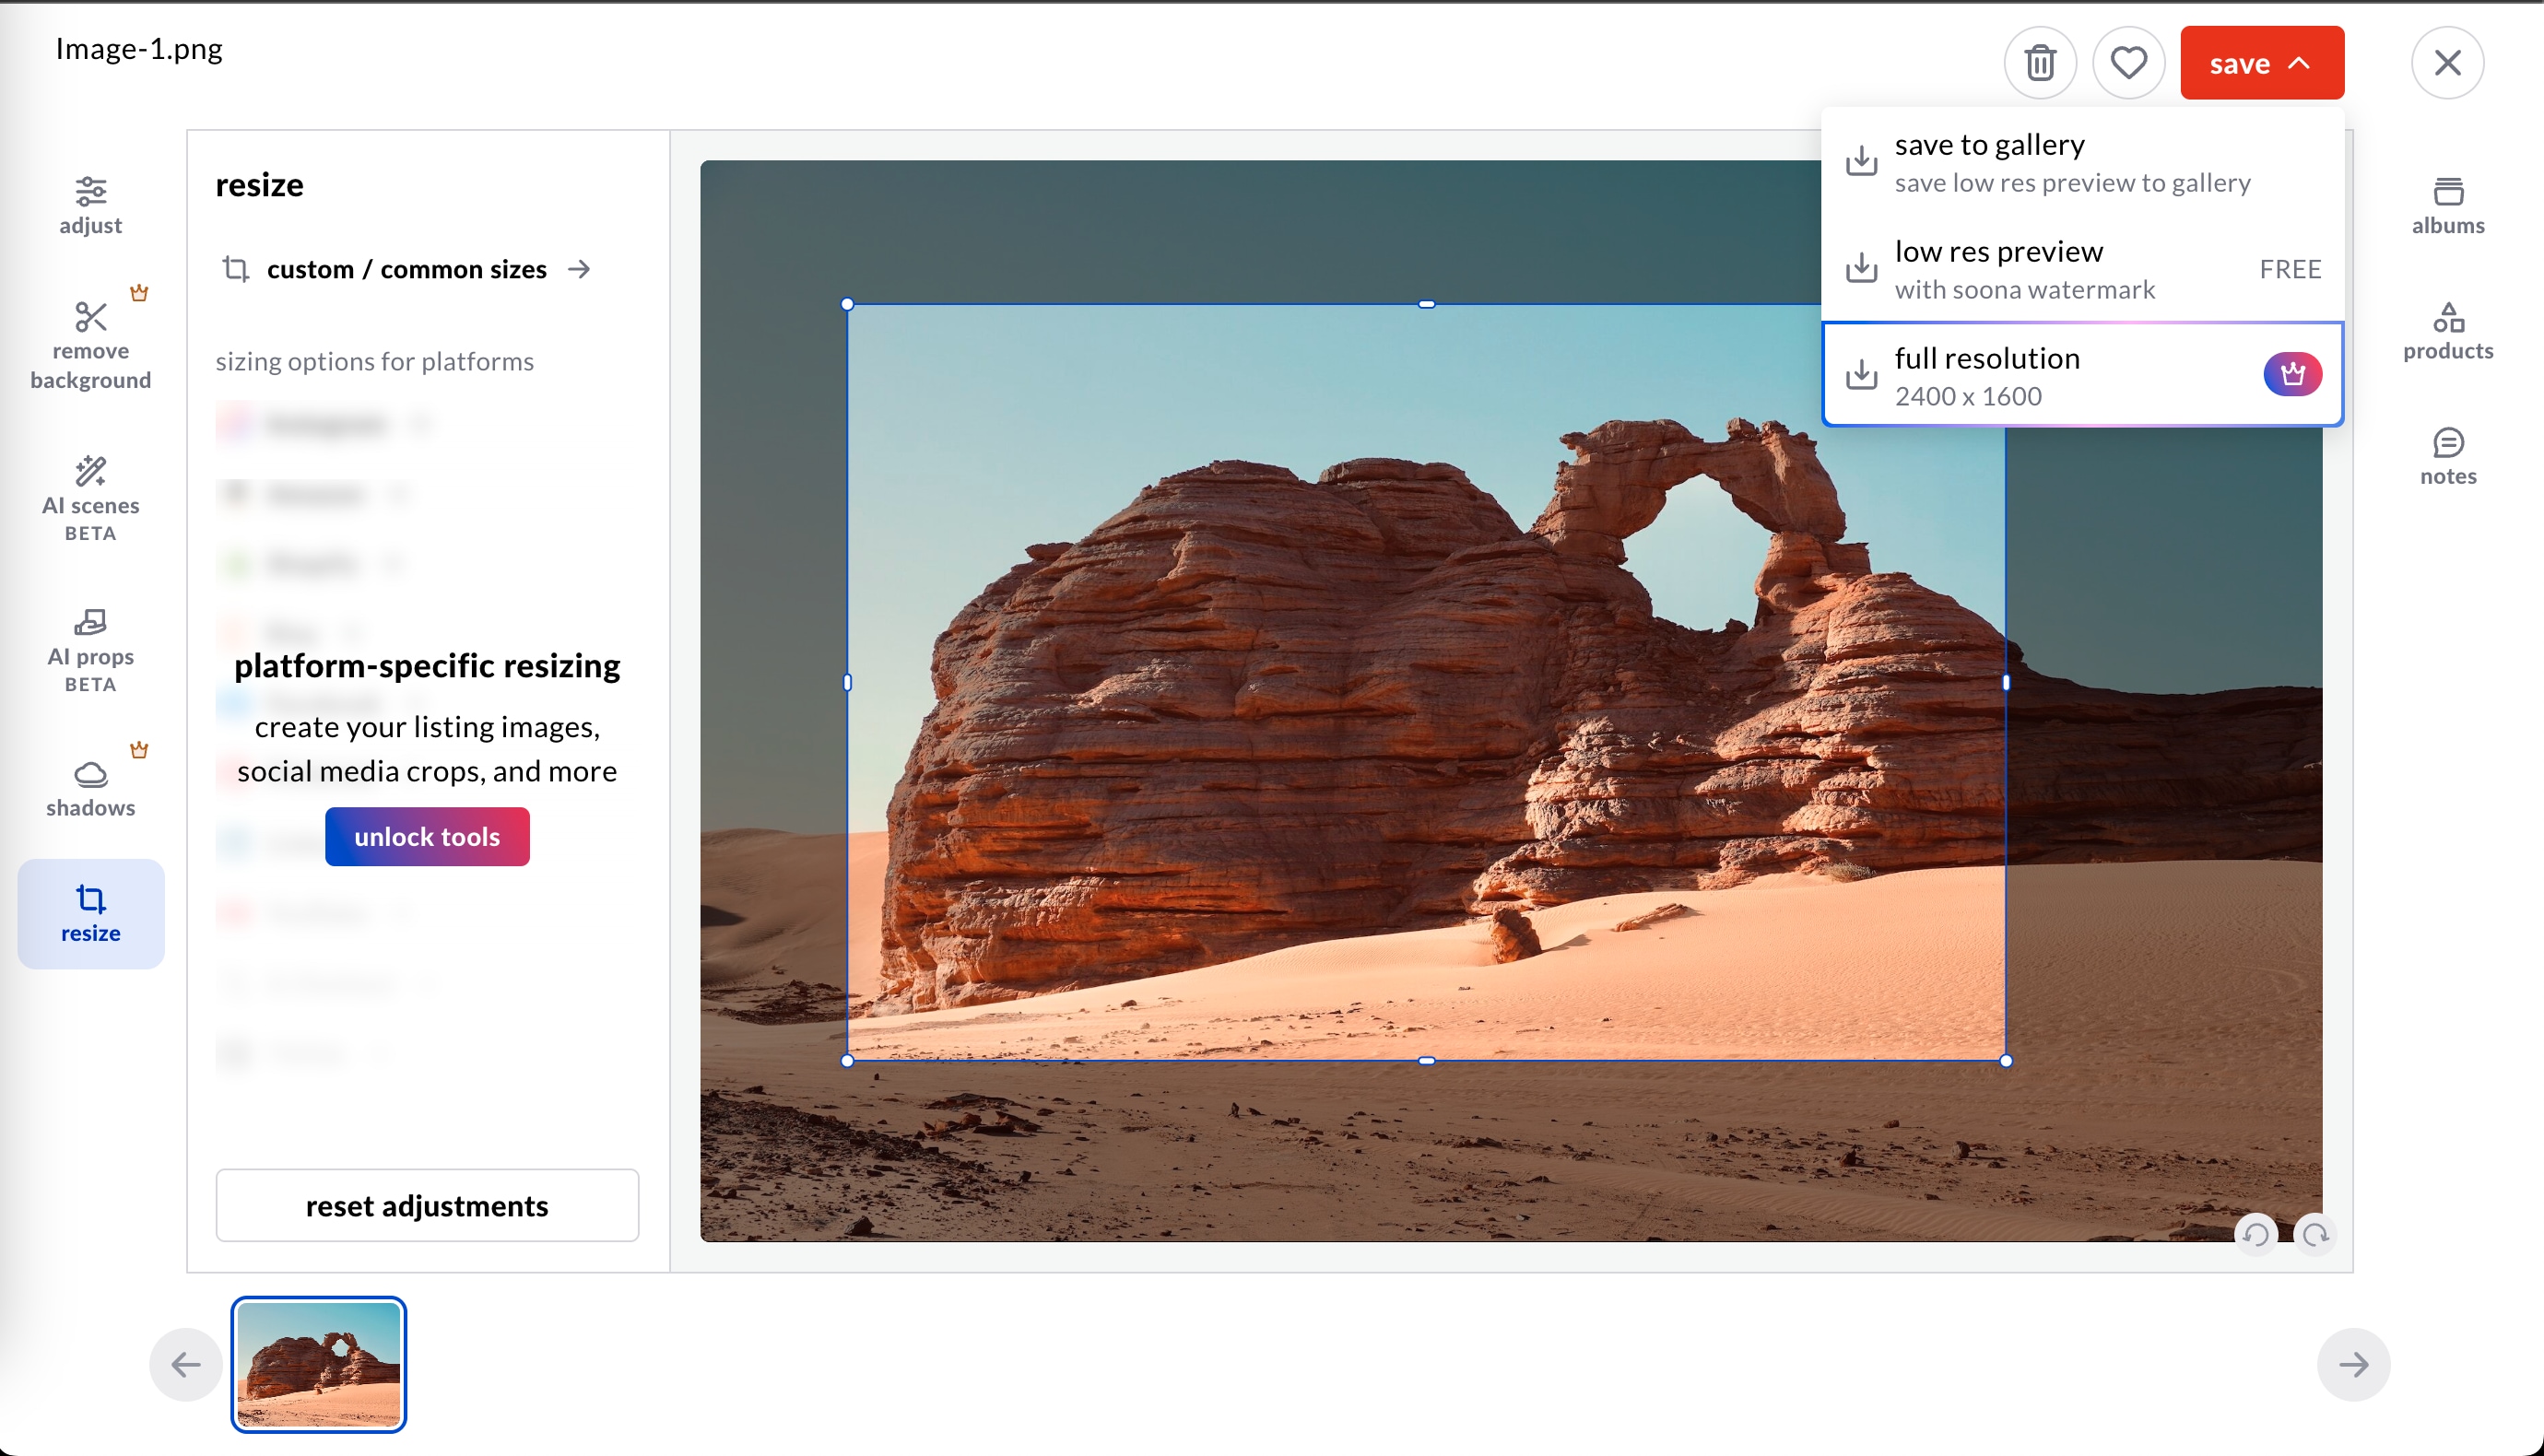
Step 3: Save the Image
Once you are satisfied with the resized image, click “Save” and choose your preferred resolution. The free version allows a low-res download with Soona's watermark.
Pros & Cons:
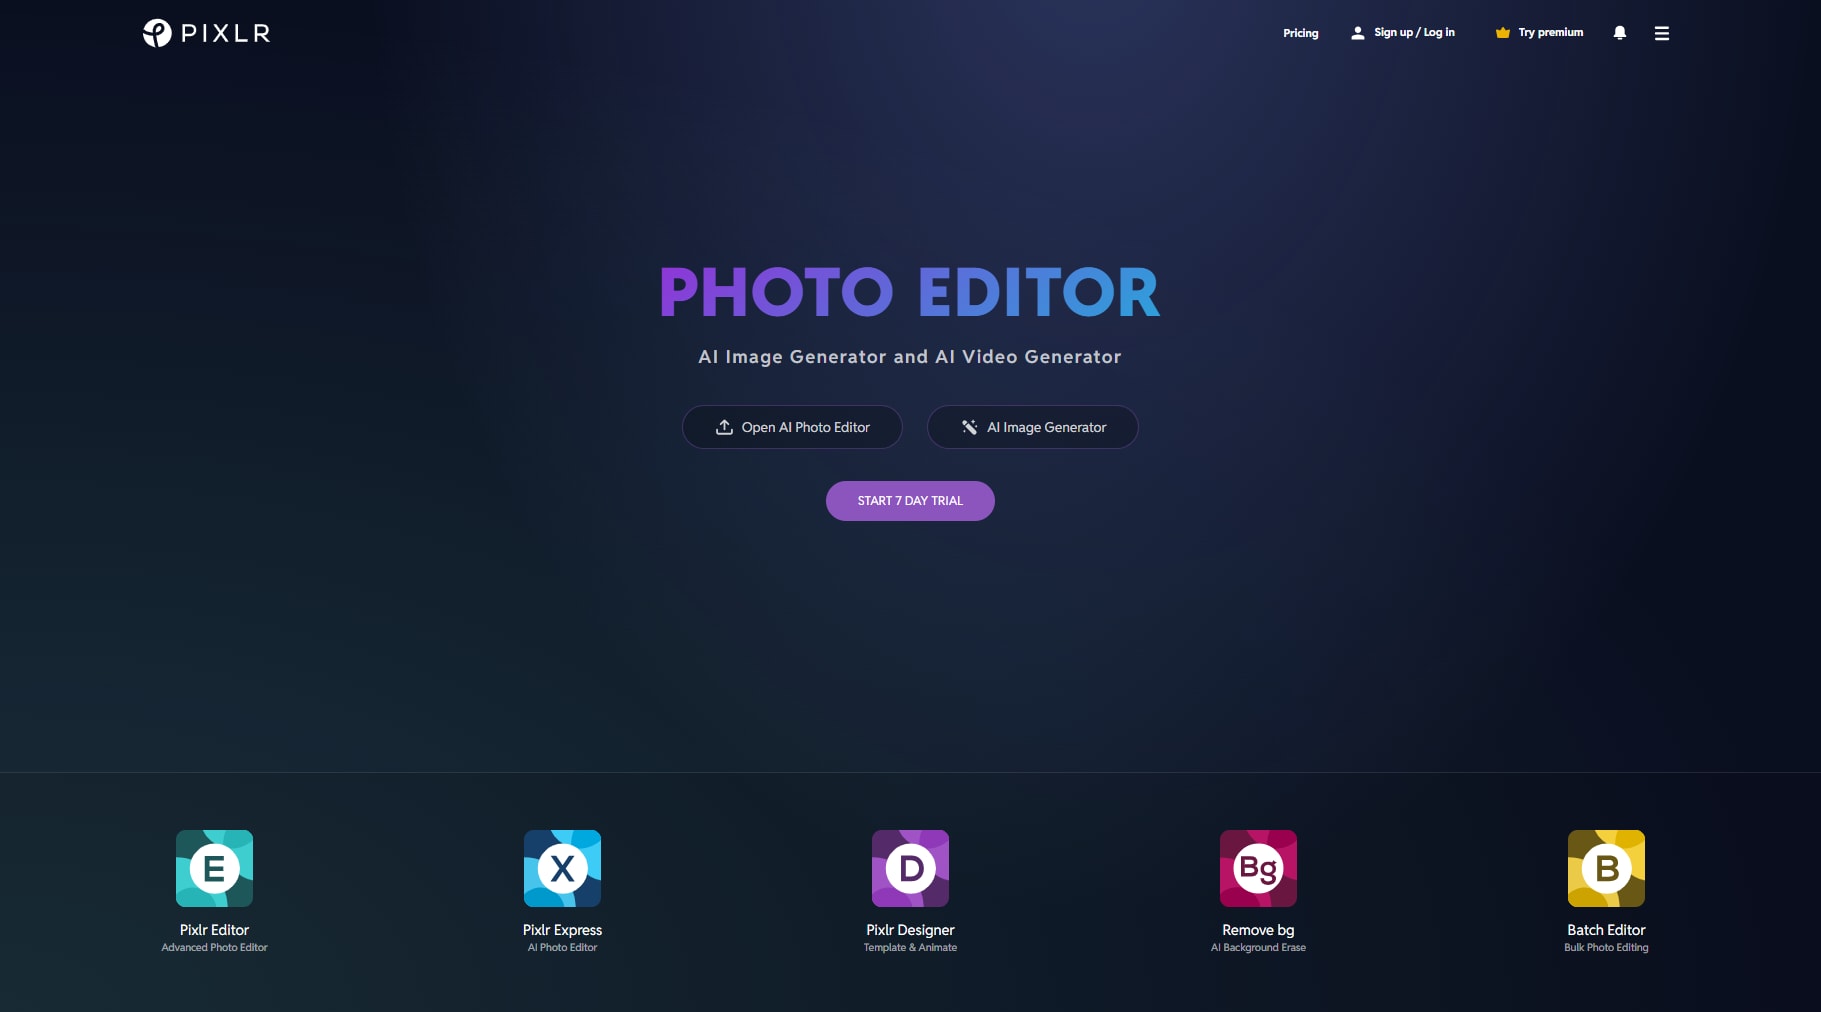
3. Pixlr
Pixlr is a browser-based photo editor that combines simplicity with advanced features. If you have a good internet connection, then you can use Pixar’s resizing capabilities, which are backed by smart algorithms that ensure clarity and detail are retained. This way, you don’t have to worry about working around high-resolution images.
Key Features
- It’s online, and most of the features are available in the free version.
- The tool is AI-powered and offers enhancement options.
- It supports transparent PNGs and layered image editing.
- It allows direct export in multiple quality levels and file sizes.
How to Use Pixlr to Resize Picture:
Here are generic steps that would help you resize your picture in Pixlr:
Step 1: Open and Upload
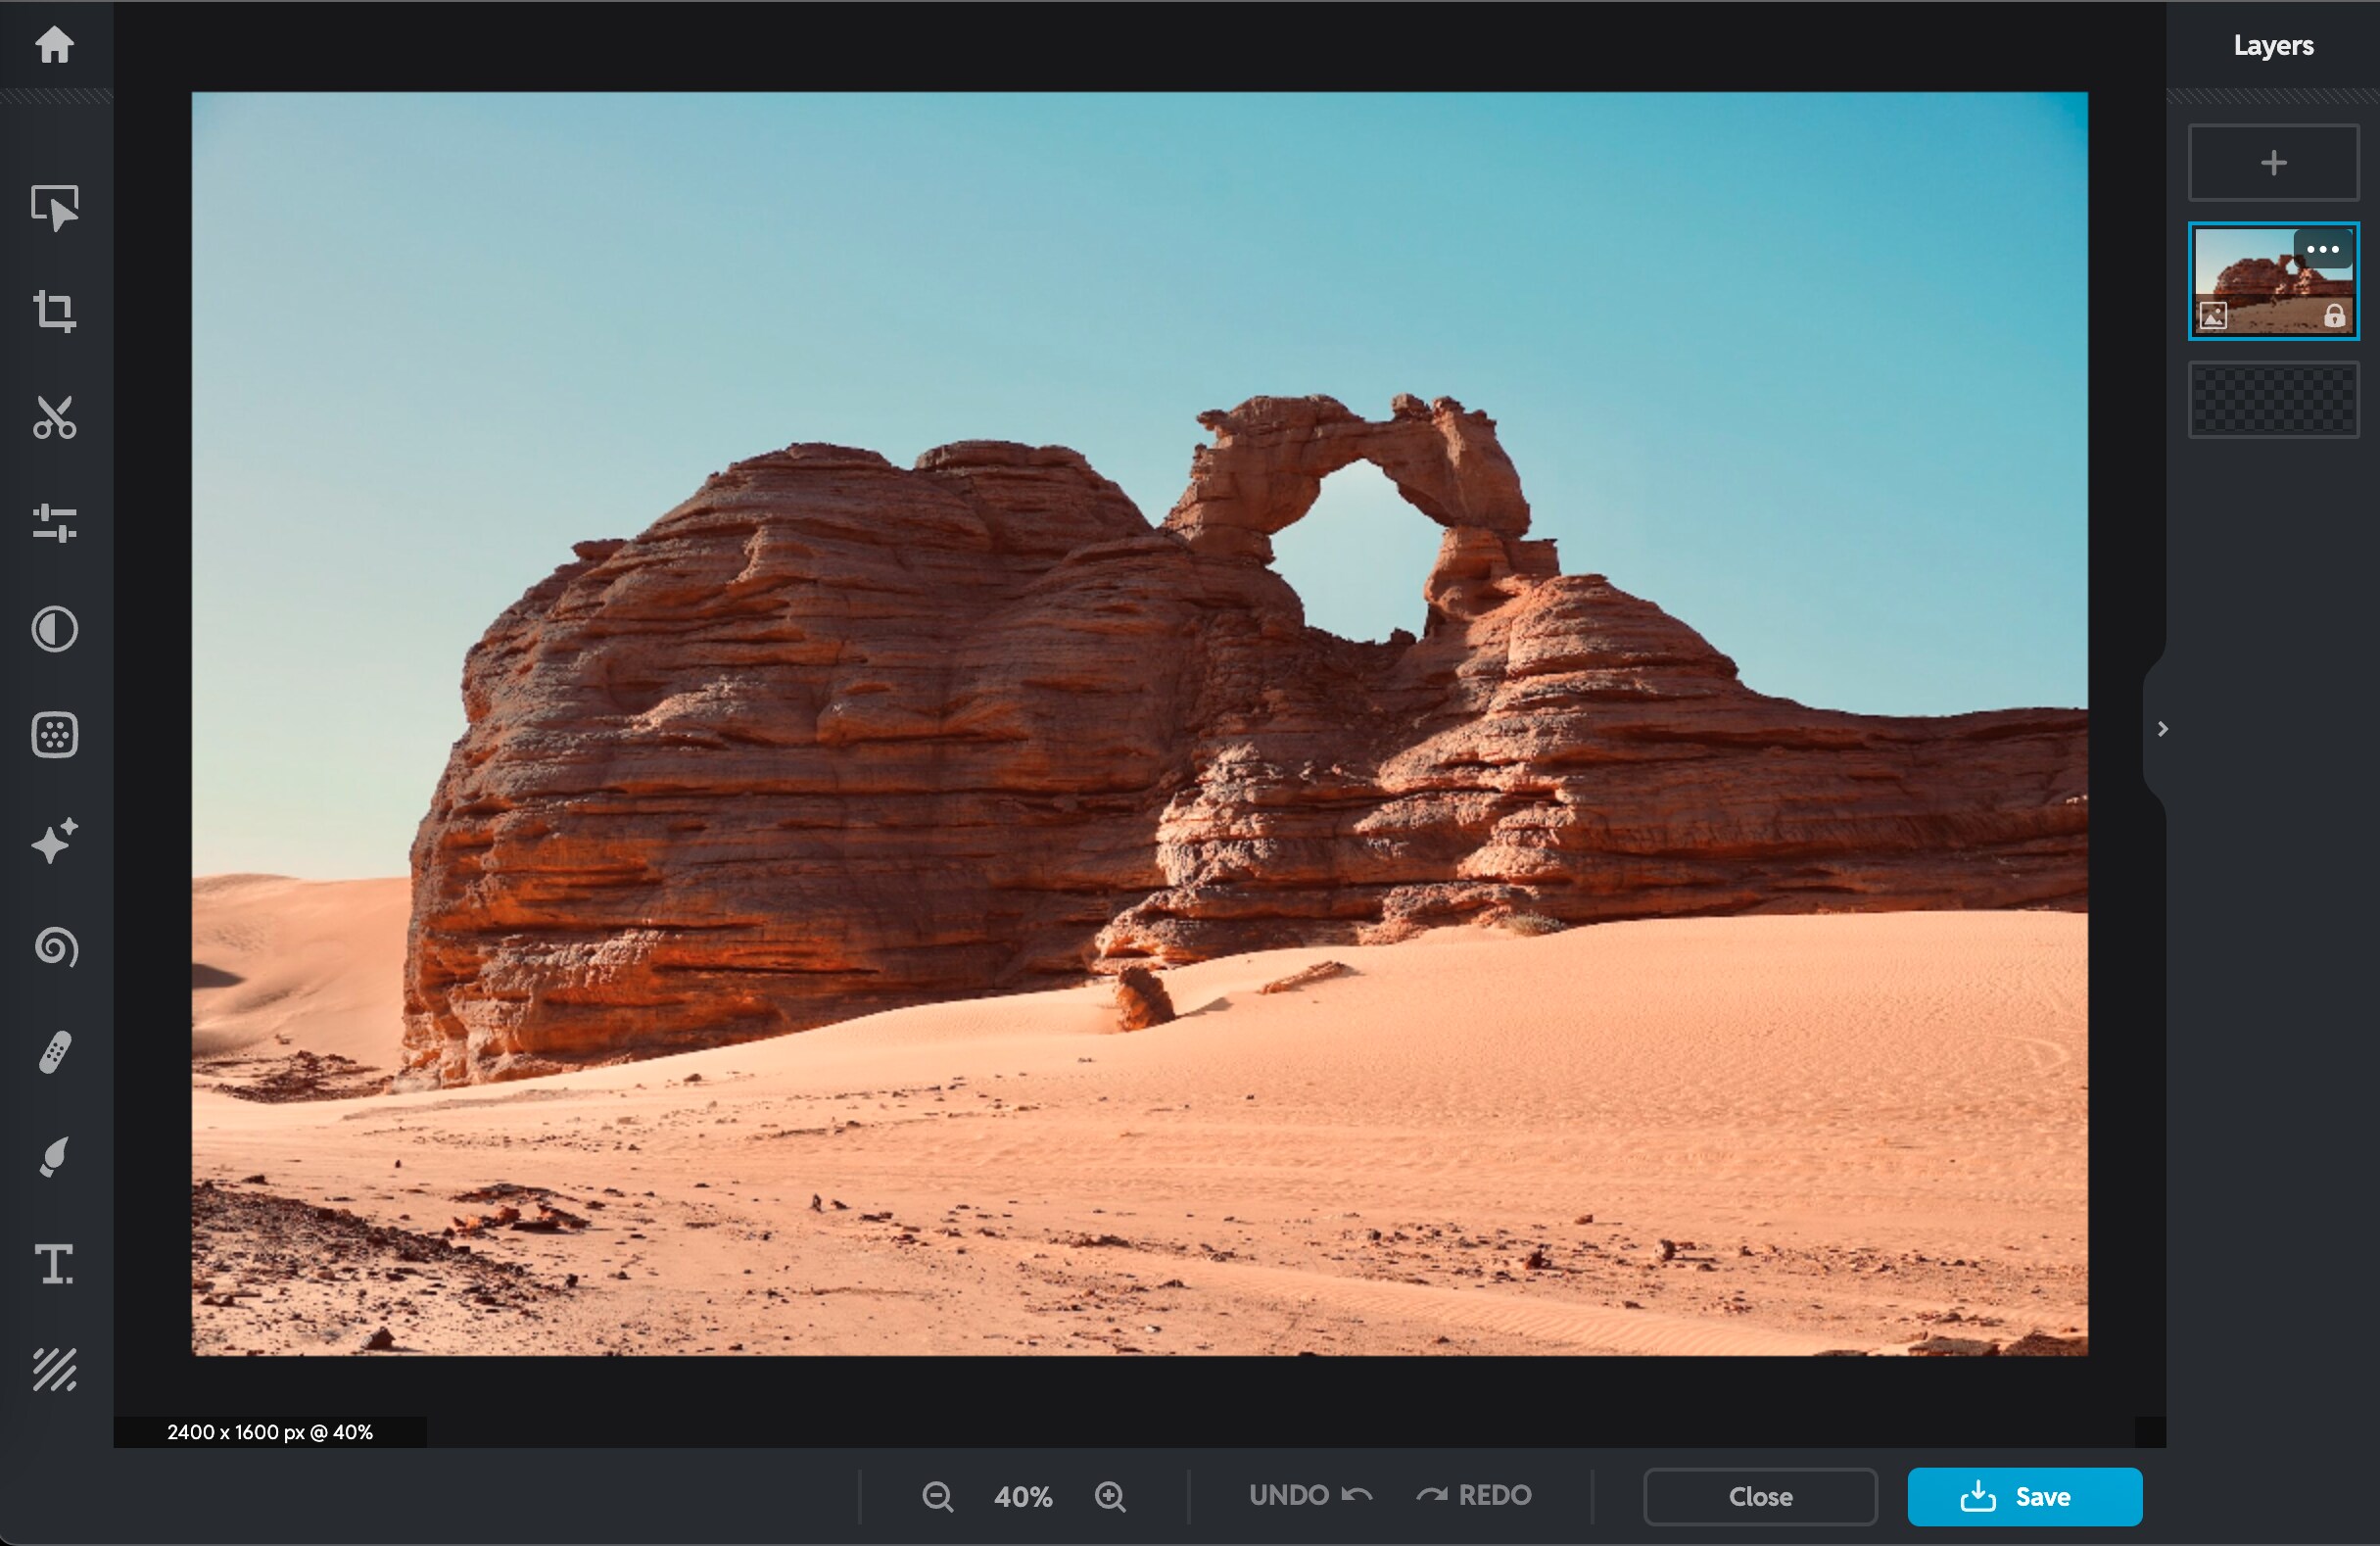
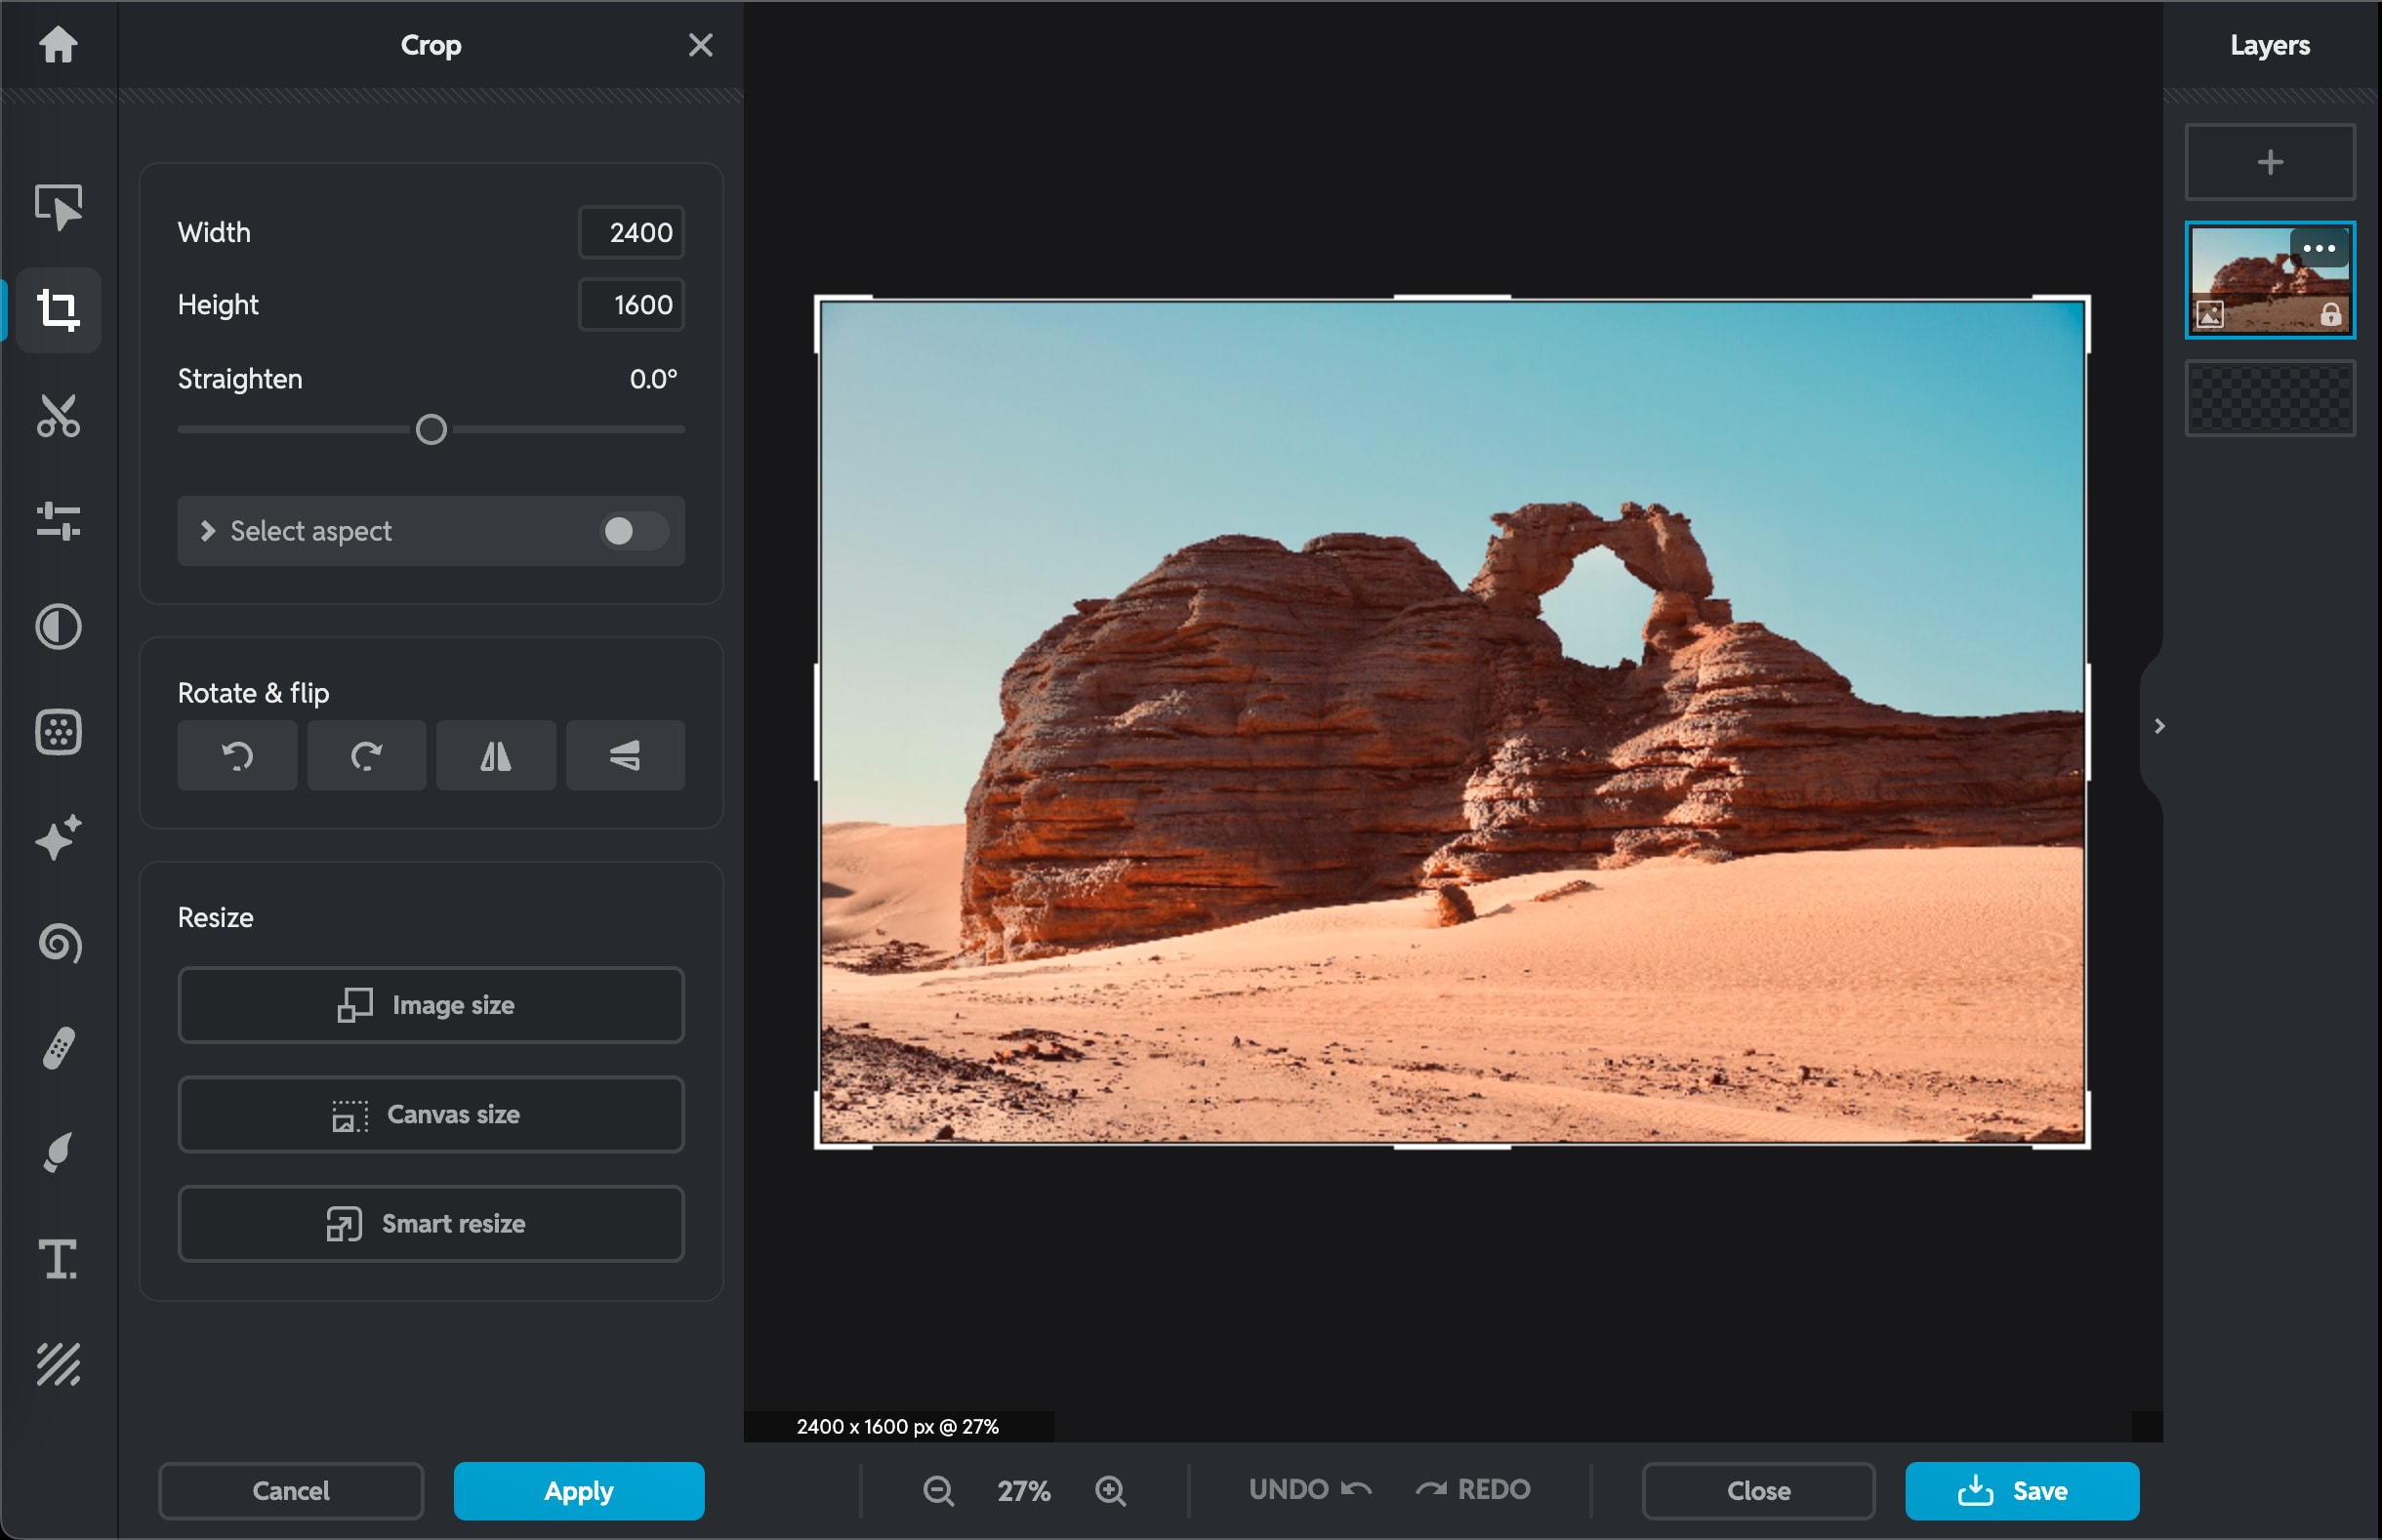
Step 2: Access Resize Tools
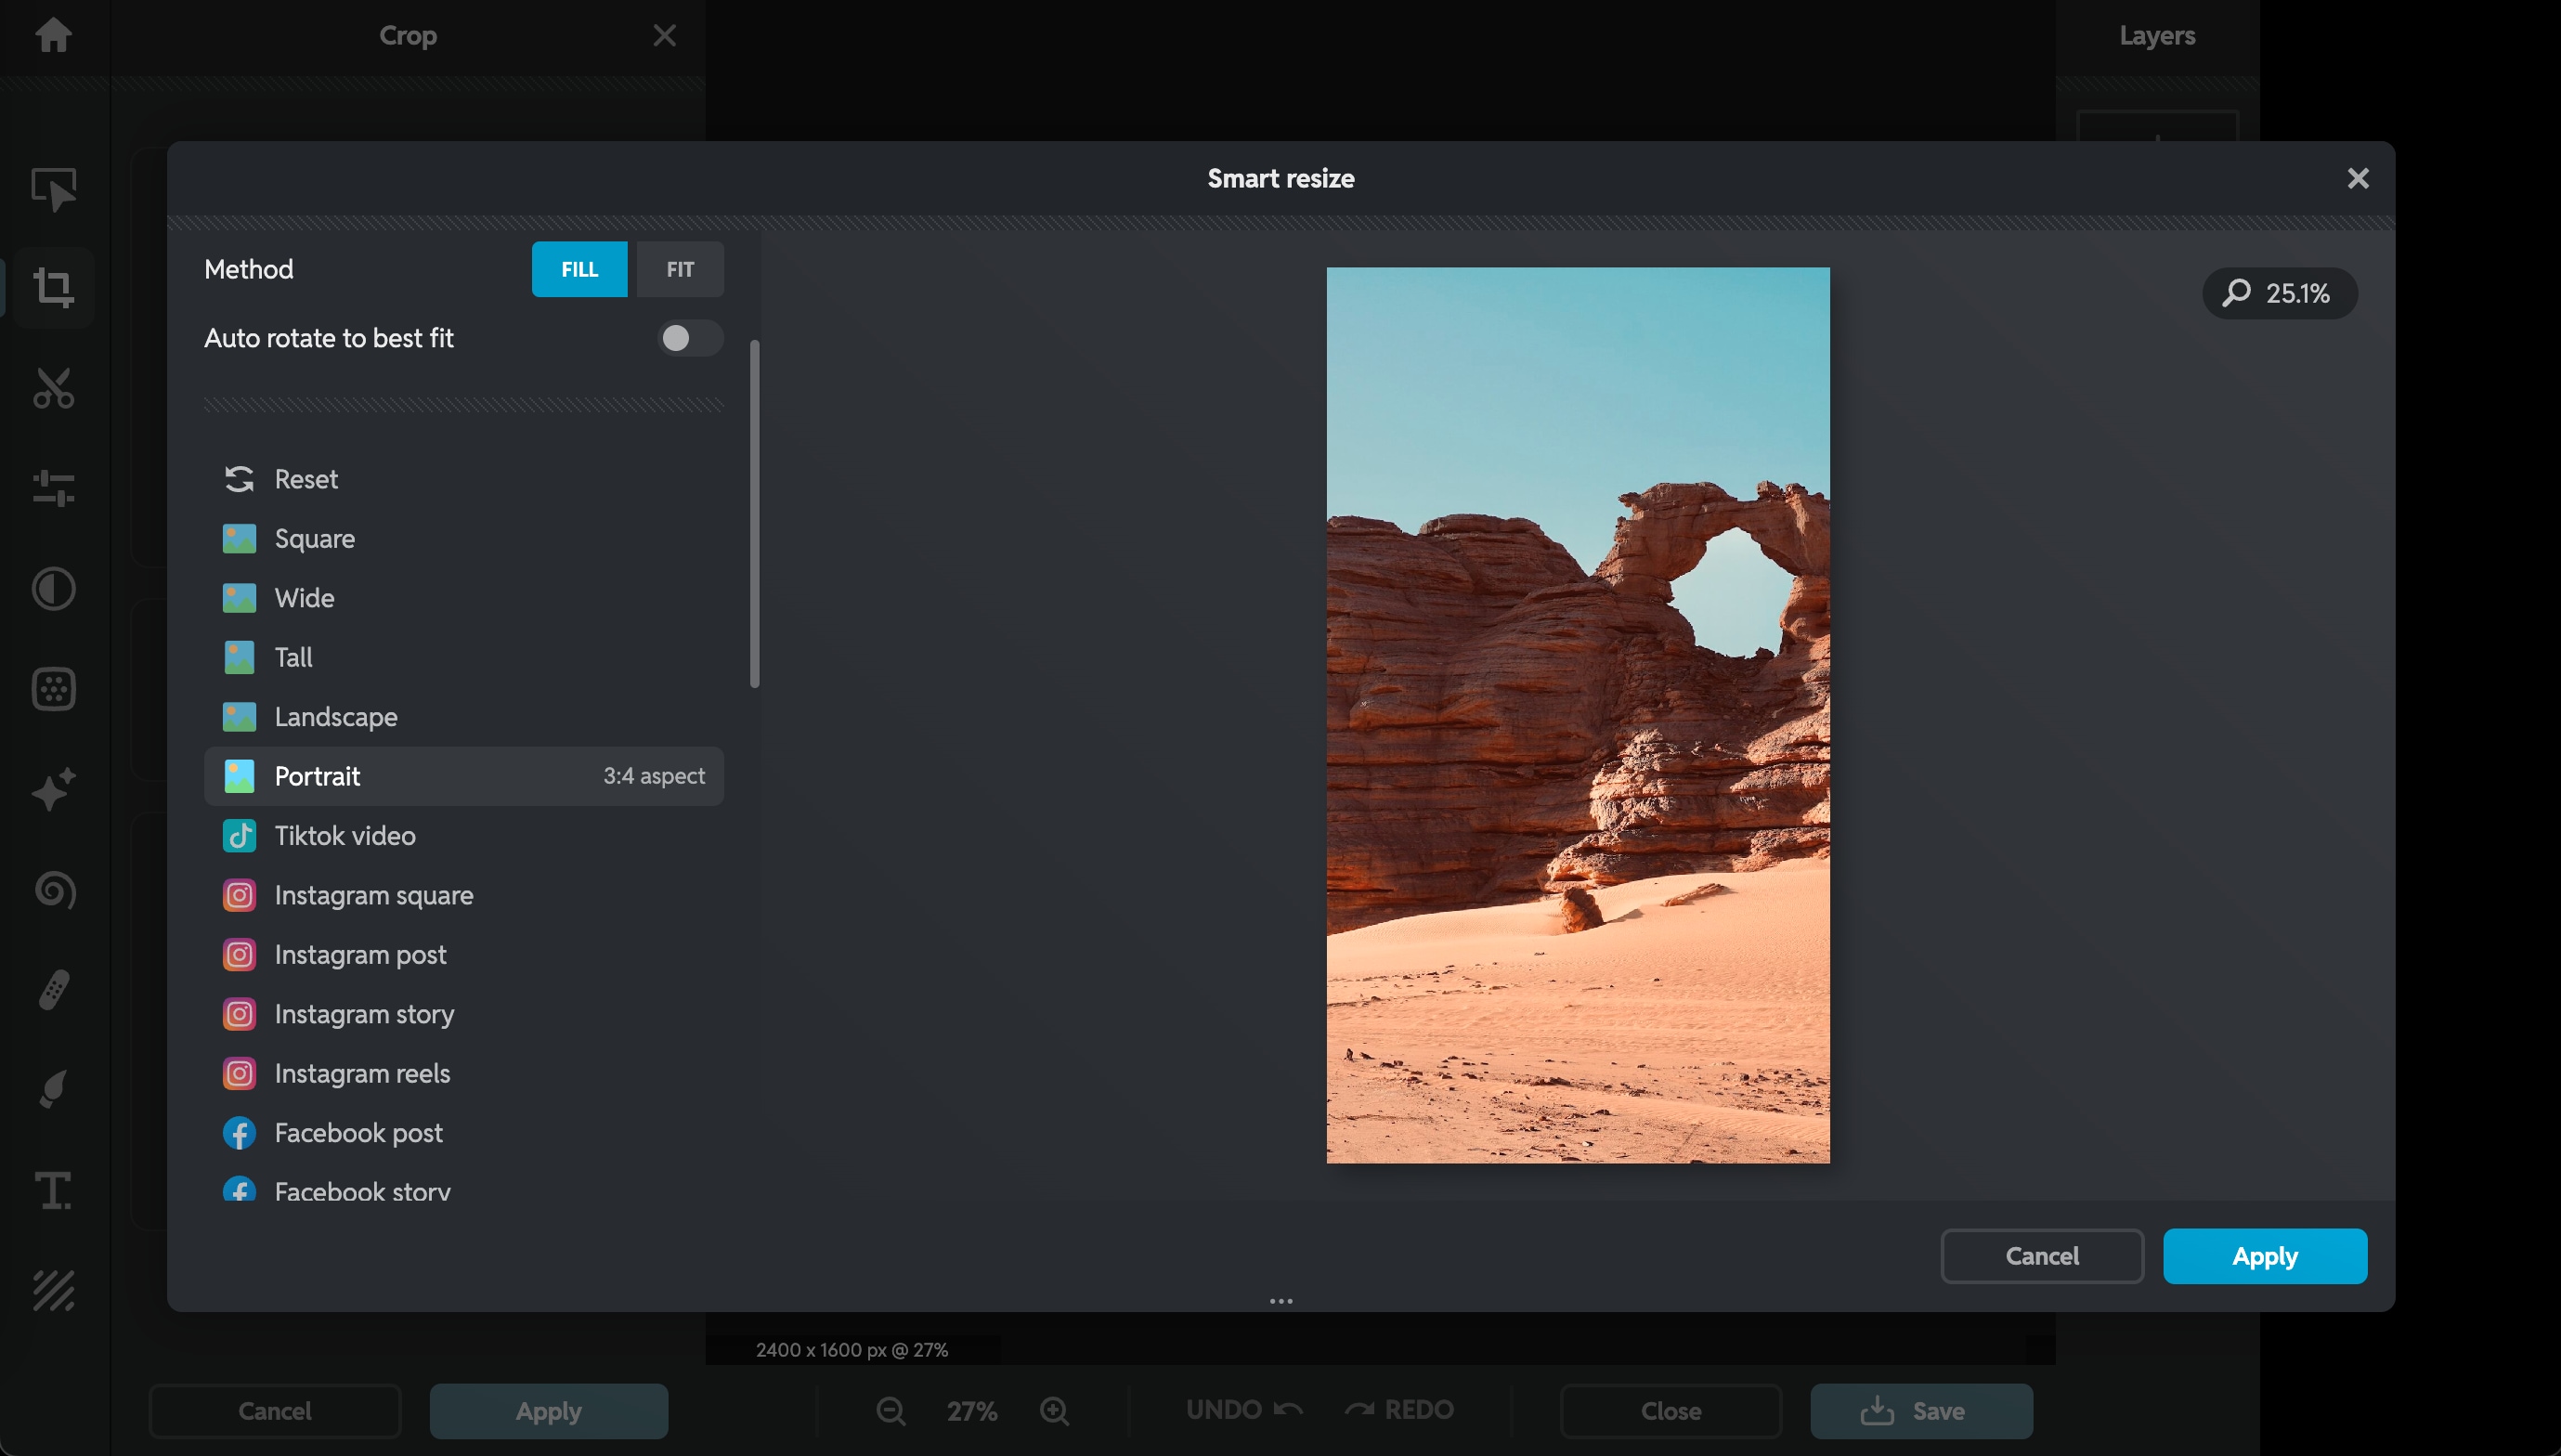
From the left toolbar, click “Crop,” then head to the “Resize” section. From here, you can choose from “Image Size,” “Canvas Size,” or “Smart Resize” based on your needs. You can also manually drag the corners to adjust dimensions.
Step 3: Save the Resized Image
Pros & Cons:
4. Picsart
Picsart is a popular all-in-one editing platform known in the design community for its creative tools and user-friendly mobile and desktop apps. The tool offers filters, retouching, and design elements. If you have worked on Canva, you will find the user interface pretty similar, which further makes it a user-friendly tool for beginners.
Key Features
- You can resize images manually or by using predefined aspect ratios.
- You can maintain the original resolution during scaling.
- It has integrated AI tools for background removal and enhancement.
- It is a cross-platform tool with access via mobile, web, and desktop.
How to Resize an Image Using Picsart
Here are quick steps that will help you understand how to resize a picture in Picsart:
Step 1: Upload Your Image
Head to PicsArt’s official website, and the editor will launch from where you can “Upload” your image.
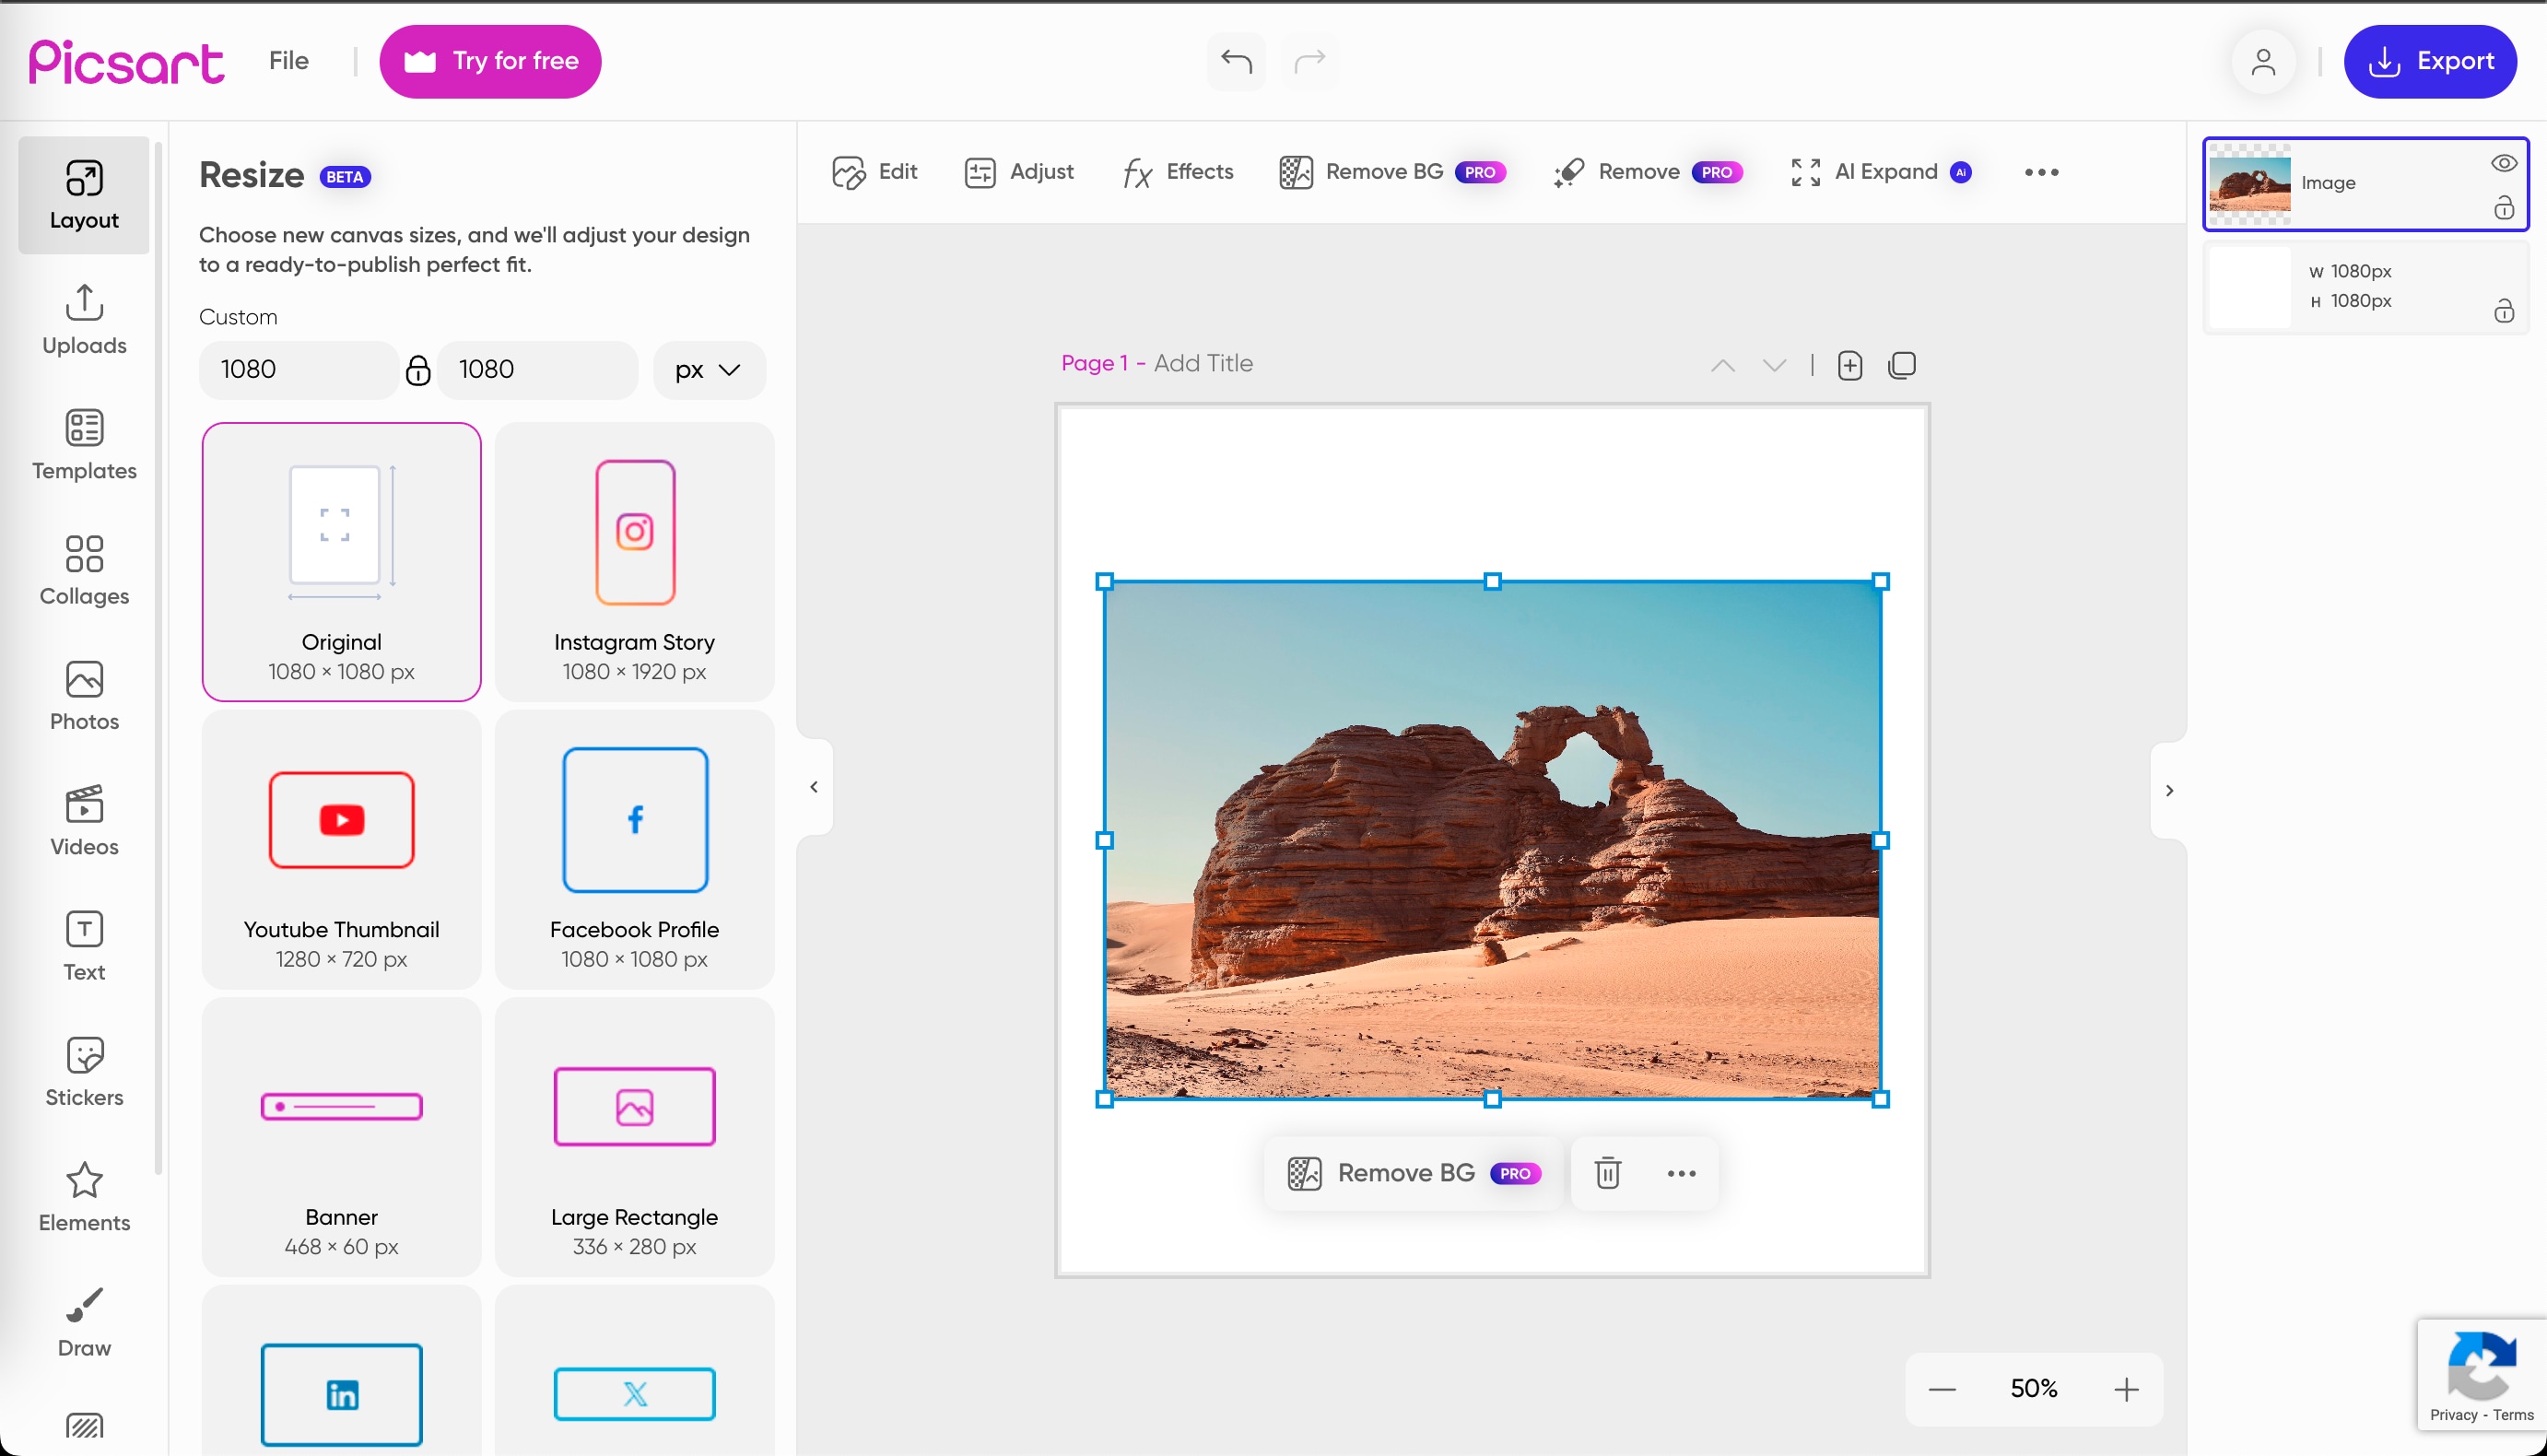
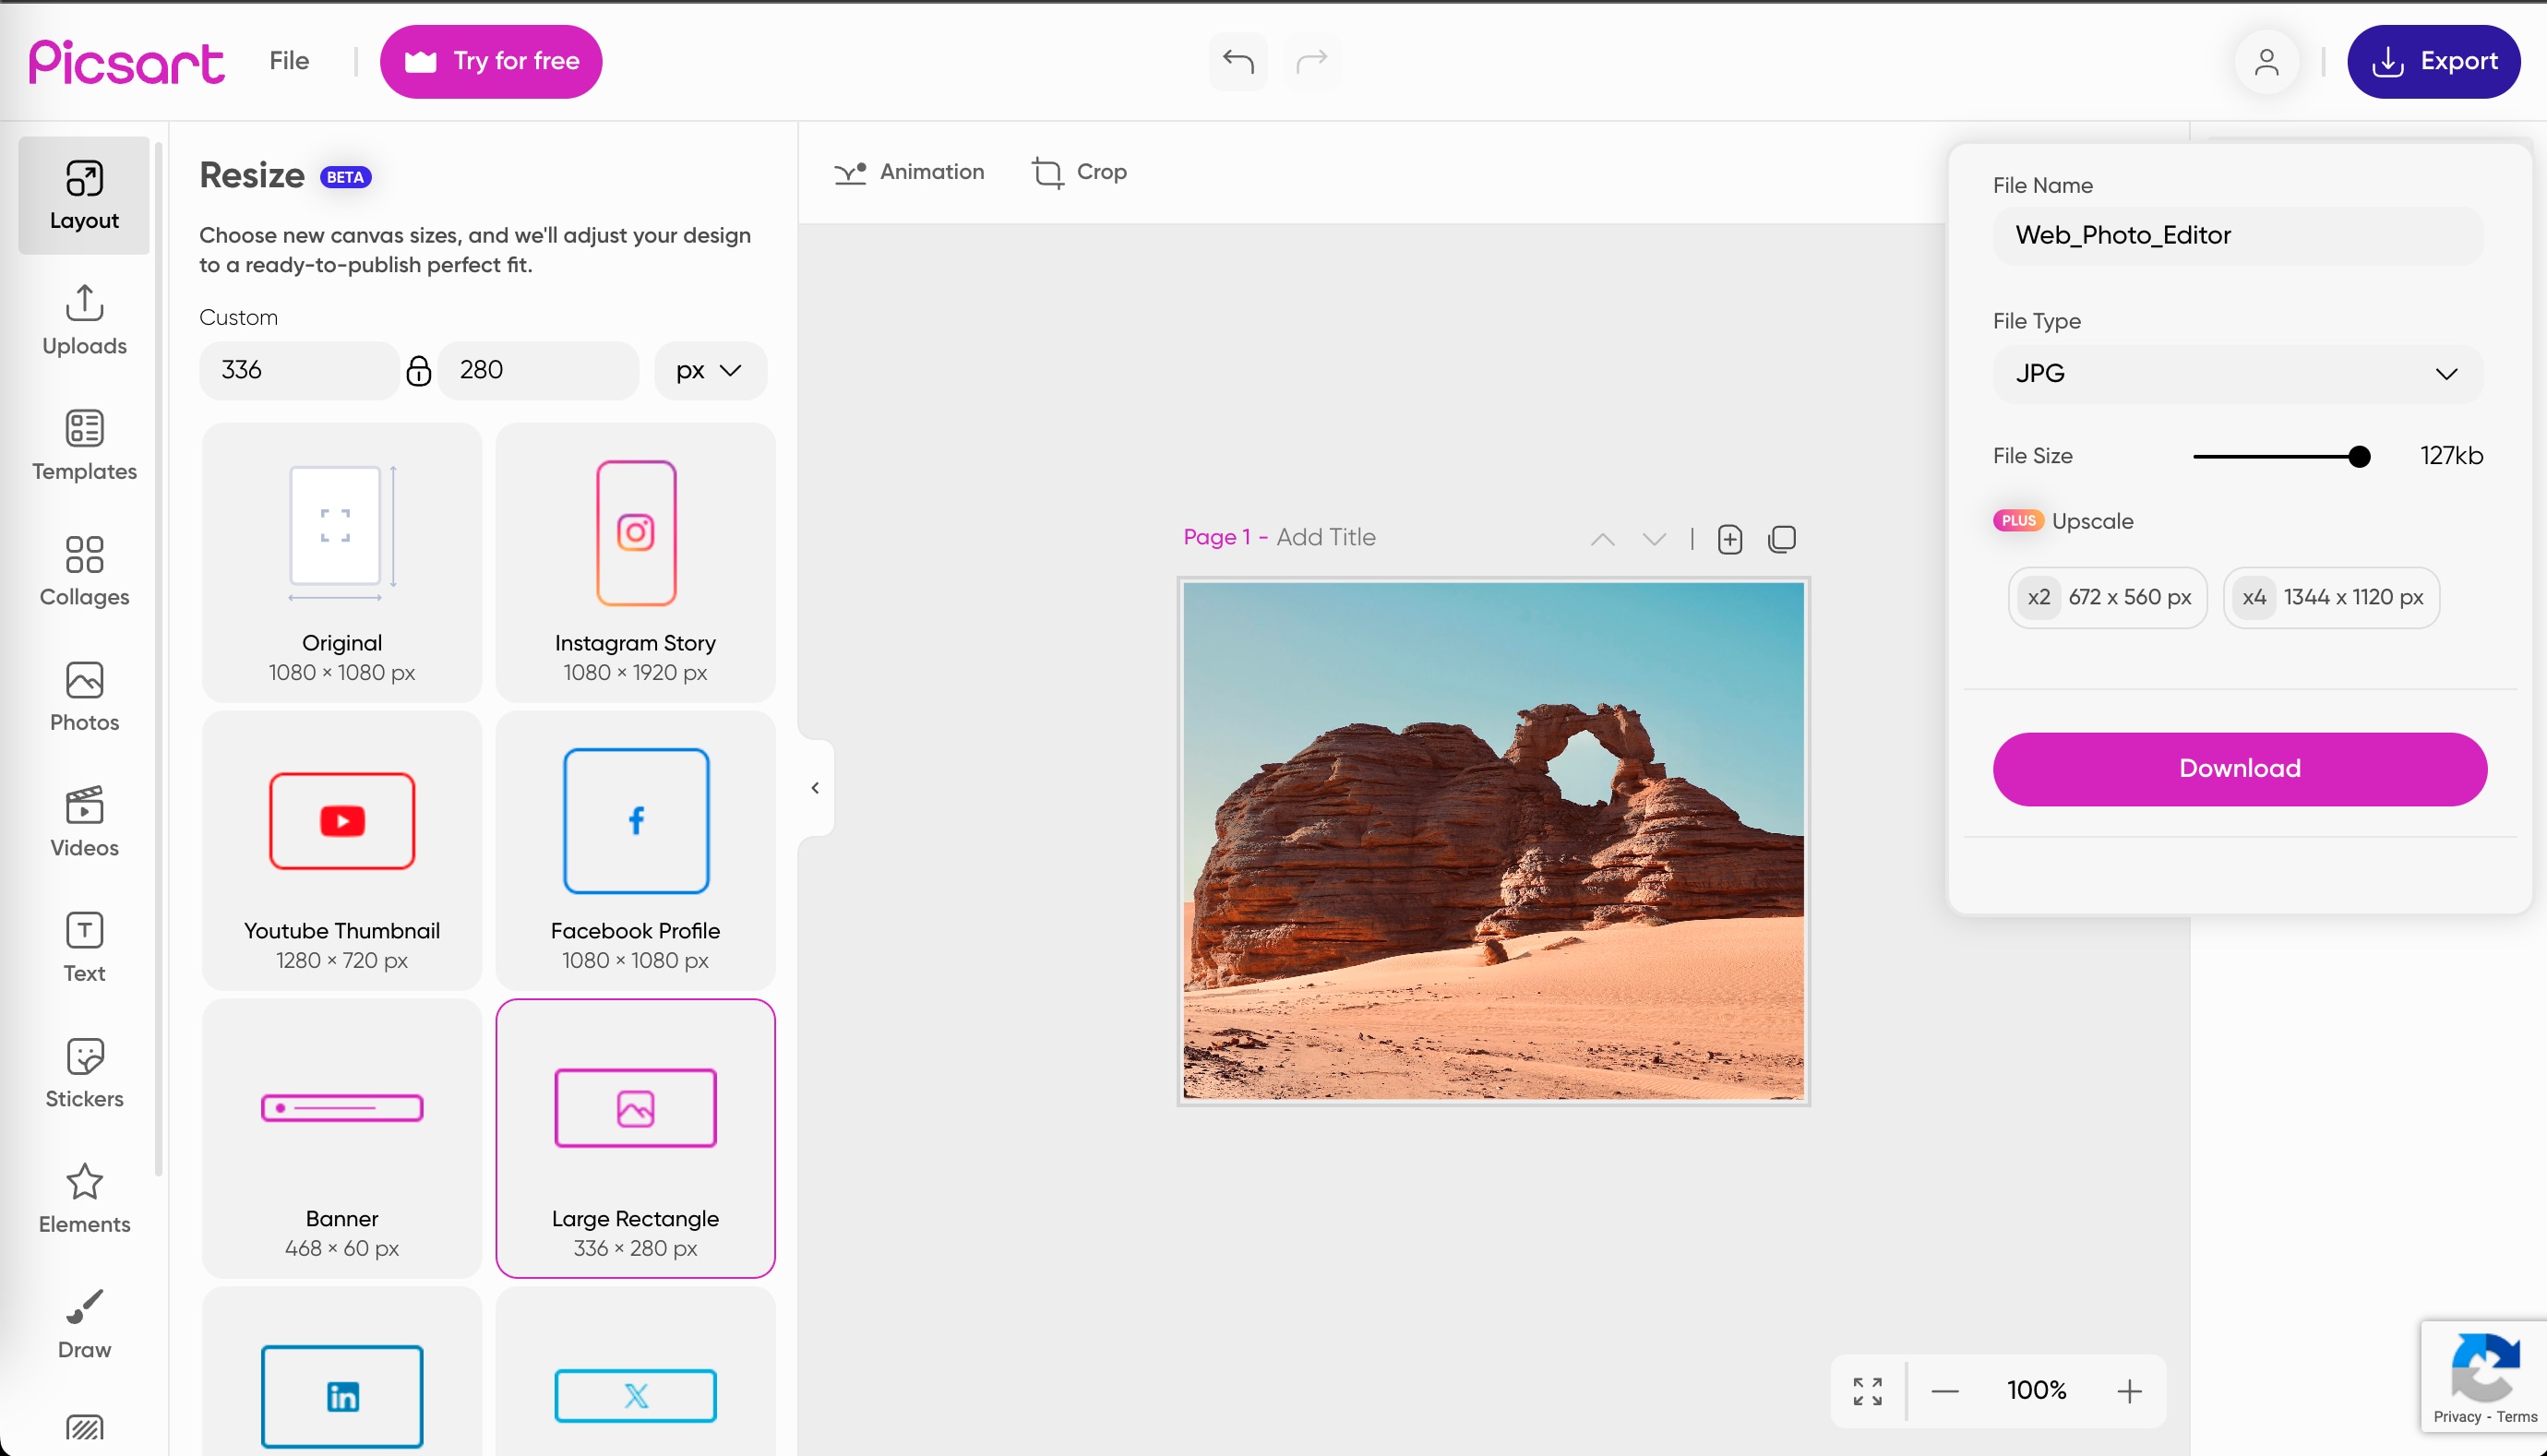
Step 2: Choose Canvas or Drag to Resize
From the “Layout” tab on the left, select a preset size (like Instagram Story or YouTube Thumbnail), or you can manually adjust the canvas by dragging the image corners to your preferred dimensions.
Step 3: Export the Final Image
Pros & Cons:
Versatile Image Resizer Toolbox
Part 4: 4 Best Design Software Tools for Lossless Quality Image Resizing
If you want ultra-precision for brand consistency or high-quality publishing, you can rely on design-focused software that offers powerful tools to resize images without any loss in quality. Here are four design software that ensure lossless image resizing while maintaining clarity and color accuracy:
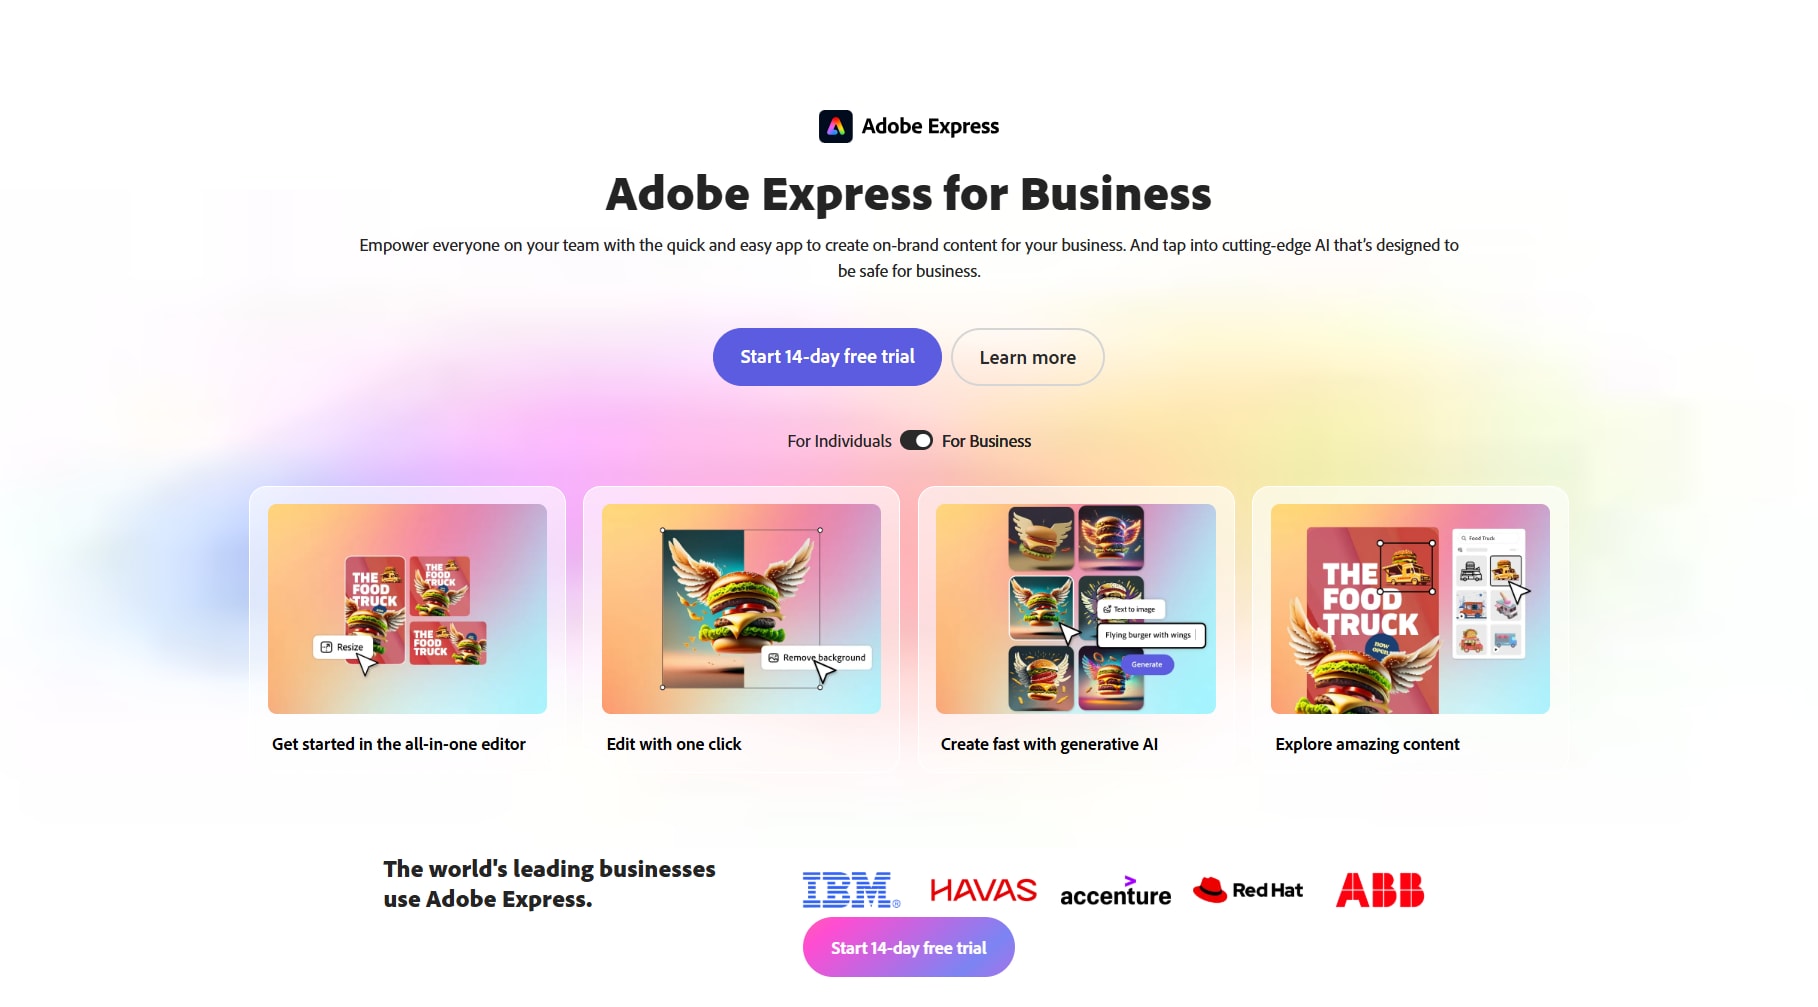
1. Adobe Express
If you want to use the easy features of Adobe Photoshop, then you can check out Adobe Express, which brings Adobe’s design precision into a streamlined online platform. In this tool, you can resize images quickly without compromising quality.
Key Features
- It offers preset dimensions for social platforms like Instagram, YouTube, and LinkedIn.
- It offers a drag-and-drop interface with instant preview.
- It integrates with Adobe Creative Cloud for advanced workflows.
- It also supports multiple file types including PNG, JPG, and SVG.
How to Resize an Image Using Adobe Express?
Check out the following quick steps to use Adobe Express to resize pictures without losing quality:
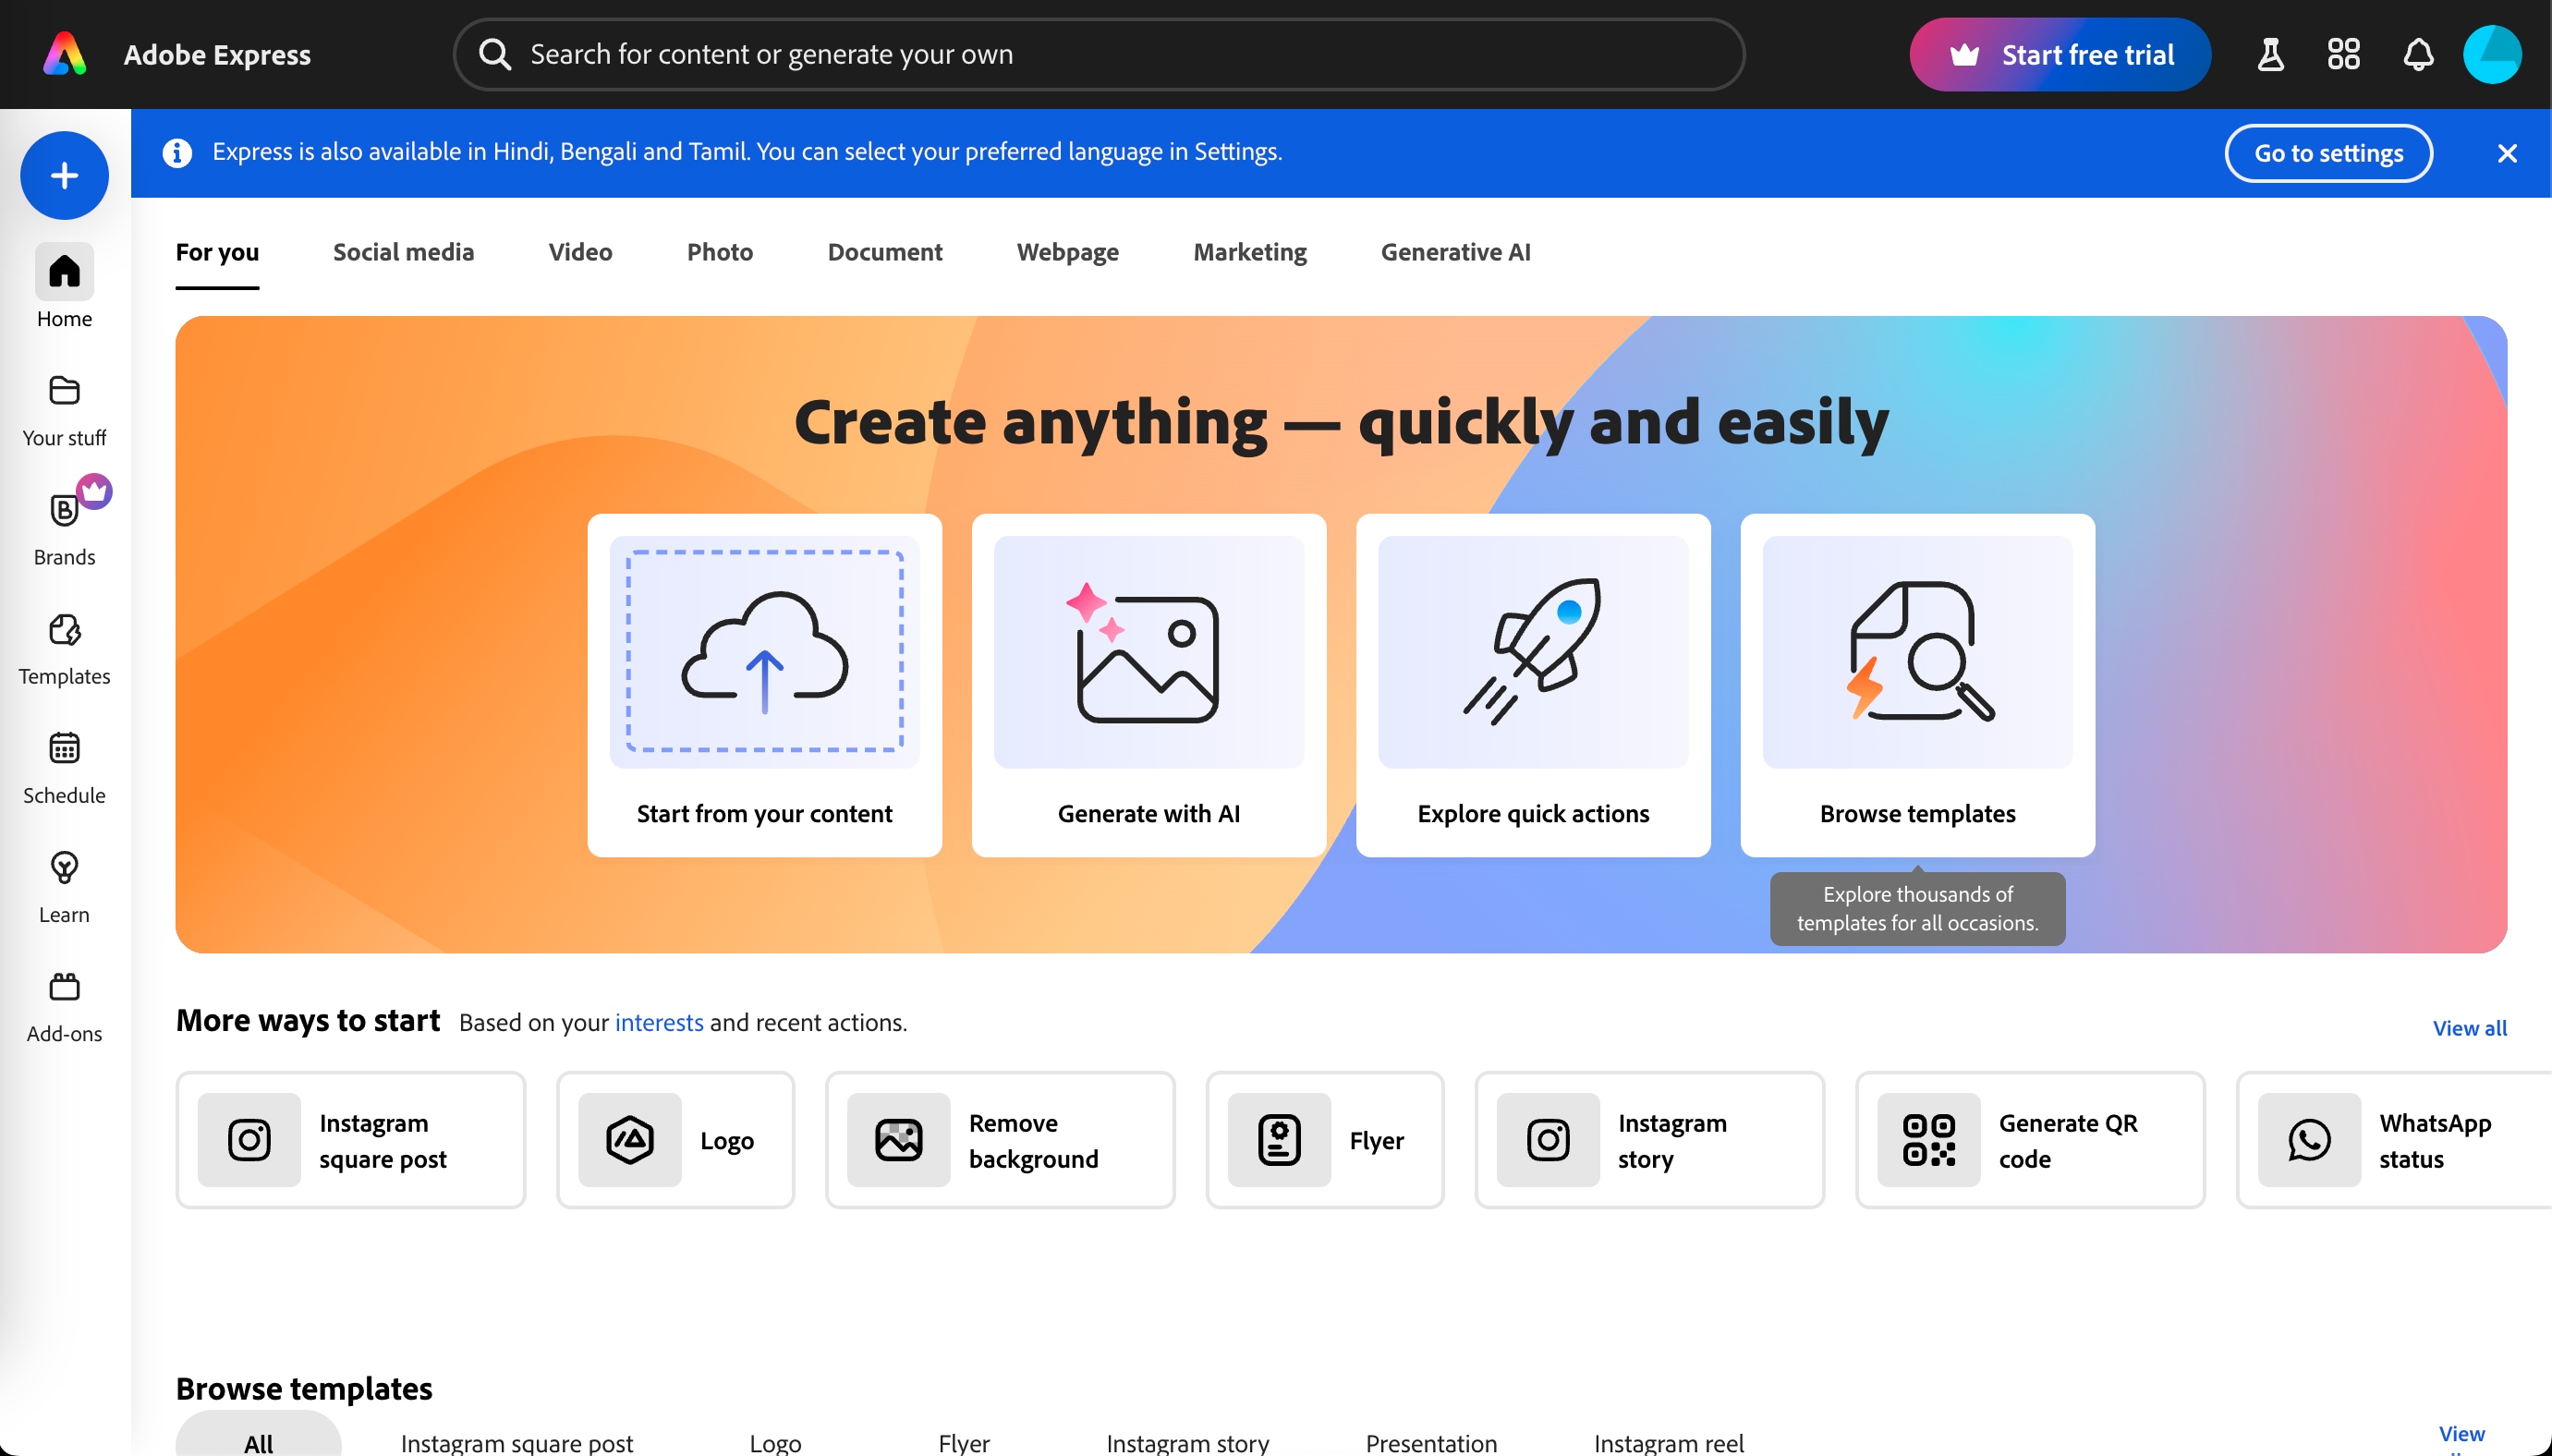
Step 1: Login and Upload
Visit Adobe Express, log in to your account, and click on “Start Your Content” to upload your image.
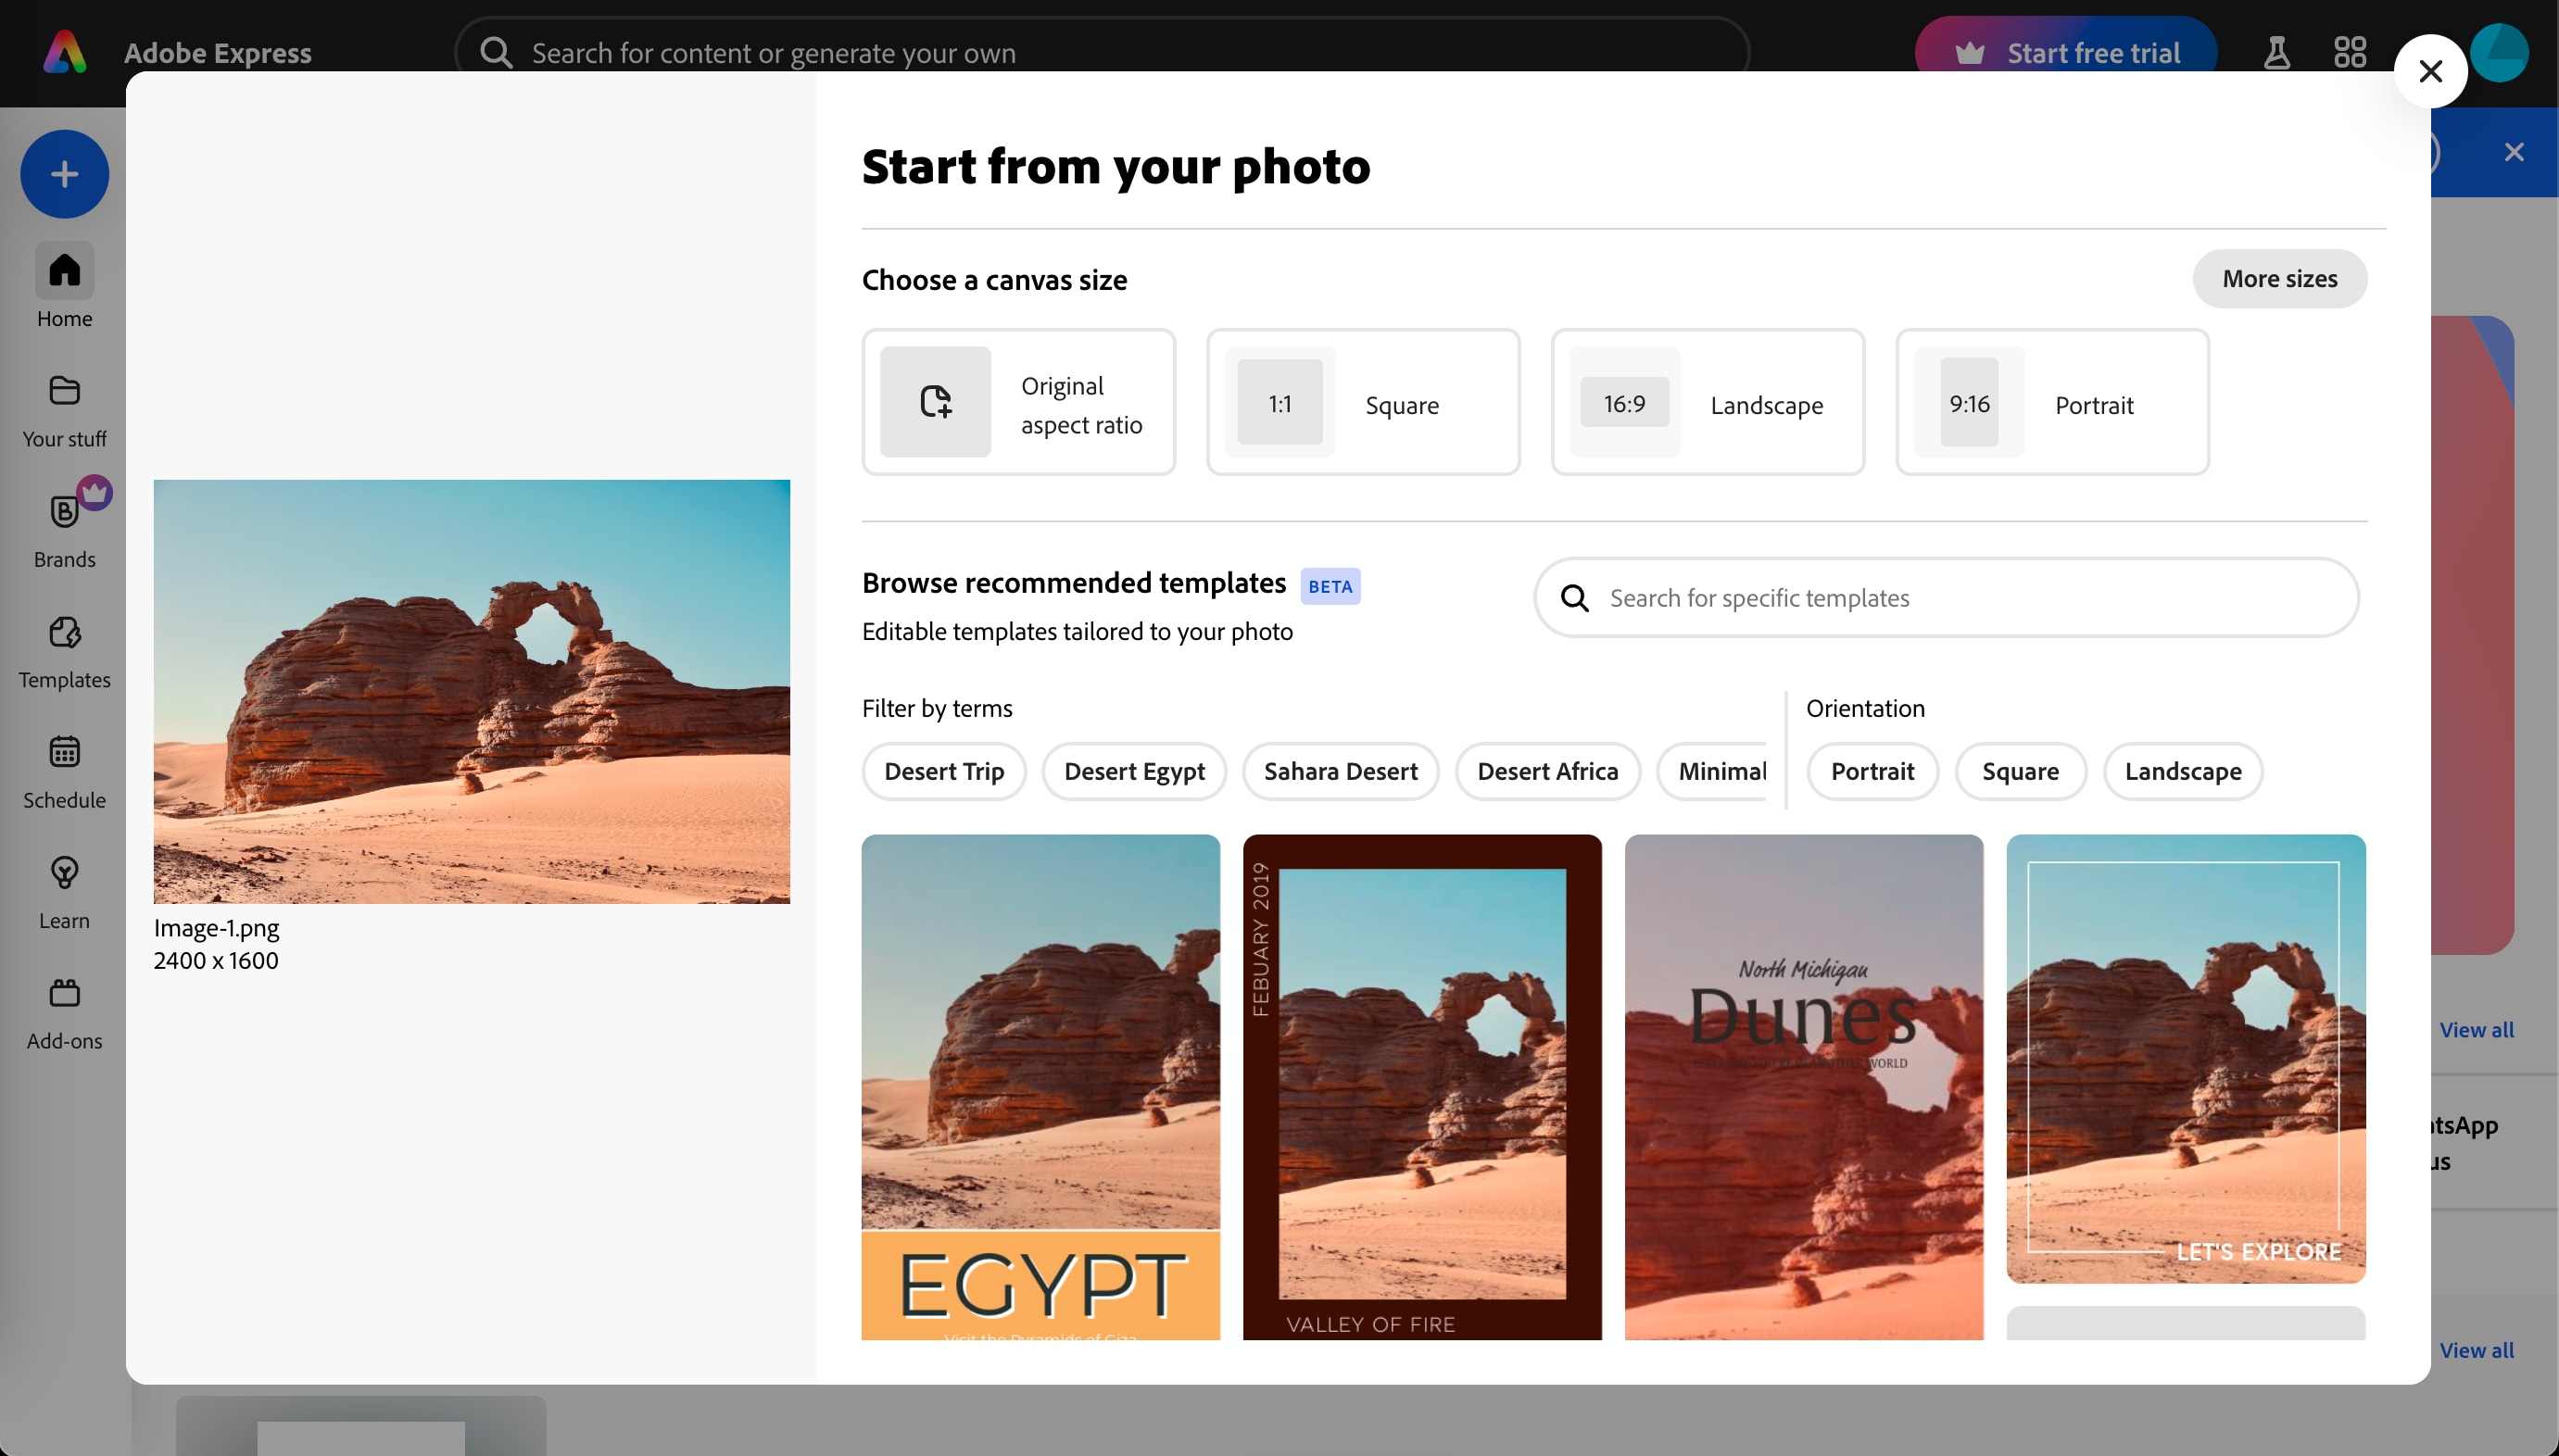
Step 2: Choose Canvas Size
Once the image loads, click on “Choose a Canvas Size” and select the desired dimensions. This will take you to the editing dashboard, where you can make further adjustments.
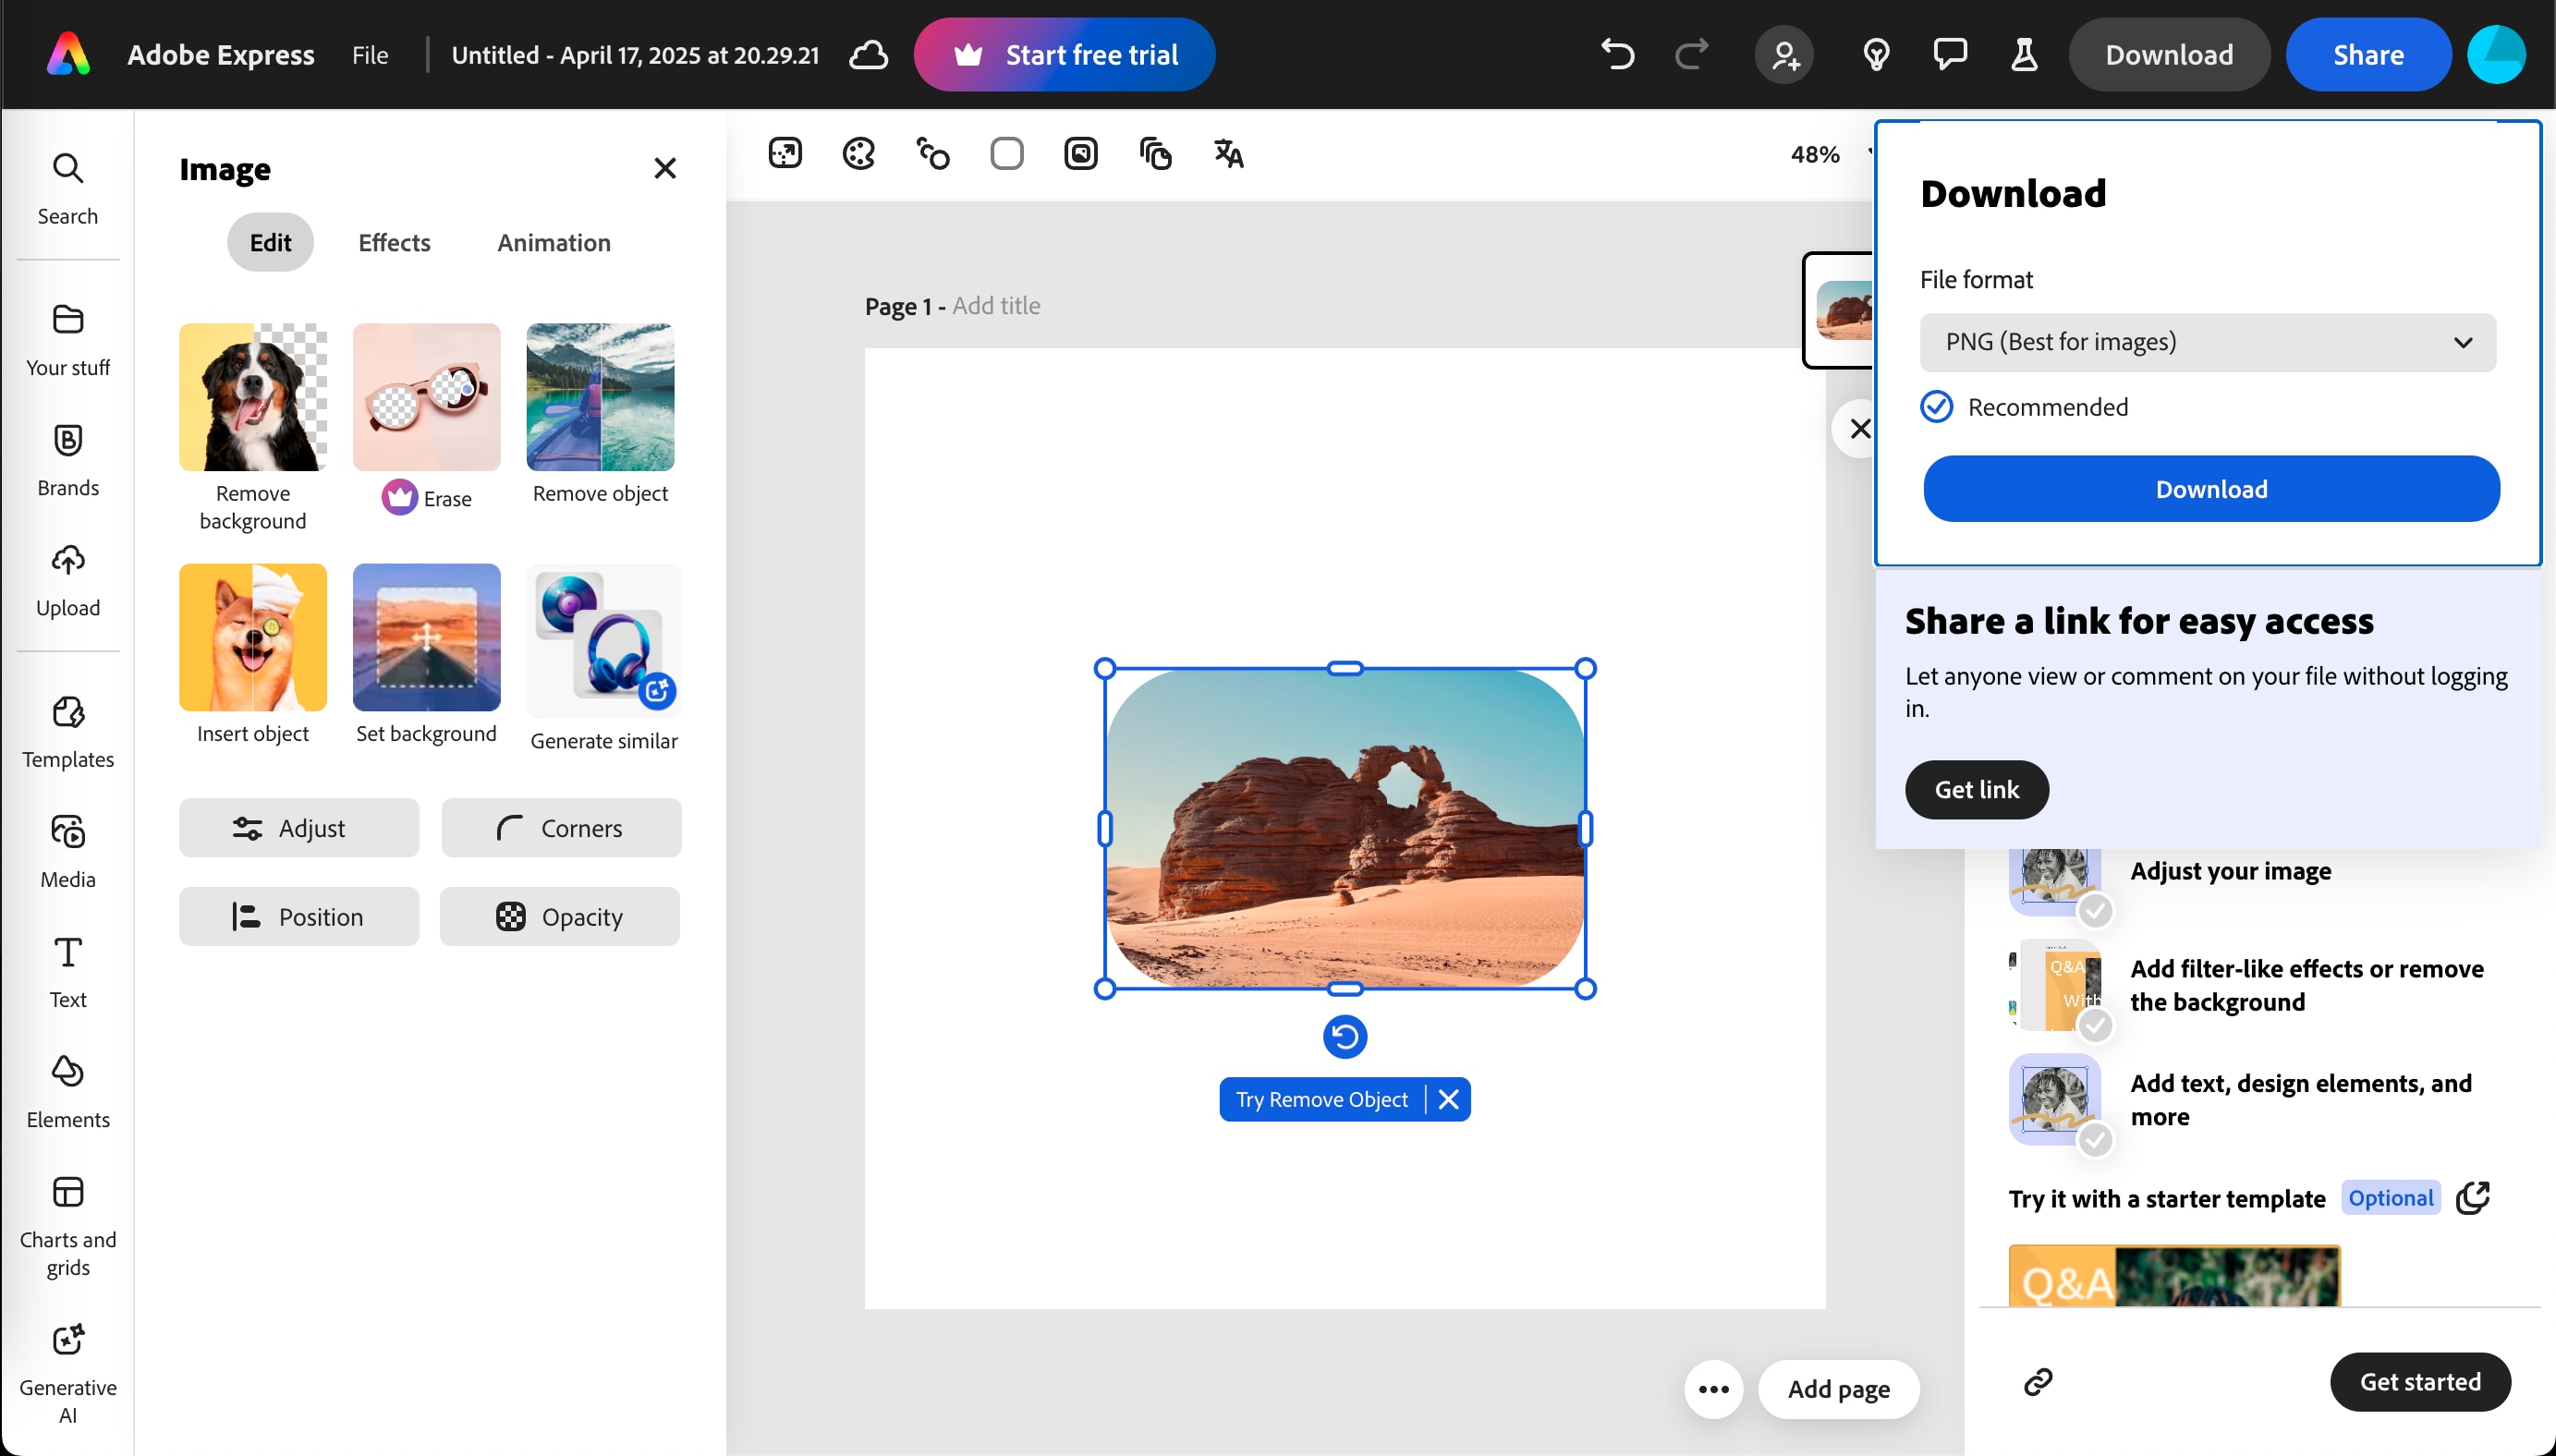
Step 3: Download the Image
After making the necessary edits, click on “Download” in the top-right corner to save your resized image.
Pros & Cons:
2. ShortPixel
ShortPixel is yet another image compression and optimization tool designed for web professionals. The tool primarily focuses on reducing file sizes; it retains original quality by using lossless compression, which makes it highly effective for resizing website visuals.
![]()
Key Features
- It offers both lossy and lossless compression modes.
- It is ideal for WordPress integration via a plugin.
- It maintains EXIF data and color profiles.
- It supports JPEG, PNG, GIF, WebP, and AVIF formats.
How to Resize an Image Using ShortPixel
Here are the quick steps that would help you resize the picture online:
Step 1: Upload Your Image
Go to ShortPixel and click “Upload Image” to add up to 50 images for resizing and compression.
![]()
Step 2: Set Resizing Parameters
Under “Settings,” enable “Resize to Maximum” and enter your preferred width and height. You can also select between Lossy, Glossy, or Lossless compression modes.
![]()
Step 3: Download the Output
Once the process is complete, preview the optimized image and click the download icon to save it.
![]()
Pros & Cons:
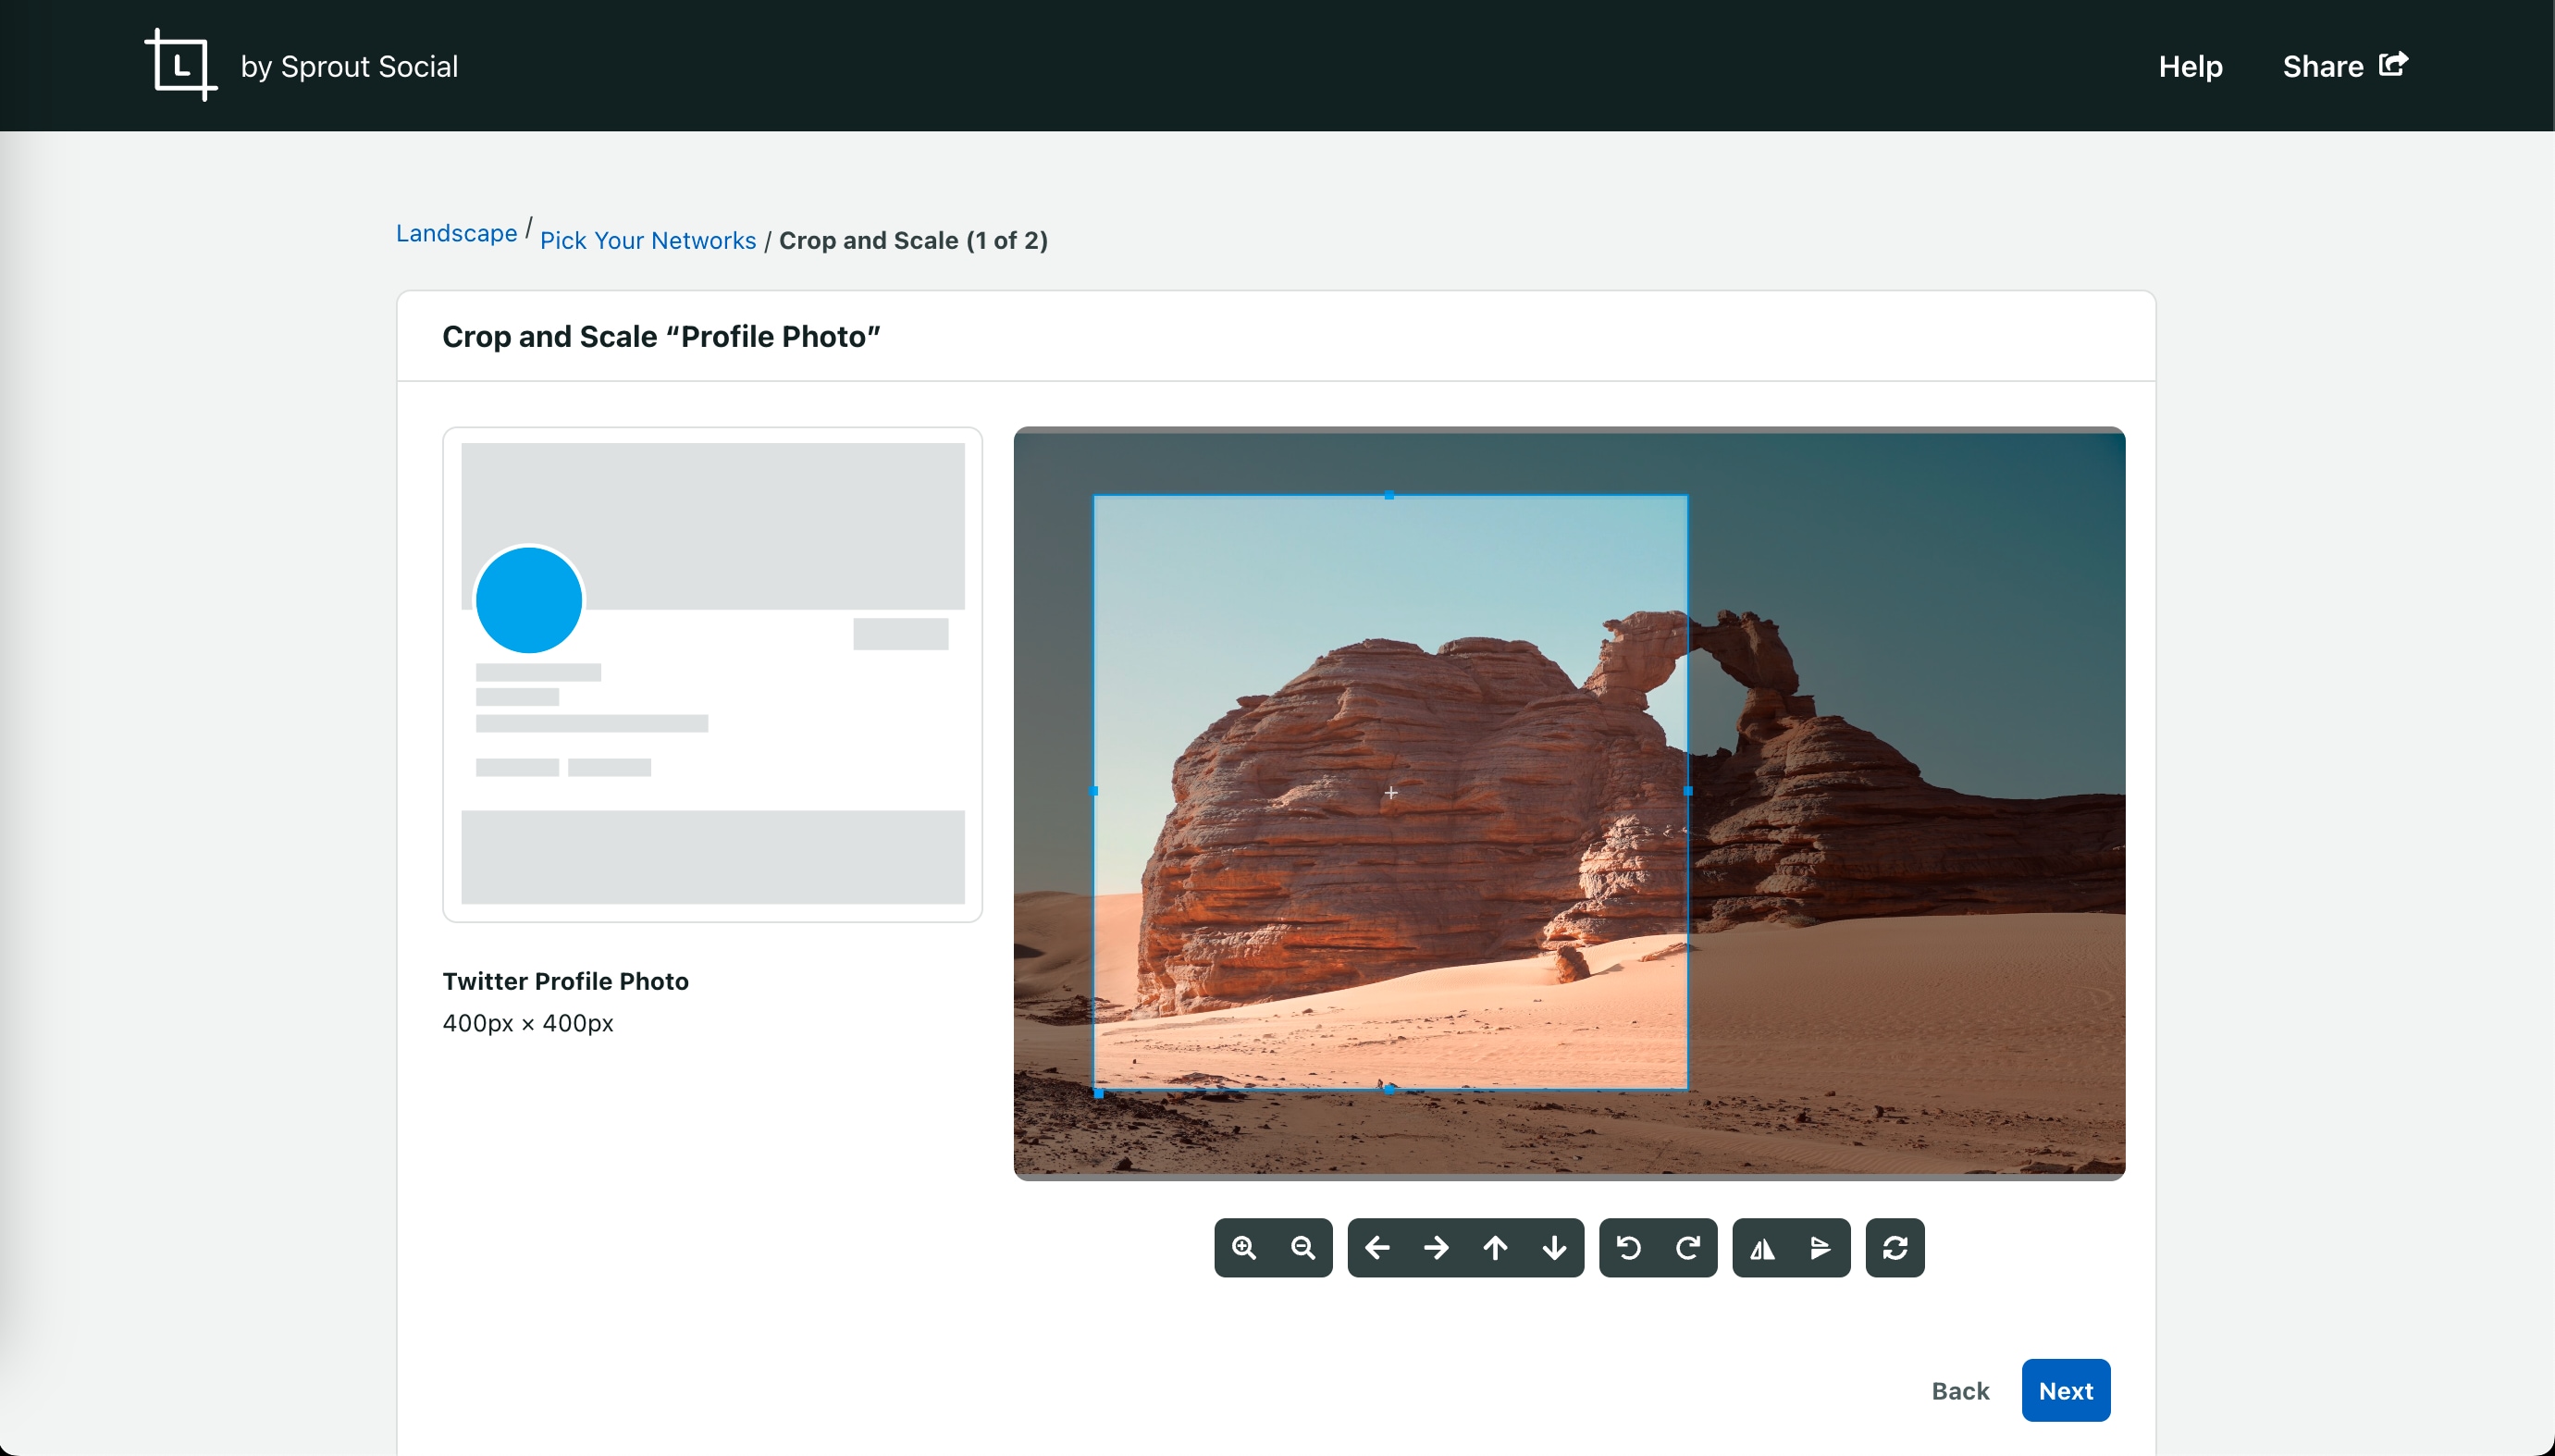
3. Landscape by Sprout Social
Landscape is a free tool by Sprout Social, which is built specifically for marketers and social media teams. It simplifies image resizing by offering platform-specific presets. This tool allows users to create consistently sized assets for various digital channels.
Key Features
- It offers image resizing for Facebook, Twitter, Instagram, LinkedIn, and more.
- It offers auto-cropping options based on selected platforms.
- It features a clean interface with step-by-step guidance.
- There’s no account required if you only want basic editing.
How to Resize an Image Using Landscape by Sprout Social
Check out the following steps to resize an image using Sprout Social:
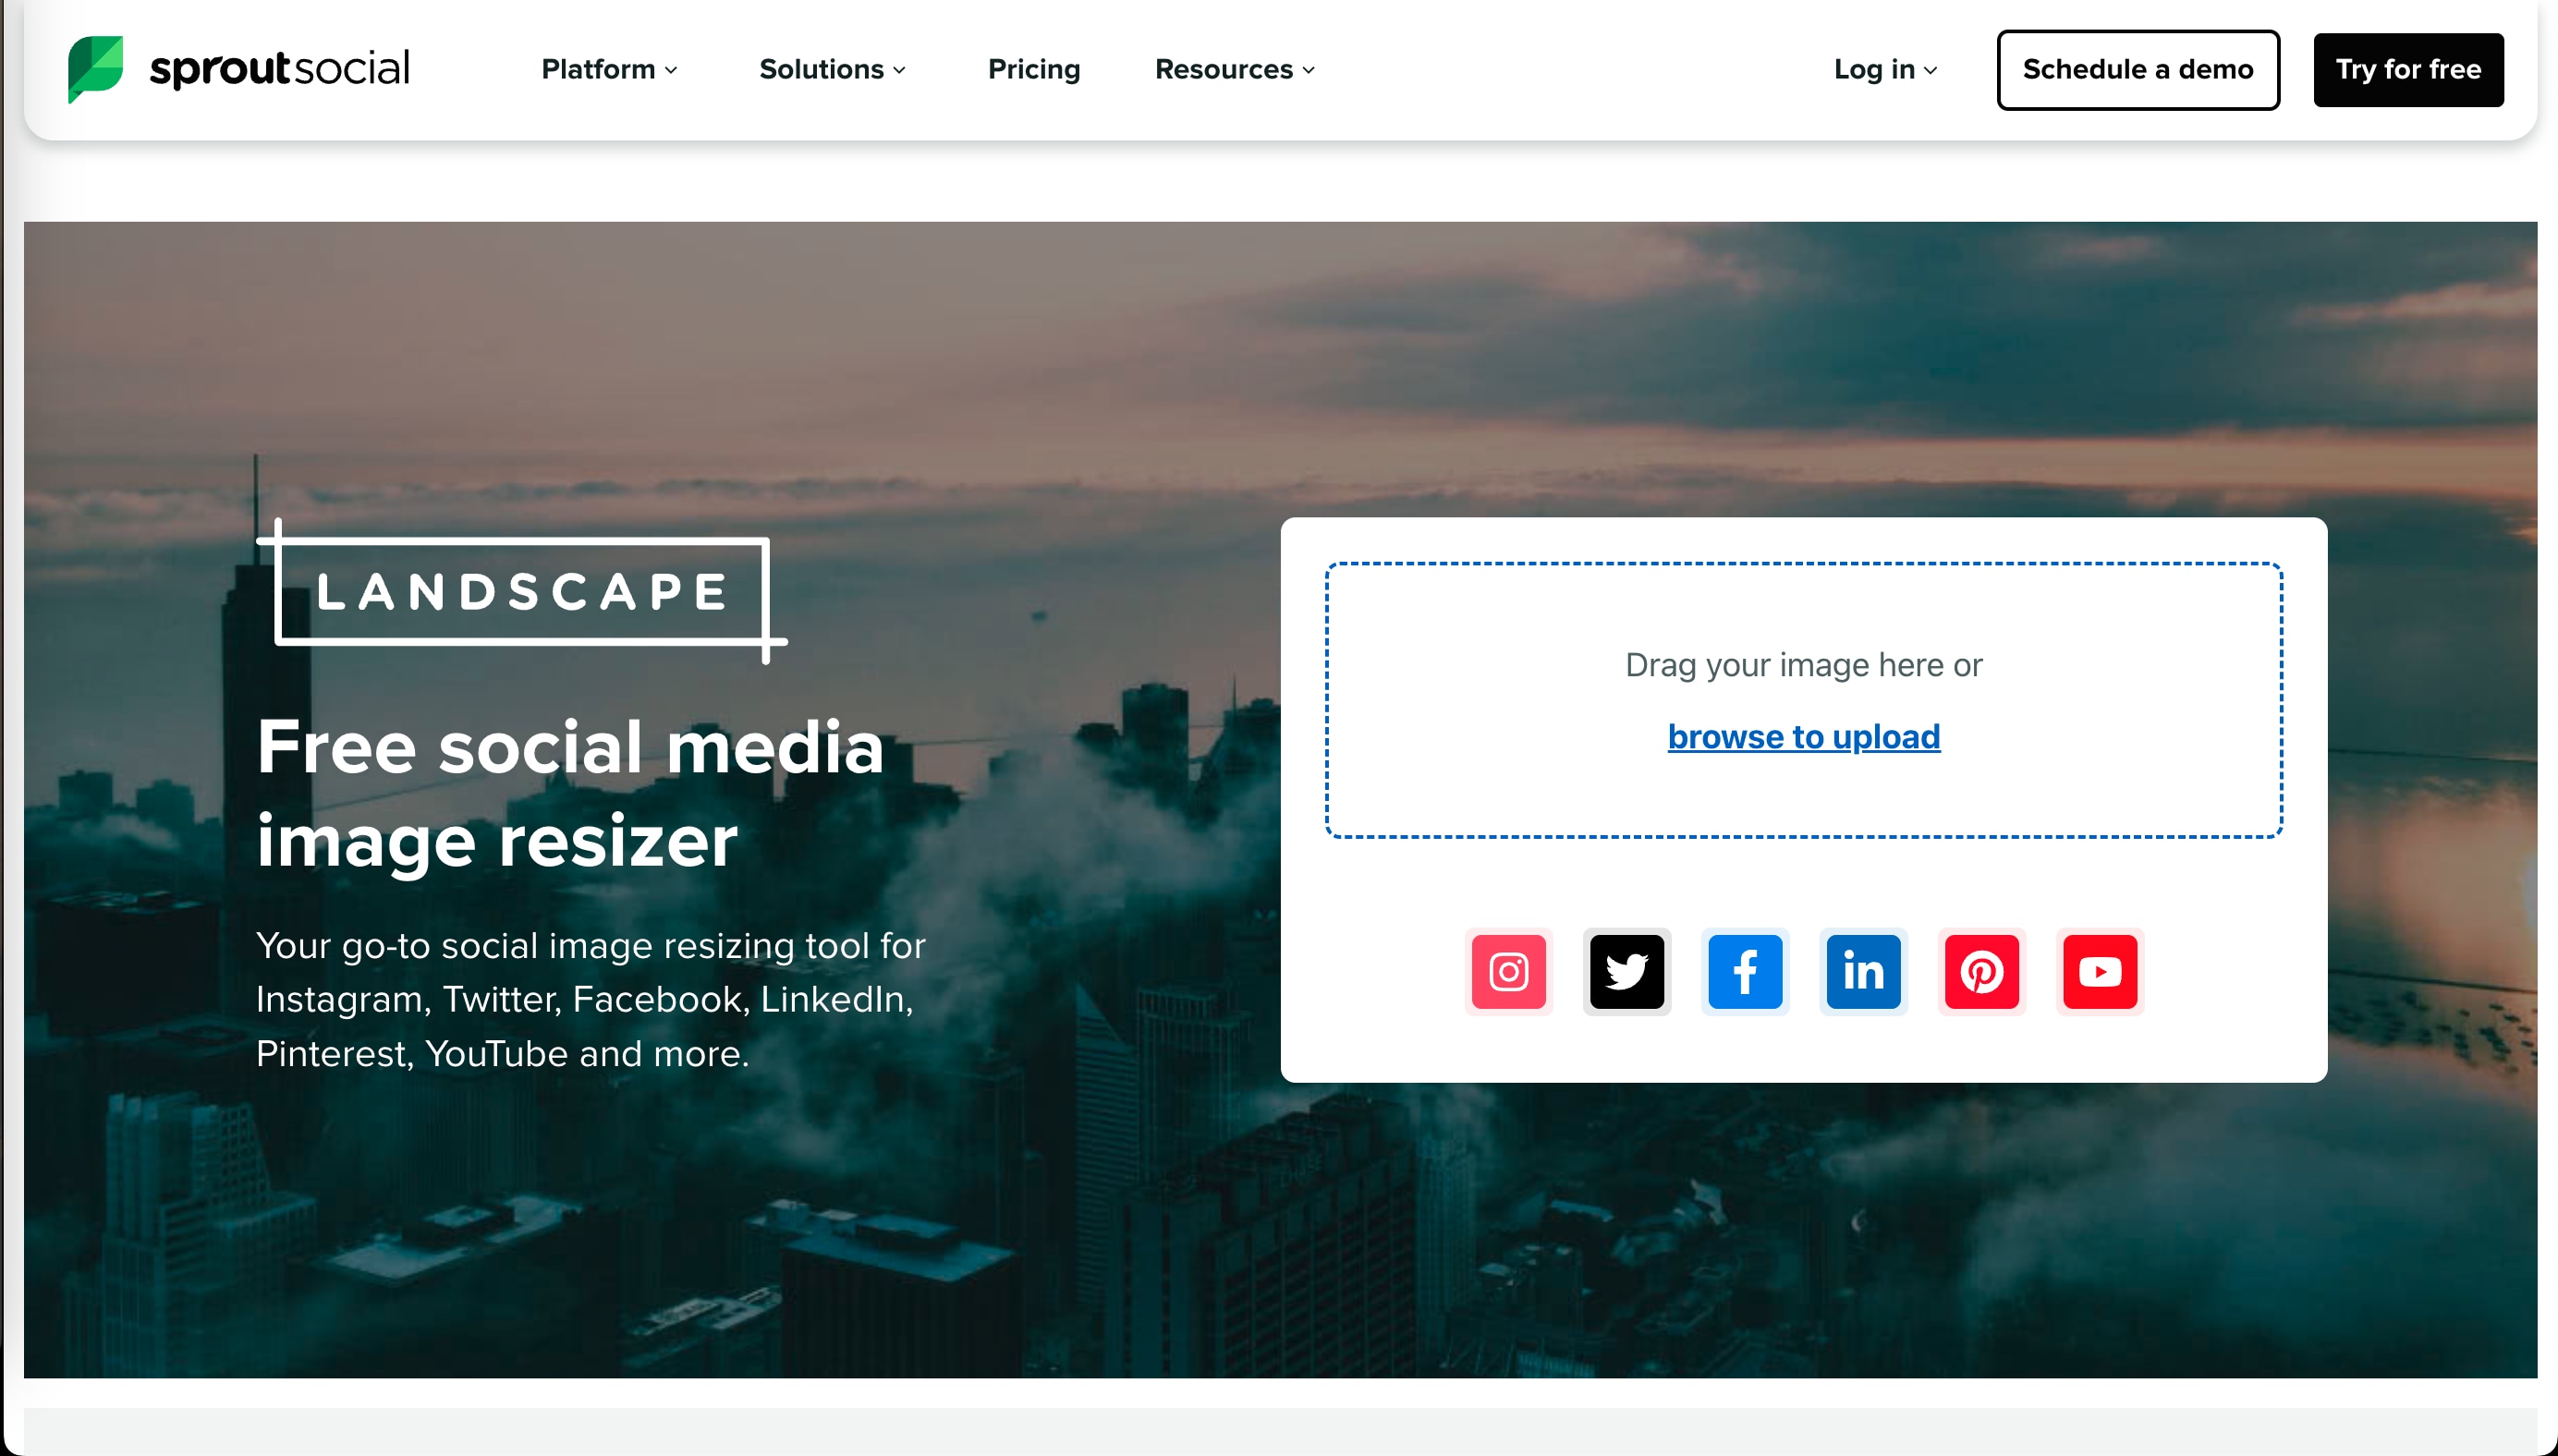
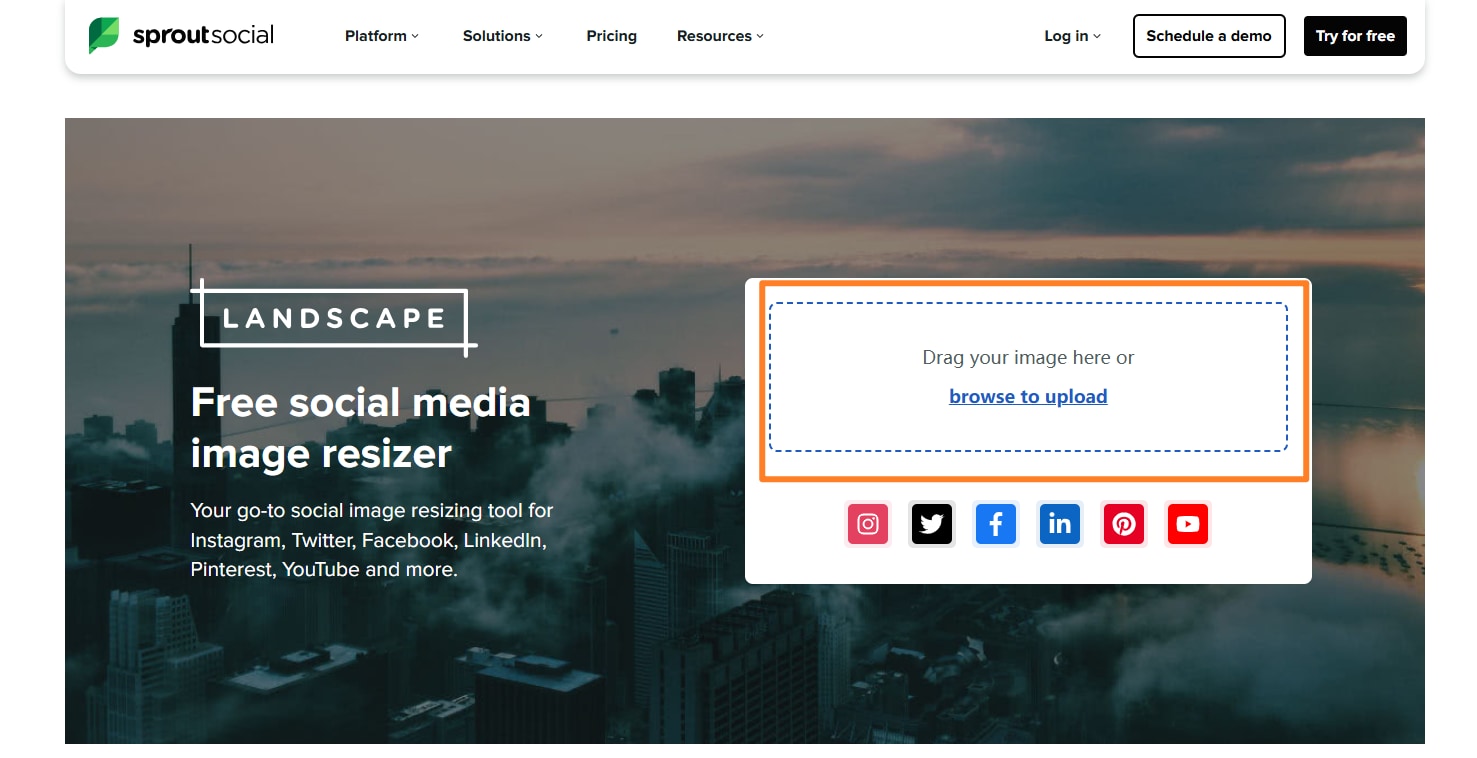
Step 1: Upload and Select Platforms
Visit Landscape and upload your image. Select the social platforms (e.g., Instagram, Twitter) where the image will be used.
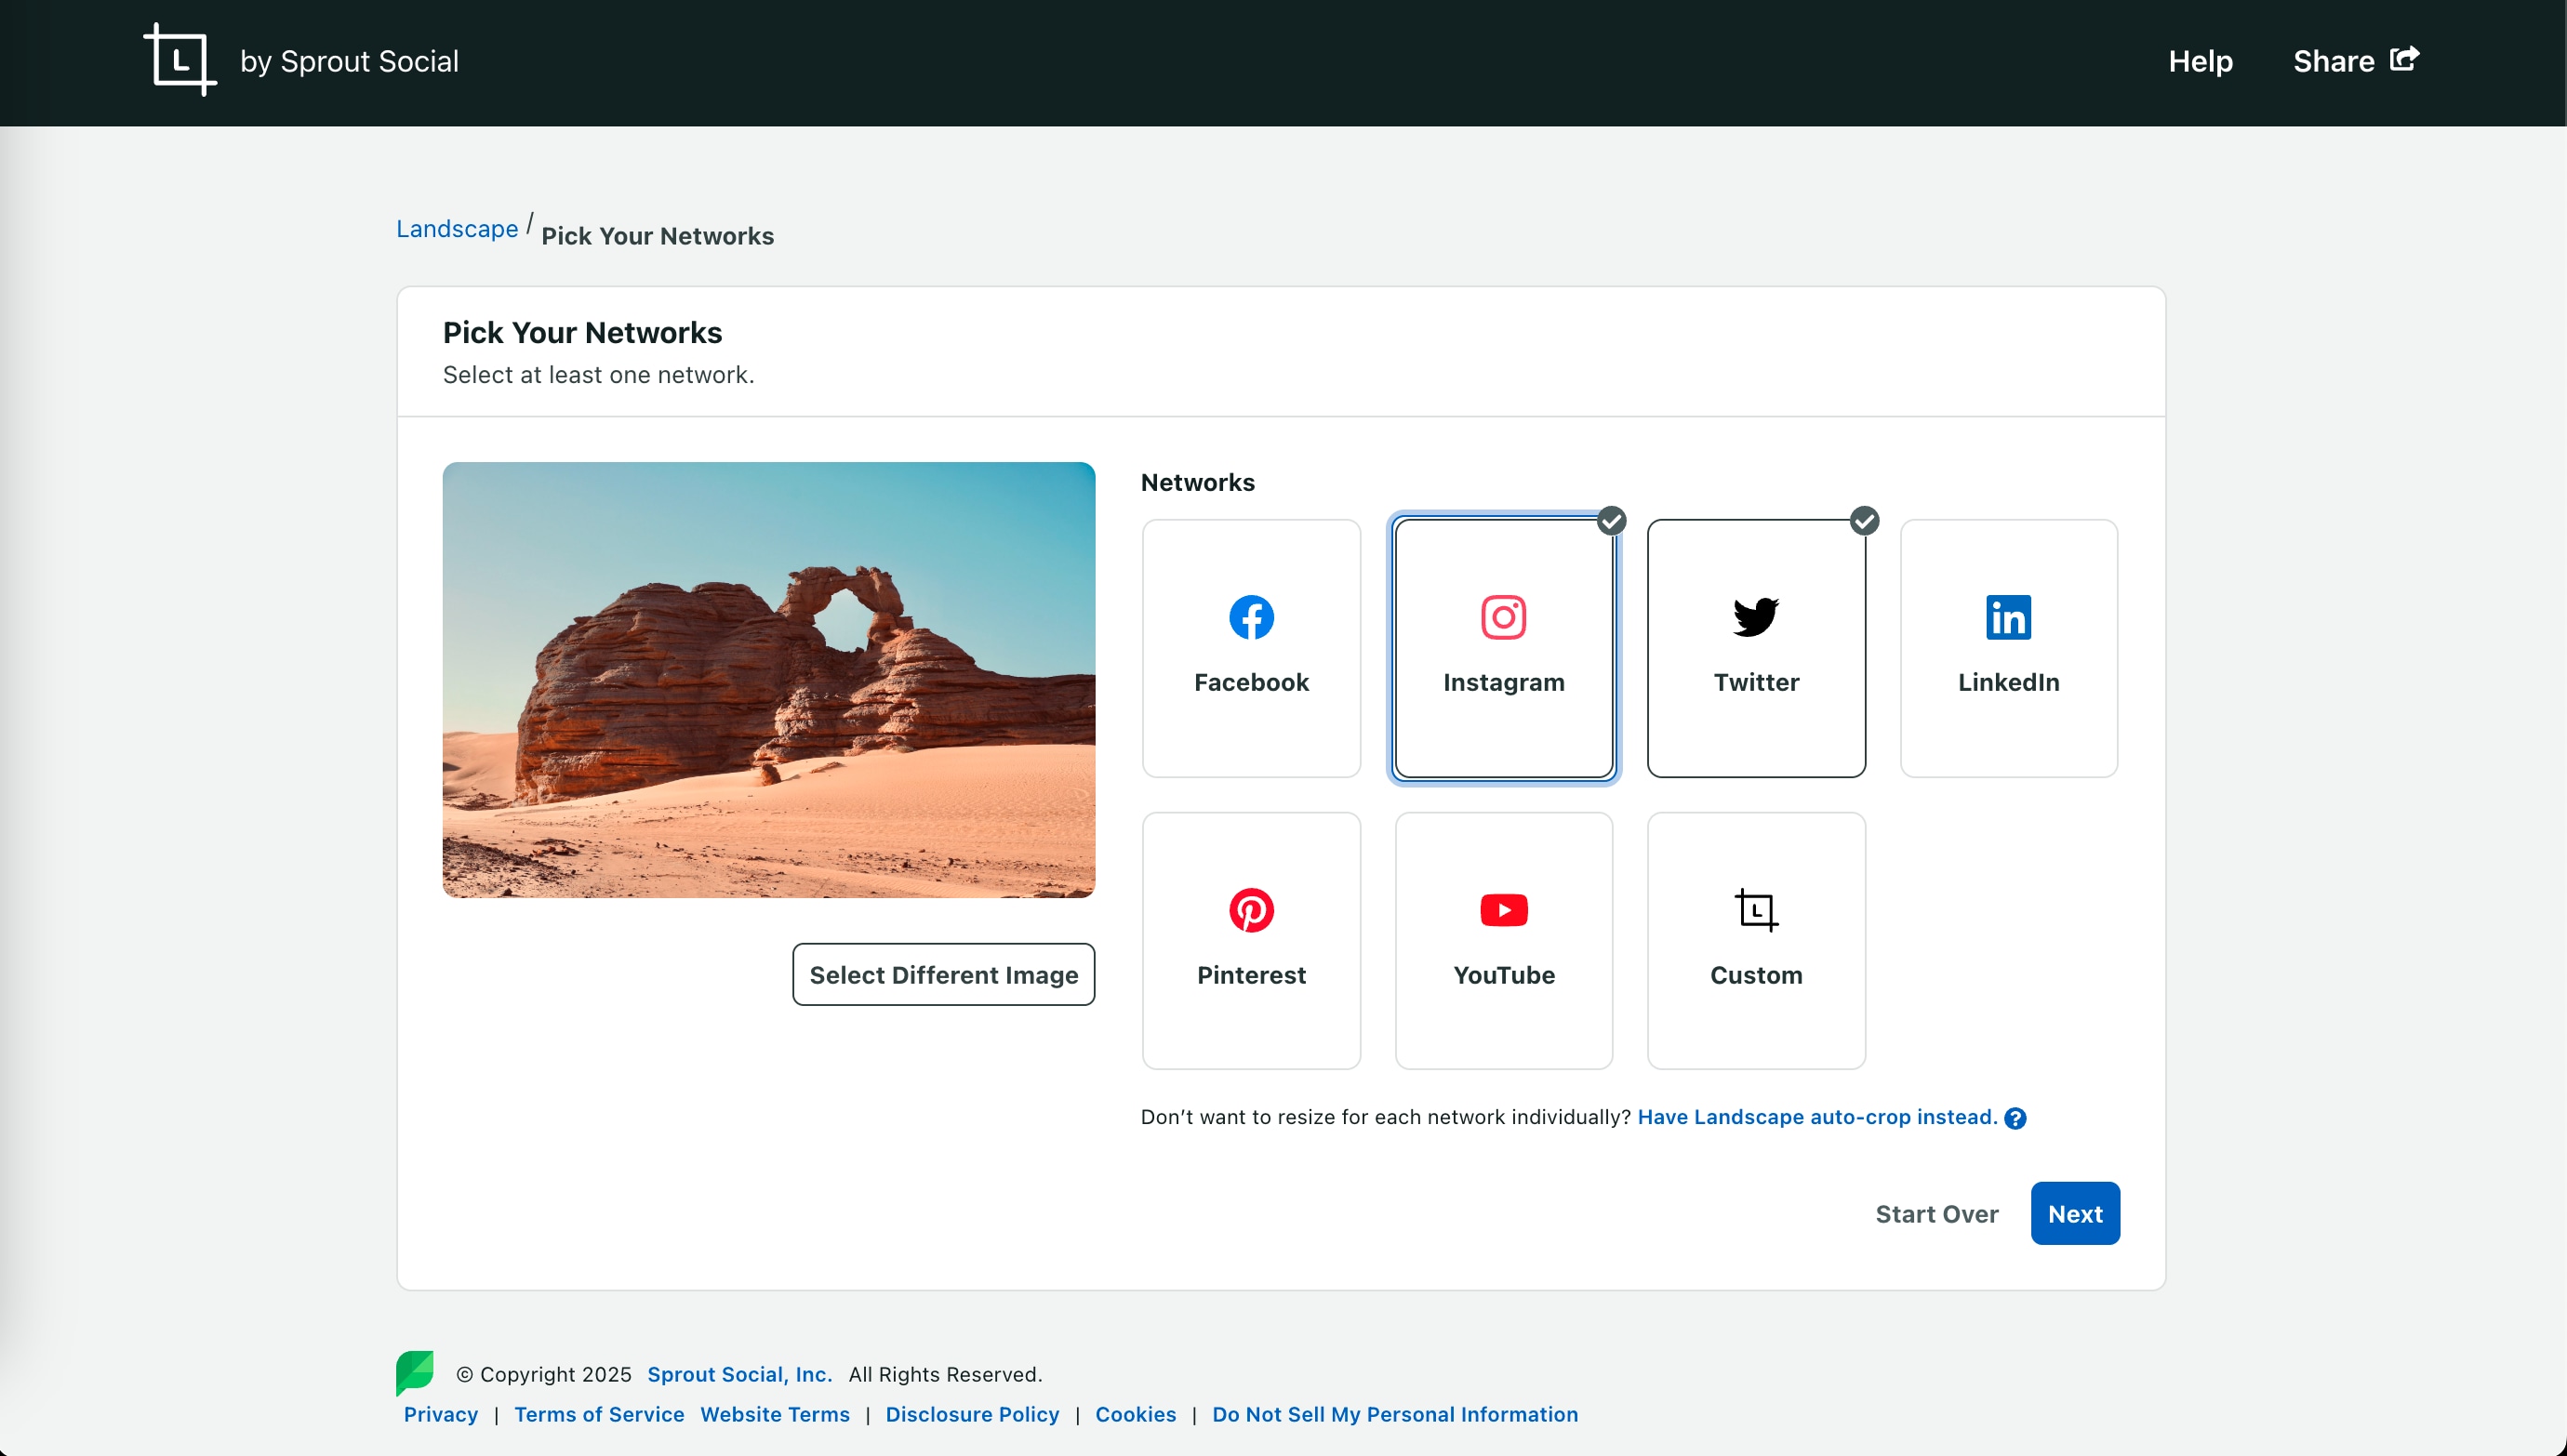
Step 2: Choose Format and Adjust
Based on the selected networks, choose from preset formats like profile photo, single image, or cover image. Use the crop-and-scale tool to adjust the image as required.
Step 3: Download Resized Image
After finalizing your edits, click “Download” to save platform-optimized images in one go.
Pros & Cons:
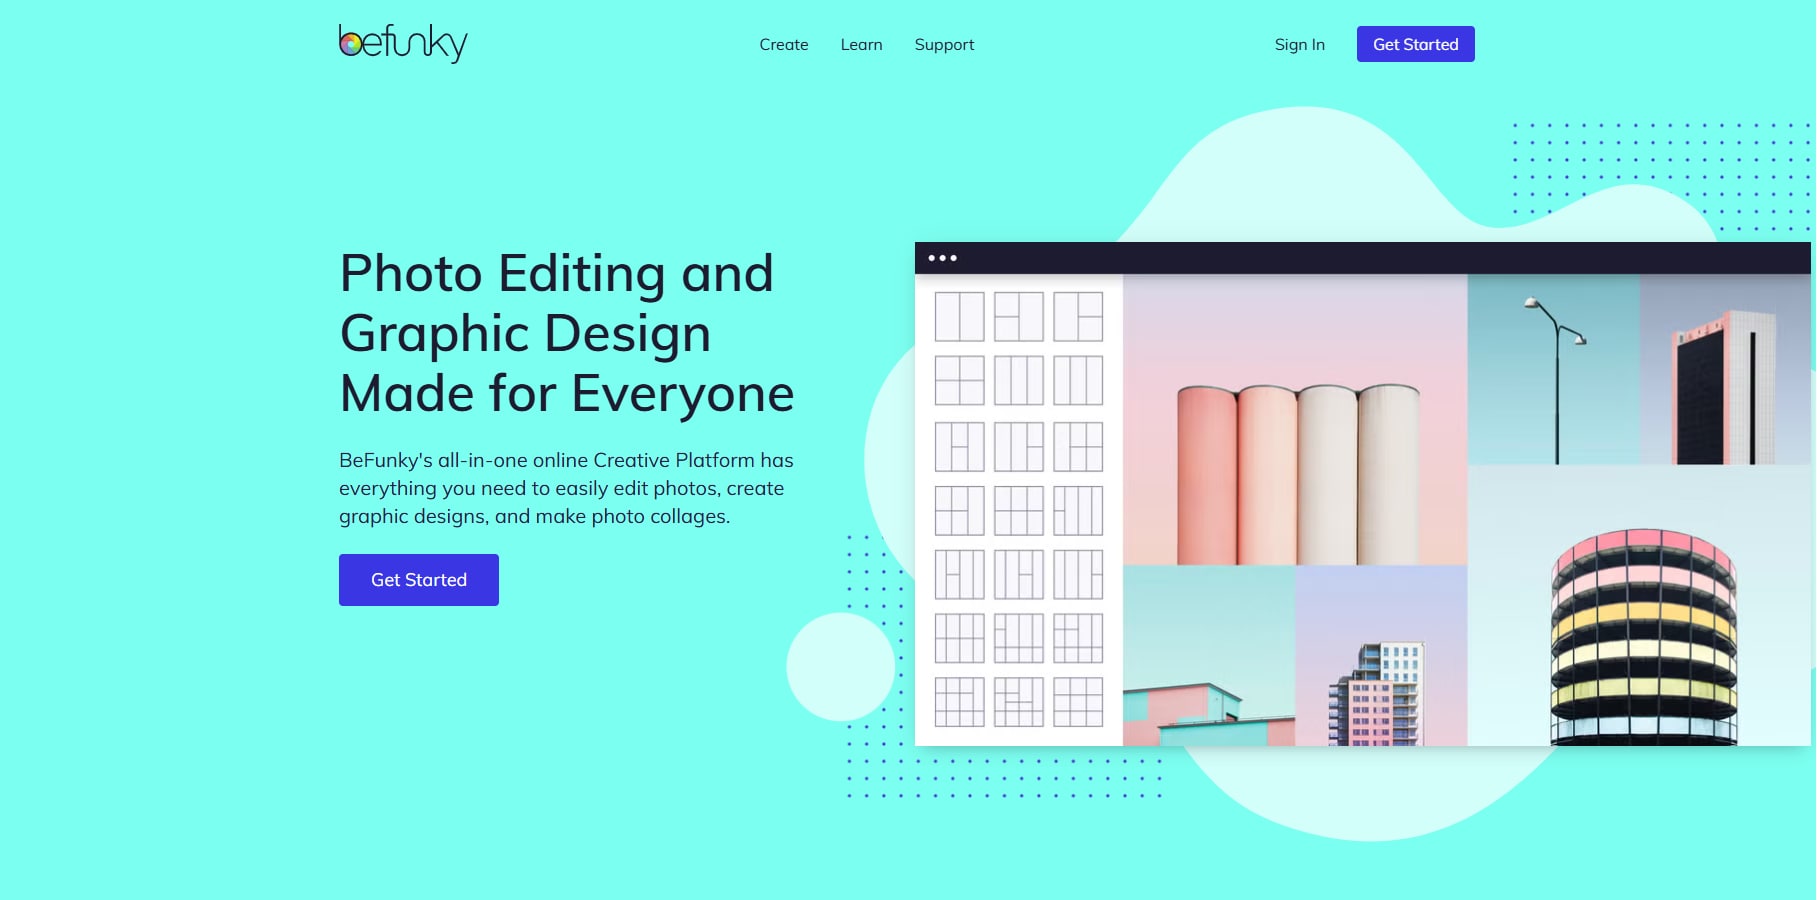
4. BeFunky
BeFunky is a graphic design and photo editing platform that balances usability with creative control. The tool has a dedicated image resizing feature from where users can adjust dimensions without distortion or pixelation.
Key Features
- It offers image resizing by pixels, percentage, or preset formats.
- It auto-maintains an aspect ratio that prevents stretching.
- It is an integrated photo editor with enhancement tools.
- It also offers batch processing for premium subscribers.
How to Resize an Image Using BeFunky
Check out the following quick steps to see how you can resize an image online using BeFunky:
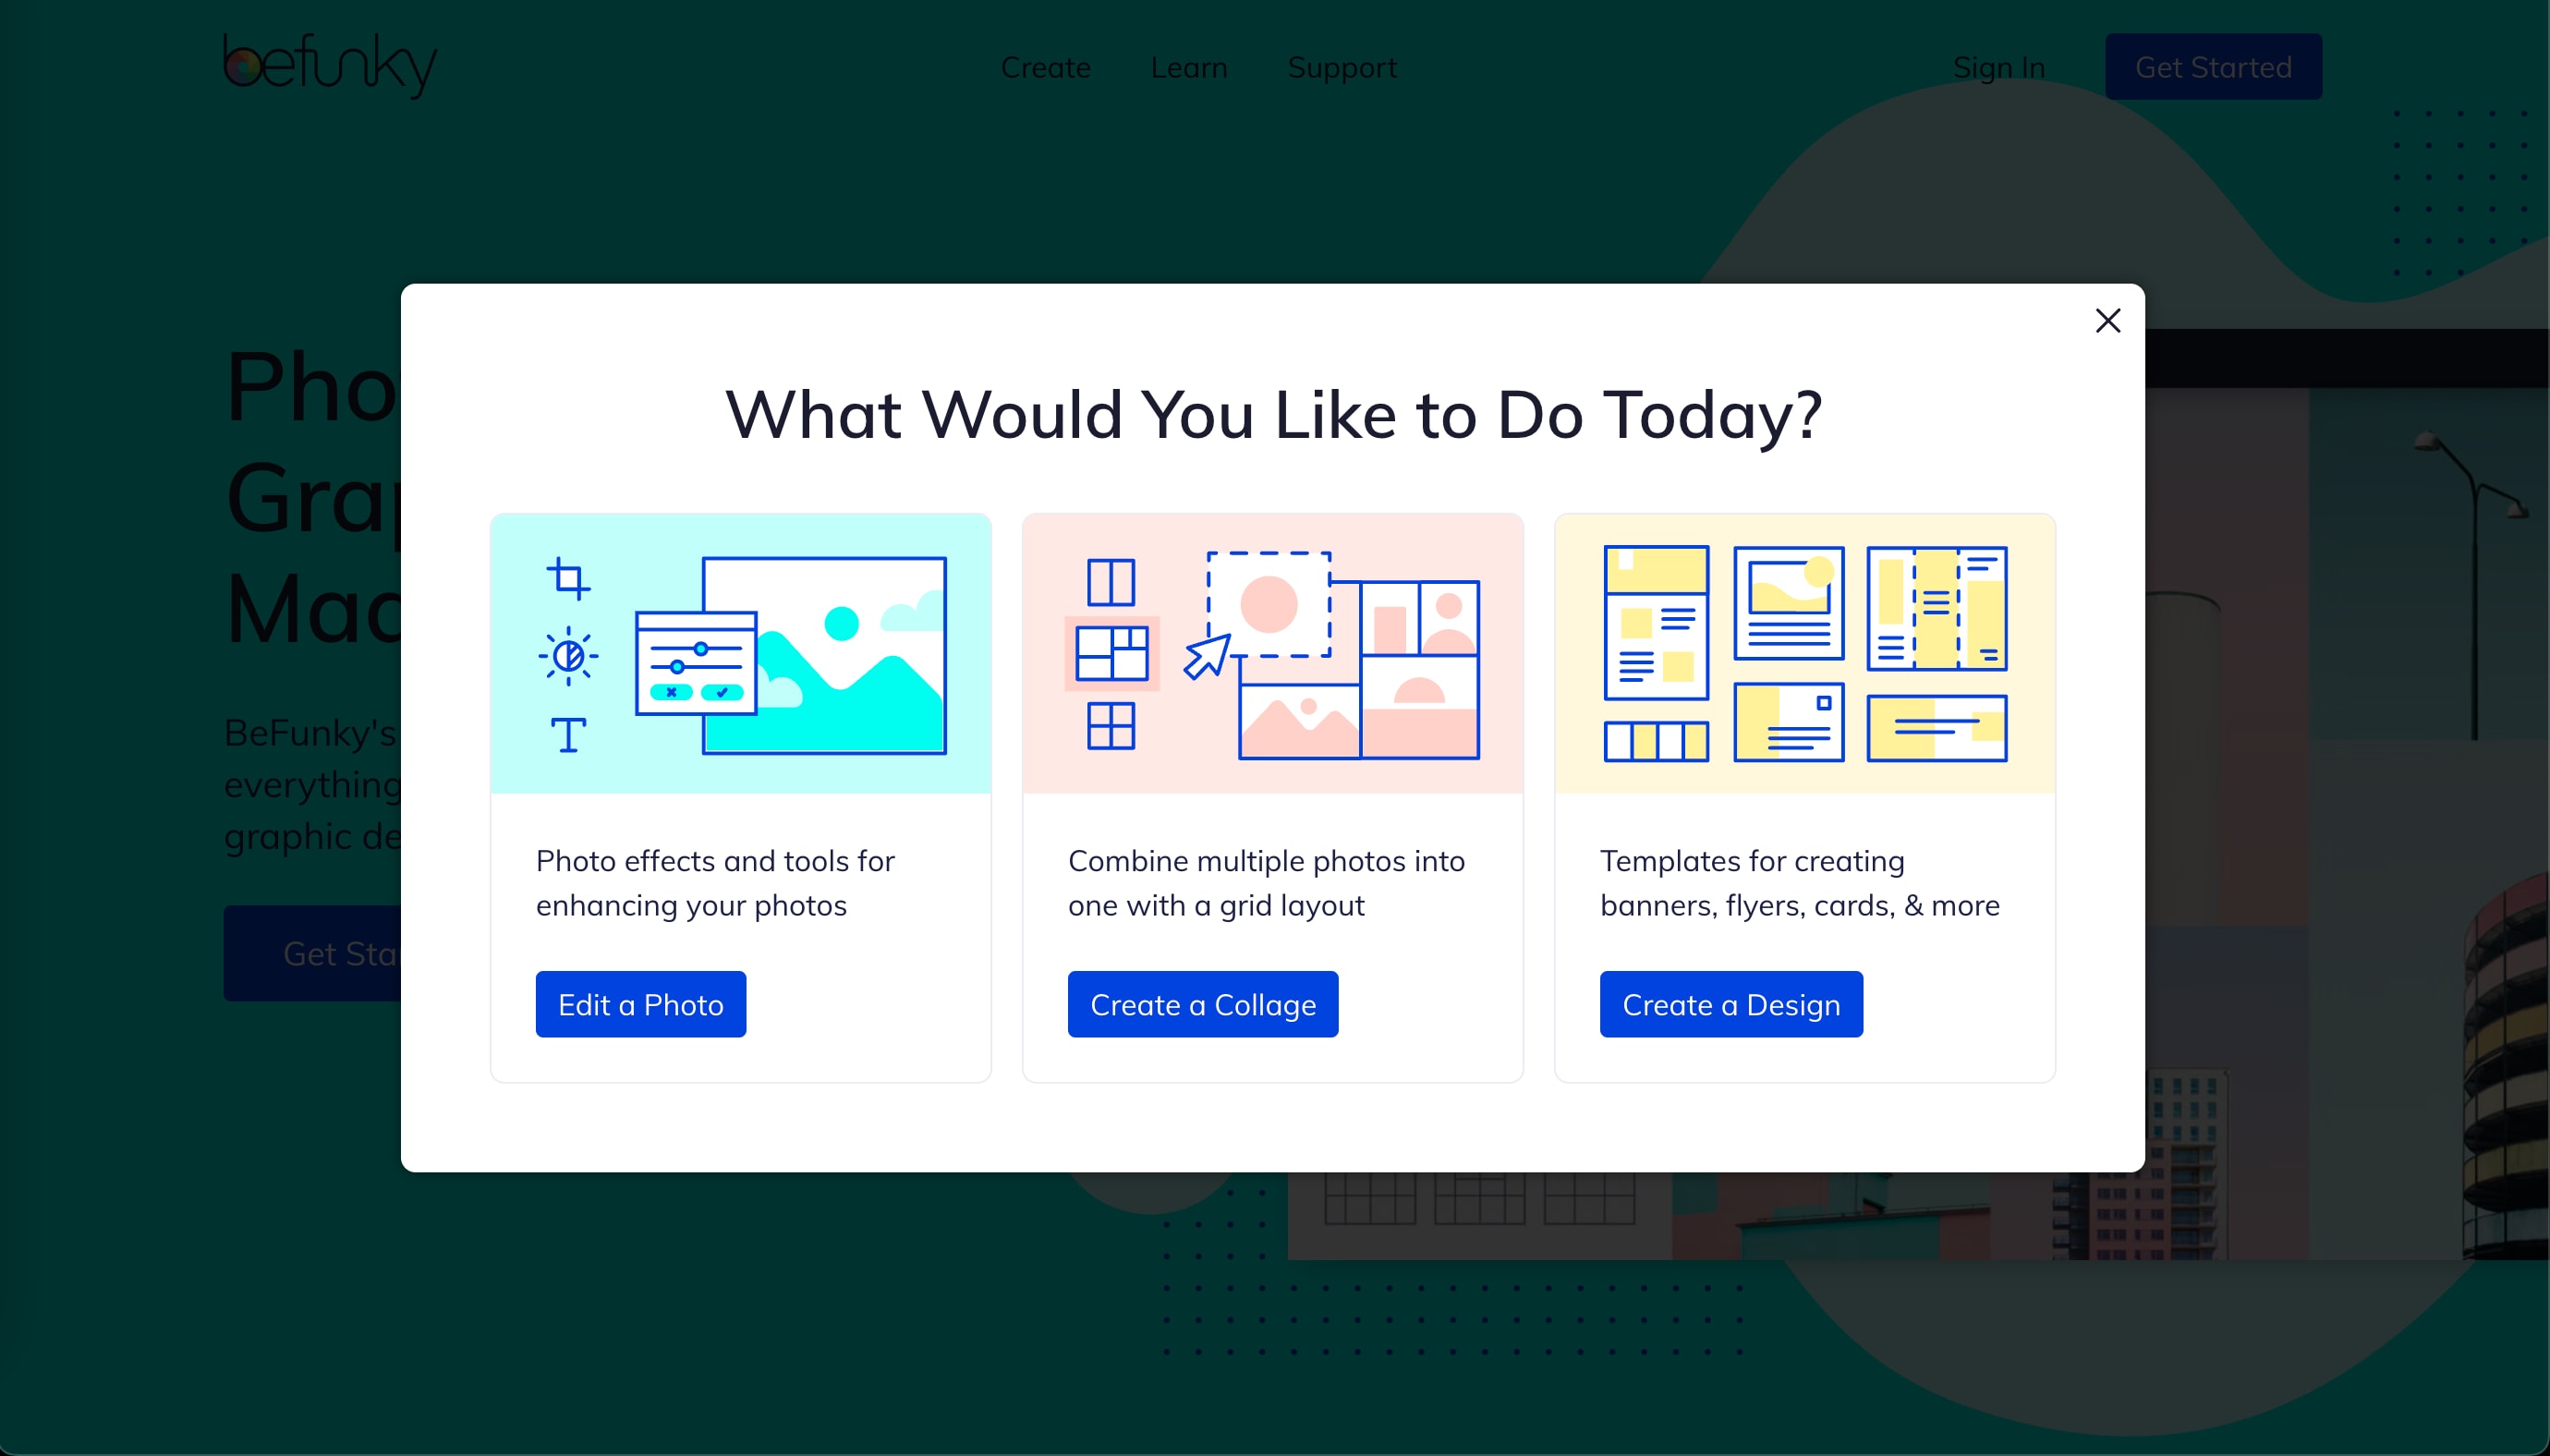
Step 1: Launch the Editor
Go to BeFunky and click “Edit a Photo” to open the Photo Editor. Upload your image from your device.
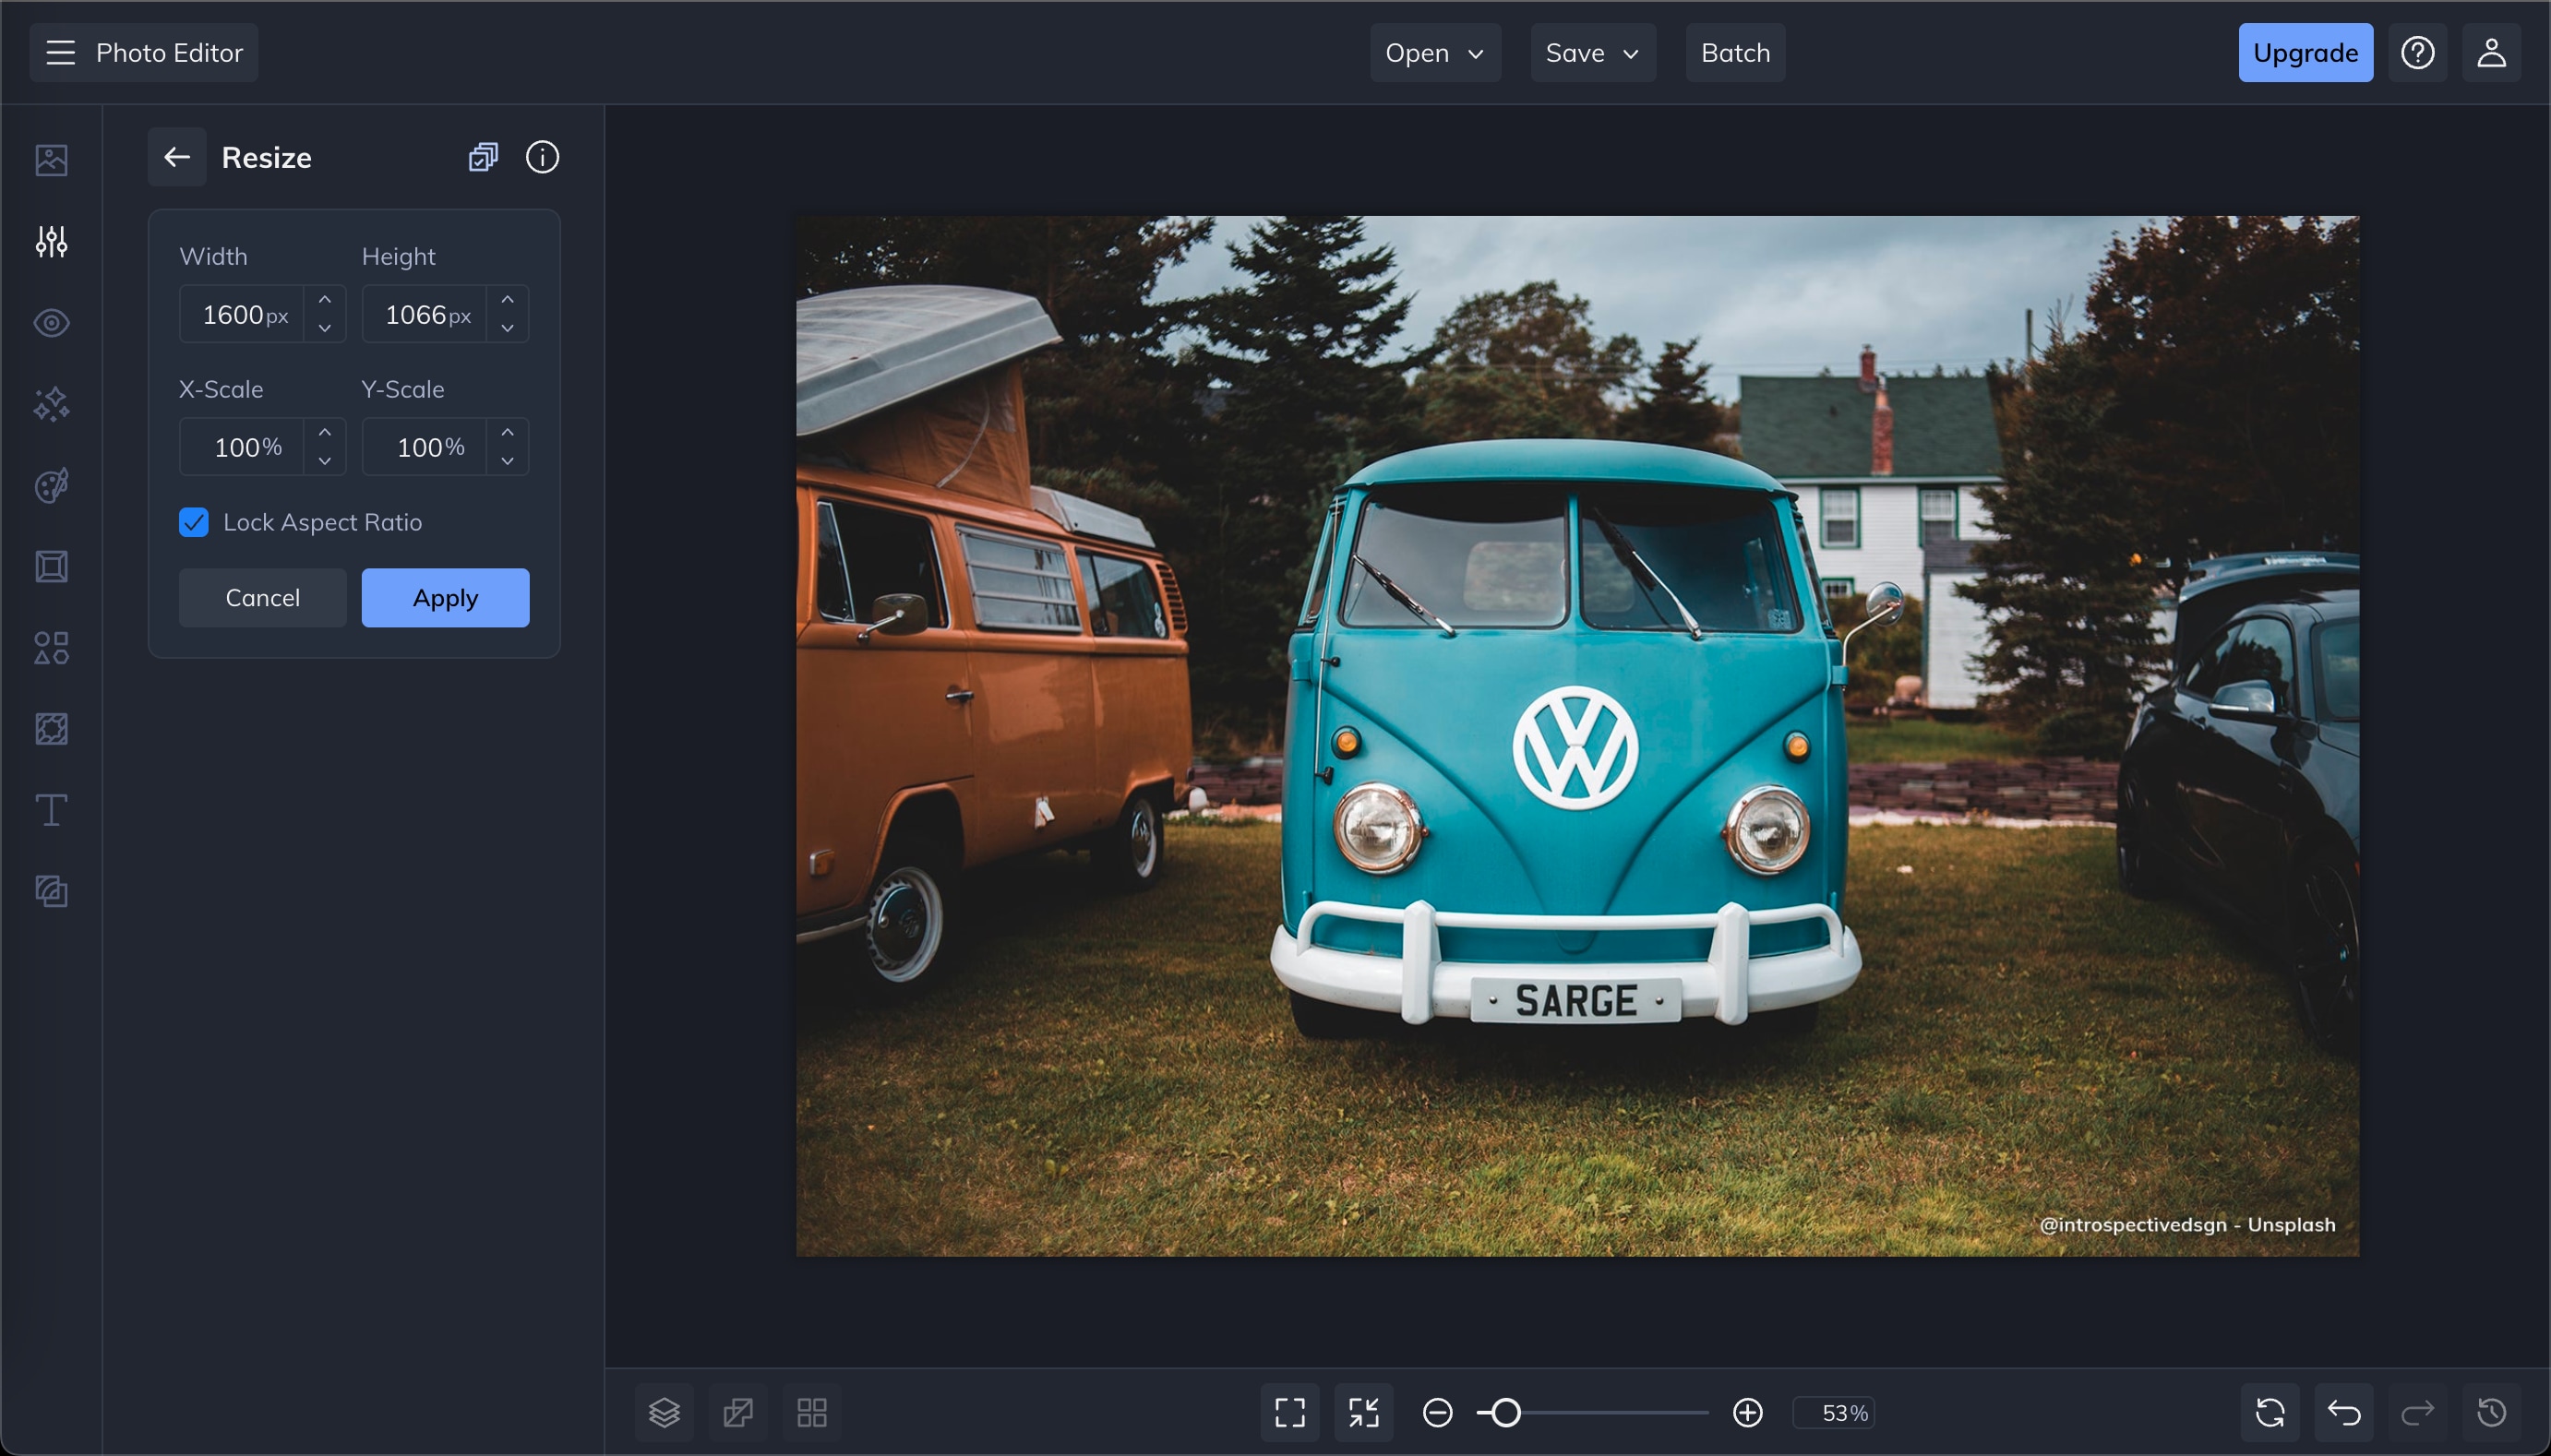
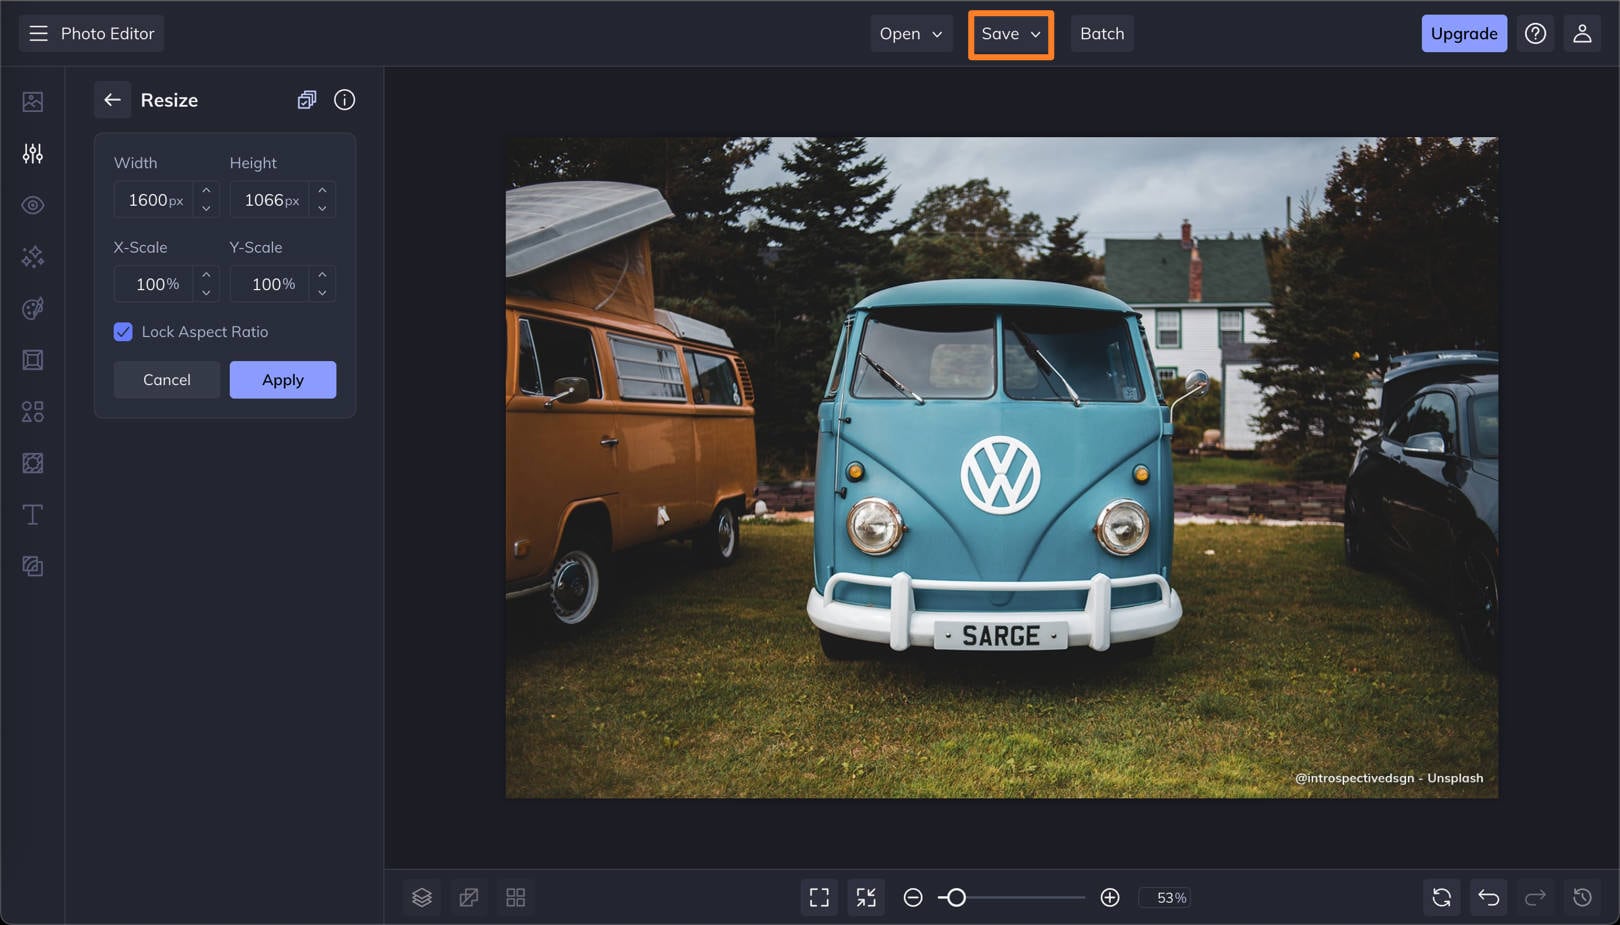
Step 2: Resize the Image
In the Edit panel on the left, select “Resize.” Adjust the dimensions by modifying X-Scale and Y-Scale. Enable “Lock Aspect Ratio” to maintain proportions.
Step 3: Save or Share
Once resizing is complete, click “Save” to download the image or share it directly online.
Pros & Cons:
Part 5: Conclusion
Resizing an image shouldn't mean compromising its clarity or purpose. Whether it's a sharp-edged logo, a high-resolution product photo, or a banner meant to fit multiple digital platforms, maintaining visual integrity is essential.
If you are looking to resize an image without losing quality, there are several software online. Some excel in simplicity, others in automation, but very few balance precision with usability. If you are looking for one tool that simplifies the resizing process while ensuring your image quality remains untouched, Wondershare UniConverter offers exactly that! So, download UniConverter and resize your images as you require.
Versatile Image Resizer Toolbox
FAQs
-
1. How can I resize an image without losing resolution or clarity?
To resize without quality loss, use tools that apply advanced interpolation methods (like bicubic or AI-powered upscaling). Avoid repeated resizes, and always start with a high-resolution source. -
2. Which image formats are best for resizing without compression artifacts?
Lossless formats like PNG, TIFF, and SVG are ideal. Unlike JPEG, they preserve pixel data during resizing, reducing the risk of artifacts and color banding. -
3. What’s the difference between canvas size and image size when resizing?
Canvas size changes the workspace dimensions without affecting the actual image pixels, while image size directly resamples the image, altering its resolution and file size. -
4. Can I batch-resize images while retaining the original quality?
Yes, platforms like Wondershare UniConverter support batch resizing with lossless compression, ensuring uniform output across multiple files without degradation. -
5. Does upsampling always result in image blur or pixelation?
No, not necessarily. If the tool uses AI-based or bicubic interpolation, upsampling can maintain sharpness and edge definition. However, clarity depends on the original image resolution and the upsampling scale.

