User Guide
How to use Wondershare UniConverter (originally Wondershare Video Converter
Ultimate)?
Learn the step-by-step guide below.

UniConverter User Guide
-
Get Started
- How to Get Started - Wondershare UniConverter for Windows
- Login with Wondershare ID & Update | Wondershare UniConverter for Windows
- Brief Introduction | Wondershare UniConverter for Windows
- Preferences | Wondershare UniConverter for Windows
- Change Themes | Wondershare UniConverter for Windows
-
Video Converter
- Convert DVD to Any Format | Wondershare UniConverter for Windows
- Add Media Files | Wondershare UniConverter for Windows
- Convert Video from Camcorder | Wondershare UniConverter for Windows
- Convert Videos for iPhone/iPad/Android Devices | Wondershare UniConverter for Windows
- Convert Videos for Social Network | Wondershare UniConverter for Windows
- Convert Videos from iOS & Android Devices | Wondershare UniConverter for Windows
- Convert Videos to Any Format | Wondershare UniConverter for Windows
- Convert Video to Audio | Wondershare UniConverter for Windows
- Mute Video | Wondershare UniConverter for Windows
- Add Audio to Video | Wondershare UniConverter for Windows
- Convert Multiple Video In Batches | Wondershare UniConverter for Windows
- Easily Convert 4K and 8K Videos | Wondershare UniConverter for Windows
- Convert Video to MP3 | Wondershare UniConverter for Windows
- Convert Video to GIF | Wondershare UniConverter for Windows
- Convert SDR Video to HDR | Wondershare UniConverter for Windows
- Convert Video to Image Sequence | Wondershare UniConverter for Windows
-
Audio Converter
-
Video Compressor
-
Downloader
-
Screen Recorder
-
Merger
-
DVD Burner
-
Media Player
-
Video Editor
- Trim Video | Wondershare UniConverter for Windows
- Add Watermark | Wondershare UniConverter for Windows
- Crop Video | Wondershare UniConverter for Windows
- Apply Effect | Wondershare UniConverter for Windows
- Add Subtitle | Wondershare UniConverter for Windows
- Audio Track Volume | Wondershare UniConverter for Windows
- Auto Video Cutter | Wondershare UniConverter for Windows
-
Tools
- Image Converter | Wondershare UniConverter for Windows
- GIF Maker | Wondershare UniConverter for Windows
- Fix Video Metadata | Wondershare UniConverter for Windows
- CD Burner | Wondershare UniConverter for Windows
- Convert CD to MP3 | Wondershare UniConverter for Windows
- Convert Video to VR | Wondershare UniConverter for Windows
- Transfer Video/Audio Files to iOS Device | Wondershare UniConverter for Windows
- Transfer Video/Audio to Android Device | Wondershare UniConverter for Windows
- Subtitle Editor | Wondershare UniConverter for Windows
- Watermark Editor | Wondershare UniConverter for Windows
- Smart Trimmer | Wondershare UniConverter for Windows
- Background Remover | Wondershare UniConverter for Windows
- Auto Crop Video | Wondershare UniConverter
- AI Portrait | Wondershare UniConverter
- Intro & Outro | Wondershare UniConverter
- Vocal Remover | Wondershare UniConverter for Windows
- Noise Remover | Wondershare UniConverter for Windows
- Video Stabilization | Wondershare UniConverter for Windows
- AI Video Enhancer | Wondershare UniConverter for Windows
- AI Image Enhancer | Wondershare UniConverter for Windows
- AI Script Generator | Wondershare UniConverter for Windows
- Text To Speech | Wondershare UniConverter for Windows
- AI Subtitle Translator | Wondershare UniConverter for Windows
- AI Thumbnail Maker | Wondershare UniConverter for Windows
- Auto Highlight | Wondershare UniConverter for Windows
- Scene Detection | Wondershare UniConverter for Windows
- Remove Watermark | Wondershare UniConverter for Windows
- Voice Changer | Wondershare UniConverter for Windows
- AI Video Enhancer | Use AI Batch Image Enhancement
- Crop Image | Wondershare UniConverter for Windows
- Rotate Image | Wondershare UniConverter for Windows
- Resize Image | Wondershare UniConverter for Windows
- Image Edit | Wondershare UniConverter for Windows
- Anime Enhancement | Wondershare UniConverter for Windows
- Face Enhancement | Wondershare UniConverter for Windows
- Adjust Speed of TTS Audio | Wondershare UniConverter for Windows
- Voice Clone | Wondershare UniConverter for Windows
- Enable NVIDIA Acceleration | NVIDIA Graphics Driver Installation Tutorial on Win
- Smart Summarizer | Wondershare UniConverter for Windows
FAQs
Video/Audio Solutions
Login with Wondershare ID & Update
Login with Wondershare ID & Update - Wondershare UniConverter (Win) User Guide
1. Login UniConverter with Wondershare ID/Old License.
With the trial version of Wondershare UniConverter, you'll have the following limitations.
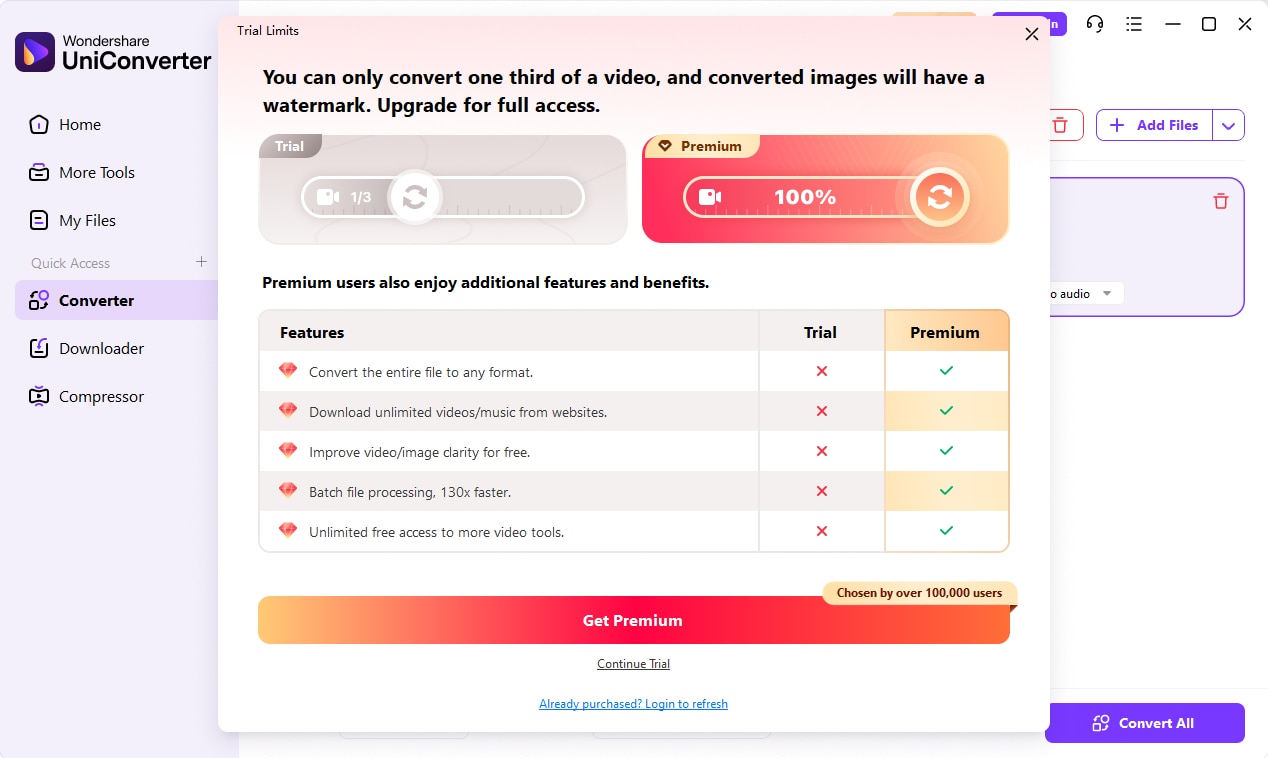
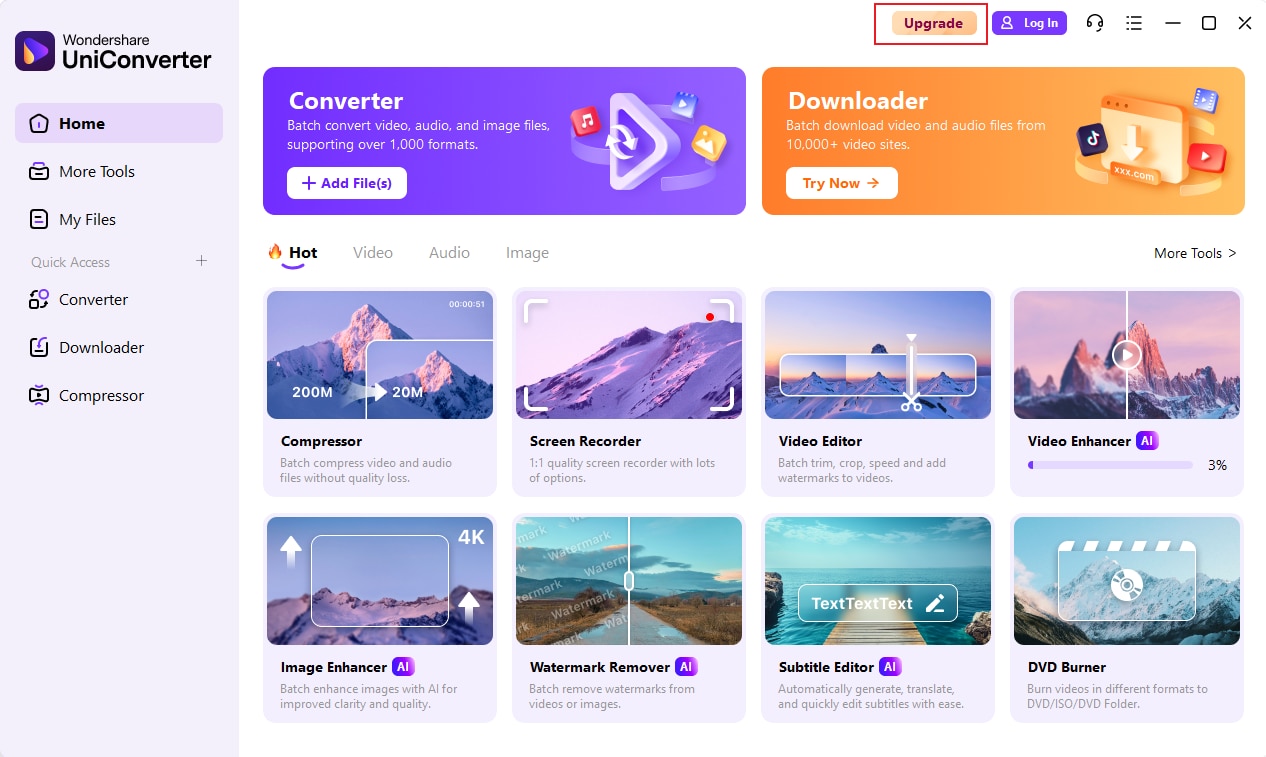
If you want to enjoy the full features without any limitation, please simply click the Upgrade option in the upper-right corner to purchase Wondershare UniConverter from the official website.
If you have already purchased Wondershare UniConverter, please log in with the Wondershare ID or license code by clicking the Person icon.
1.1 What is Wondershare ID?
Wondershare ID refers to the account you created from Wondershare UniConverter, Media.io, Wondershare Filmora, or Wondershare PDFelement. It helps you manage your order details and log in to Wondershare products that support Wondershare ID.
1.2 How to log in to Wondershare UniConverter.
Launch Wondershare UniConverter after installation, and click on the Person icon in the right-top corner to get a new window as below.

Enter your Wondershare ID with Password, and click on the login/Register button to log in. You'll get a pop-up window that shows your email address and current plans.
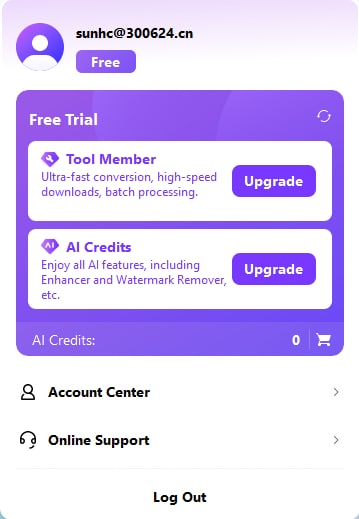
Click on the Upgrade Now button to buy Wondershare UniConverter if you are a trial version.
There are several options to help you manage your account:
- View My Account: Click it to open the Account Center and manage your account.
- Online Support: Click it to open the online support bot to answer your question.
- Log Out: Click this option to log out of the current Wondershare account.
Attention: Please pay attention that your purchased plans have a device limit, you can't use the account to exceed the maximum device number according to your plan.
- If you have purchased the 1 PC License, then you can only use the account on one device.
- If you have purchased the Multiple-User License, 2-PC License, for example, then you can log in UniConverter on two different devices simultaneously. Otherwise, you'll be asked to disable a device to continue or upgrade your plans.
1.3 How to sign up for a new Wondershare ID account.
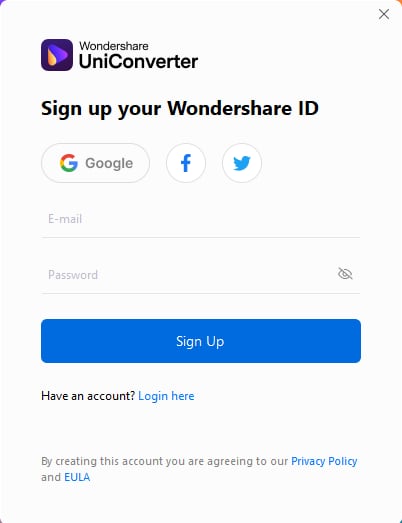
If you don't have any Wondershare ID, then you need to click the Create account here option on the initial interface and create a new account.
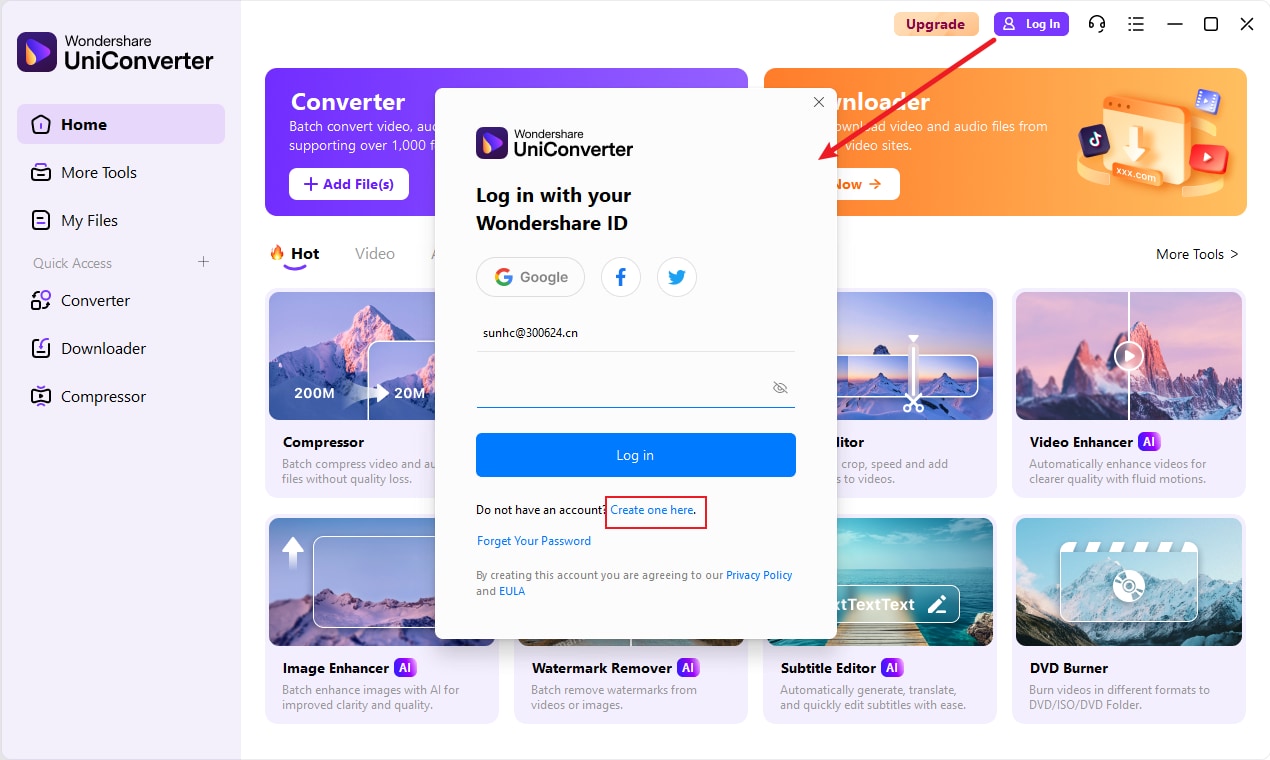
You'll get a new interface to enter your email address and set a password, and then click on the Sign-Up button to create the account. After that, you can also see your information and plans like Part 1.
1.4 What can you do with Wondershare ID?
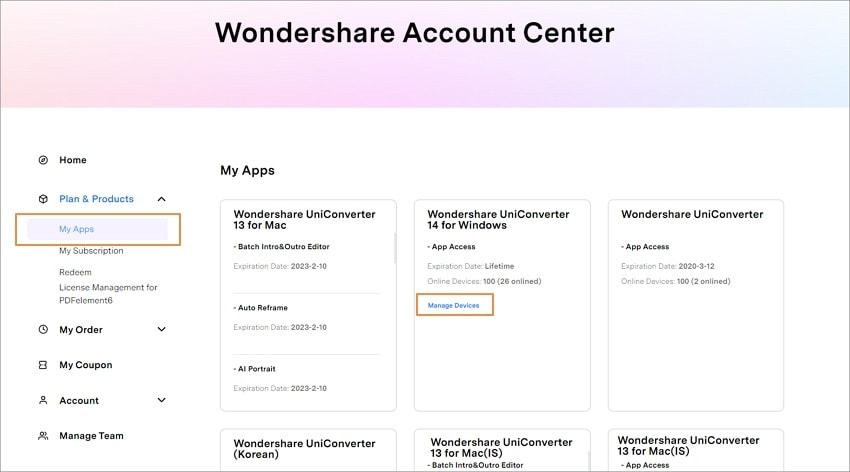
Click on the View My Account button to open the Wondershare account management page. You can edit your profile, change your password, and find order information on this page.
Overview: From this tab, you can find your Plan & Products, history Orders, Coupons, and Account information.

Plans & Products You can view the details of your purchased products and plans.
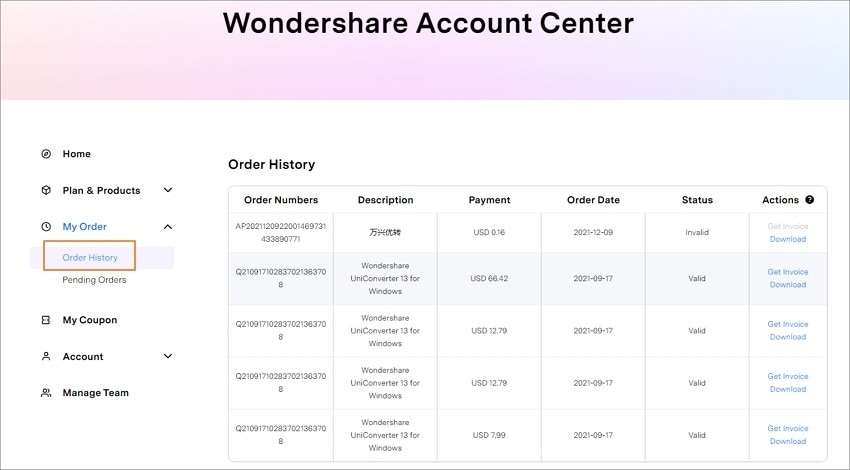
Order History: You can find the Order Number, Product, Payment, Date, and Status of all your Wondershare products. And click the Download button to download the program and hit the Invoice button to get the invoice.
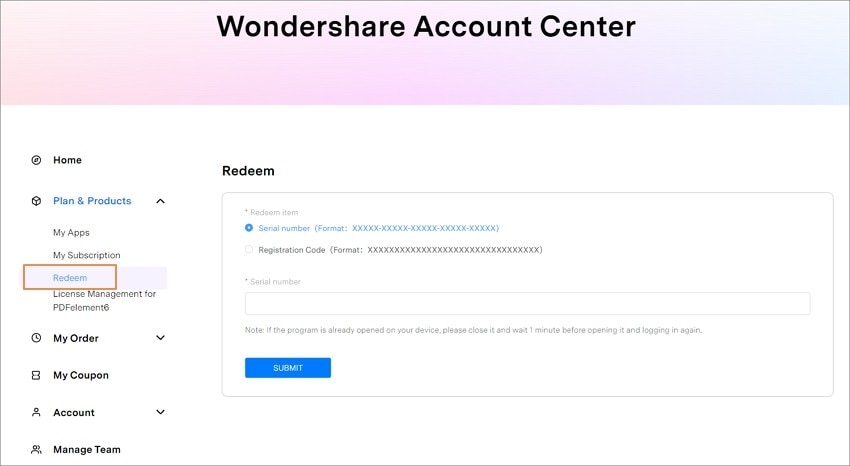
Redeem: Enter your Registration code or Serial number you have and click on the Submit button to authorize your Wondershare ID to log in to Wondershare UniConverter.
Account - Profile: You can view all your personal information from this tab, and click the Edit button to make changes.
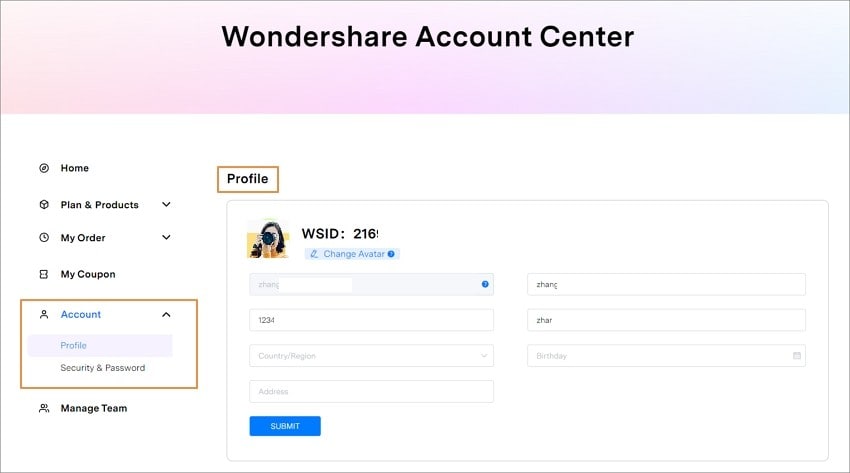
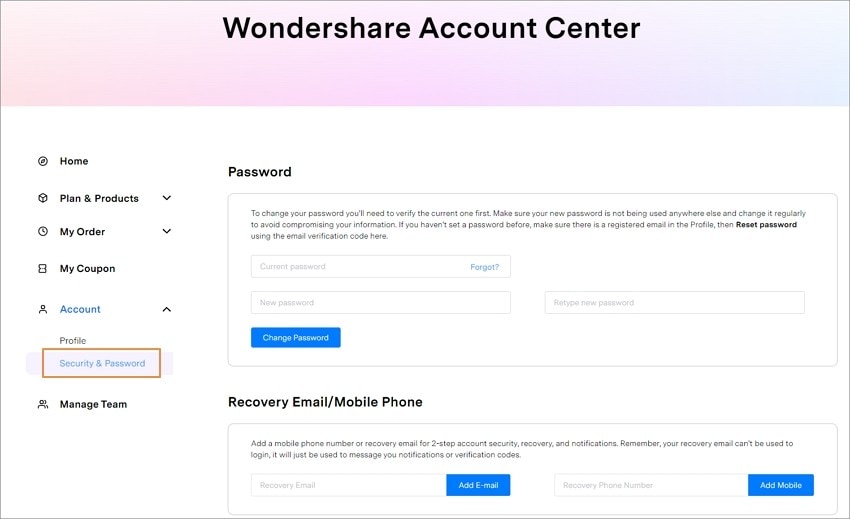
Account - Security & Password: You can change your password here.
2. Update
If you want to check if your UniConverter 13 is the latest version and update it, you can follow the steps below to update automatically.
Step 1 Enter the general settings.
Go to the Menu icon > Preferences > General; you can change Check for update to Every Day/Week/Month/Never accordingly.
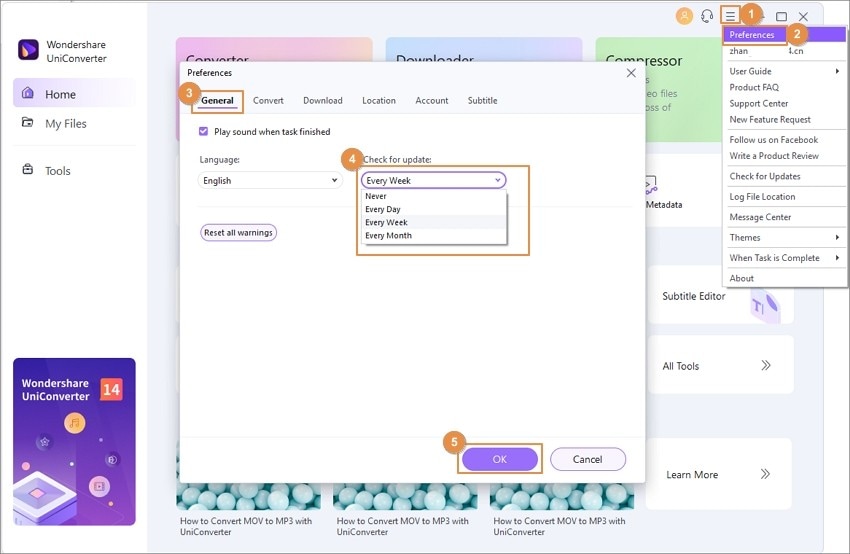
Step 2 Set the update parameter.
If you choose to check for updates automatically every day, it will pop up a Live Update window, please select Update Now to download the package.
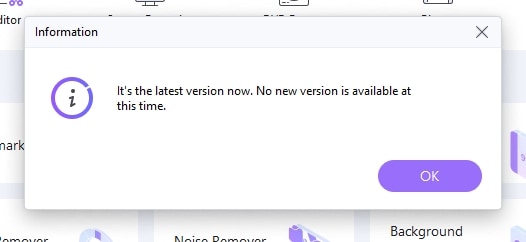
Step 3 Update the package.
After downloading the latest version, please press OK to terminate the program and install the new version from the pop-up window. You can also click Cancel to install it next time.
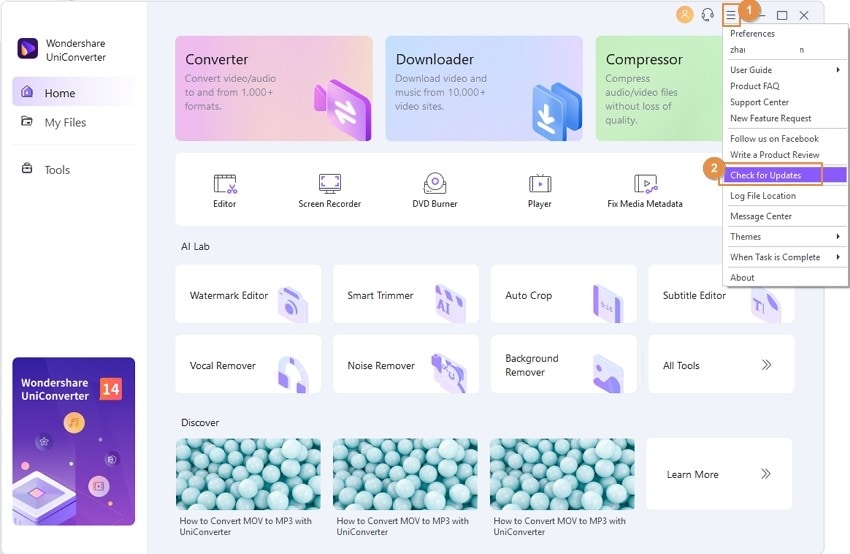
Note: If you're used to using the same version all the time, please choose Never to stop the automatic update. Whenever you need an update, please choose to Check for Updates under Menu to make an update manually.
 print
print
