User Guide
How to use Wondershare UniConverter (originally Wondershare Video Converter
Ultimate)?
Learn the step-by-step guide below.

UniConverter User Guide
-
Get Started for Mac
-
Video Converter (Mac)
- Convert Videos to Any Format | Wondershare UniConverter for Mac
- Convert DVD to Video | Wondershare UniConverter for Mac
- Mute Video | Wondershare UniConverter for Mac
- Add Audio to Video | Wondershare UniConverter for Mac
- Convert 4K and 8K Videos | Wondershare UniConverter for Mac
- Batch Convert Video Formats | Wondershare UniConverter for Mac
- Convert Videos to MP3 | Wondershare UniConverter for Mac
- Convert Videos to GIF | Wondershare UniConverter for Mac
- Convert SDR Video to HDR | Wondershare UniConverter For Mac
- Convert Video to Image Sequence | Wondershare UniConverter for Mac
-
Audio Converter (Mac)
-
Video Compressor (Mac)
-
Downloader (Mac)
-
Screen Recorder (Mac)
- Record Audio | Wondershare UniConverter for Mac
- Record Webcam | Wondershare UniConverter for Mac
- Record Screen | Wondershare UniConverter for Mac
-
Merger (Mac)
-
DVD Burner (Mac)
-
Media Player (Mac)
-
Video Editor (Mac)
- Trim Video | Wondershare UniConverter for Mac
- Add Watermark | Wondershare UniConverter for Mac
- Crop Video | Wondershare UniConverter for Mac
- Apply Effect | Wondershare UniConverter for Mac
- Add Subtitle | Wondershare UniConverter for Mac
- Audio Track Volume | Wondershare UniConverter for Mac
- How to Edit Video - Wondershare UniConverter for Mac
- Auto Video Cutter | Wondershare UniConverter for Mac
-
Tools (Mac)
- Transfer | Wondershare UniConverter for Mac
- Image Converter | Wondershare UniConverter for Mac
- GIF Maker | Wondershare UniConverter for Mac
- Fix Media Metadata | Wondershare UniConverter for Mac
- CD Converter | Wondershare UniConverter for Mac
- CD Burner | Wondershare UniConverter for Mac
- VR Converter | Wondershare UniConverter for Mac
- Subtitle Editor | Wondershare UniConverter for Mac
- Watermark Editor | Wondershare UniConverter for Mac
- Smart Trimmer | Wondershare UniConverter for Mac
- Background Remover | Wondershare UniConverter for Mac
- Auto Crop Video | Wondershare UniConverter for Mac
- AI Portrait | Wondershare UniConverter for Mac
- Intro & Outro | Wondershare UniConverter for Mac
- Vocal Remover | Wondershare UniConverter for Mac
- Noise Remover | Wondershare UniConverter for Mac
- MP3 Cutter | Wondershare UniConverter for Mac
- Video Stabilization | Wondershare UniConverter for Mac
- AI Image Enhancer | Wondershare UniConverter for Mac
- AI Script Generator | Wondershare UniConverter for Mac
- AI Thumbnail Maker | Wondershare UniConverter for Mac
- AI Video Enhancer | Wondershare UniConverter for Mac
- Auto Highlight | Wondershare UniConverter for Mac
- Remove Watermark | Wondershare UniConverter for Mac
- AI Subtitle Translator | Wondershare UniConverter for Mac
- Text To Speech | Wondershare UniConverter for Mac
- AI Voice Changer | Wondershare UniConverter for Mac
- How to Upscale Image | Wondershare UniConverter for Mac
- How to Crop Image | Wondershare UniConverter for Mac
- How to Rotate Image | Wondershare UniConverter for Mac
- How to Resize Image | Wondershare UniConverter for Mac
- Anime Enhancement | Wondershare UniConverter for Mac
- Face Enhancement | Wondershare UniConverter for Mac
- Adjust Speed of TTS Audio | Wondershare UniConverter for Mac
- Voice Clone | Wondershare UniConverter for Mac
- Smart Summarizer on Mac| Wondershare UniConverter for Windows
FAQs
Video/Audio Solutions
How to Use UniConverter’s Screen Recorder on Mac
Gamers record their gameplay and post it on their social media handles. With UniConverter, gamers can record on a full screen with high definition. To record at a specific time, schedule the recording and never miss an action on your monitor. While using this recorder, users can record the screen, webcam, and audio at the same time. Additionally, this tool offers application recording for users looking to record just one desktop app.
Using UniConverter’s Screen Recorder on Mac [Guide]
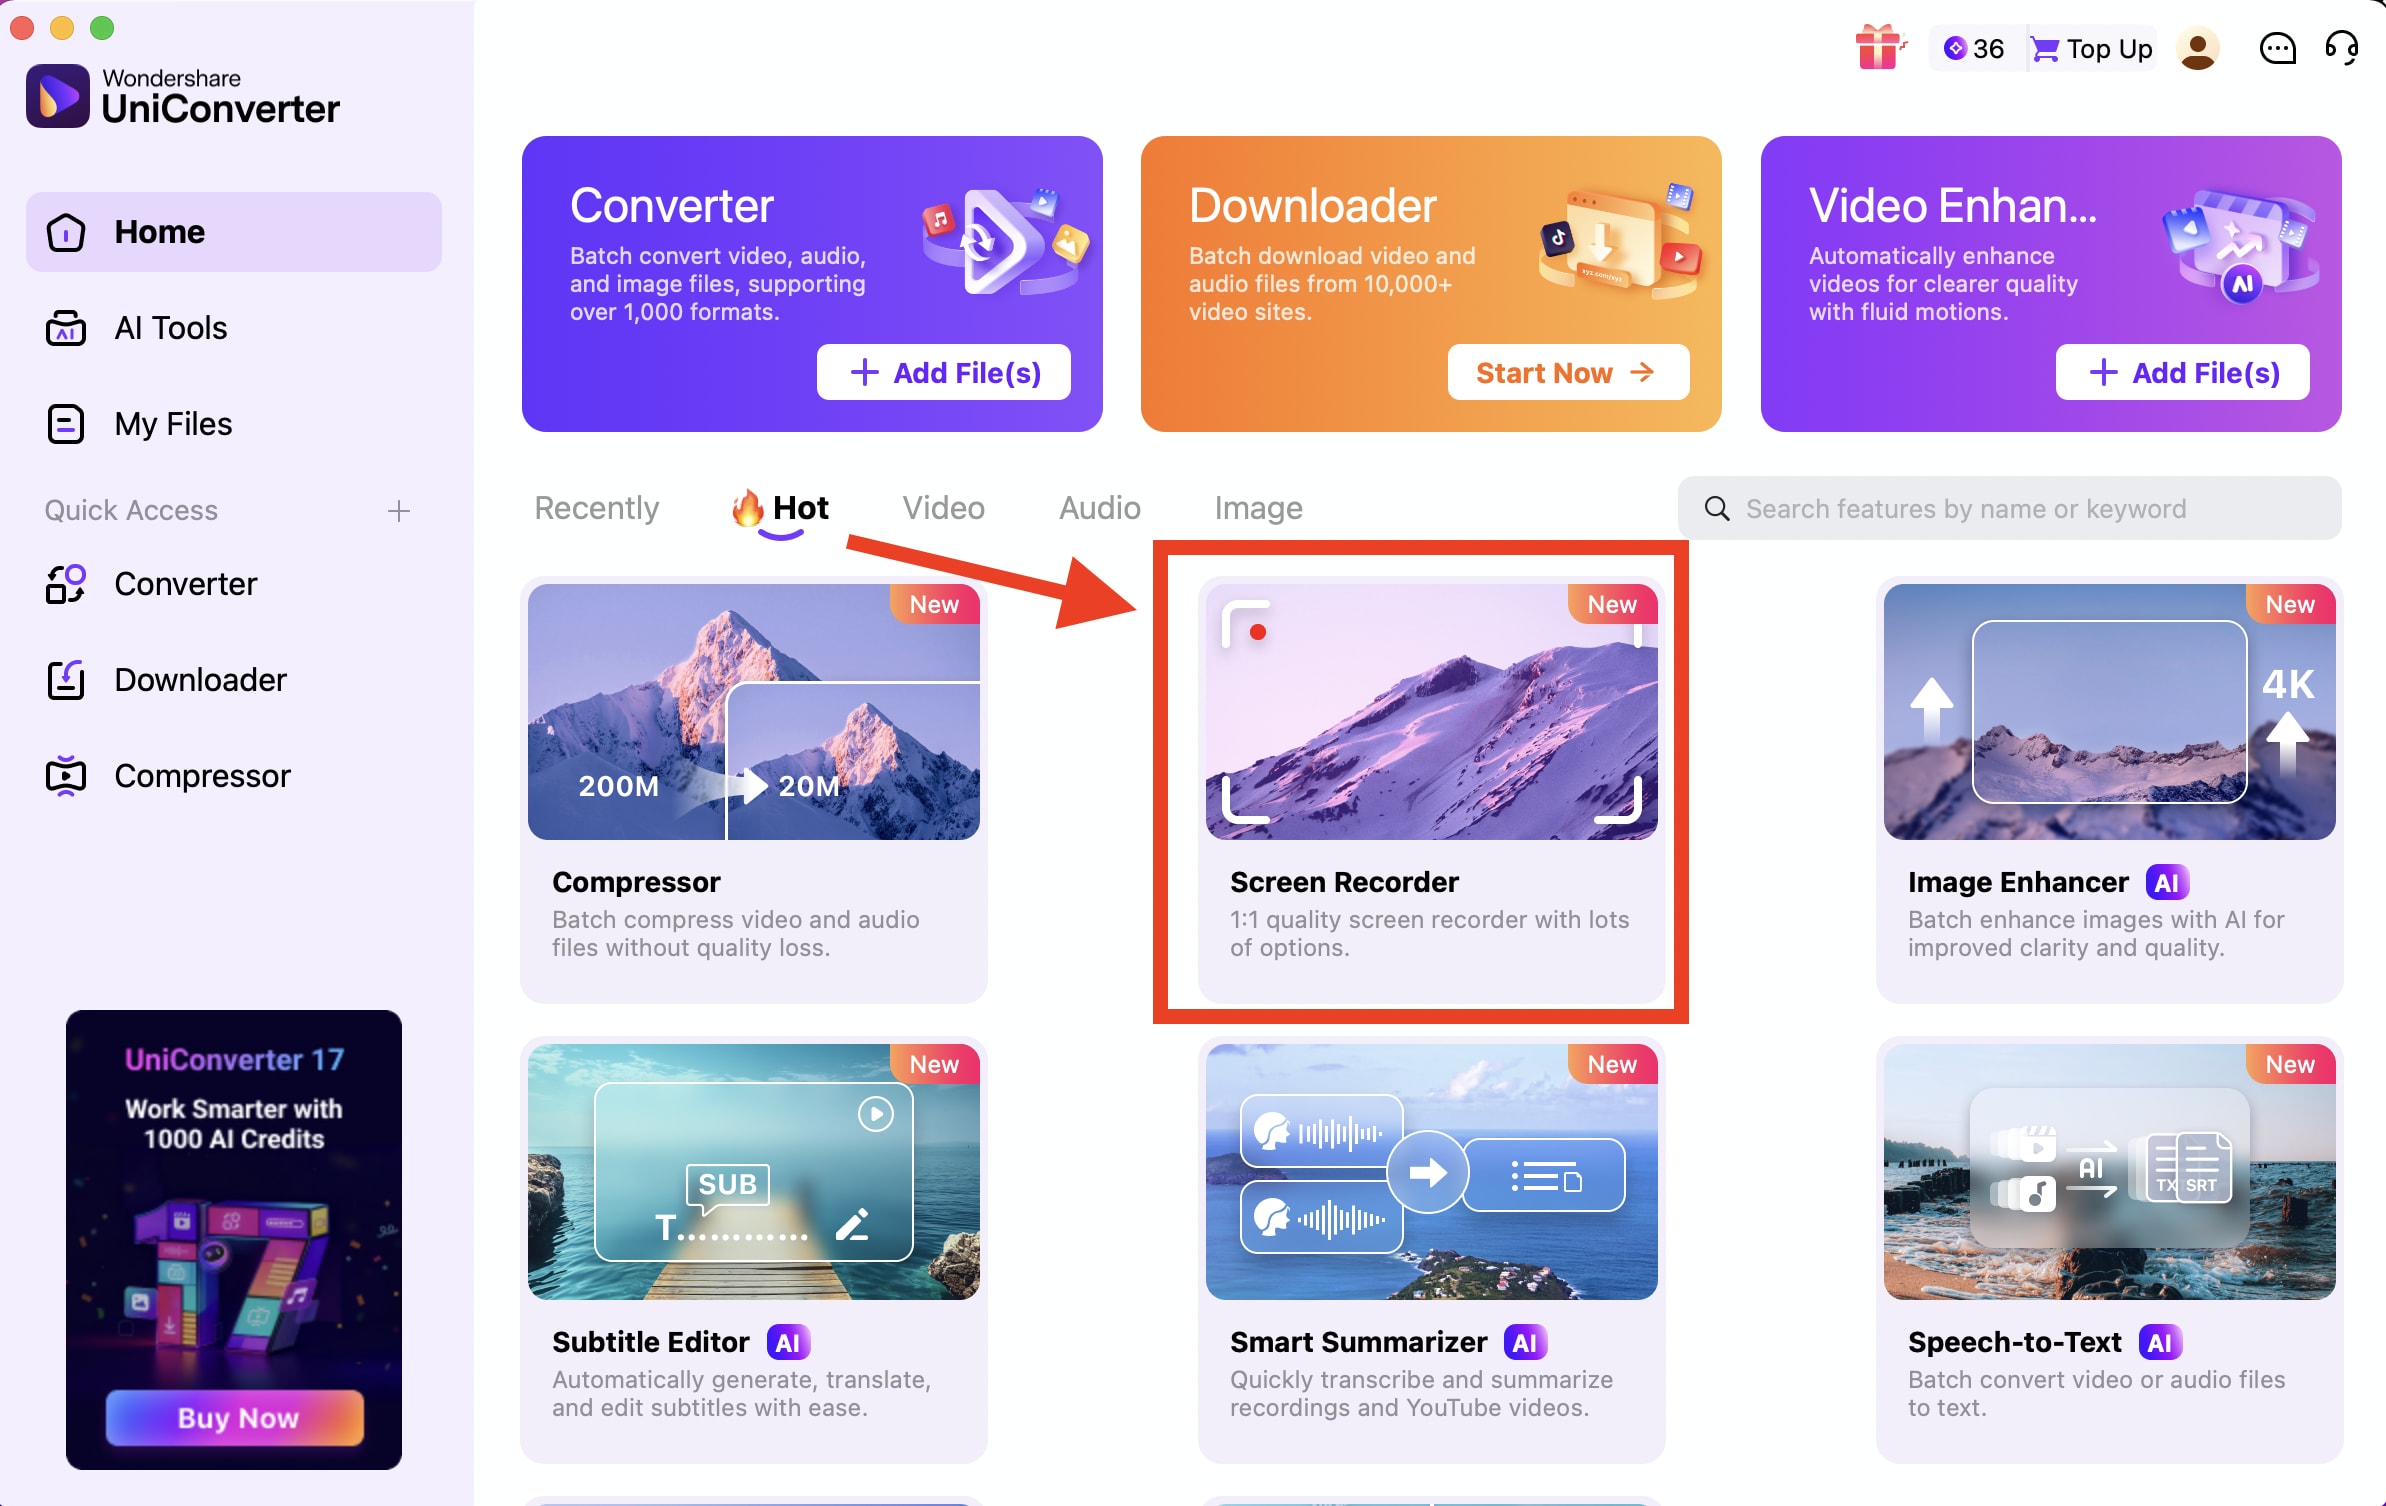
Step 1. Open the Screen Recorder on UniConverter
To record your screen, open UniConverter on Mac and access the Video tab to locate the Screen Recorder from the More Tools section. After selecting the Try Now option on the screen recorder, wait for the next window to open.
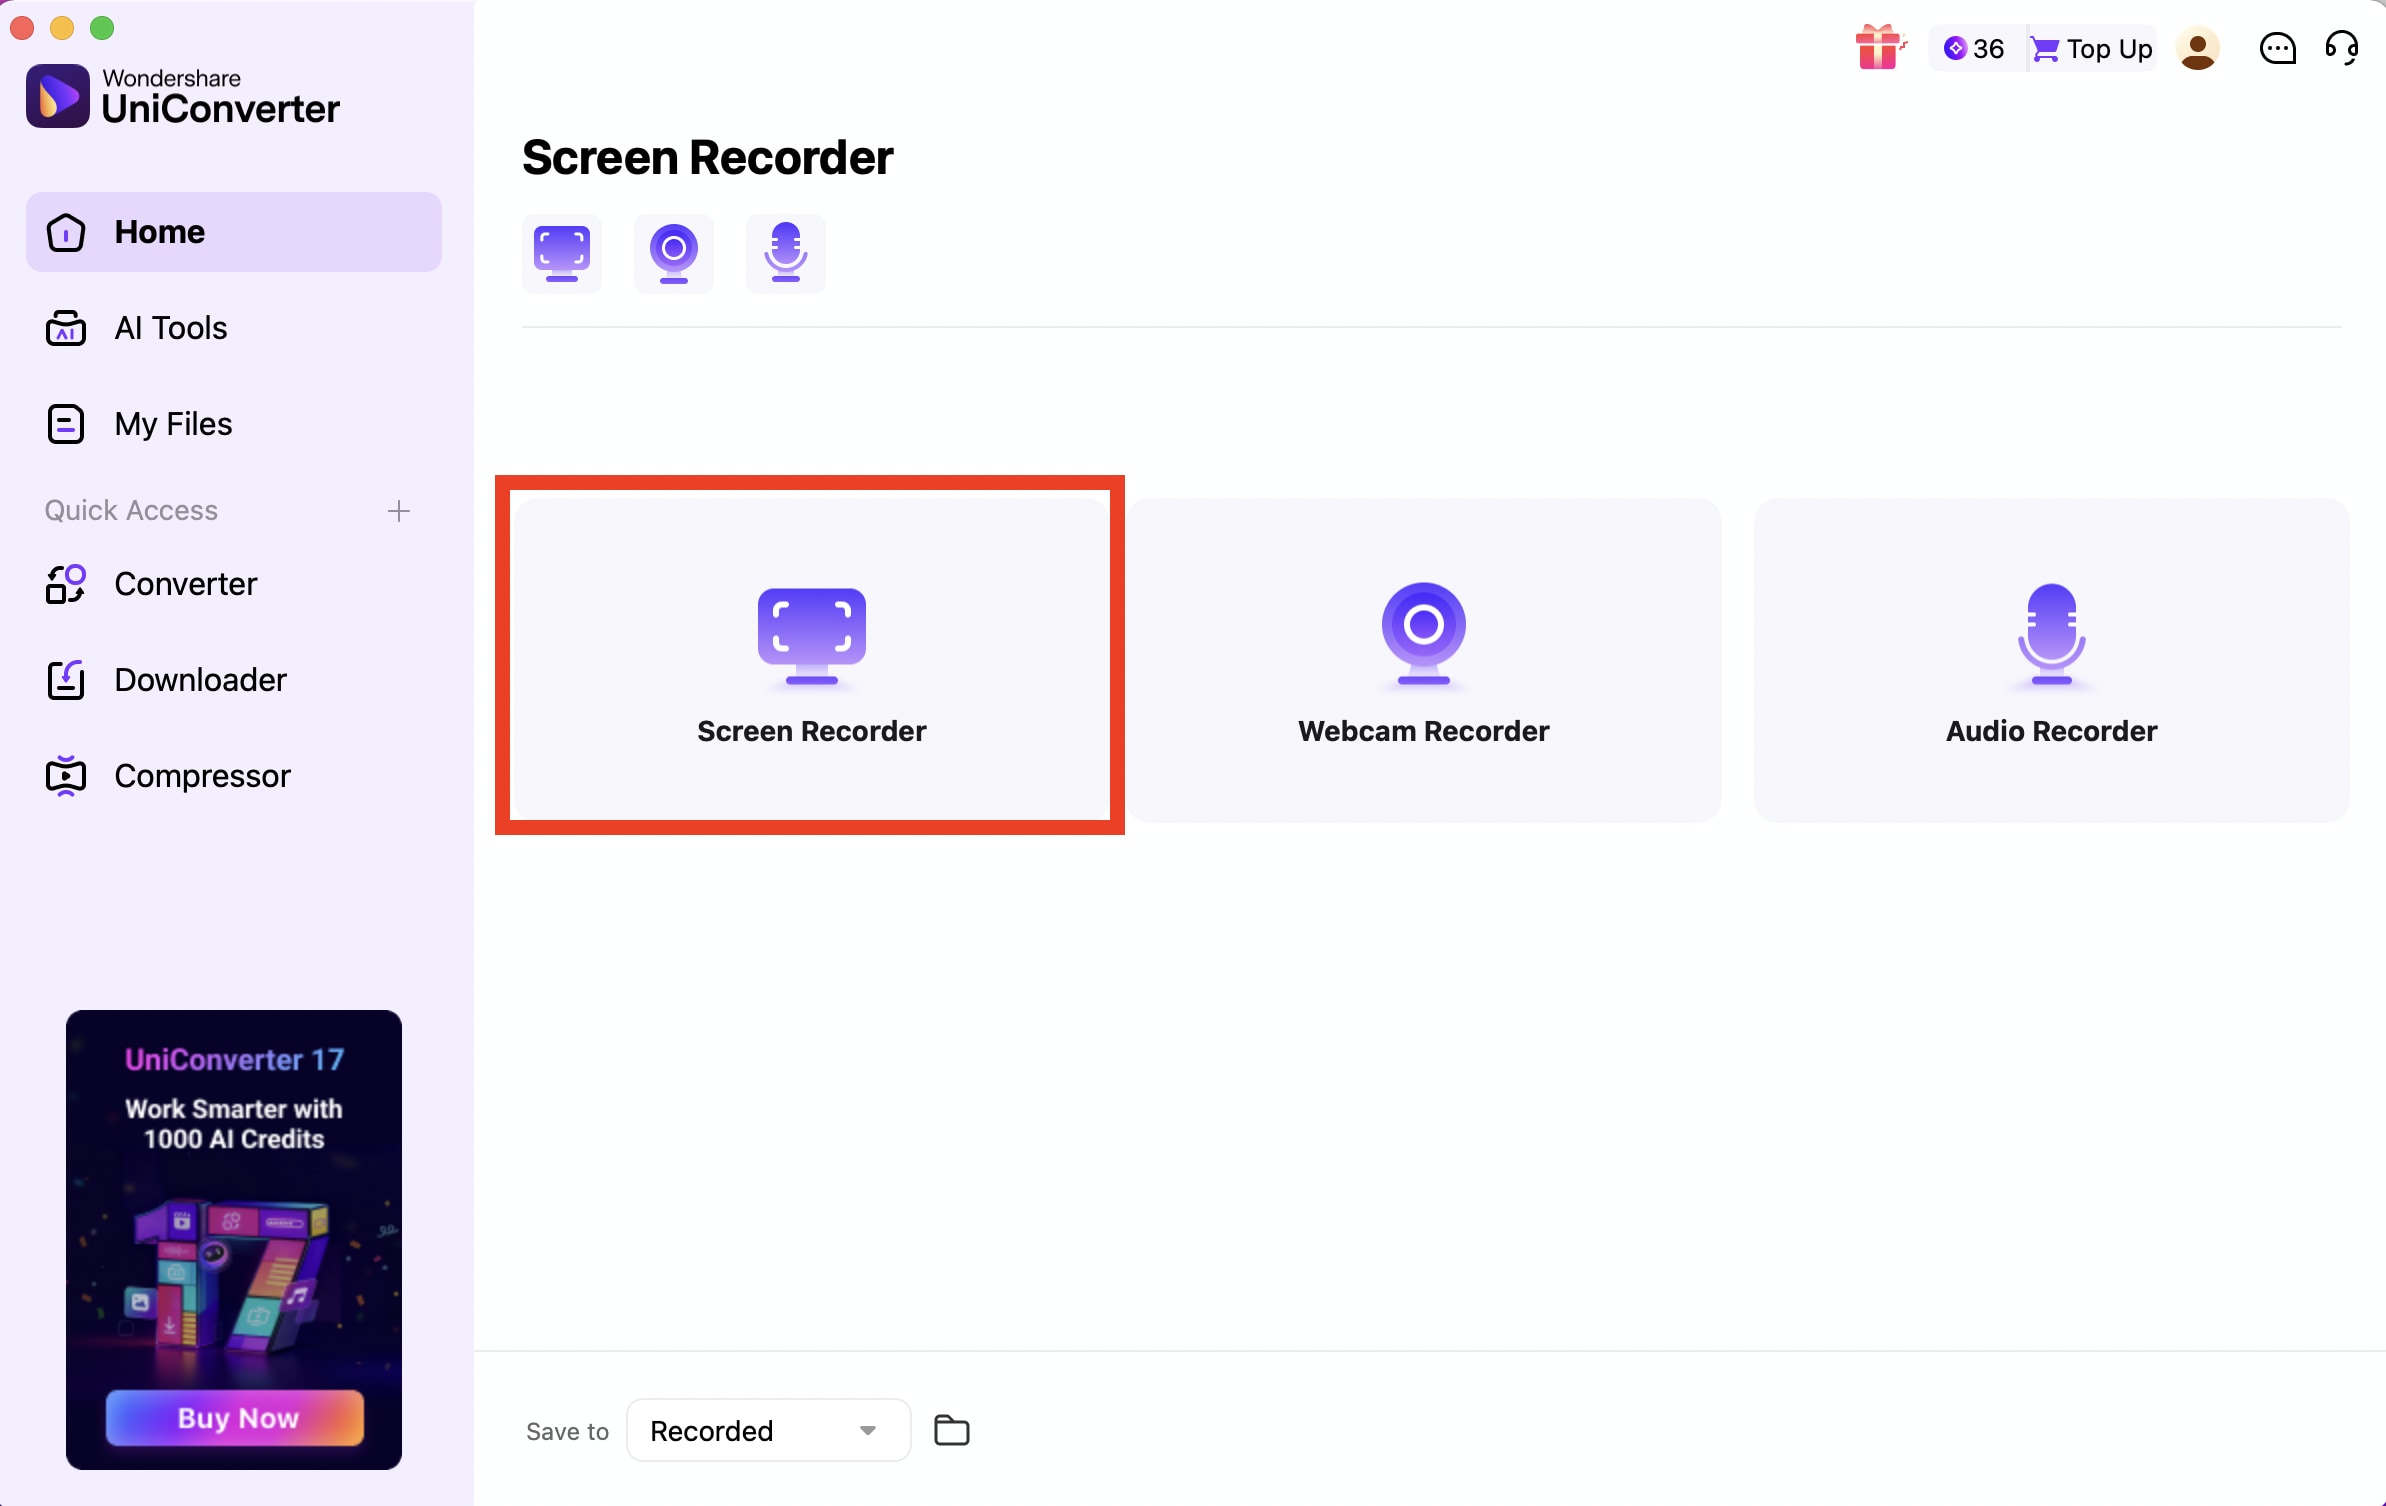
Step 2. Access the Screen Recorder to Start
As the Screen Recorder window opens, click the Screen Recorder option or simply press the Screen Recorder icon from the top menu to access a small window on the new screen.
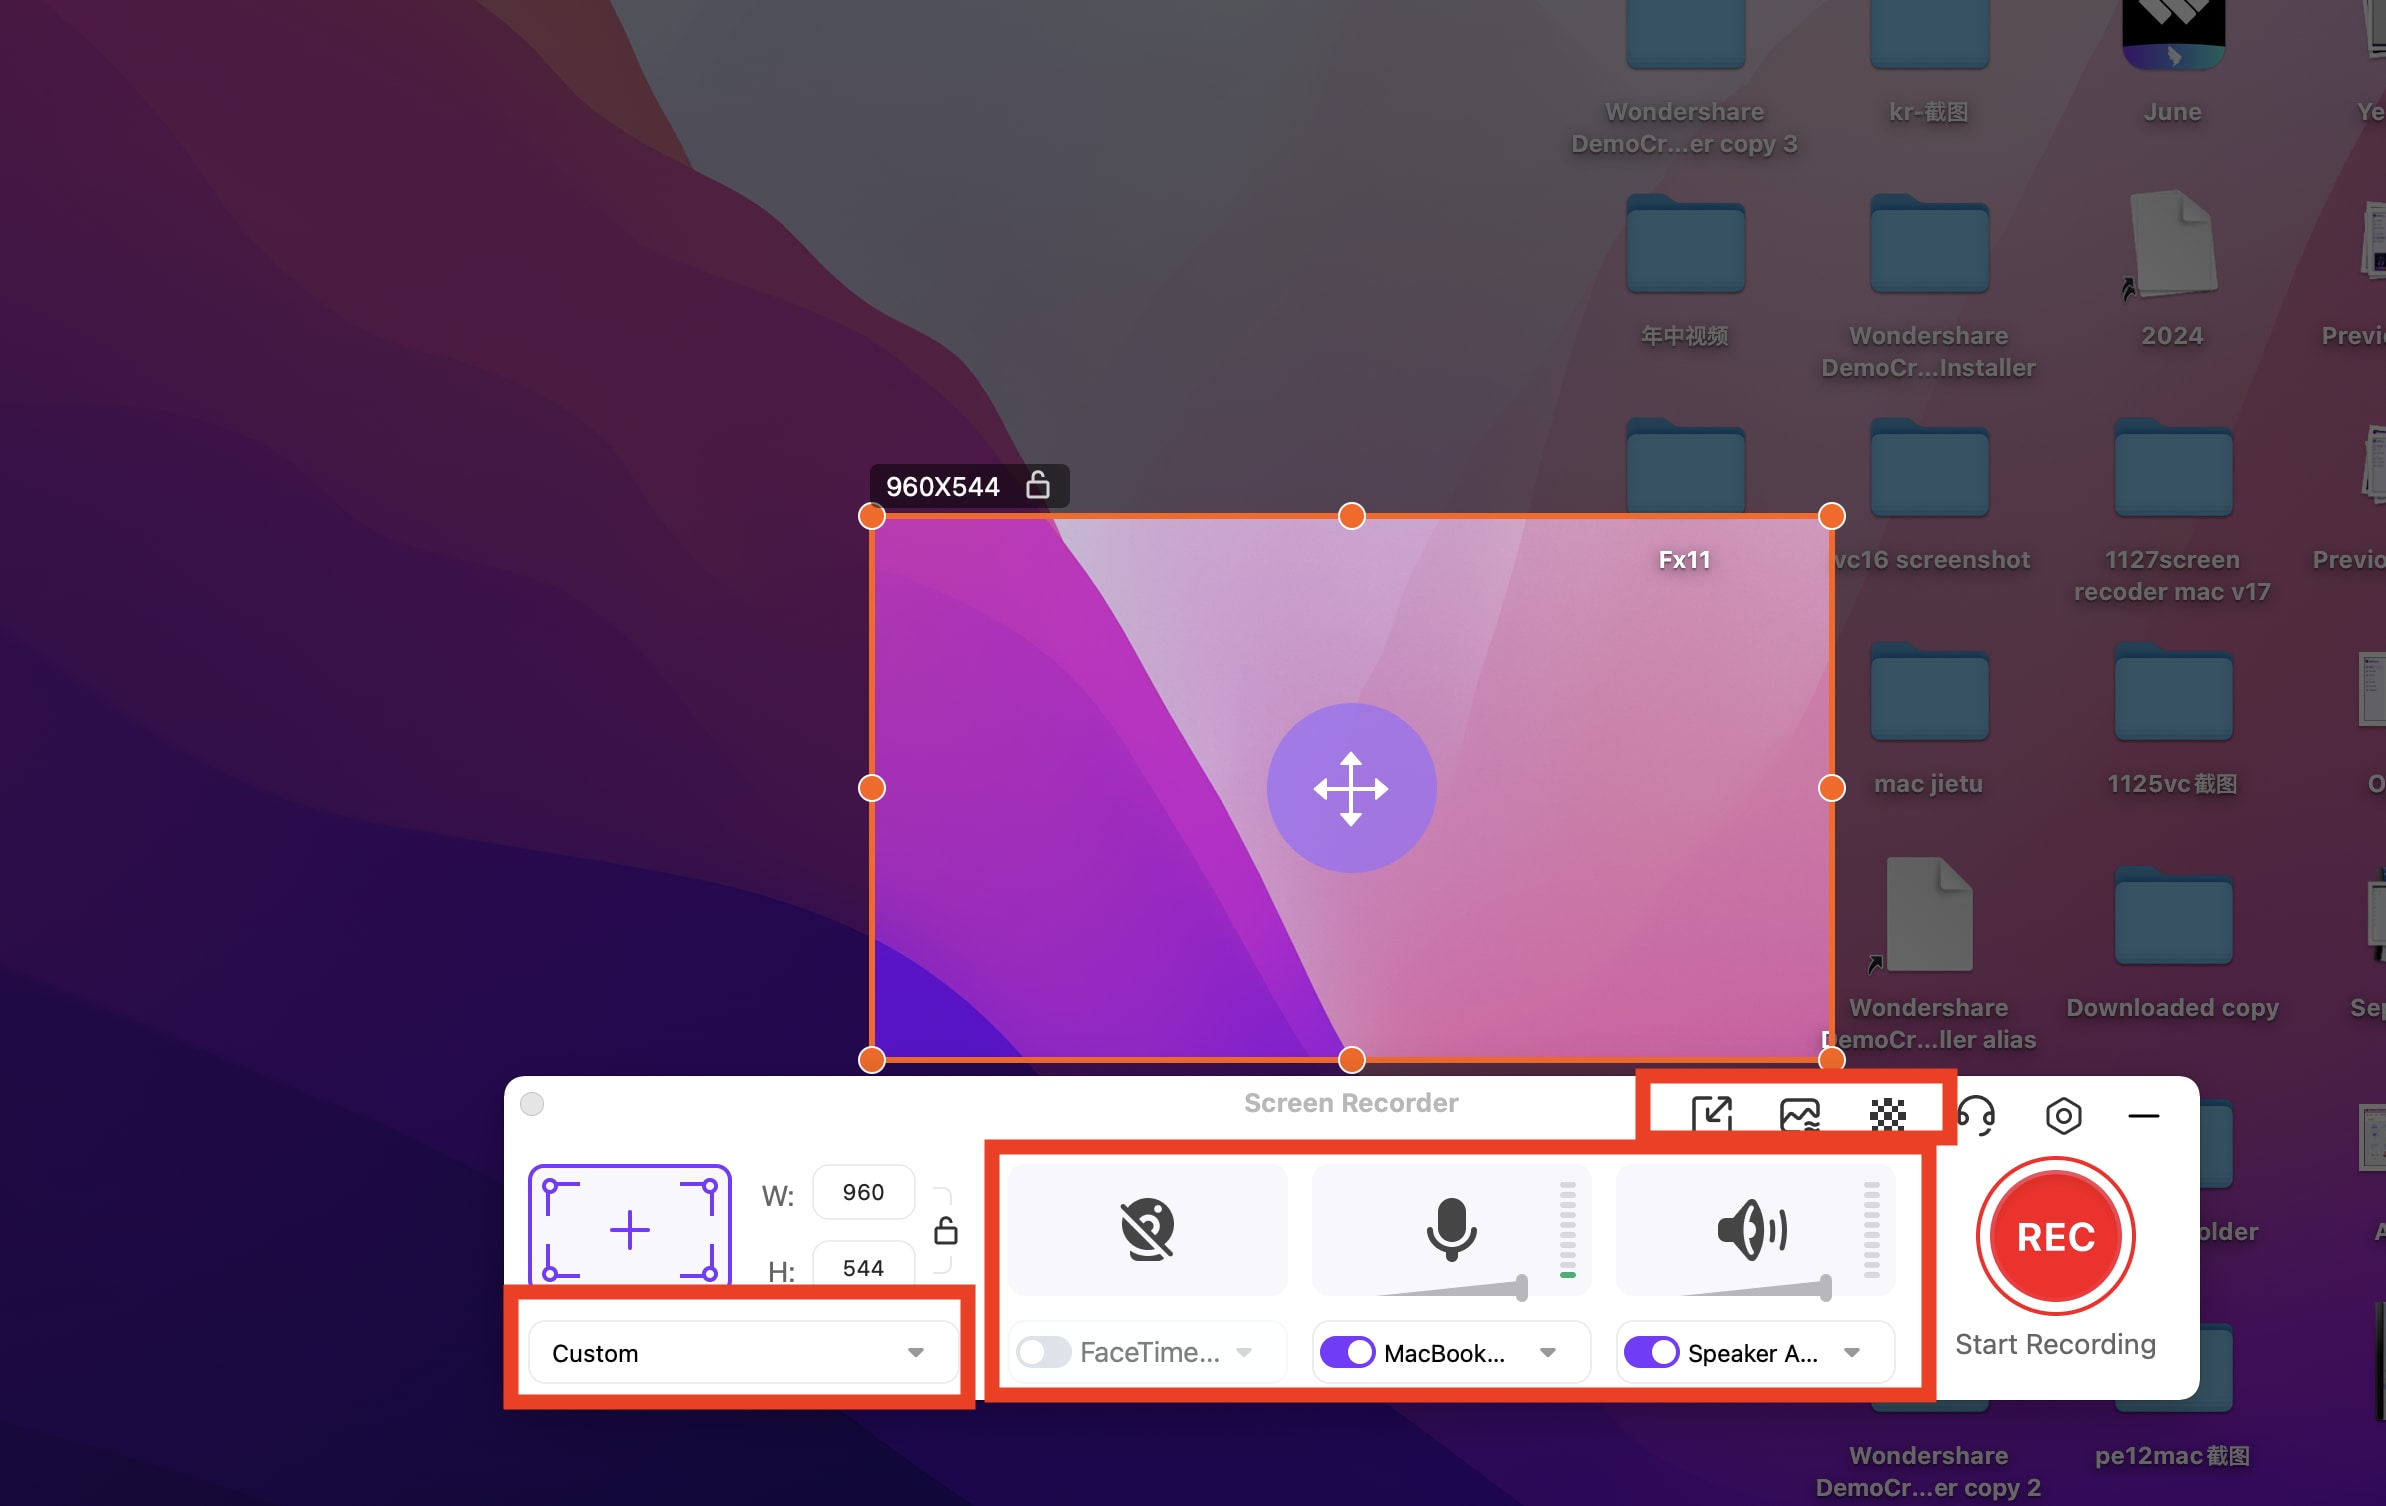
Step 3. Select the Screen Size and Initiate the Recording
Now, open the screen you want to record and select its size by dragging the dimensions. You can also do it manually by pressing the Custom Size drop-down menu and locking the aspect ratio. Besides that, determine whether you want to enable the speaker, microphone, and camera if needed. Finally, press the REC button to start recording your Mac’s screen.
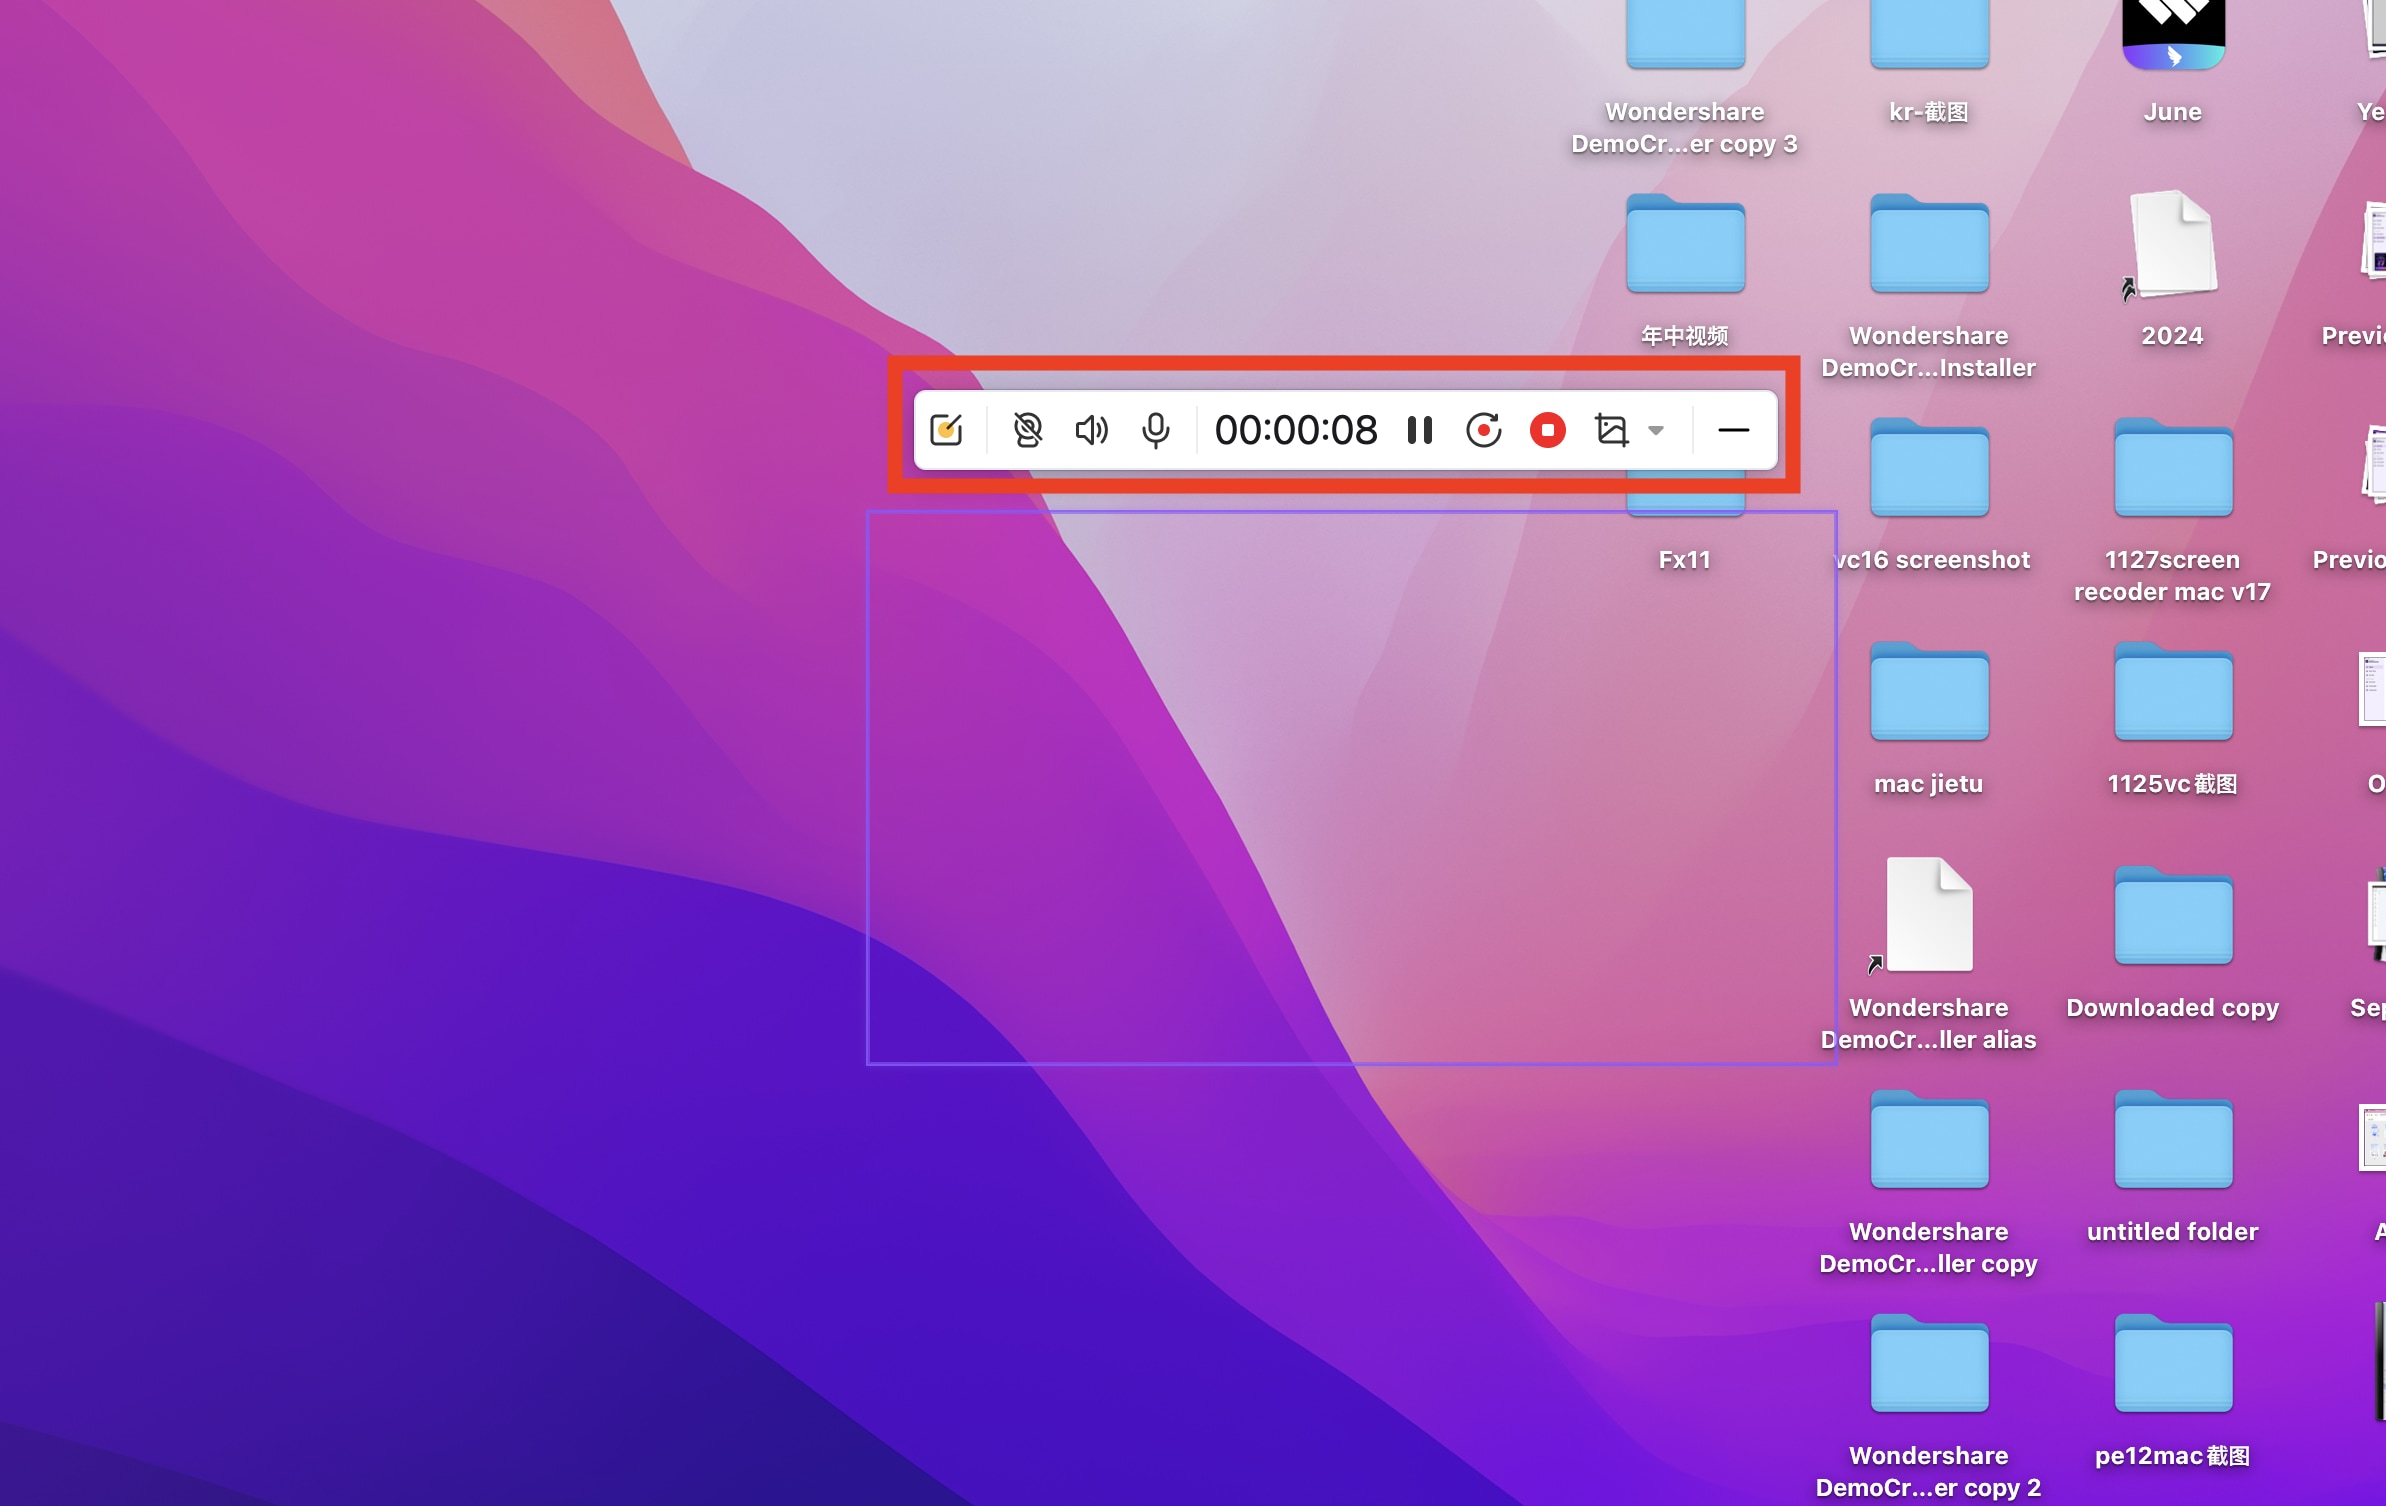
Step 4. End the Recording From the Toolbar
In a few moments, your screen recording will start, and a small floating toolbar will appear on the screen. Using this bar, you can open a certain folder on the device or draw using the available tools. Likewise, you can enable Facetime to capture live interactions. To stop the recording, click the small Stop icon in the toolbar.
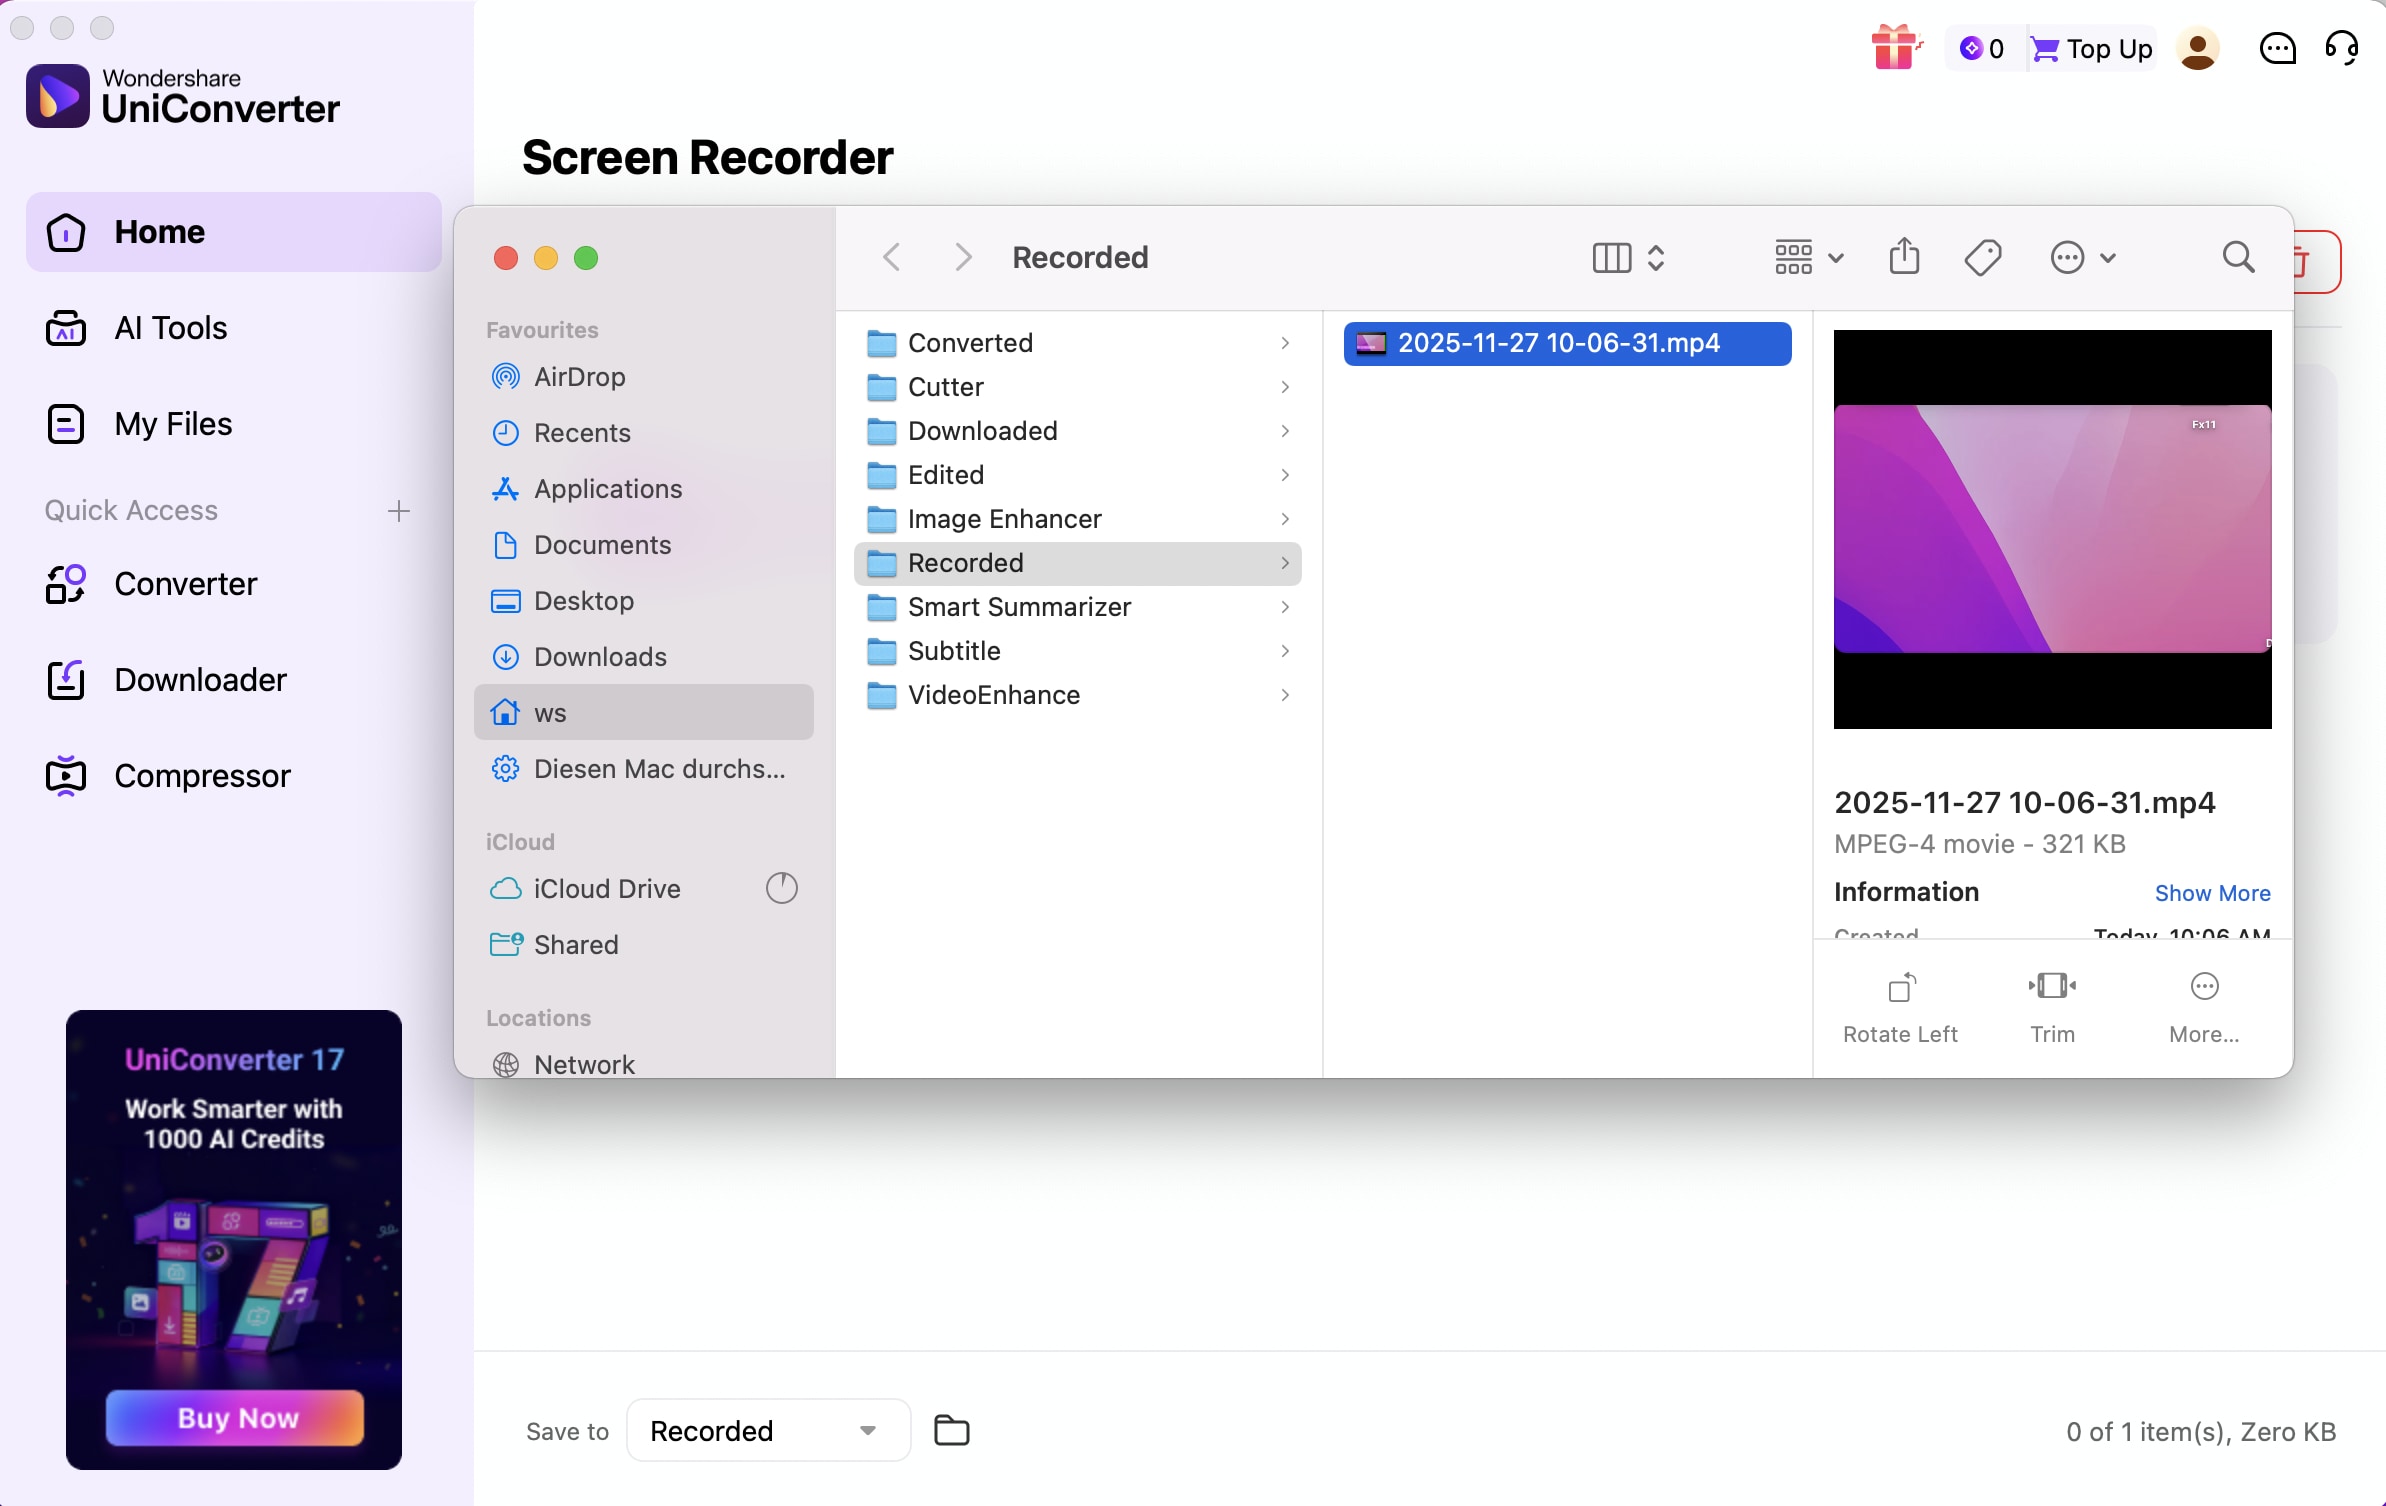
Step 5. Locate the Recorded File
As you stop the recording, it will direct you to the home page, where you can tap the Folder icon to locate it on your Mac. On the contrary, press the Video icon to edit the recorded file further.
 print
print
