
How to Downscale 4K to 1080p with UniConverter

Import the 4K source
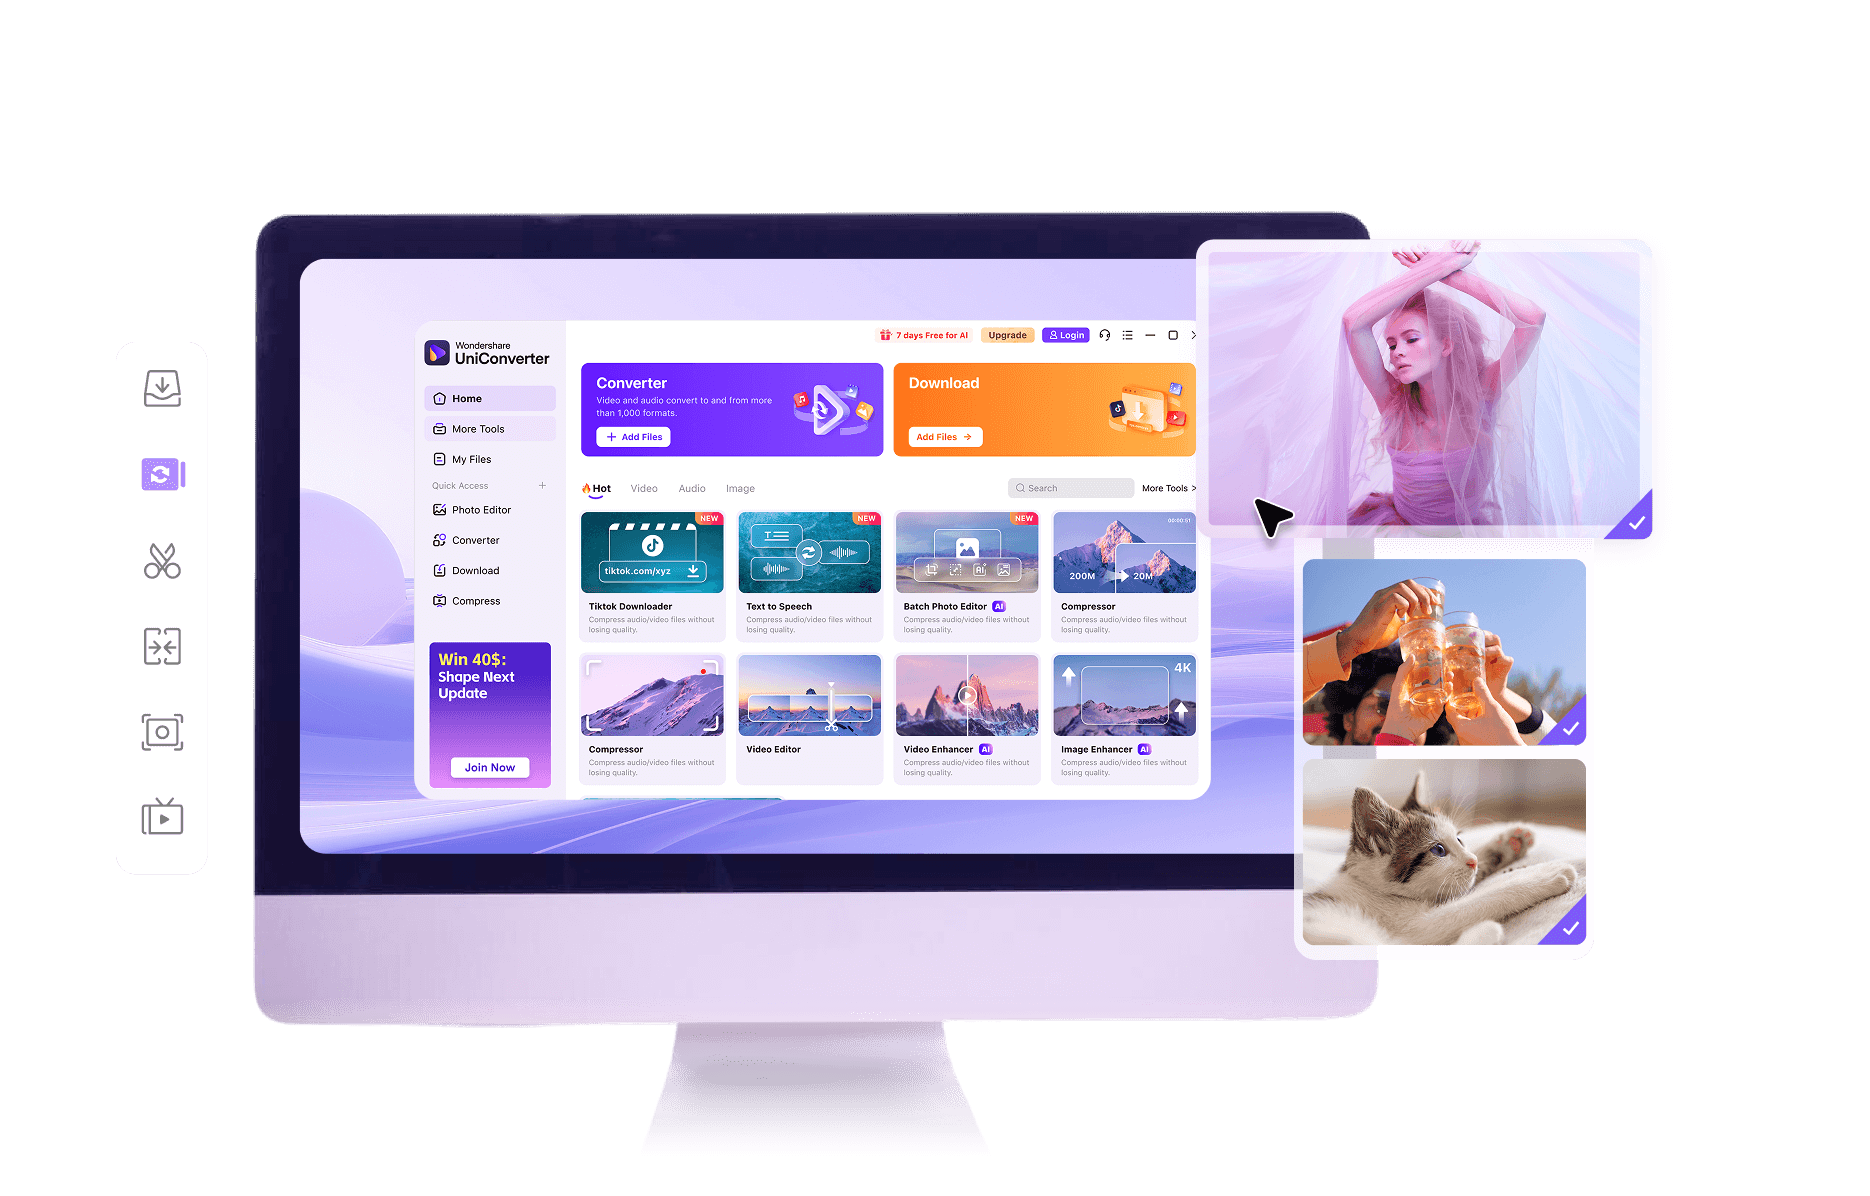
On Windows, open Converter and use +Add Files/Folders to add your recording. Import the original video rather than a previously compressed sharing copy. Add several clips to the queue when they need the same Full HD delivery settings.

Set the output and resolution
Open Convert to, select a video format such as MP4, then open the gear-shaped Settings control. Set the resolution to 1920 × 1080 for a 16:9 source. Keep the source frame rate and aspect ratio; format and resolution are separate choices.

Convert and review the Full HD copy
Choose the output folder, save the profile and click Convert All. Play the result to inspect movement, fine text and audio synchronization. The official 4K/8K conversion guide illustrates the Windows controls used in this workflow.
4K vs 1080p: Resolution, Size and Practical Use
|
4K UHD source
|
1080p output
|
|
|---|---|---|
| 16:9 frame size | 3840 × 2160 pixels | 1920 × 1080 pixels |
| Pixel count | About 8.3 million per frame | About 2.1 million per frame |
| File format | May be MP4, MOV or another supported container | Can remain MP4 or use another chosen container |
| Primary purpose | Capture detail and leave room for cropping | Full HD sharing, playback and editing delivery |
| Frame rate | Determined by the source recording | Normally keep the source rate |
| File size | Depends on bitrate and duration | Can be smaller with a lower output bitrate |
| Aspect ratio | Original recording proportions | Preserve proportions to avoid stretched subjects |
| Detail | More source pixels | Some fine detail is removed during downscaling |
Practical Choices for 4K to 1080p Converter
Free online resolution change
OpenMediaTools provides an independent browser-based 4K to 1080p converter. Its page describes local browser processing. This is a separate service from UniConverter; use the desktop workflow when you want to keep a large local collection in one queue.
Choose a compatible output
MP4 with H.264 is a practical starting point for broad playback compatibility. Match any delivery specification from the receiving app or device. Reducing resolution does not fix an unsupported codec unless you also choose a compatible encoding output.
Control size with bitrate
Two files with the same duration and total bitrate have roughly the same size even at different resolutions. Lowering the output bitrate can reduce size, but an overly low value creates blocking and smeared motion. Compare a short high-motion segment before converting a long collection.
Keep movement consistent
A 60 fps recording does not need to become 30 fps just because the picture is reduced to 1080p. Keep the original frame rate for a straightforward resolution change. Change it only when a delivery requirement or a deliberate motion choice calls for it.
Preserve the composition
For 4:3 or vertical footage, preserve its proportions rather than stretching it into 16:9. Letterboxing keeps the complete picture; cropping fills a different frame but removes content. Decide which result suits the destination before processing the full set.
Separate batch conversion from enhancement
Use Converter for a Full HD delivery copy of a clean 4K recording. AI enhancement solves a different problem, such as blur or noise, and is not necessary for every downscale. Follow the desktop resolution guide for the conversion settings.
FAQs About 4K to 1080p Converter
Does converting 4K to 1080p reduce quality?
Will a 4K to 1080p video converter make the file smaller?
What resolution should I select?
Can I convert 4K to 1080p online?
Should I keep 30 fps or 60 fps?
Is 1080p to 4K the same task?
What Users Say About UniConverter Video Workflows
Customer reviews cover UniConverter’s broader media workflows.

Create a Full HD Copy of Your 4K Video