

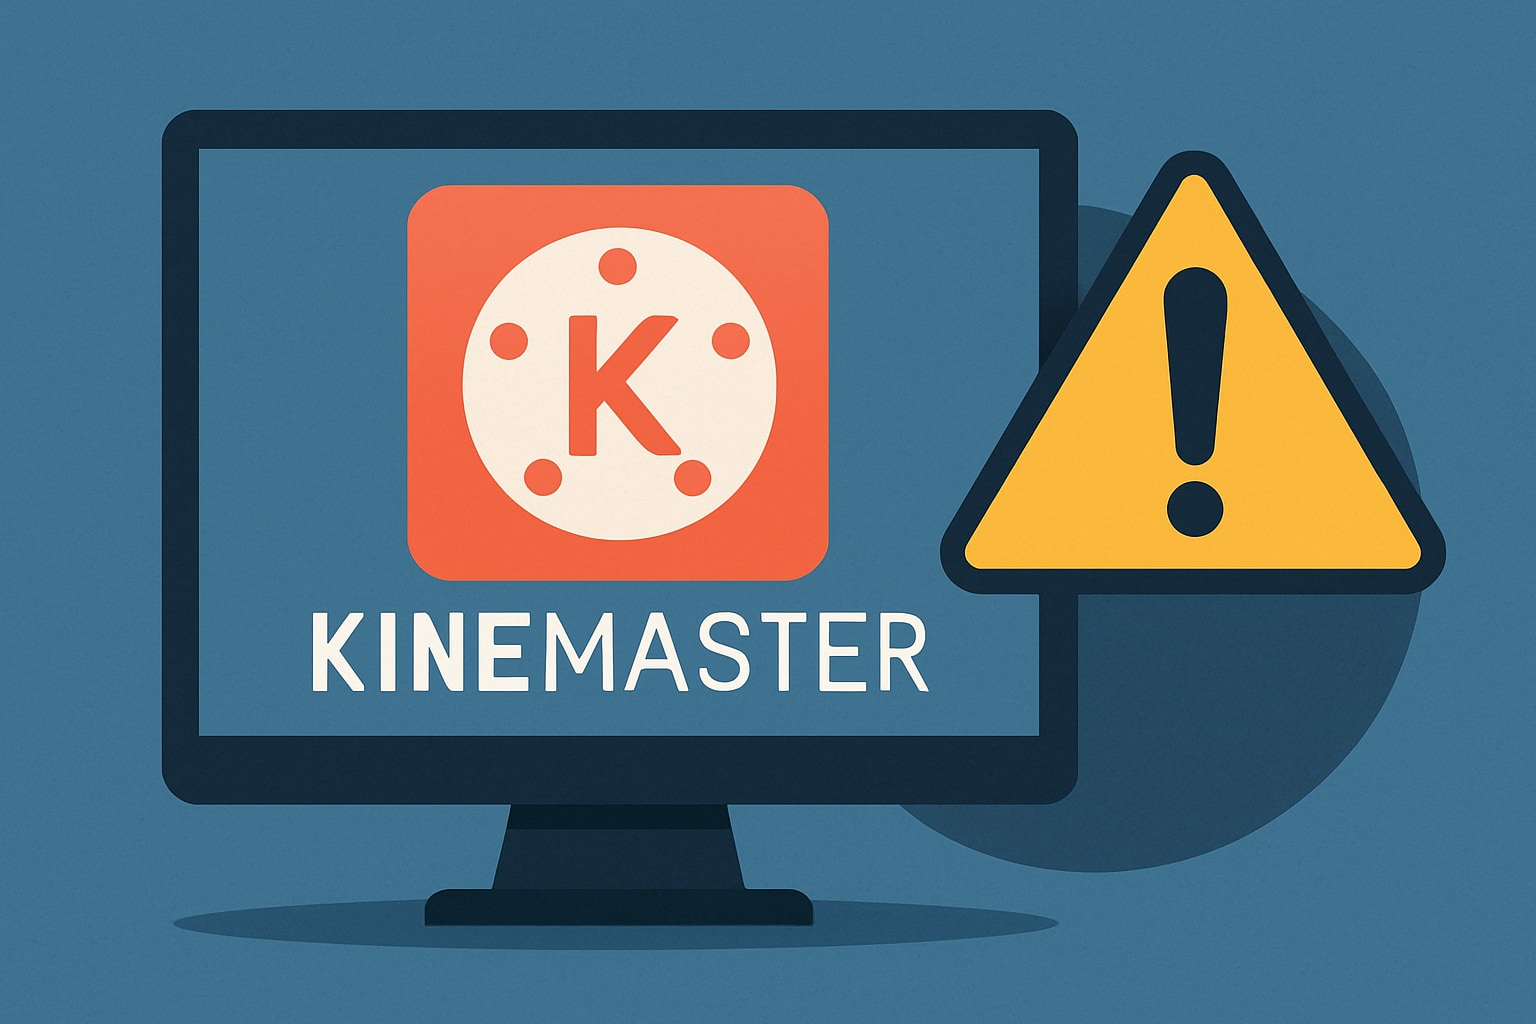
If you are a mobile content creator, you are likely already in love with KineMaster. It is arguably one of the most versatile editing apps available for Android and iOS. However, as your projects grow more complex, the limitations of a 6-inch screen become apparent. Your thumbs get tired, your phone overheats, and you start craving the precision of a mouse and keyboard. This leads thousands of creators to search for KineMaster for PC or a KineMaster for PC download every single day.
In 2025, the demand for desktop-grade editing is higher than ever. Whether you are looking for KineMaster for Windows 10, trying to figure out a KineMaster for PC Windows 7 download, or seeking a powerful alternative that offers features like subtitle extraction, this guide covers it all. We will dive deep into the reality of the KineMaster desktop version and how to legally run the mobile app on your computer, and why switching to a native PC tool might be the best career move you make this year.
Table of Contents
Part 1. Is There an Official KineMaster for PC App?
The short and direct answer is: No, there is no official KineMaster desktop application for Windows 7, 10, or 11.
Despite the massive search volume for KineMaster download for PC, the developers (KineMaster Corporation) have kept the software exclusively as a mobile application for Android and iOS devices. There is no native .exe or .msi file that you can install directly onto your Windows laptop or MacBook to run KineMaster natively.
Avoid Fake "KineMaster for PC" Downloads
This brings us to a crucial safety warning. If you search for KineMaster for PC without water mark or kine master mod apk for PC, you will likely encounter third-party websites claiming to offer a direct PC installer. Do not download these files.
These are almost guaranteed to be scams. They are often malware, adware, or ransomware packaged to look like the real app. Installing these "cracked" versions can compromise your personal data, slow down your computer, and infect your system with viruses. The only legitimate way to use KineMaster on a computer is through virtualization, which we will discuss in the next section.

Easy to Use KineMaster Alternative for PC
Part 2. How can you use KineMaster on a PC with an Android emulator?
Since there is no official KineMaster video editor for PC, the workaround used by millions is an Android Emulator.
What is an Android Emulator?
An Android emulator is a software program that simulates an Android device's operating system on your computer. It creates a "virtual phone" inside your Windows or Mac environment. This allows you to access the Google Play Store, download apps, and run them just as you would on a tablet or smartphone.
Recommended Emulator: BlueStacks
While there are several options like LDPlayer or NoxPlayer, BlueStacks remains the industry standard. It is the most popular, user-friendly, and reliable emulator for running heavy video editing apps like KineMaster. It offers customizable keymapping and utilizes your computer's RAM to boost performance.
Step-by-Step Guide: Installing KineMaster on PC via BlueStacks
If you are determined to use KineMaster for laptop setups, follow these precise steps:
Step 1: Download and Install the BlueStacks Emulator
Start by visiting the official BlueStacks website to download the latest installer compatible with your Windows version. Run the setup file you just downloaded, then follow the simple on-screen instructions to complete the installation on your computer. Once the installation finishes, launch the BlueStacks application to access your new virtual Android interface.
Step 2: Sign In and Search for the App
Inside the BlueStacks home screen, click on the Google Play Store icon and sign in using your existing Google account credentials to access the store. Use the search bar at the top of the Play Store interface to type in "KineMaster" just like you would on a smartphone. This will locate the official KineMaster video editor app among the results, so you can prepare to download it.
Step 3: Install KineMaster and Start Editing
Click the green "Install" button to download the app directly into your emulator, and wait a few moments for the process to complete automatically. Once installed, the KineMaster icon will appear on your BlueStacks desktop. Click it to launch the video editor. You can now use your mouse and keyboard to edit videos on a bigger screen, though you may want to allocate more RAM in the settings for smoother performance strictly.
Note: You may need to adjust the emulator settings (allocate more RAM and CPU cores) to ensure the video preview plays smoothly without lag.
Part 3. Why might a native PC video editor be better than running KineMaster in an emulator?
While emulators provide a functional workaround for a KineMaster download PC scenario, they are far from perfect. Emulation adds a layer of software overhead, meaning your computer has to work twice as hard to run a mobile app. Here is why switching to a native PC video editor is often the smarter choice for serious creators:
Unleash Your Hardware: Unmatched Performance and Speed

Workflow Designed for Precision: Mouse, Keyboard, and Large Screen
KineMaster is designed for touch. When you force it onto a PC, you are simulating touch gestures with a mouse click, which can feel clunky. Native PC editors offer:
Timeline Precision: Drag and drop clips with pixel-perfect accuracy.
Keyboard Shortcuts: Use hotkeys (Ctrl+C, Ctrl+V, J/K/L cuts) to speed up editing by 50%.
Larger Canvas: The interface is designed for a monitor, not a vertical phone screen, giving you more room for tracks and effects.
Seamless Desktop Integration
Native apps allow you to drag and drop files directly from your desktop folders into the timeline. With an emulator, you often have to import files into the emulator's "Media Manager" first, creating an annoying extra step in your workflow.
Access to Professional-Grade Features
Mobile apps are "lite" by design. PC software offers advanced color grading, audio ducking, noise reduction, and AI features that mobile processors cannot handle yet.
Part 4. Top 5 KineMaster Alternatives for PC
If you are ready to graduate from emulator lag and want a robust alternative to KineMaster for PC Windows 11, here are the top 5 tools available in 2025.
Quick Guide: Best KineMaster for PC Option by Editing Workflow
1. Wondershare UniConverter
Best For: All-in-one media processing, subtitle management, and high-speed conversion.
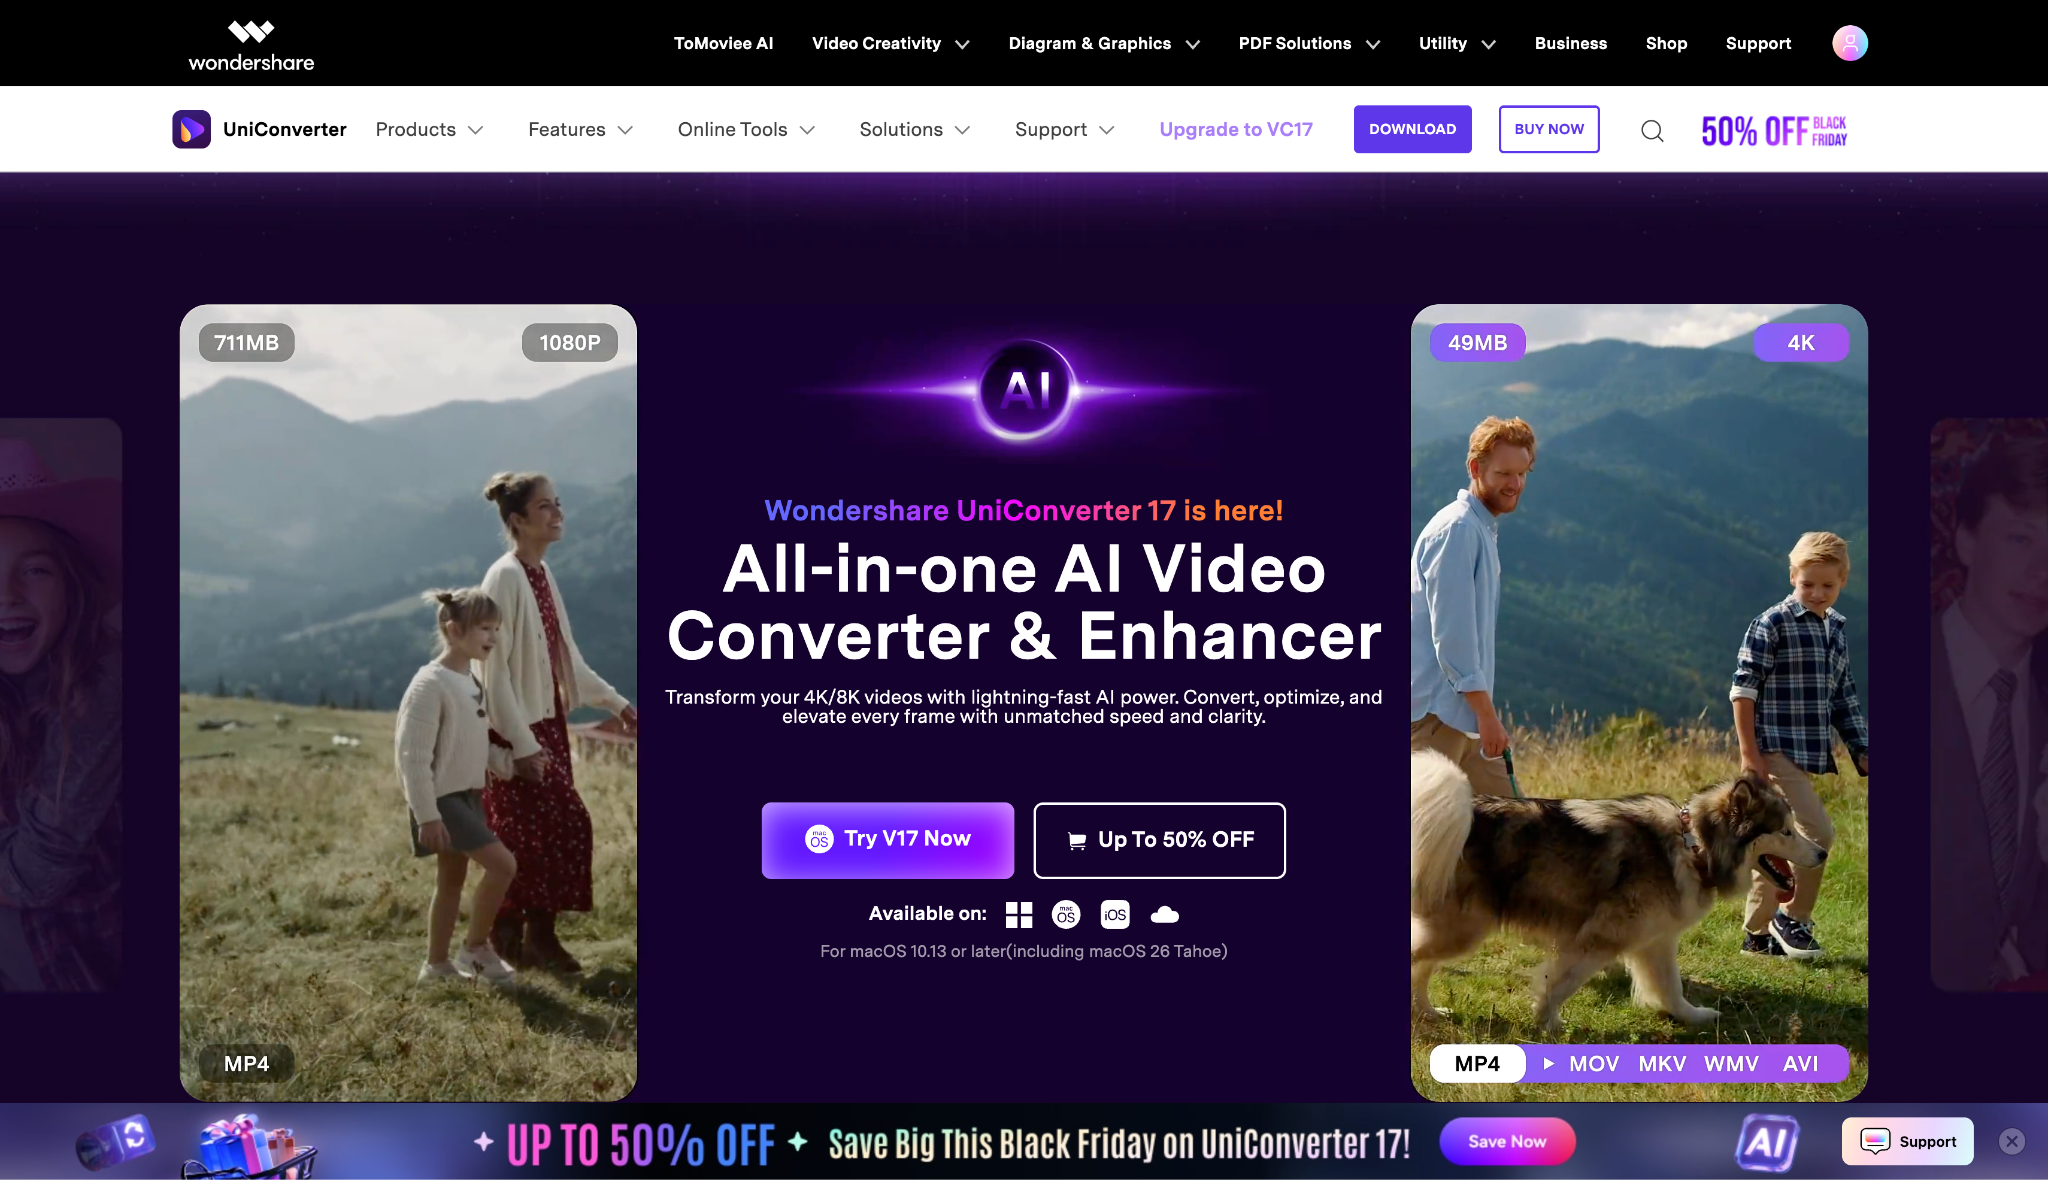
Dialect Support: Supports heavily nuanced languages; Subtitle generator handles various global dialects effectively.
Live or File-Based TTS: File-based AI Audio features.
Starting Price: Free Trial available; Annual plans start approx $31.99 (Inside Education plan).
Easy to Use KineMaster Alternative for PC
2. CapCut Desktop
Best For: Viral social media edits and trends.
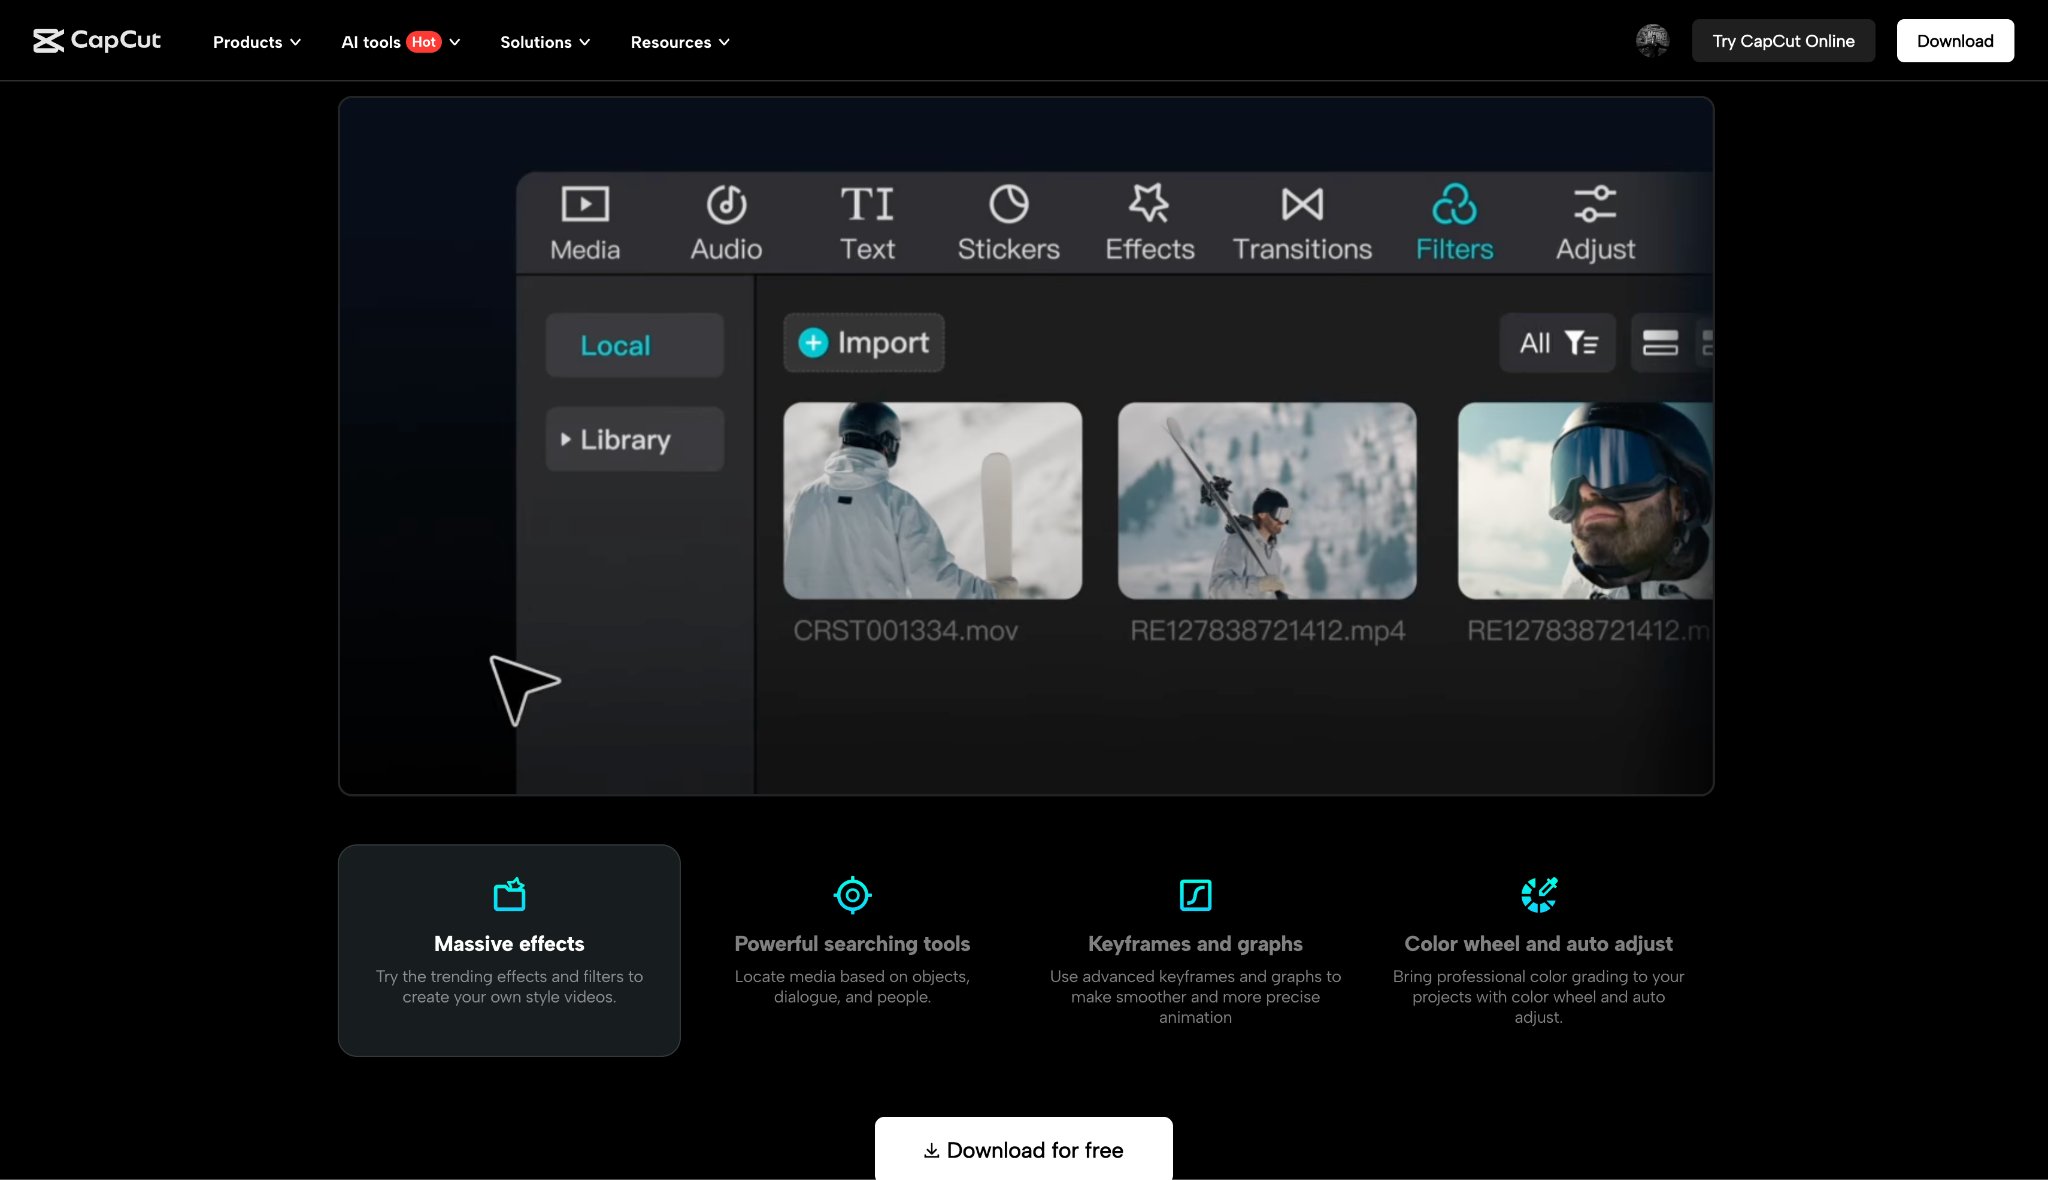
Dialect Support: Standard global languages; Auto-captions support major dialects (e.g., Arabic MSA, Egyptian).
Live or File-Based TTS: Text-to-Speech available within the timeline.
Starting Price: Free (Pro version ~$3.99 for the first month).
3. Wondershare Filmora
Best For: Creative storytelling and cinematic effects.
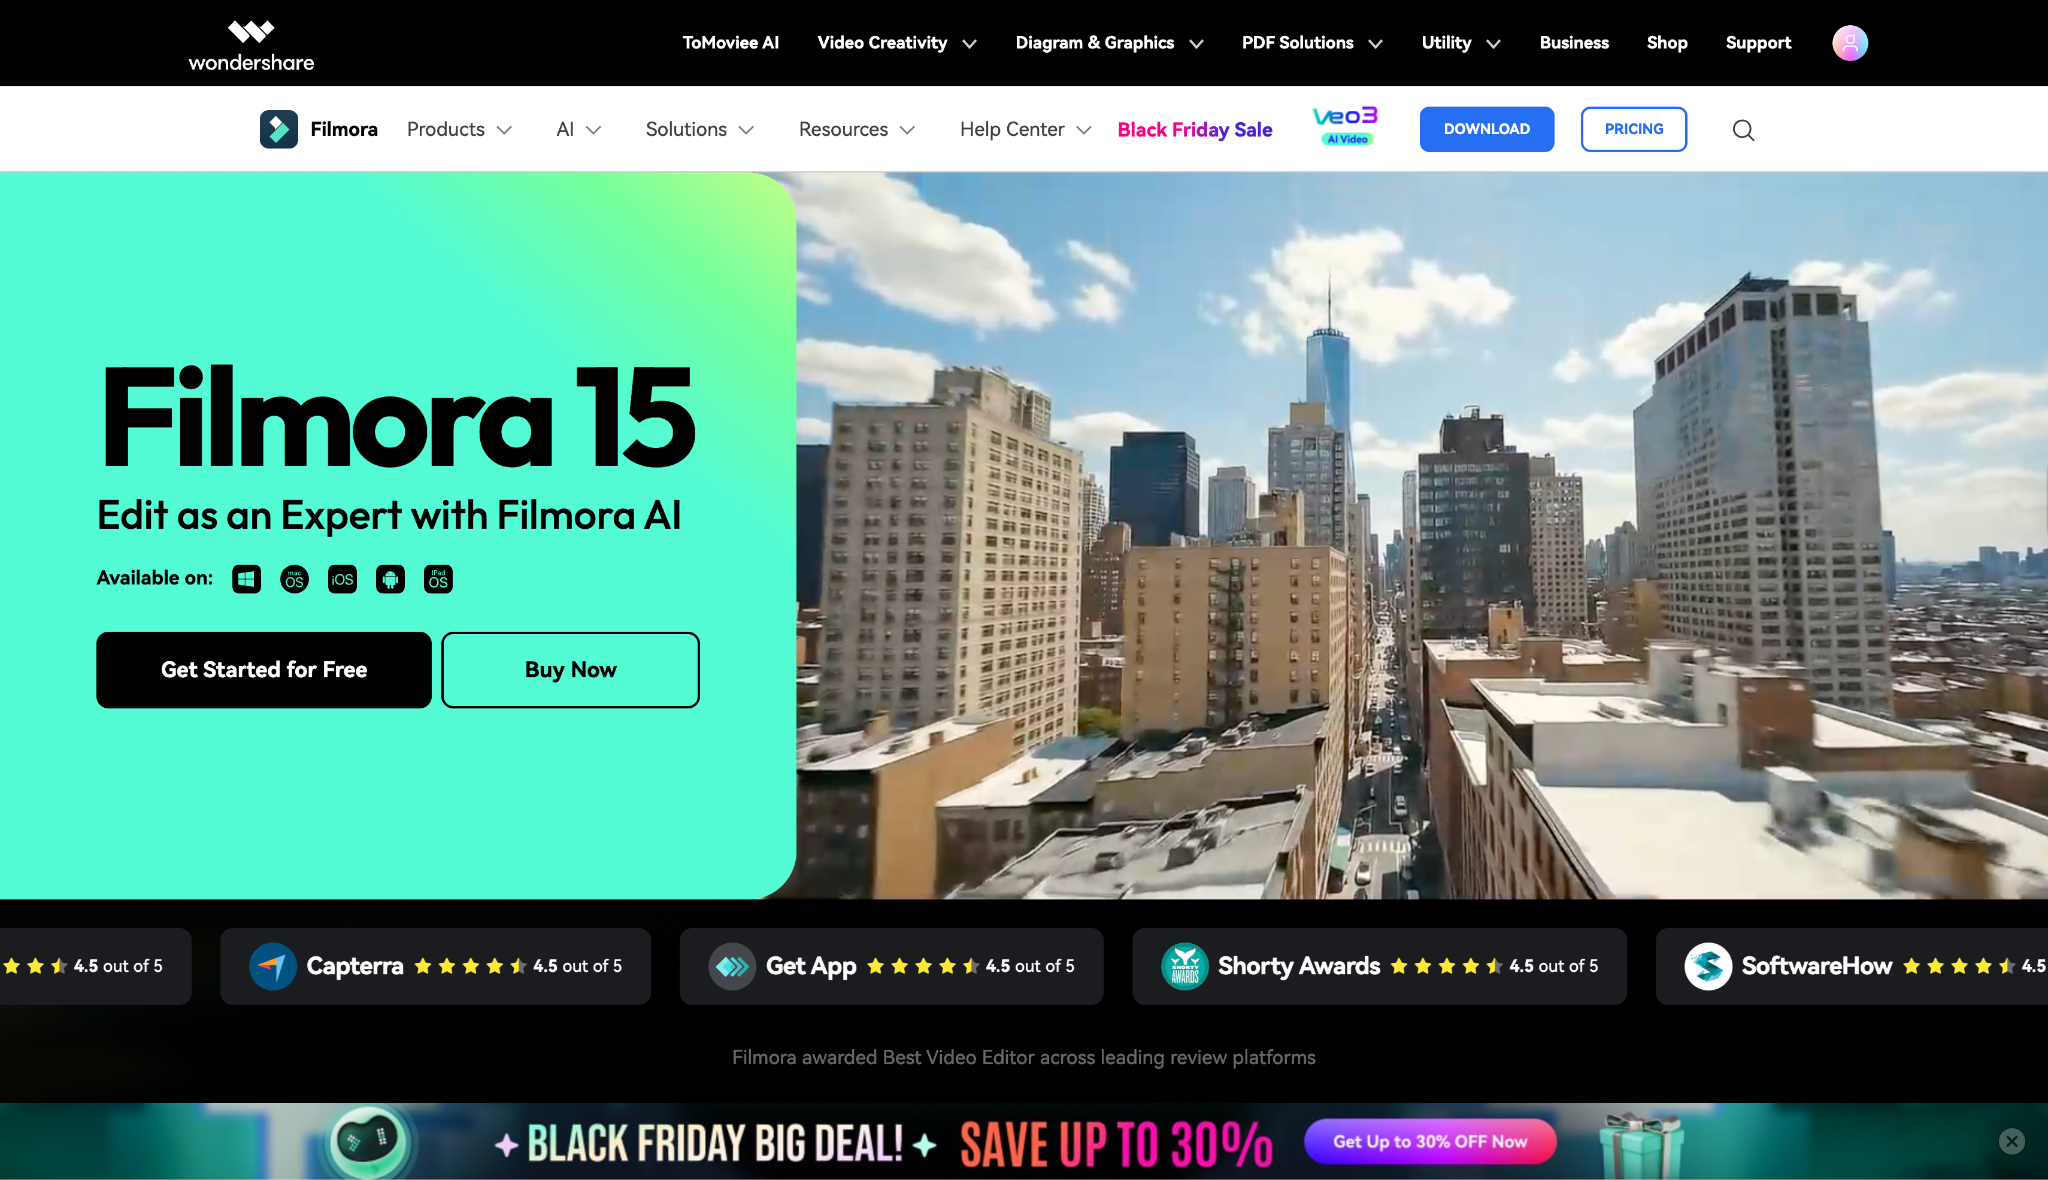
Dialect Support: Excellent multi-language support for UI and Text functions.
Live or File-Based TTS: robust AI Text-to-Speech with emotional tones.
Starting Price: $4.49/month for Windows and $5.99/month for Mac.
4. DaVinci Resolve
Best For: Aspiring pros who want Hollywood-grade features for free.

Dialect Support: Standard OS support for UI; The Studio (Paid) version includes advanced AI voice isolation and translation features.
Live or File-Based TTS: Not a primary feature in the free version; mainly focuses on editing and mixing recorded audio.
Starting Price: Free (Studio version is a one-time $295 fee).
5. Microsoft Clipchamp
Best For: Quick, browser-based edits on Windows 11.
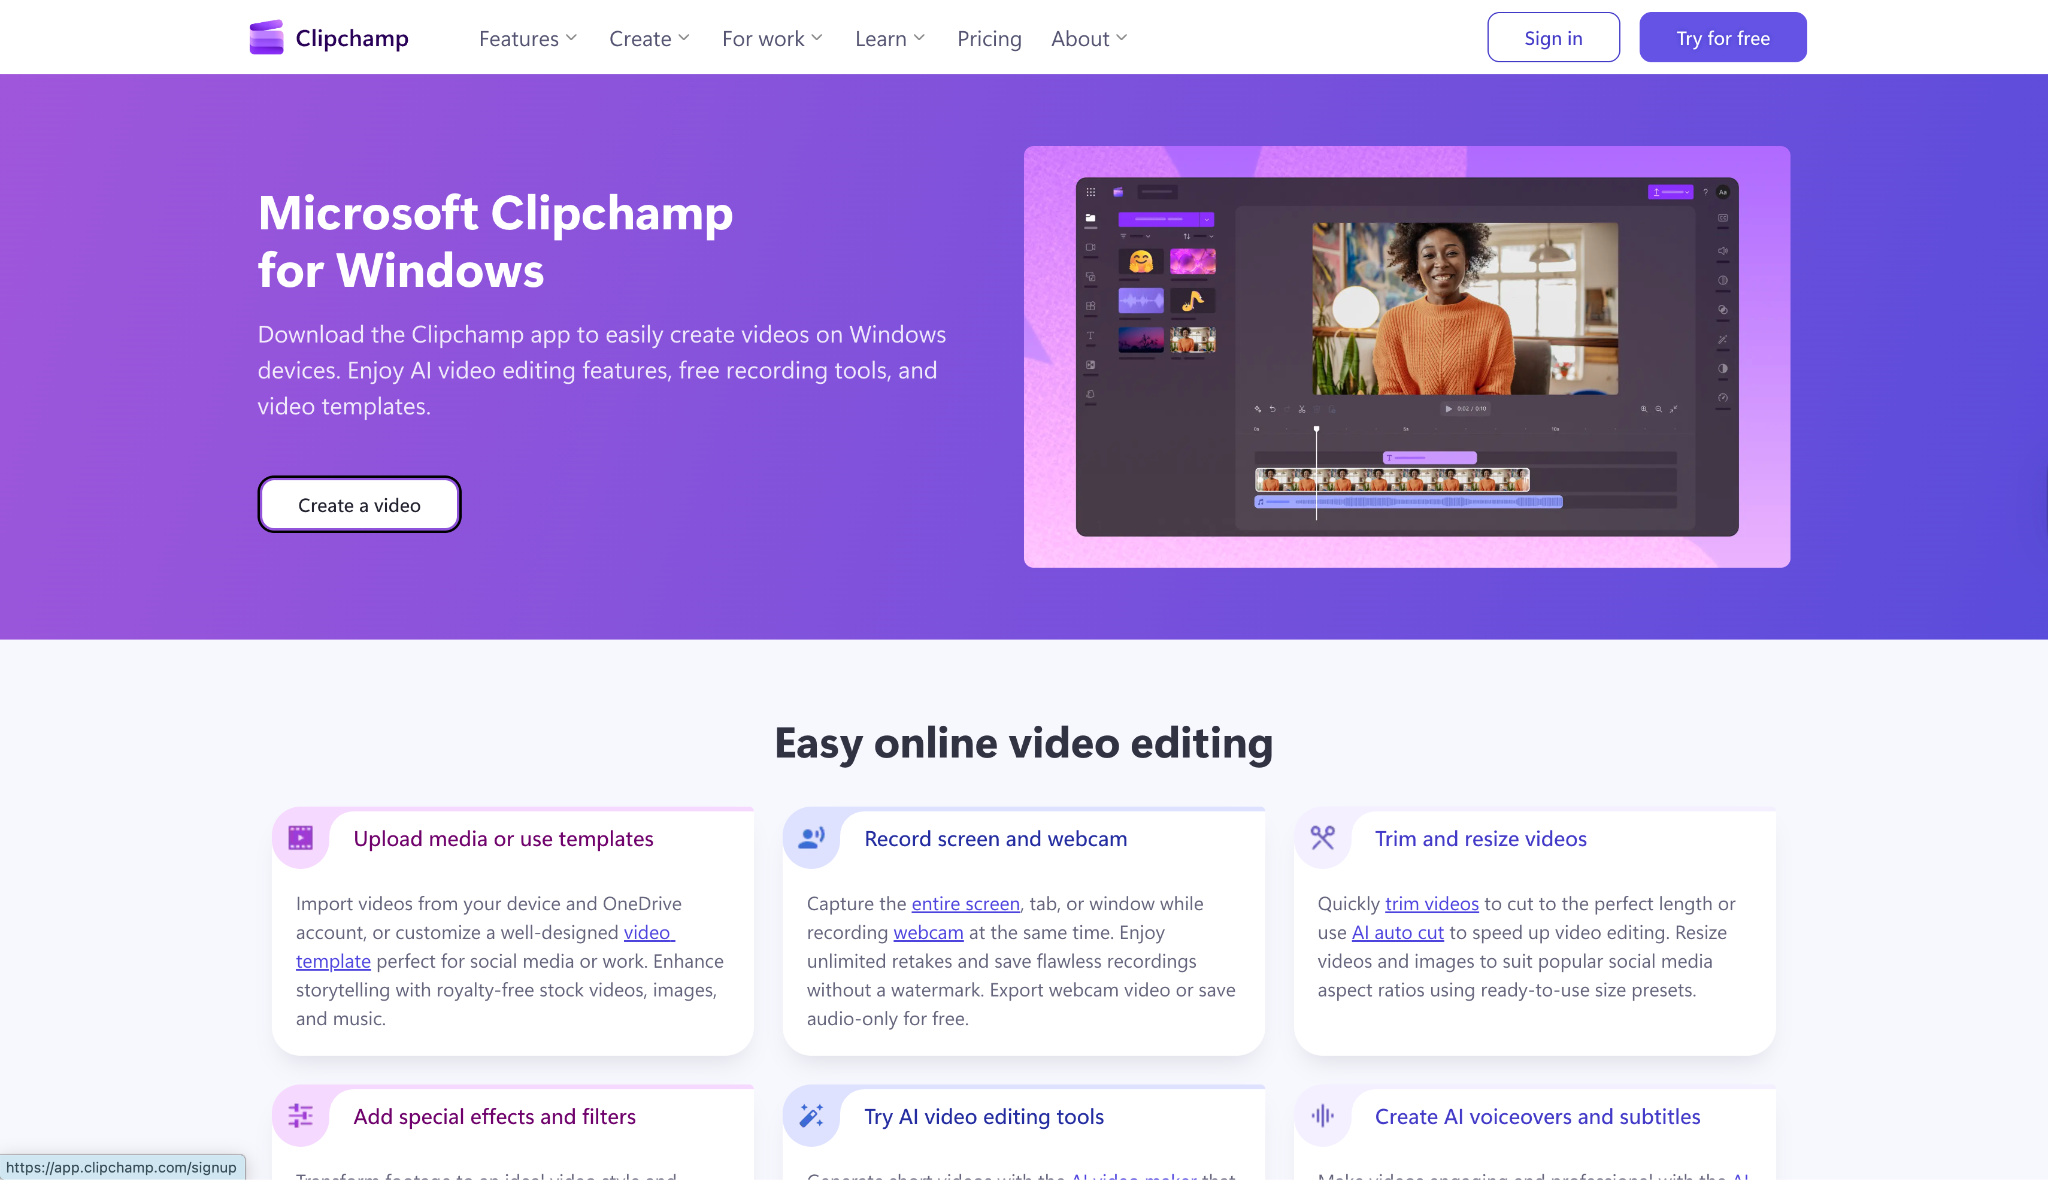
Dialect Support: Azure-powered TTS supports 170 voices across 70 languages including specific Arabic dialects.
Live or File-Based TTS: Excellent Text-to-Speech capabilities.
Starting Price: Free (Premium ~$11.99/month).
Conclusion
Running KineMaster on a PC via emulators like BlueStacks works, but it often limits your computer's true potential. For creators ready to scale their production quality in 2025, switching to a native desktop application is the smarter move. While tools like CapCut offer trendy effects, Wondershare UniConverter remains our top recommendation for a professional workflow. Its unique ability to download videos with subtitles and export them separately solves a critical pain point that KineMaster simply cannot address.
Whether for archiving or global accessibility, UniConverter gives you the professional edge you need. Start upgrading your editing workflow with Wondershare UniConverter today!
Easy to Use KineMaster Alternative for PC
FAQs
-
Q1: Is KineMaster available for PC without Watermark?
No, the official KineMaster app is mobile-only. To remove the watermark, you must purchase a Premium subscription within the app (even if using an emulator). "Cracked" PC versions are usually scams. -
Q2: Can I use KineMaster on a laptop with 2GB RAM?
It is highly unlikely. Running KineMaster via an emulator (BlueStacks) usually requires at least 4GB of RAM (8GB recommended) to function smoothly without crashing. -
Q3: Is BlueStacks safe for downloading KineMaster?
Yes, BlueStacks is a legitimate and safe company. However, you must download the KineMaster app from the Google Play Store inside BlueStacks, not from third-party APK sites. -
Q4: Which is better for PC: KineMaster (Emulator) or UniConverter?
UniConverter is better for PC users. It runs natively, uses your GPU efficiently, offers higher export speeds, and includes desktop-specific tools such as subtitle extraction and format conversion. -
Q5: How do I download KineMaster for Windows 11?
Download and install the BlueStacks 5 emulator. Open it, sign in to your Google account, search for "KineMaster" in the Play Store, and click Install.

