

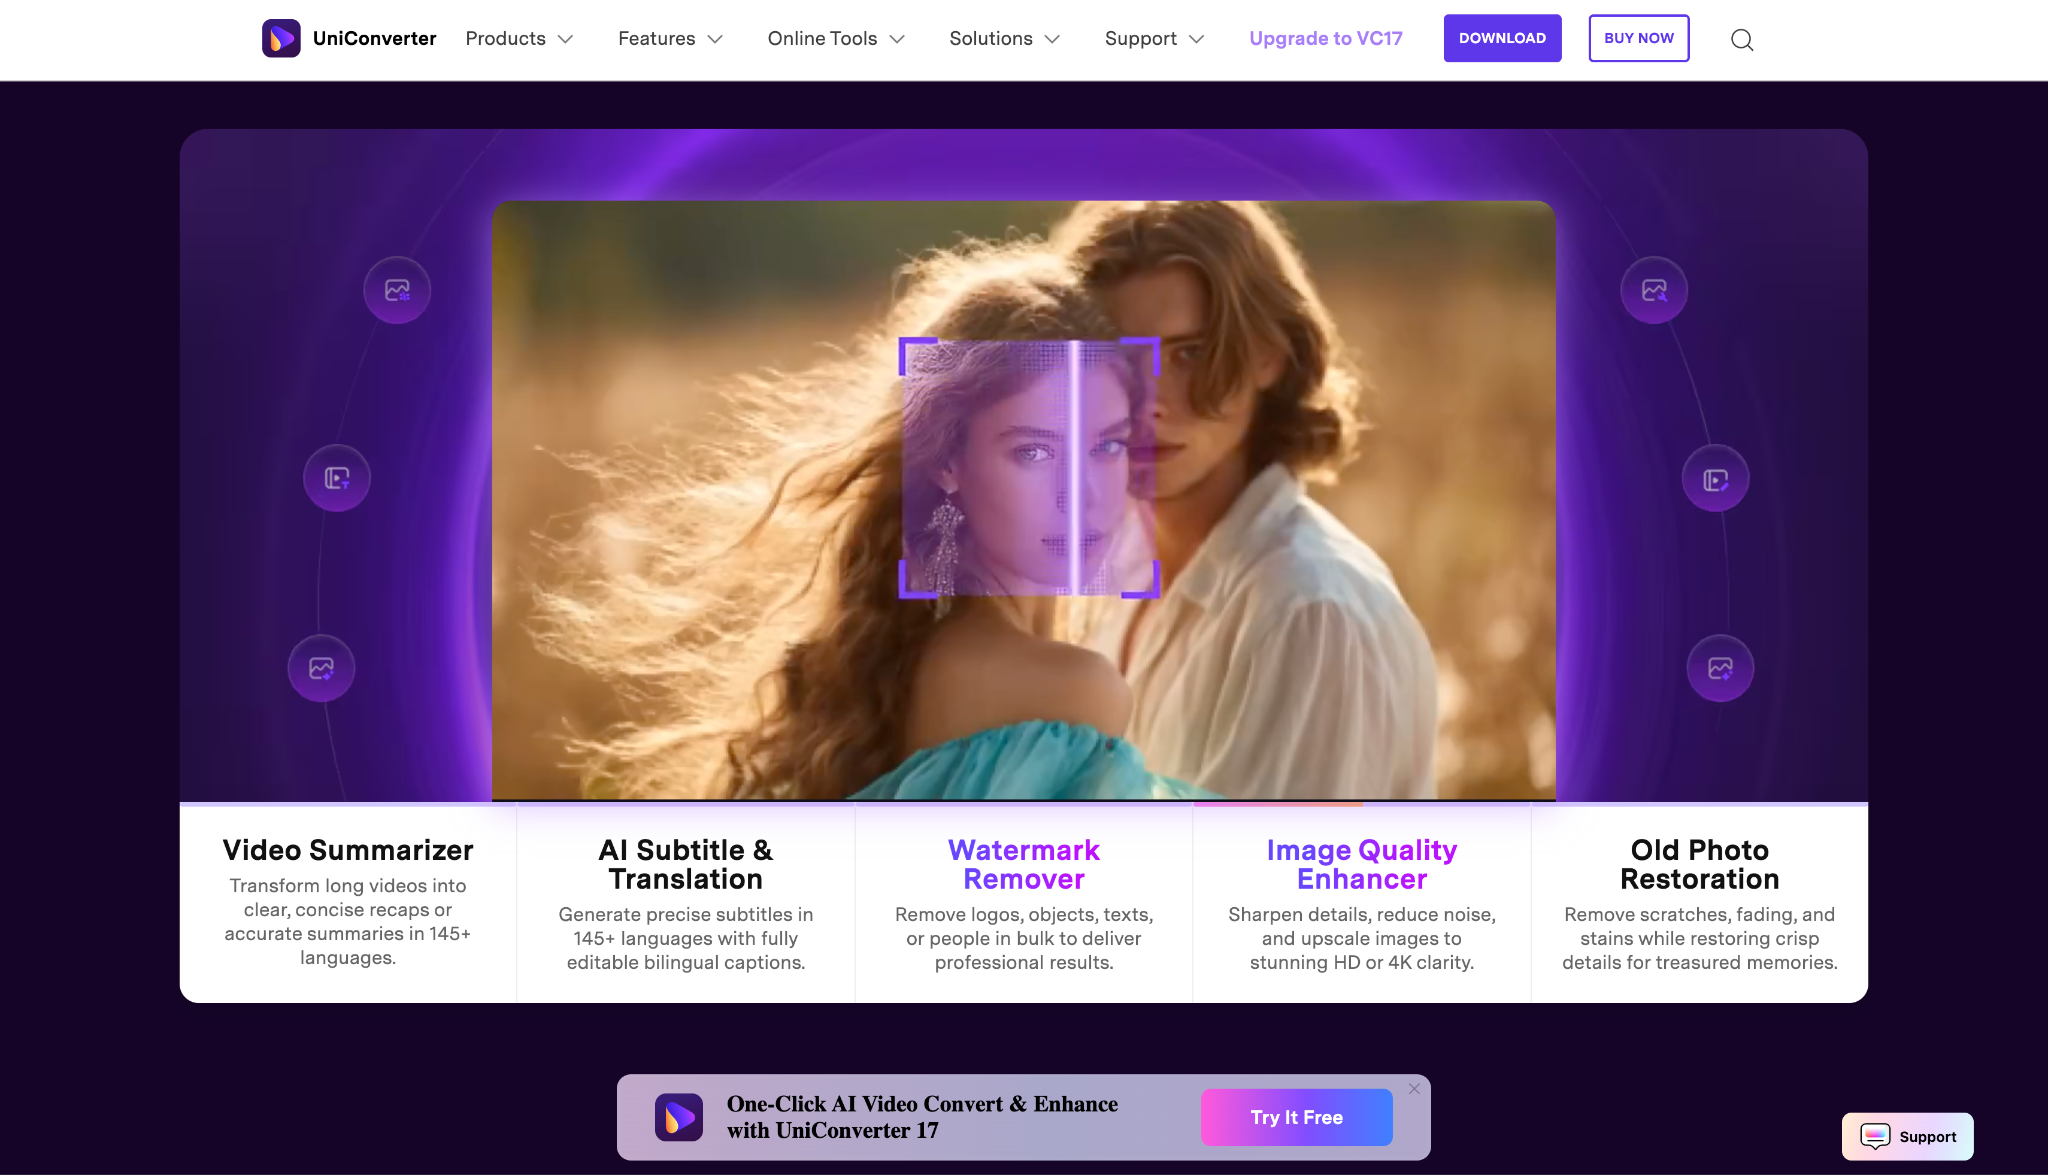
In the rapidly evolving landscape of 2026, the Nano Banana image generator has emerged as a paradigm shift in digital creativity. Unlike its predecessors that relied solely on diffusion, this new series—built on the robust architecture of Gemini 2.5/3 Pro—prioritizes logical "reasoning" to create visuals that adhere to physics and complex narrative structures. However, generating the image is only half the battle. To truly dominate the digital space, one must master the entire pipeline: from crafting the perfect Nano Banana image generation prompt to refining the output with a Nano Banana upscaler workflow.
This guide will dive deep into Nano Banana image generation, offering a comprehensive Nano Banana tutorial that bridges the gap between raw AI synthesis and professional, print-ready Nano Banana 4k excellence using an industry-leading tool like UniConverter.
In this article
Part 1. Understanding Nano Banana Image Generation concept
The release of the Nano Banana image generator marks a pivotal moment in generative AI history. But what exactly is underneath the hood of this strangely named, yet powerful engine?
What is Nano Banana?
Nano Banana is Google's latest native image generation series, architected directly on top of the Gemini 2.5 and 3 Pro Large Language Models (LLMs). Unlike traditional generators that "guess" pixel arrangements based on noise (diffusion), Nano Banana utilizes a "reasoning" engine. It understands the semantic relationship between objects, lighting physics, and spatial geometry before it begins to generate a single pixel. It doesn't just "paint"; it "thinks" about the scene first.
Why it Matters
This shift is critical for professionals. We are moving away from "aesthetic-only" AI—where images looked pretty but fell apart under scrutiny (extra fingers, floating objects)—to physics-aware, text-legible, and consistent image synthesis. Nano Banana image generation ensures that if you ask for a reflection in a mirror, the reflection is optically correct.
Nano Banana vs. Nano Banana Pro
The ecosystem is divided into two distinct tiers to cater to different user needs.
Nano Banana (Fast Mode)
This version is the direct successor to standard diffusion models. It is optimized for speed and efficiency.
Ideal for: Rapid prototyping, mood boards, and casual social media assets where high-speed turnaround is more critical than pixel-perfect logic.
Nano Banana Pro (Thinking Mode)
This is the flagship "Reasoning" model. It introduces a "Thinking" phase where the model plans the scene composition.
Advanced Reasoning: The model creates a wireframe logic of the scene—calculating light sources and perspective—before rendering.
Text Legibility: One of the biggest hurdles in AI has been text. Nano Banana Pro can generate accurate, multi-lingual text in posters, logos, and signs without the "gibberish" effect.
Character Consistency: Using a new "Anchor Identity" feature, users can upload up to 14 reference images to keep subjects identical across different scenes, a game-changer for storyboard artists and comic creators.
Part 2. Mastering the Nano Banana Image Generator (Step-by-Step Tutorial)
Navigating a reasoning-based engine requires a slightly different approach than standard prompting. Here is your definitive Nano Banana tutorial.
Step-by-Step Guide: Nano Banana Tutorial
Step 1: Accessing the Workspace
Log into your Gemini Advanced workspace and select "Nano Banana Pro" from the model dropdown menu. Ensure "Thinking Mode" is toggled ON for complex requests.
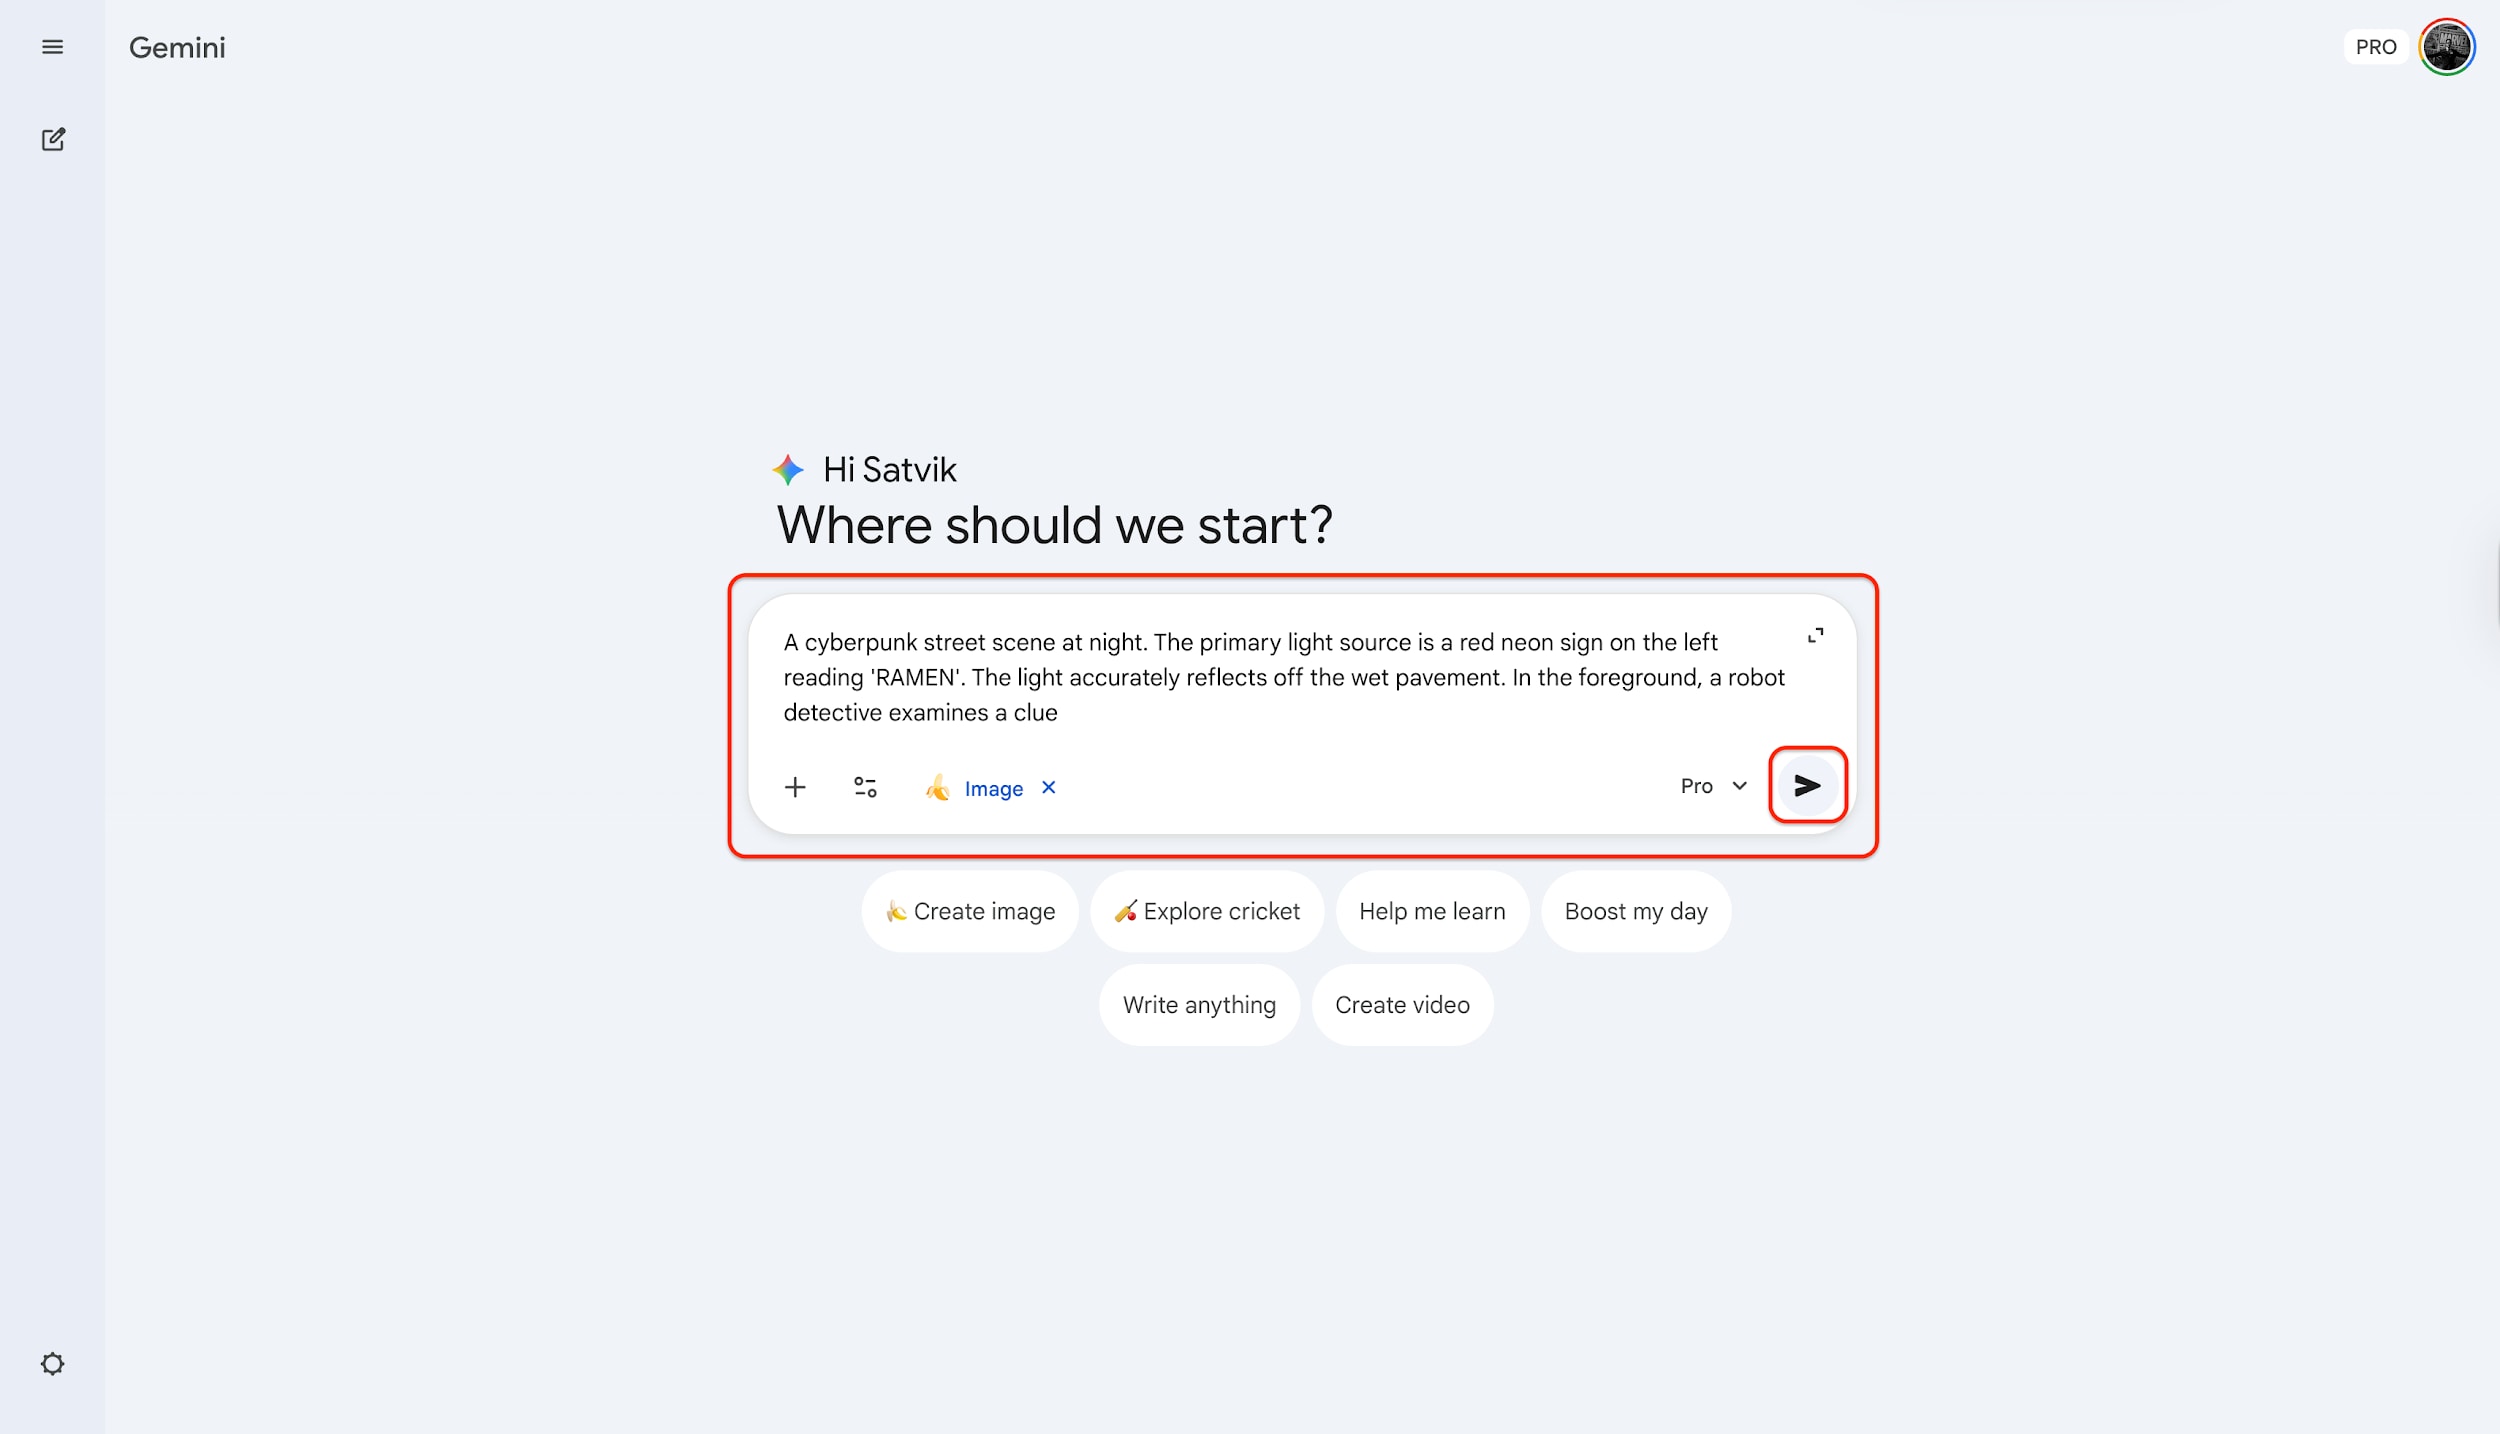
Step 2: The Reasoning Prompt
Unlike previous models where you stuffed keywords, here you should describe the logic of the scene.
Bad Prompt: "Cyberpunk city, neon, 8k, cool."
Good Prompt: "A cyberpunk street scene at night. The primary light source is a red neon sign on the left reading 'RAMEN'. The light accurately reflects off the wet pavement. In the foreground, a robot detective examines a clue."
Note: If you are working on a campaign, upload your character or product reference images with the "+" icon. This locks the identity of your subject.
Step 3: Generation and Iteration
Hit "Generate." You will see a "Reasoning..." status bar before the image appears. Once generated, use the "Refine" button to tweak specific areas (e.g., "Make the neon sign blue instead of red") without regenerating the whole image. And once satisfied with the result, download it.

Part 3. Achieving Nano Banana 4K Excellence & Beyond
While the generation is impressive, professional output requires resolution management. This is where Nano Banana image resolution comes into play.
Native Resolution Limits
Within the Nano Banana Pro environment, you are generally presented with three native output options:
1K (Standard): 1024x1024. Good for previews.
2K (High): 2048x2048. Suitable for web use.
4K (Ultra): 3840x2160. The theoretical maximum for native generation.
The "Upscaler" Dilemma
Here lies the problem: Nano Banana 4k output is often a "soft" 4K. The AI generates details up to a certain point, but if you zoom in for a billboard print or a high-DPI magazine spread, you will notice artifacts, noise, or "hallucinated" textures. Native generation simply cannot handle the bitrate required for professional large-scale printing. This is why a dedicated Nano Banana upscaler workflow is essential.
The Solution: Wondershare UniConverter
To bridge the gap between AI generation and production-ready assets, Wondershare UniConverter has established itself as the go-to utility. While famous for video conversion, its latest AI toolbox includes a state-of-the-art AI Image Enhancer. It doesn't just stretch pixels; it reconstructs details, removes AI noise, increase image resolution, and ensures true high-fidelity resolution suitable for commercial use.
Key Features:
AI Resolution Upscaling: Intelligently enlarges images up to 4K and 8K without losing quality.
Noise Reduction: Specifically tuned to remove the "grain" often found in diffusion and reasoning-based AI generations.
Batch Processing: Enhance hundreds of Nano Banana generated variations in a single click.
Detail Restoration: Sharpens edges and textures that native AI generation often blurs.
Format Flexibility: Converts generally unstable AI file formats into print-ready TIFF or PNG.
Step-by-Step Guide: Using UniConverter as a Nano Banana Upscaler
Step 1: Launch the Image Enhancer
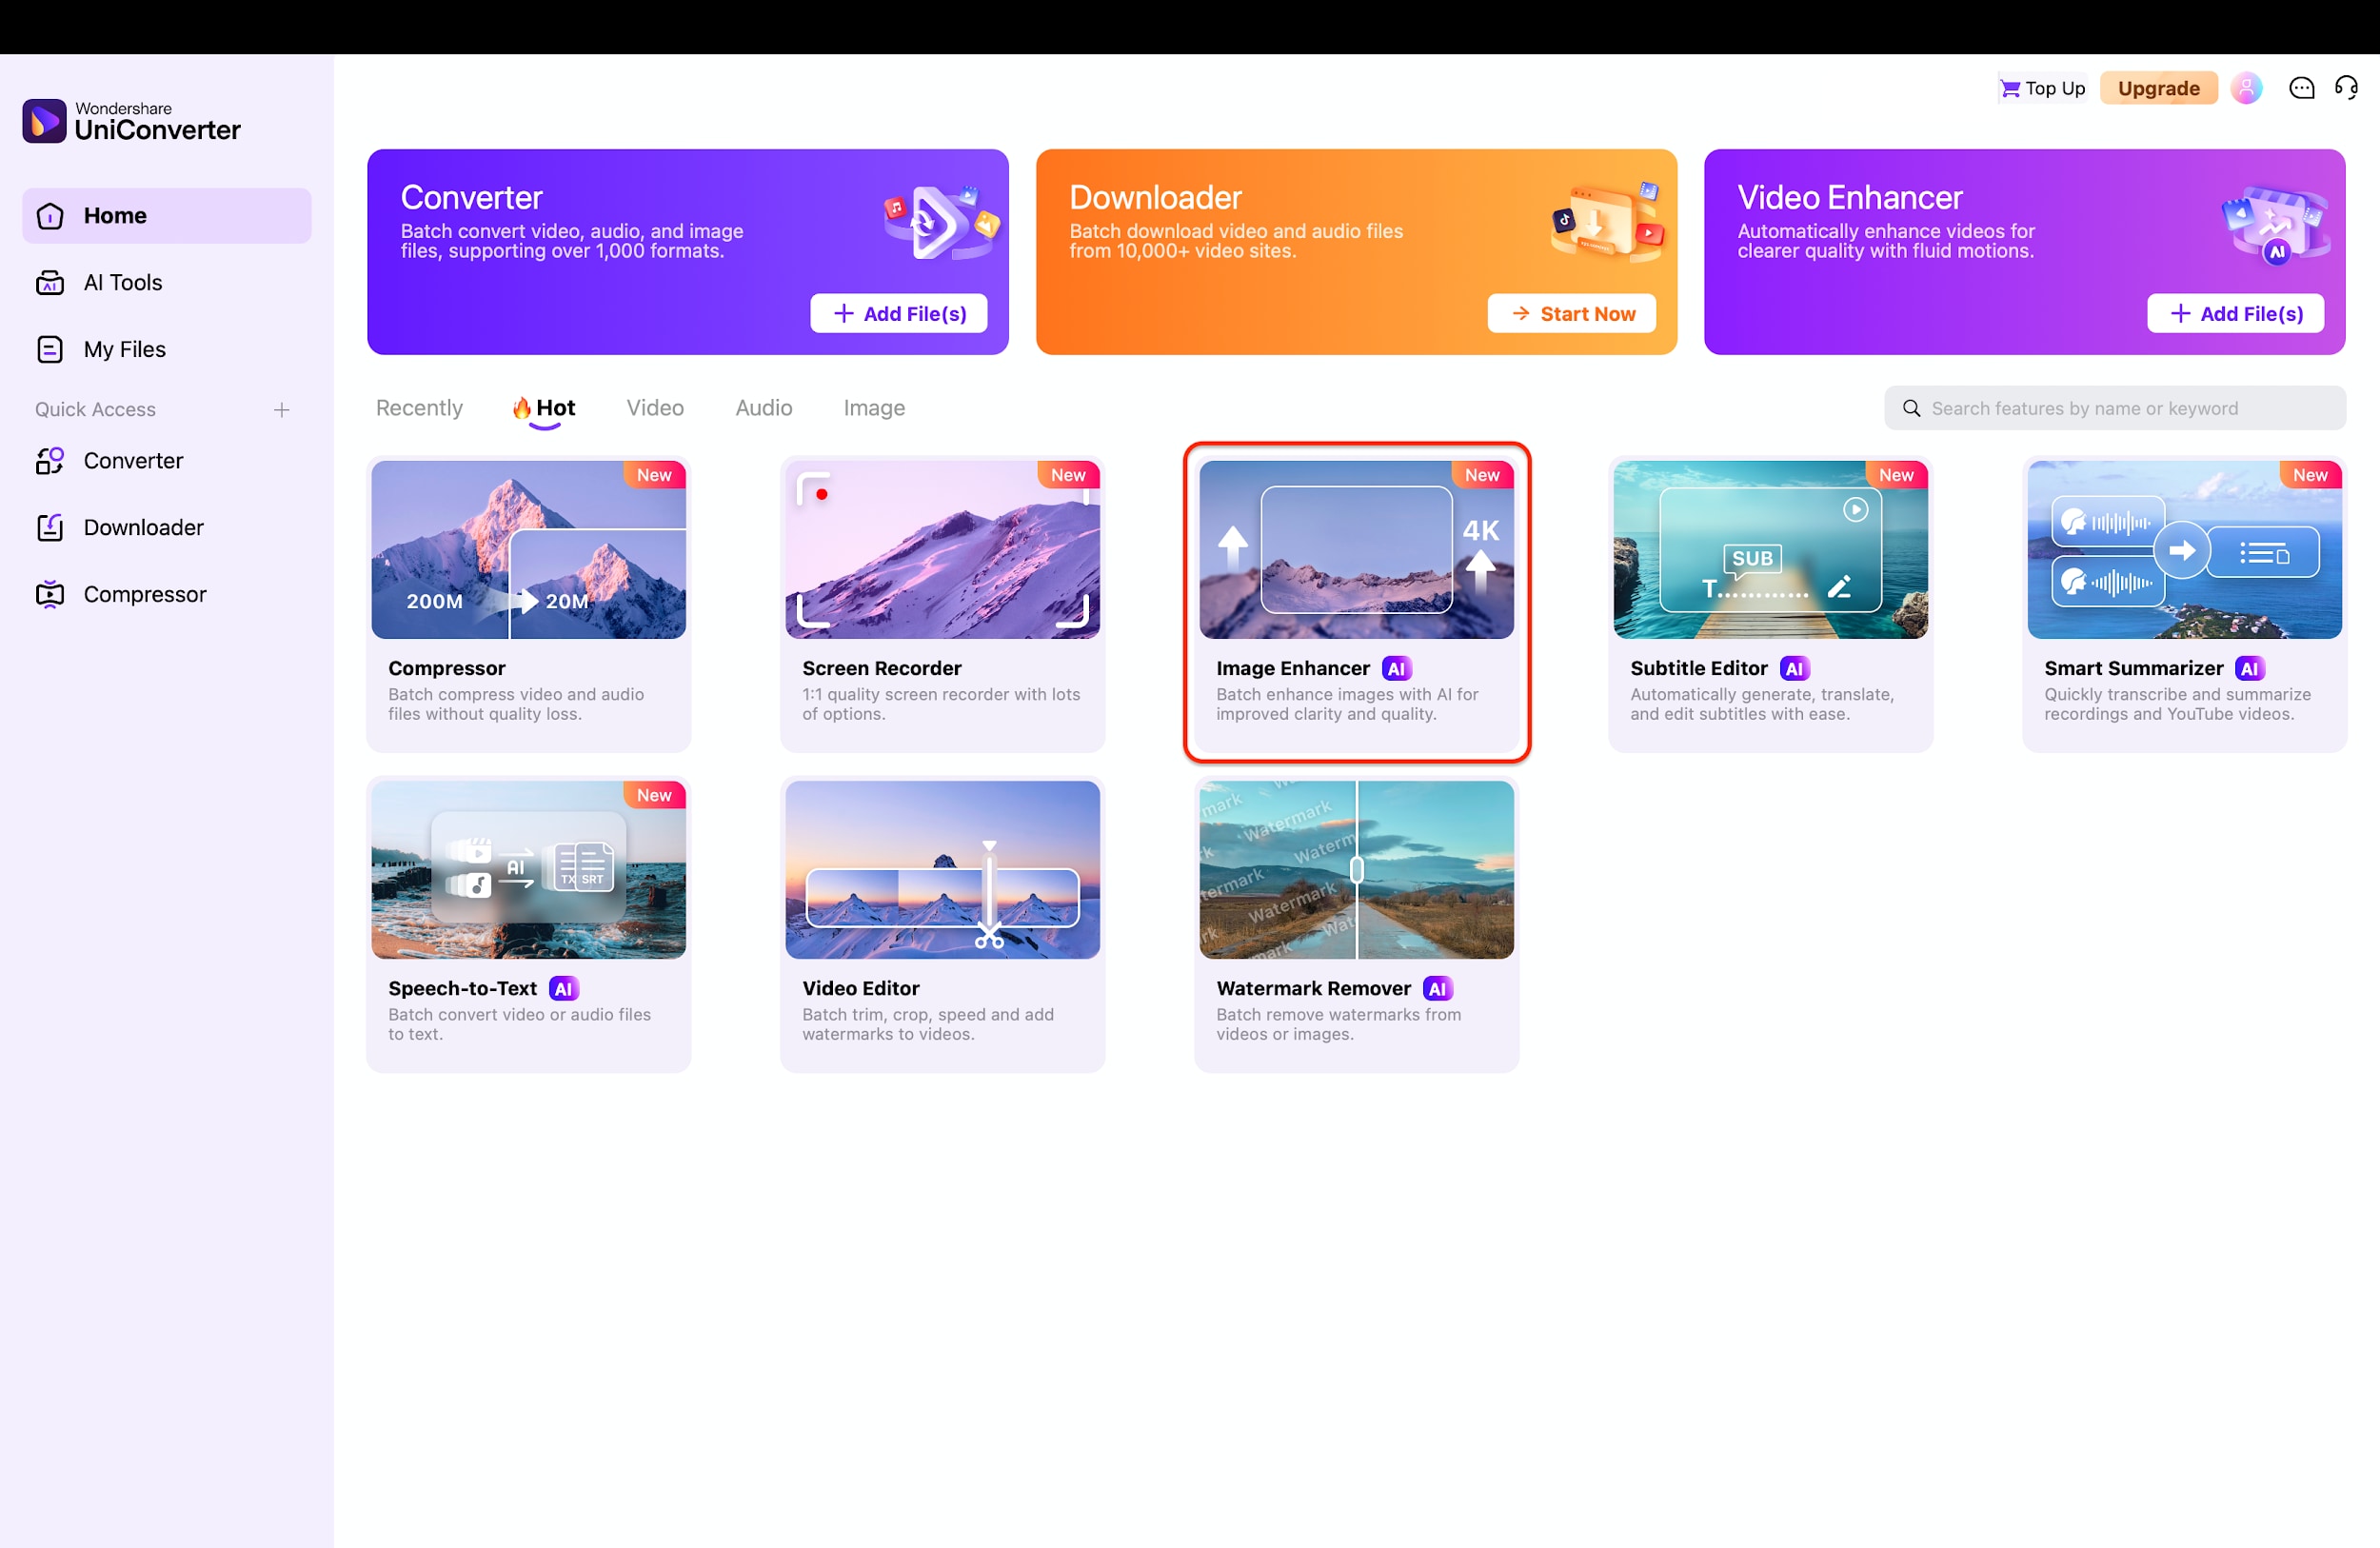
Start by opening Wondershare UniConverter on your desktop to access the main dashboard. Locate the "Image Enhancer" tile, which is prominently displayed under the "AI Tools" or "Hot" section of the interface. Click on this feature to enter the specialized workspace designed for upgrading image quality.
Step 2: Import Your Nano Banana Images
Once inside the tool, you will be greeted by a clean workspace prompting you to add your files. Simply drag and drop your "Raw" AI generations into the center of the screen, or click the purple "+ Add Files" button to browse your computer. This action loads your images into the queue, preparing them for the enhancement process.
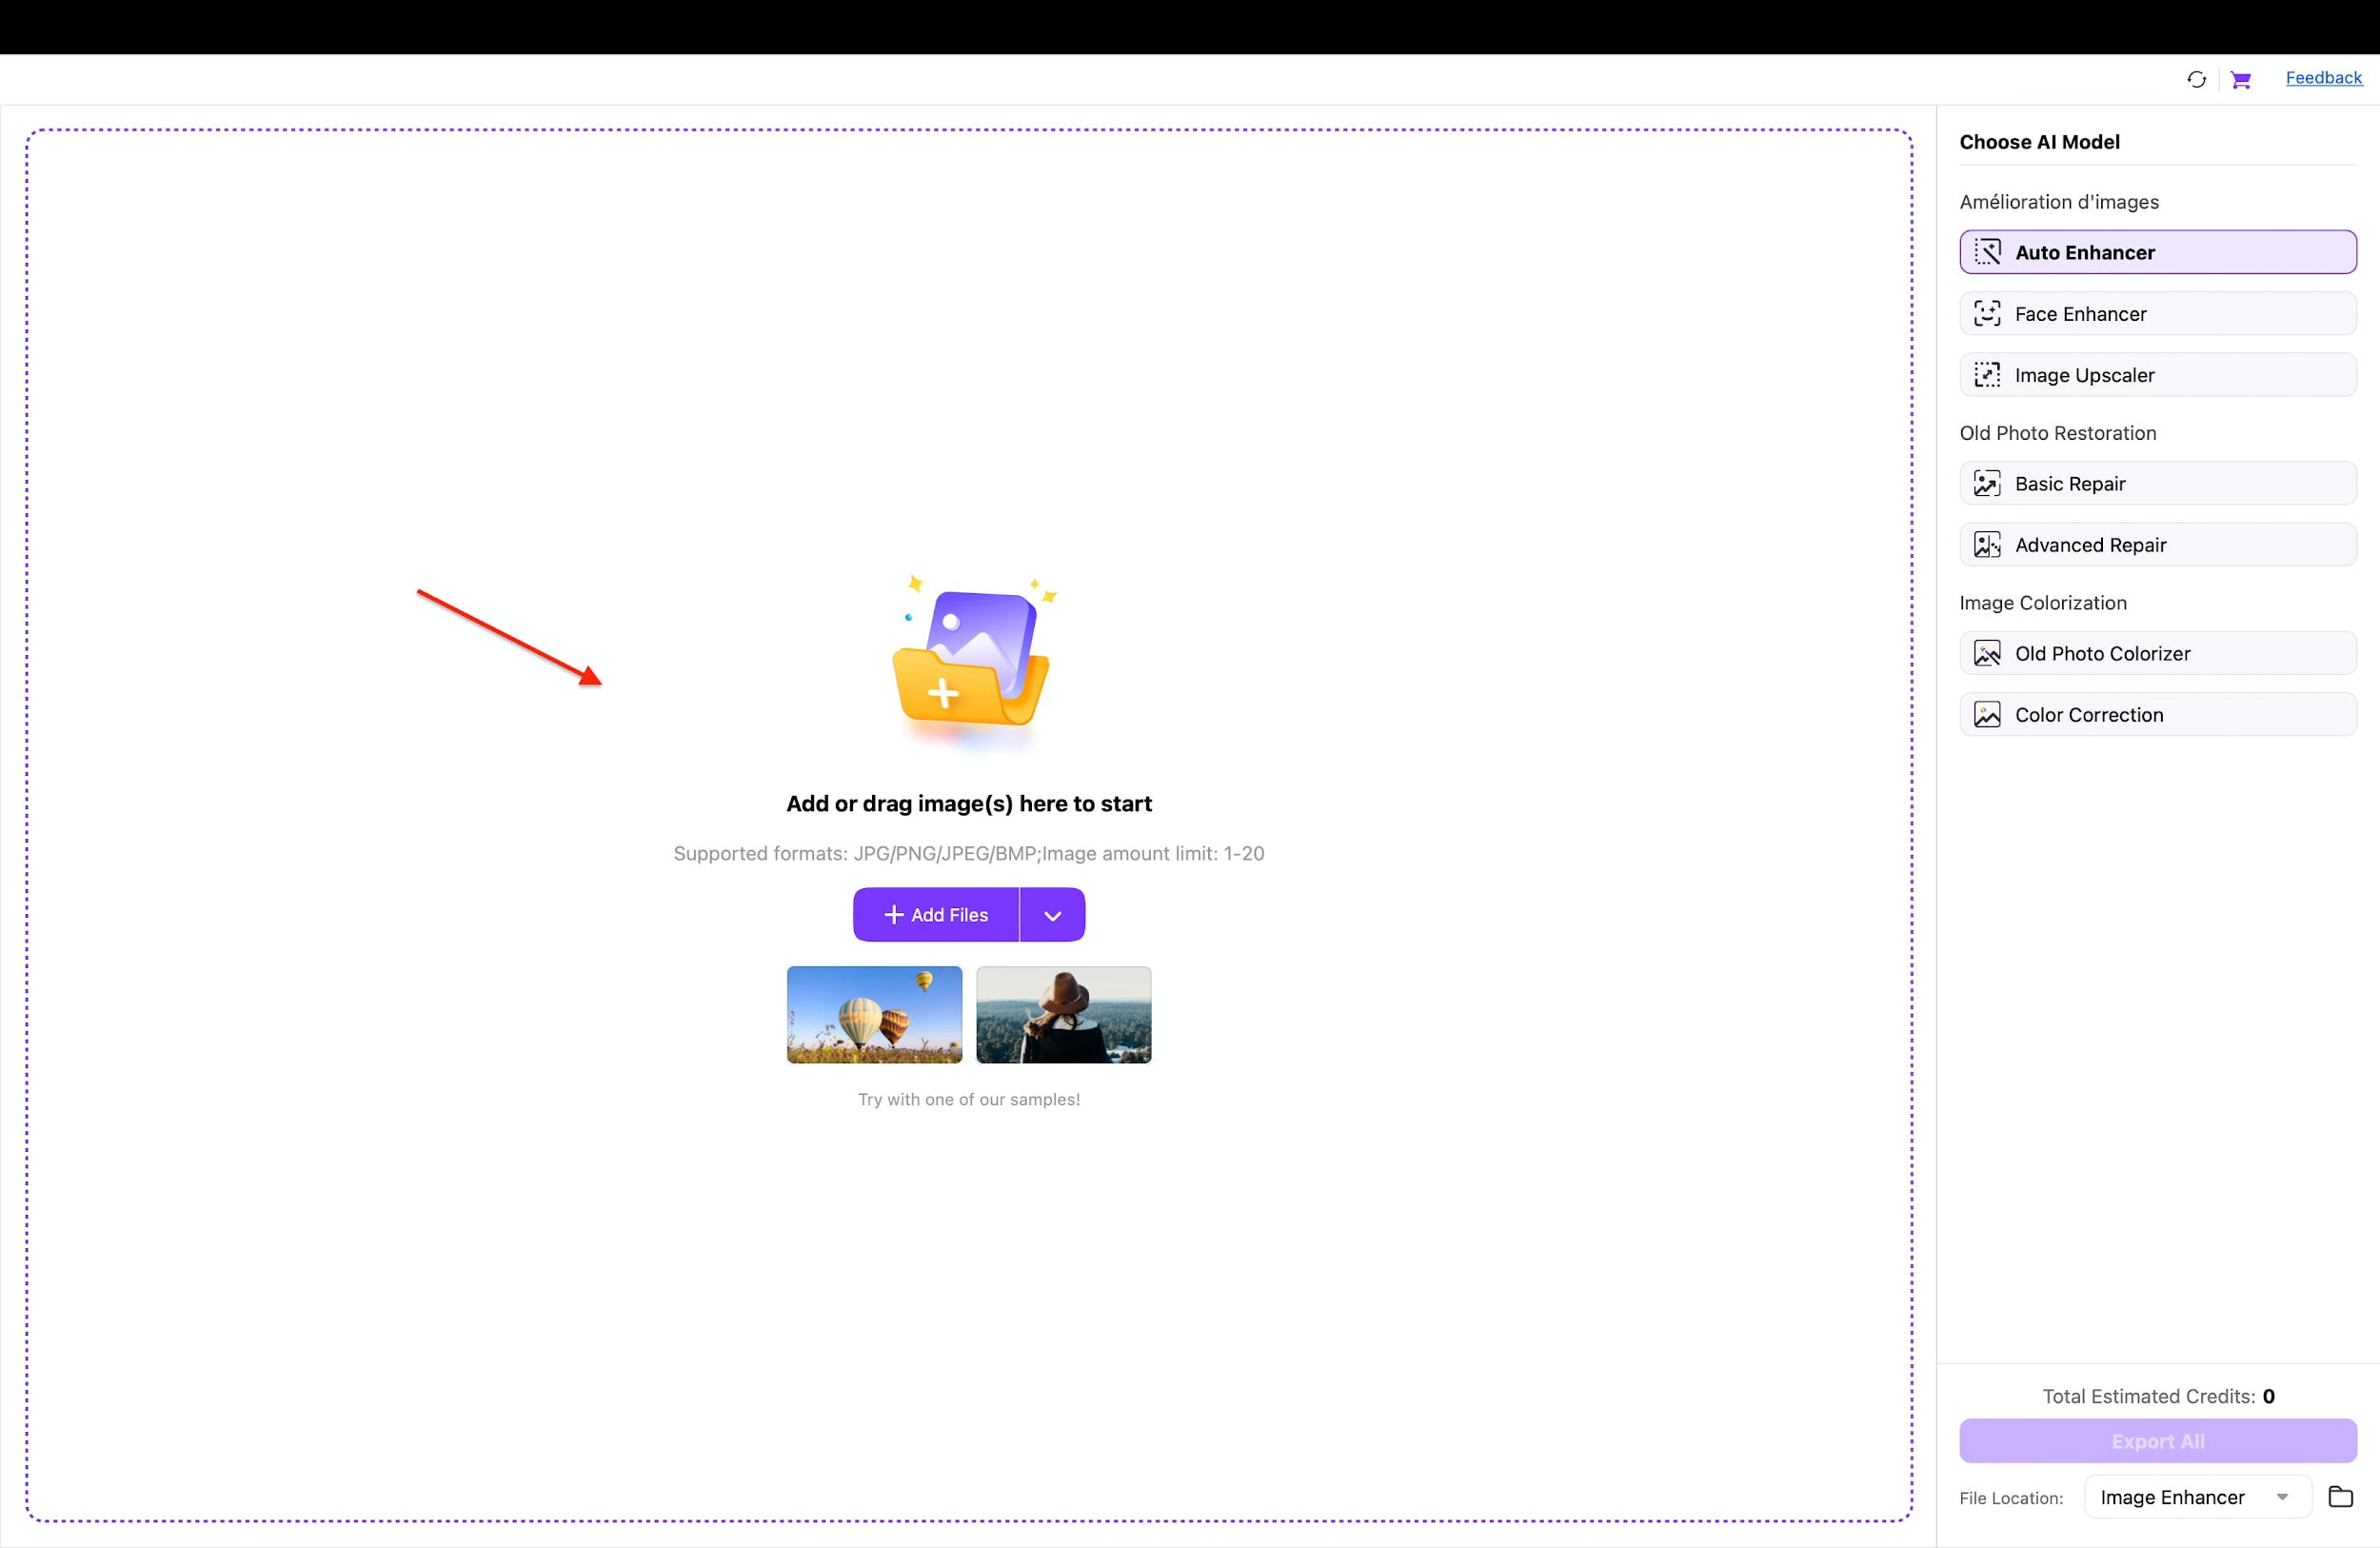
Pro Tip: Don't limit yourself to one image at a time; UniConverter supports batch processing. You can drag in an entire folder of Nano Banana variations (e.g., 10 - 20 iterations) to upscale your whole creative session in one go.
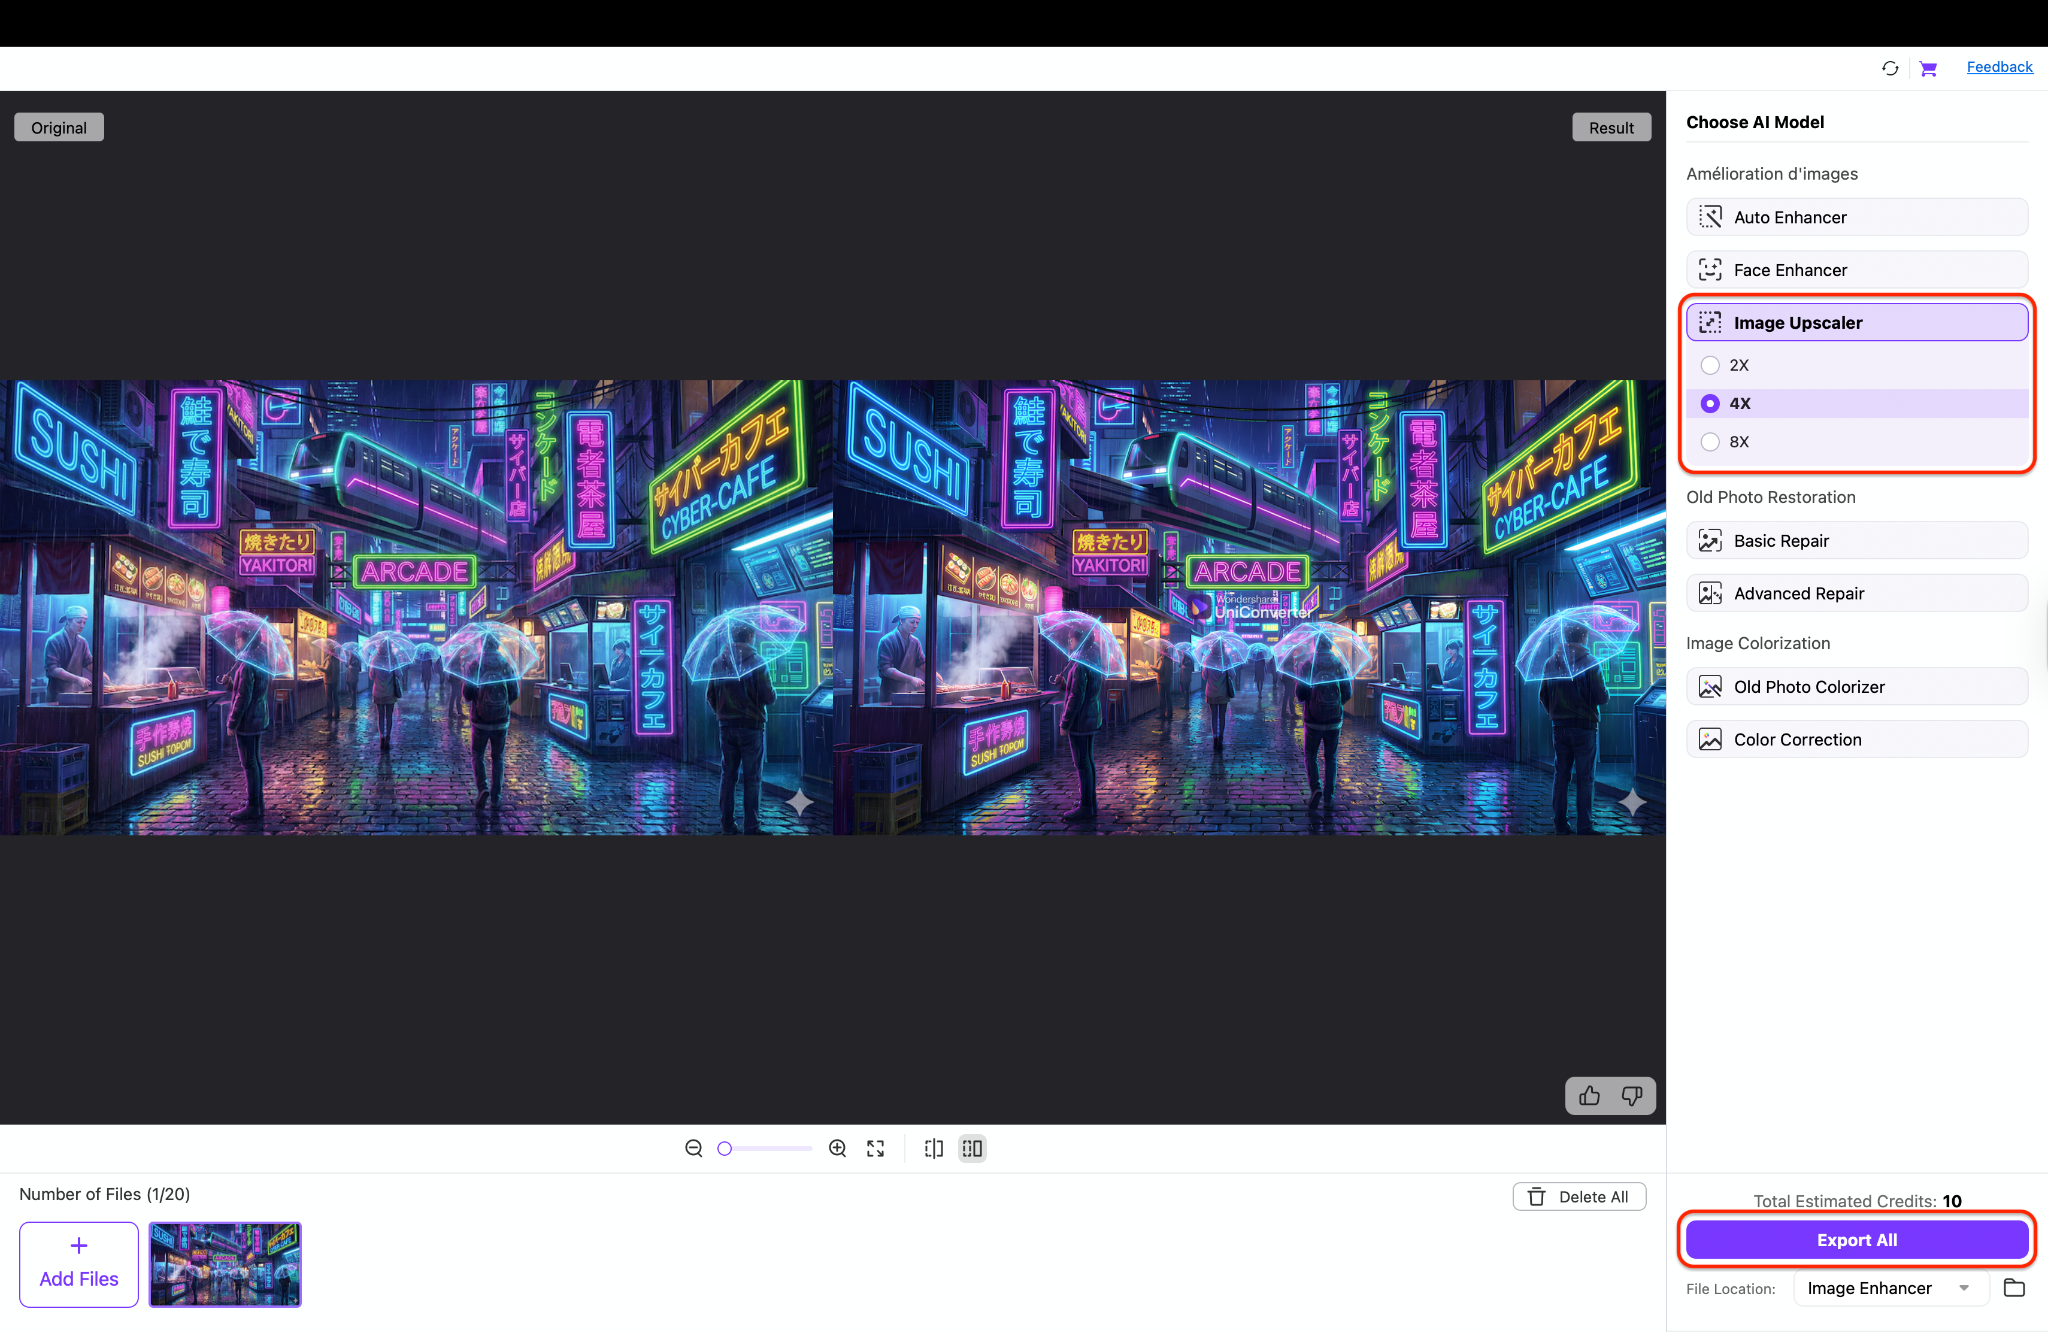
Step 3: Upscale and Export
On the right-side control panel, you will see various AI model options to customize your output. Click Image Upscaler and select 2x, 4x, or 8x as per your choice to instantly define the resolution boost you need. Finally, review the preview if desired and hit the "Export All" button to save your new, commercial-ready assets.

Nano Banana AI Image Enhancer — Built Into UniConverter
Part 4. Workflow: The Ultimate Nano Banana & UniConverter Synergy
While Nano Banana Pro is a world-class engine for "Visual Reasoning," professional workflows require more than just a creative draft. To transform a Nano Banana image generation prompt into a high-stakes marketing asset, you need the technical precision of UniConverter.
The "Raw vs. Ready" Standard
Think of Nano Banana image generation as shooting in "RAW." The output is creative but often "noisy," low-DPI, or stamped with safety watermarks. It is not yet fit for public consumption.
Wondershare UniConverter acts as the developing lab that turns that "Raw" potential into a "Ready" commercial asset. It bridges the gap between a digital experiment and a billboard-worthy image by stabilizing pixels and ensuring the file integrity meets industry print standards.
Commercial Safety & Visual Proof
A major hurdle for business use is the mandatory platform attribution. UniConverter's Watermark Remover uses AI to cleanly wipe branding or artifacts, giving you a "white-label" image safe for client work.
See the difference below:
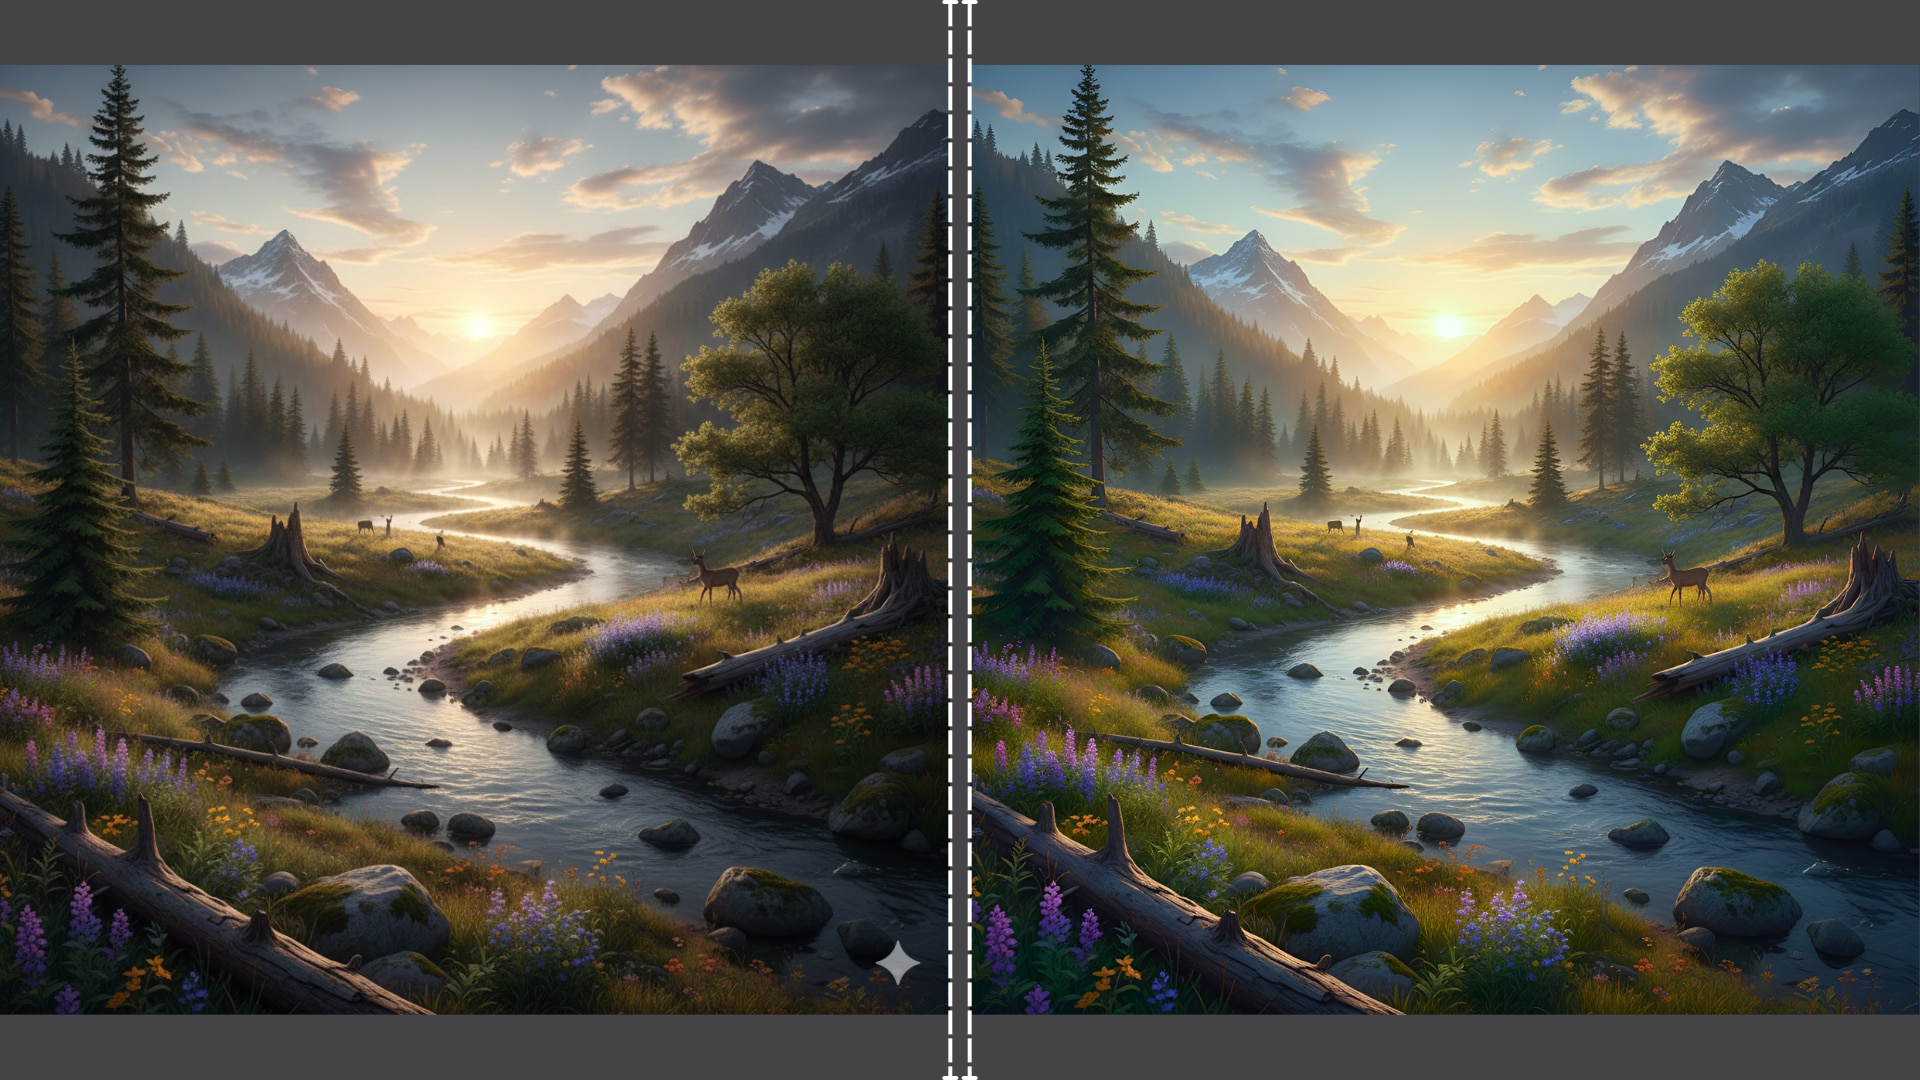
Left Side (Raw Nano Banana Output): This initial landscape generation is slightly soft on details and features a visible watermark icon in the bottom-right corner, rendering it unsuitable for professional use.
Right Side (UniConverter Enhanced): After processing, the details in the trees and grass are razor-sharp, and the watermark has been completely removed. The image is now fully commercial-ready.
Why This Synergy Wins in 2026
Overcoming the Resolution Ceiling: Native generators hit a wall where adding resolution introduces distortions. UniConverter pushes past this limit to 8K without artifacts.
The "Uncanny Valley" Fix: UniConverter's enhancement algorithms add natural sharpness, removing the plastic "sheen" common in AI.
Efficiency: Save your cloud credits by generating smaller, faster previews in Nano Banana, then using UniConverter to upscale them locally for free.
Part 5. Bonus: Replicable Nano Banana Prompt Templates
To help you get started, here are three high-performance Nano Banana image prompts designed to test the limits of the reasoning engine.
Template 1: The "Cinematic Commercial" (Product Photography)
Concept: High-end advertising style.
Template 2: The "3D Character" (Pixar/Dreamina Style)
Concept: Consistent character design for branding.
Template 3: The "Text-Heavy" Poster (Event Flyer)
Concept: Utilizing Nano Banana's text capabilities.
Part 6. Conclusion
In the competitive world of digital art in 2026, relying solely on generation is no longer enough. While the Nano Banana image generator provides an incredible foundation with its reasoning capabilities and prompt adherence, professional delivery demands higher standards.
In this article, you've discovered the powerful workflow of combining Google's latest generative tech with robust post-production tools. From understanding the nuance of Nano Banana image generation to finalizing assets, the path to quality is clear. If you want an effective, user-friendly solution to ensure your images are crisp, clear, and print-ready, Wondershare UniConverter stands out as the essential companion. Its advanced AI upscaling features allow you to elevate your Nano Banana creations without the hassle of pixelation or noise.
FAQs
-
1. Is Nano Banana Pro free to use?
No. Nano Banana Pro operates on a credit-based system within the Gemini Advanced subscription. However, a limited trial of Fast Mode is often available for free users. -
2. Can I use Nano Banana images for commercial purposes?
Yes. Images generated under the paid Pro tier include commercial usage rights, provided you comply with the platform’s safety guidelines, especially regarding public figures and restricted content. -
3. Why does my Nano Banana 4K image look blurry when printed?
Native 4K generation may not provide sufficient DPI (dots per inch) for high-quality printing. Using an AI upscaler such as UniConverter can improve sharpness and pixel density for better print results. -
4. How does the “Reasoning” engine differ from Midjourney or Stable Diffusion?
Traditional diffusion models generate images by progressively refining noise patterns. Nano Banana’s reasoning engine instead plans scene physics, lighting, and structure first, which can lead to improved spatial consistency and clearer text rendering. -
5. What is the best format to export for upscaling in UniConverter?
Export images in PNG format to preserve lossless quality. Avoid JPEG, as compression artifacts may be amplified during the upscaling process.

