

Getting more views on Instagram videos isn’t just about what you post - it’s about how you post it. Reels, stories, or feed posts serve different purposes, but one thing remains constant: to build an impressive engagement is how you present the video. A common question that every creator, marketer, and user asks is: how can I post an Instagram video that maximizes the reach and engagement?
It is smart to have a clear strategy before posting on Instagram. Every element from technical settings to creatives plays an important part in building an impression. In this guide, we will help you answer how can you post an Instagram video and tips to create stunning thumbnails that increase your chances of getting good views.
In this article
- Requirements of Different Types of Videos
- Steps for Posting Instagram Reels
- Steps for Releasing Instagram Stories
- Steps for Uploading an Instagram Feed
- How to Batch Resize Instagram Video Size?
- Expertise Experience in Making Attractive Videos for Instagram
- Tips for Making an Eye-catching Thumbnail for Instagram
- Conclusion
- FAQs
Part 1. Requirements of Different Types of Videos
Before you learn how can I post a video on Instagram, you need to understand that achieving the best display quality and an impressive engagement on Instagram requires following specific requirements for the video format. Each format comes with its own guidelines for aspect ratio, length, resolution, and file size. Meeting these standards will make your videos professional, load quickly, and perform well.
Here’s a breakdown of the requirements for each video type at Instagram:
|
Video Type |
File Size |
Aspect Ratio |
Length Limit |
File Format |
Resolution |
|
Stories |
Max 4GB |
9:16 (vertical) |
15 seconds per story |
MP4, MOV, GIF |
1080px x 1920px |
|
Feed video |
Max 4GB |
4:5, 9:16 in full-screen mode |
Up to 60 minutes. Ads limited to 15 seconds. |
MP4, MOV |
1080 px x 1350 px |
|
Reels |
Max 4GB |
9:16 (vertical) & 1.91:1 |
3 seconds to 90 seconds |
MP4, MOV |
1080px x 1920px (minimum 30 FPS) |

Batch Instagram Video Resizer on Win and Mac
Part 2. Steps for Posting Instagram Reels
Posting Instagram reels can feel overwhelming, especially when you are unsure about how to get more visibility. It’s easy to feel lost when there are so many factors to consider, like the right video length, choosing the ideal hashtags, and even posting time. However, by understanding the steps and best practices for posting, you can maximize your reach and get the attention it deserves.
Here are the generic steps that you need to follow in order to learn how to post a video on Instagram as a reel:
Step 1
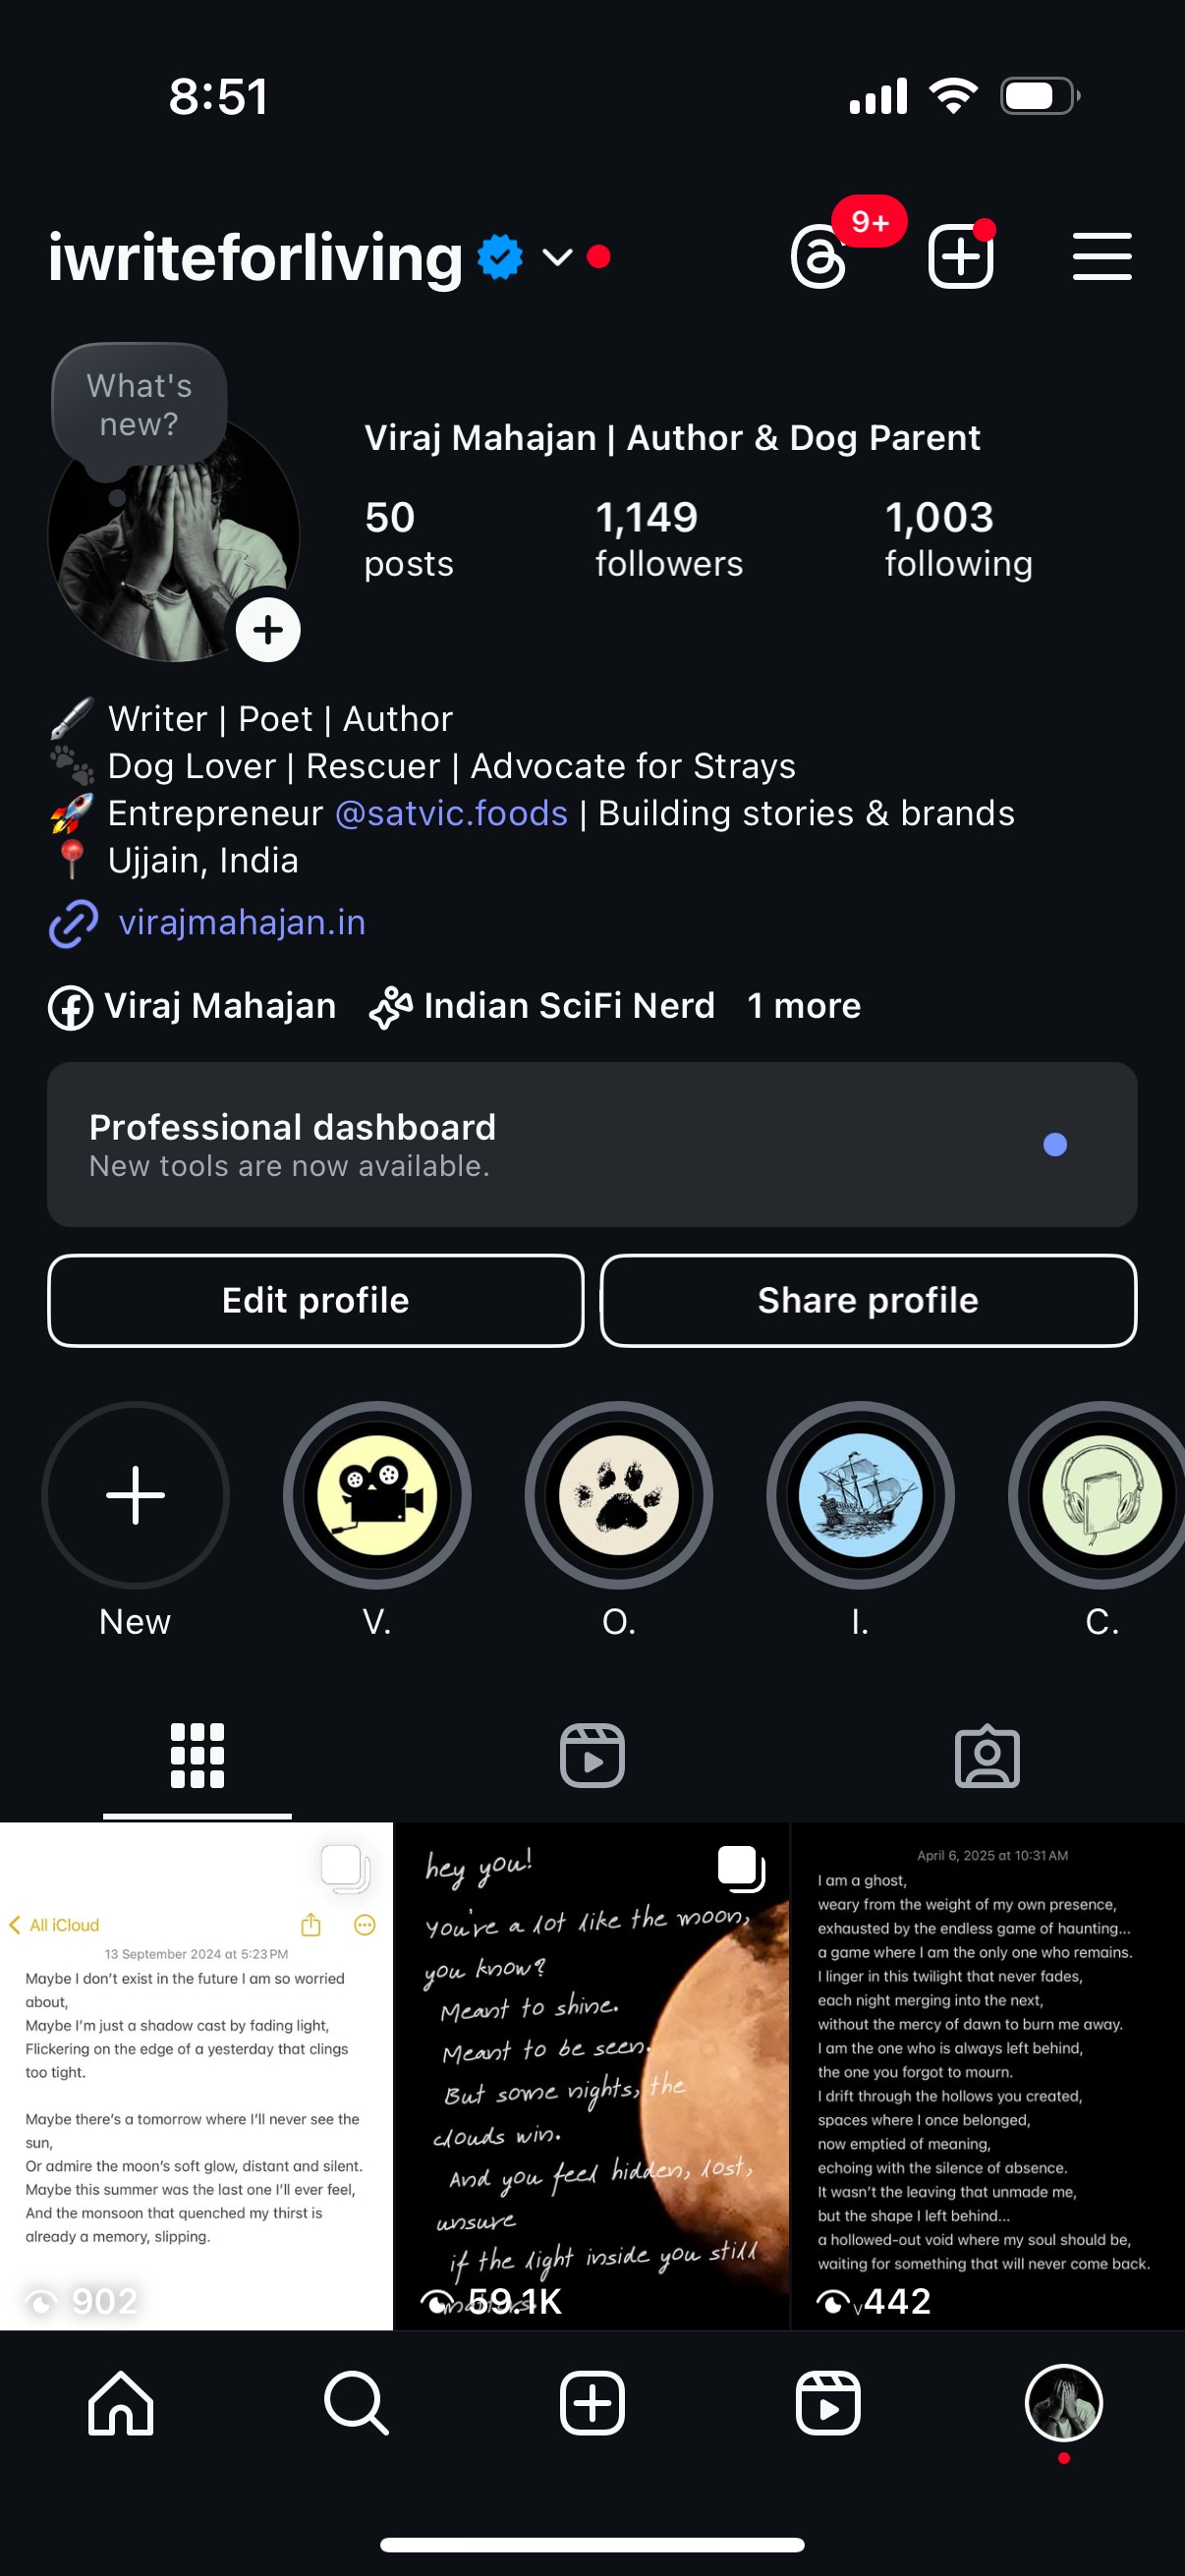
Launch Instagram on your mobile phone and click on the “+” sign at the center bottom of the screen. Then, select the “Reel” option.
Step 2
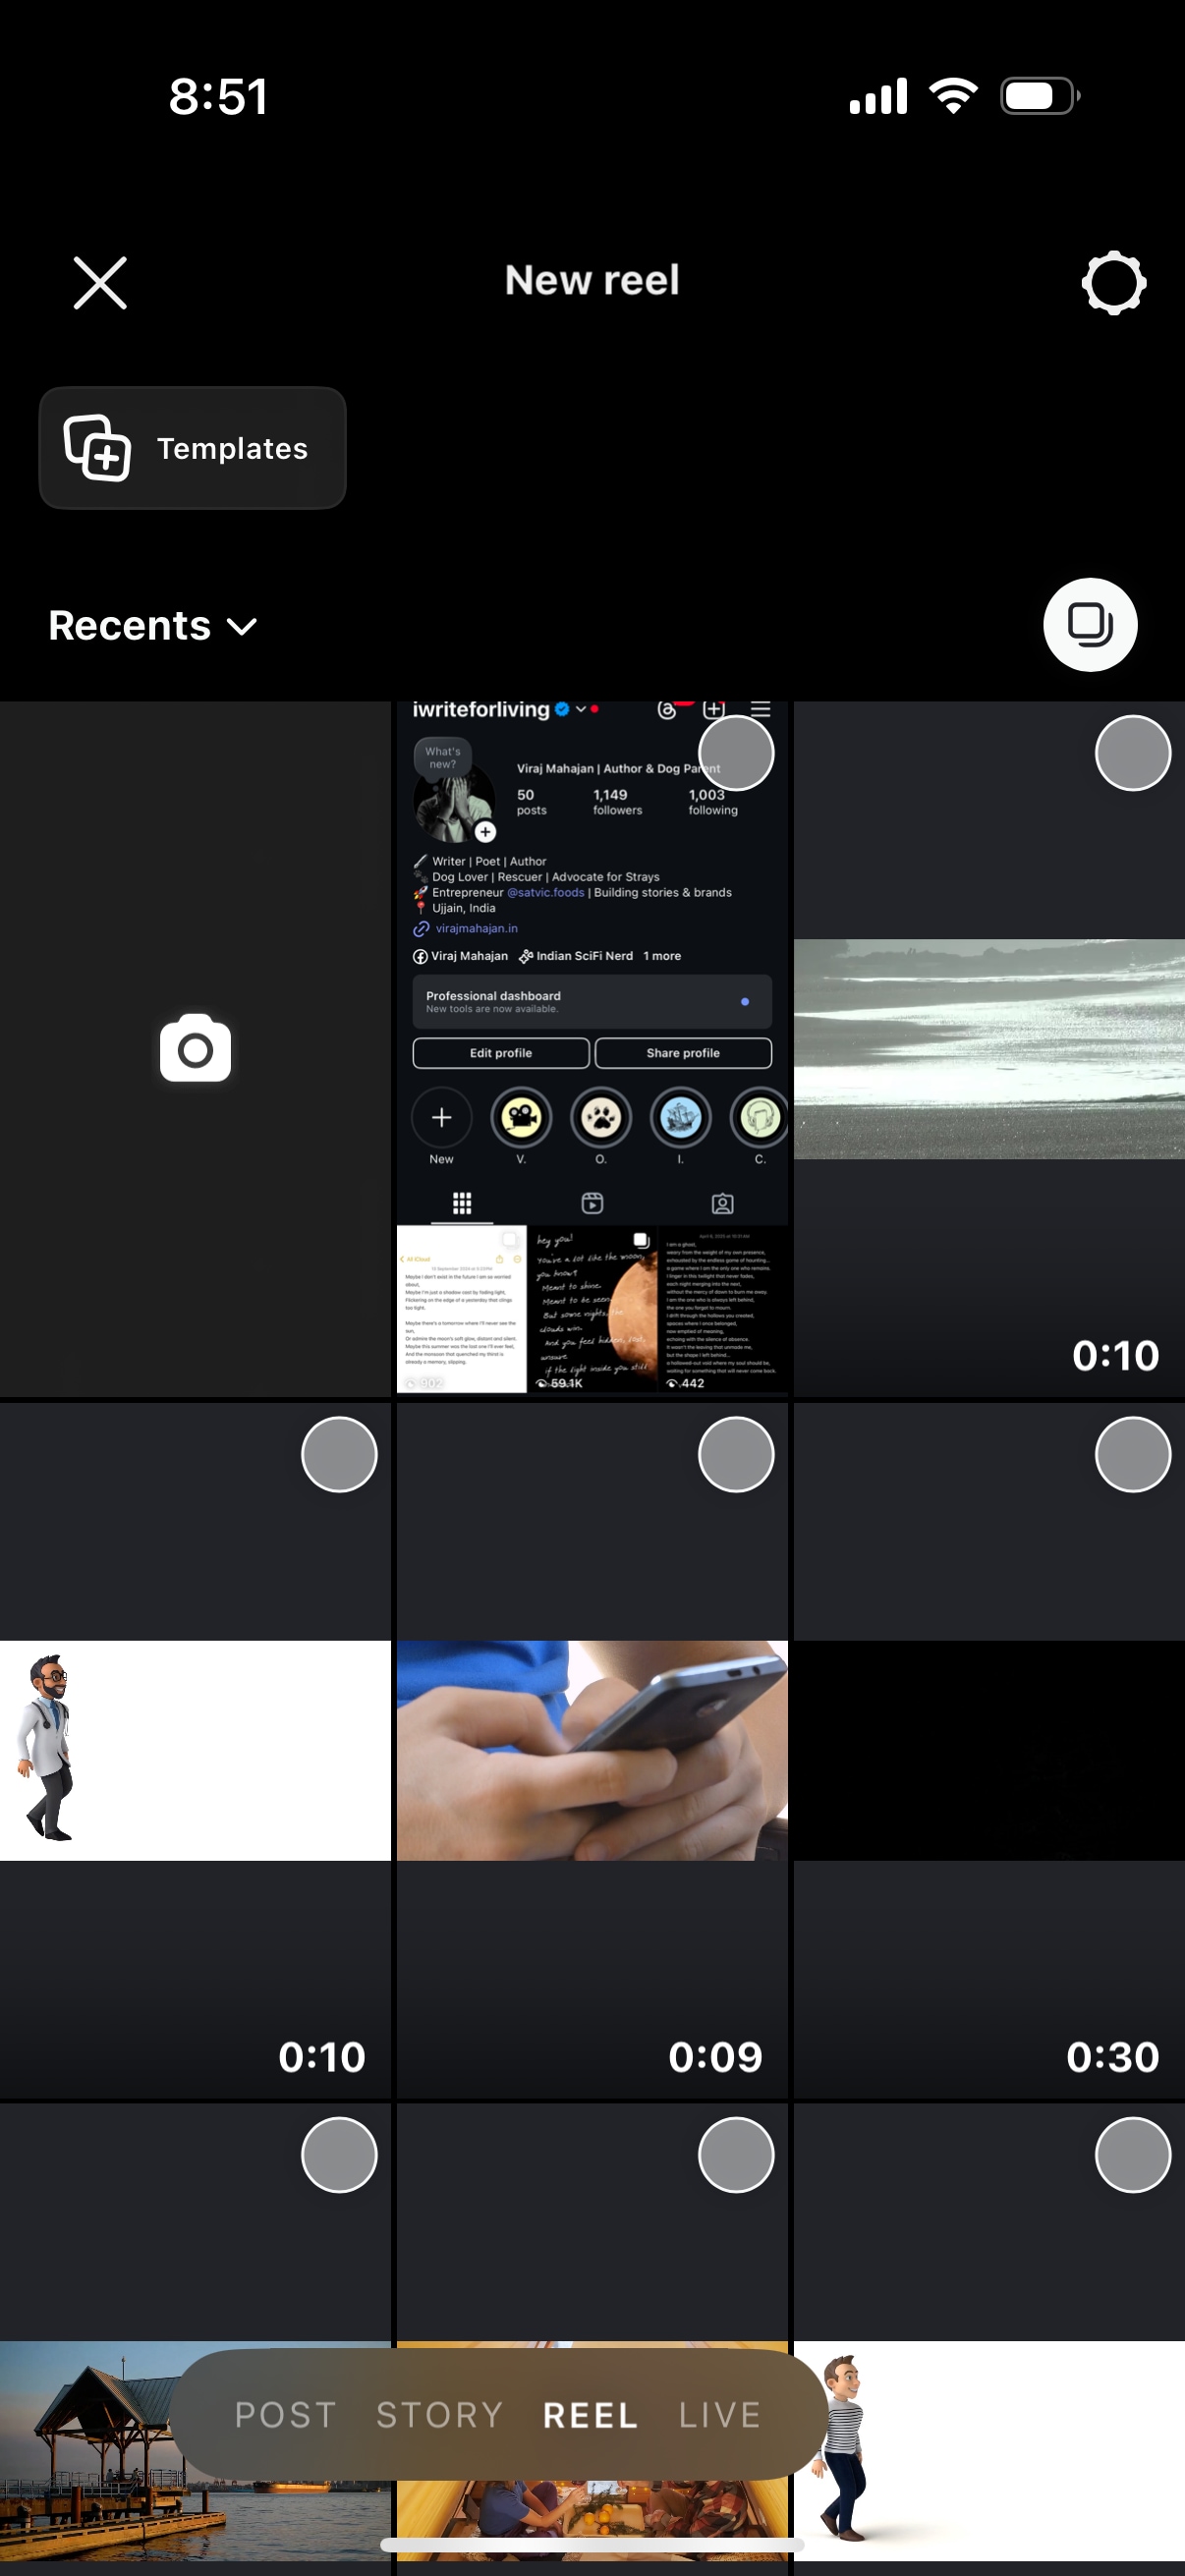
Choose your required video from the “Recent” option. From here, you can choose different locations to upload the videos. Instagram lets you choose from Recents, Photos, Videos, and All Albums from your mobile phone’s gallery. Based on the allowed permission, select the video you want to post and then press the Next icon.
Step 3
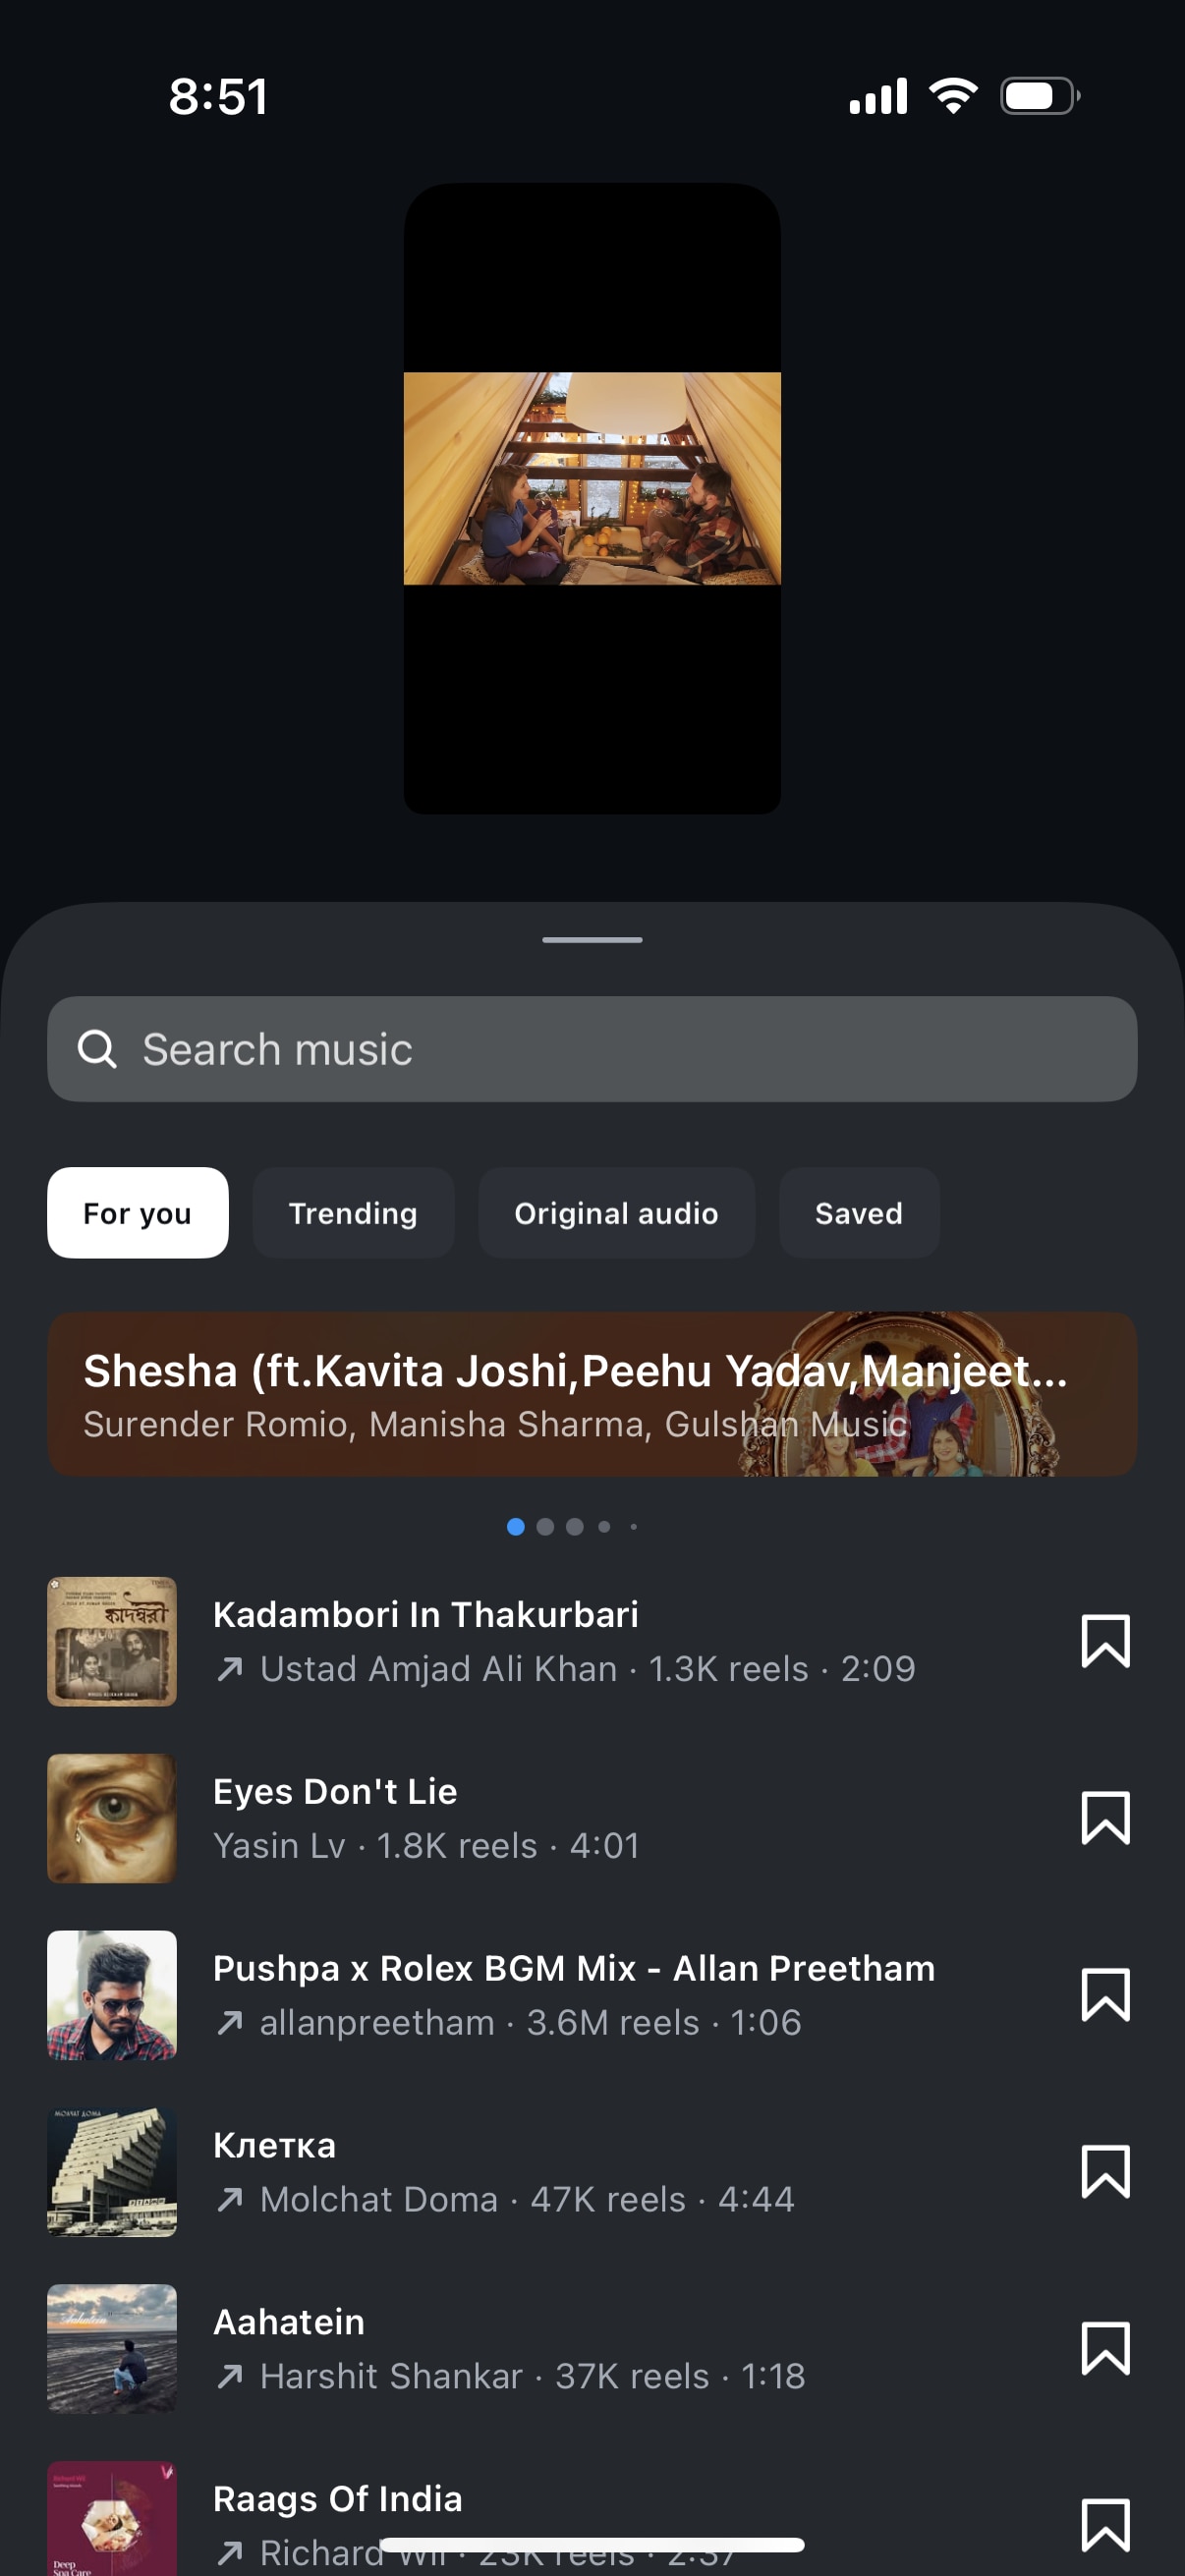
Instagram lets you customize videos according to your liking. Once you have uploaded the video, you can adjust the preview, add trending music, add filters or stickers, and even generate captions to reach a massive audience.
Step 4
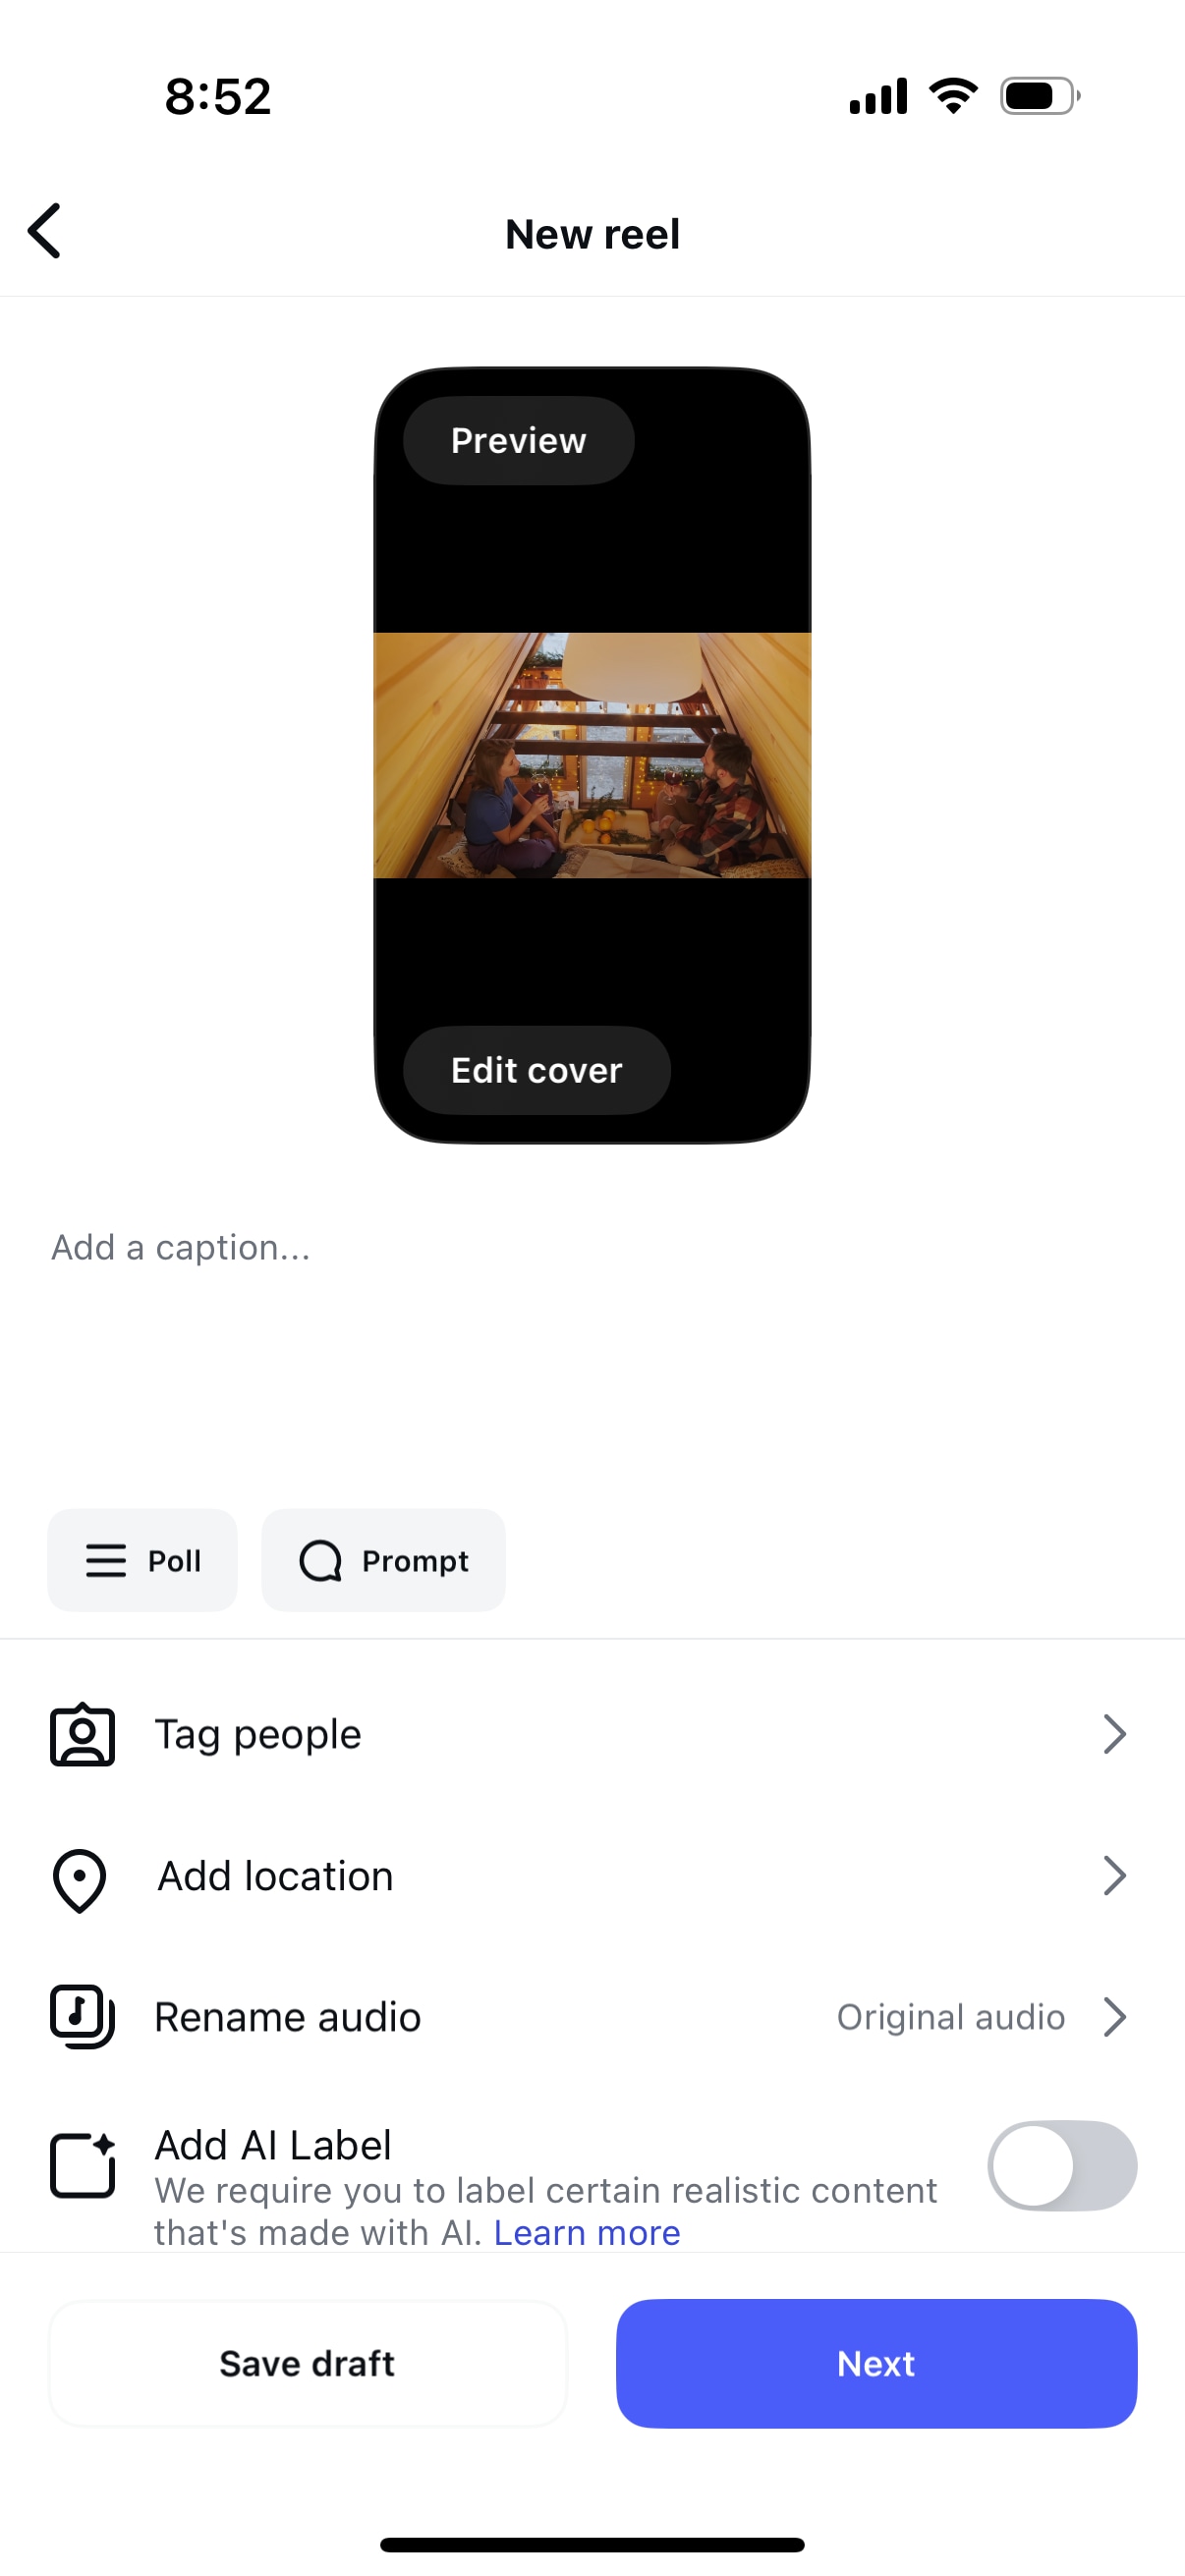
Click “Next” and add a relevant caption followed by trendy hashtags. You can tag other Instagram users, add a location, create a promotion, share to Facebook, and explore more options.
Step 5
Once you have completed all the social media posting features, click on the “Share” button at the bottom right of the screen.
Note: In some iOS devices, the “Share” icon is replaced with “Next.”
Part 3. Steps for Releasing Instagram Stories
Instagram stories are prominently positioned at the top of the feed. This prime placement increases the chances that your content will be viewed quickly, giving it better visibility and engagement. Additionally, you can use interactive features available on Instagram, like polls, quizzes, questions, and swipe-up links, to boost engagement.
Follow the steps mentioned below to release an Instagram story that contributes to the engagement:
Step 1
Launch Instagram on your mobile phone and either tap on the “+” button on your profile picture at the top left or swipe left from anywhere on the home screen to quickly open the camera. You can also click on the “+” button at the center bottom of your screen to add a story.
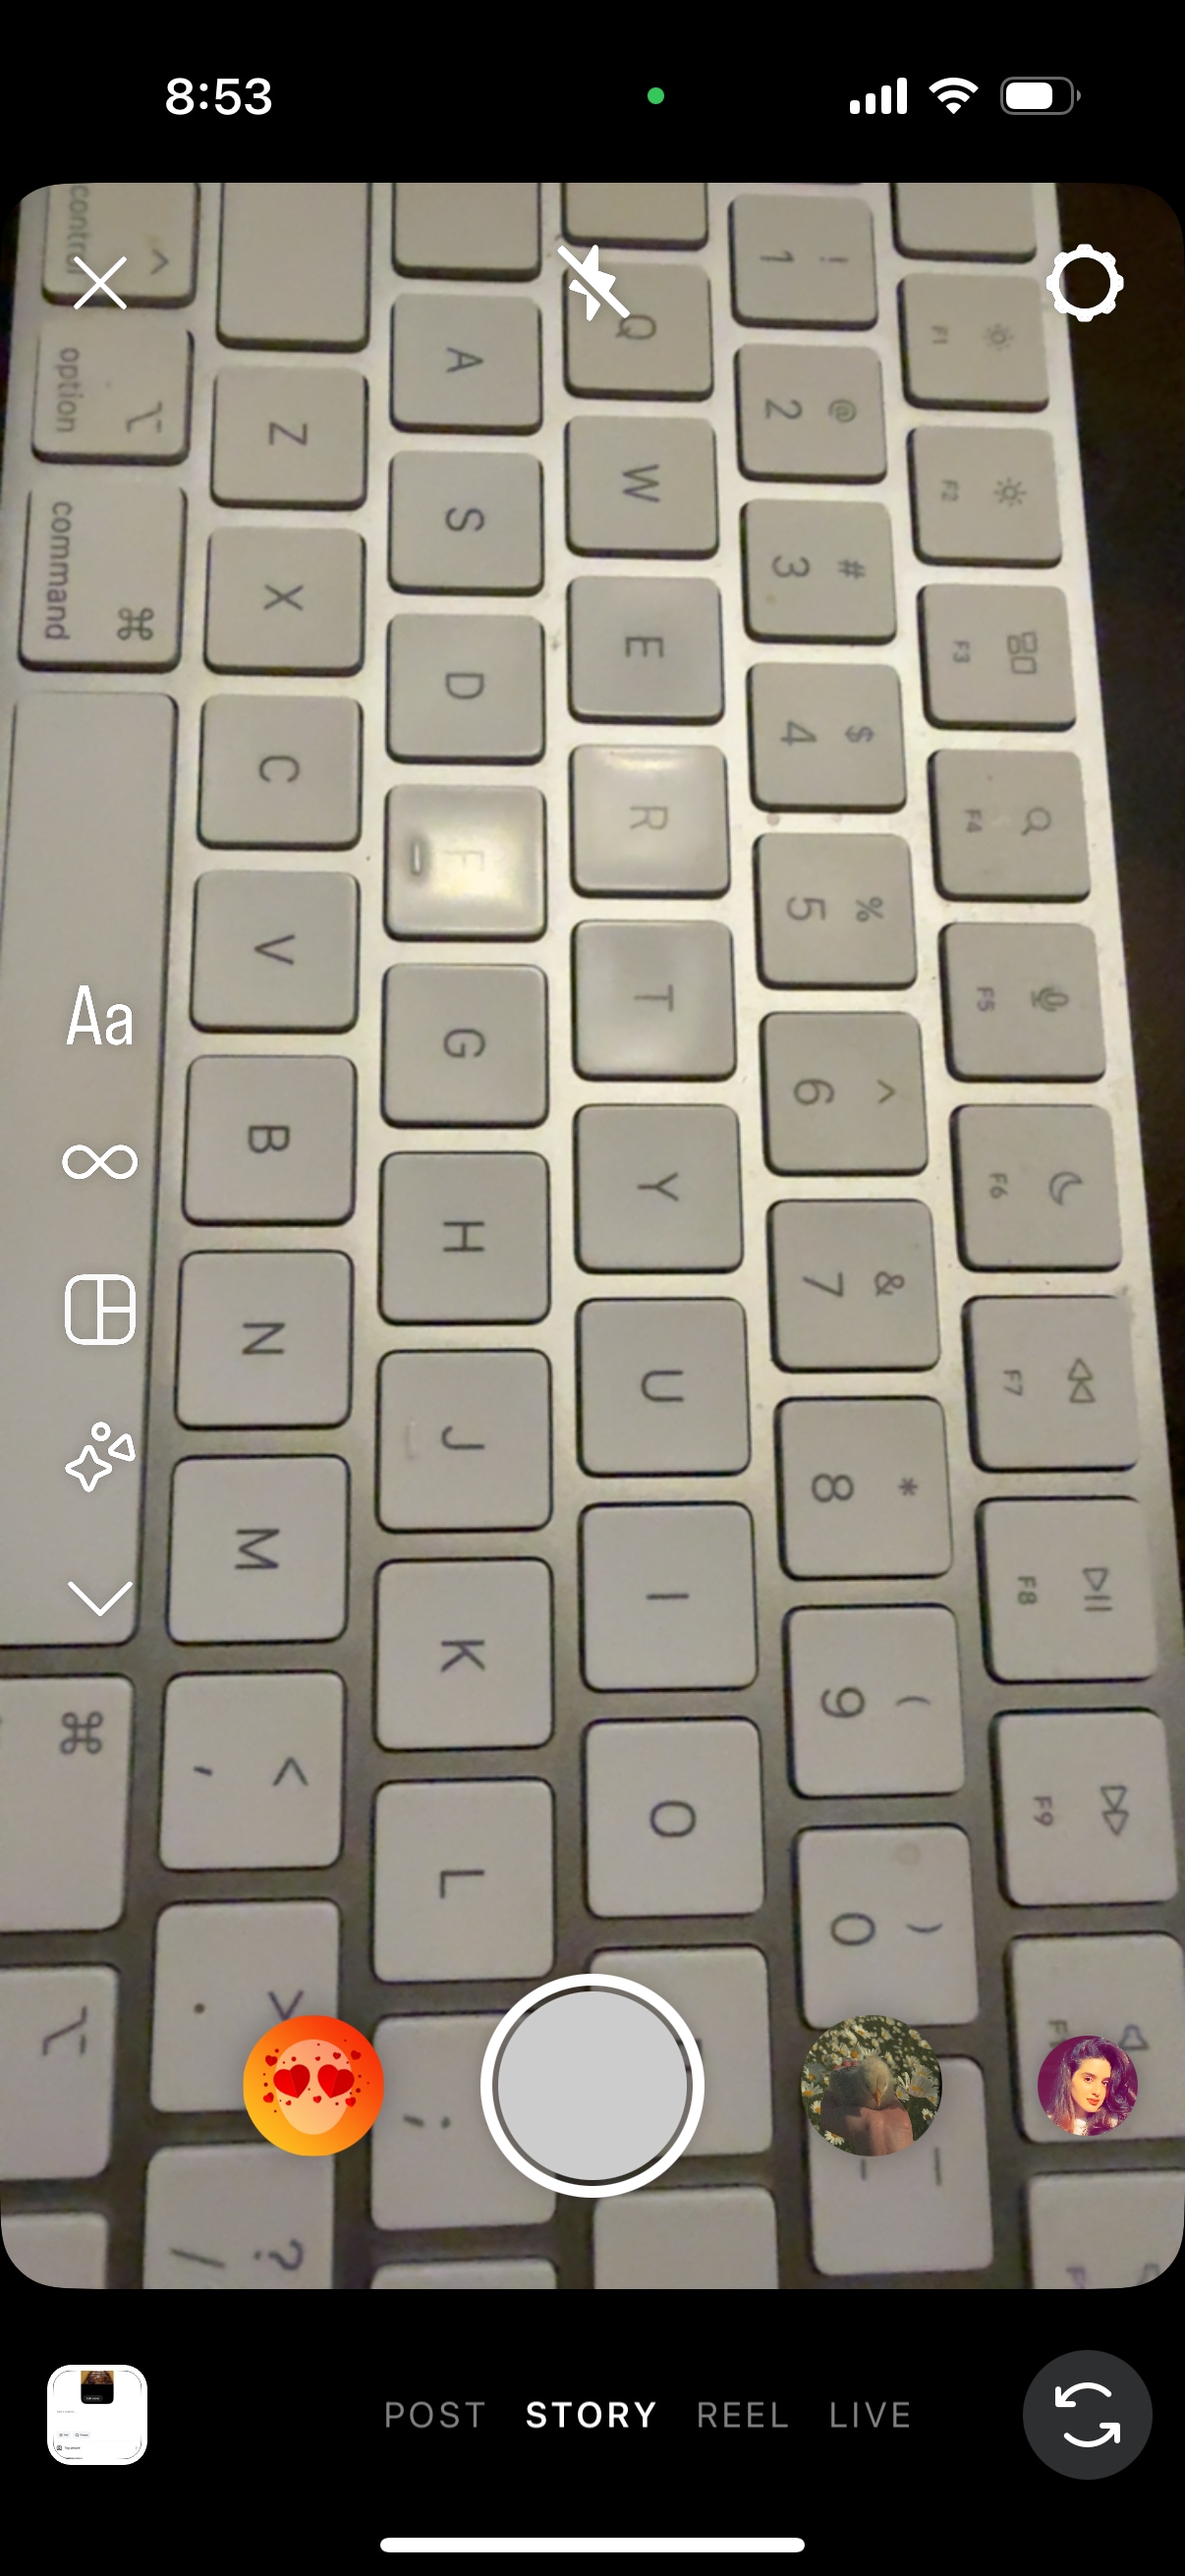
Step 2
Based on your permission, you will be able to choose the media from your gallery by clicking on the button at the bottom left. You can also record a new story by holding the camera shutter button.
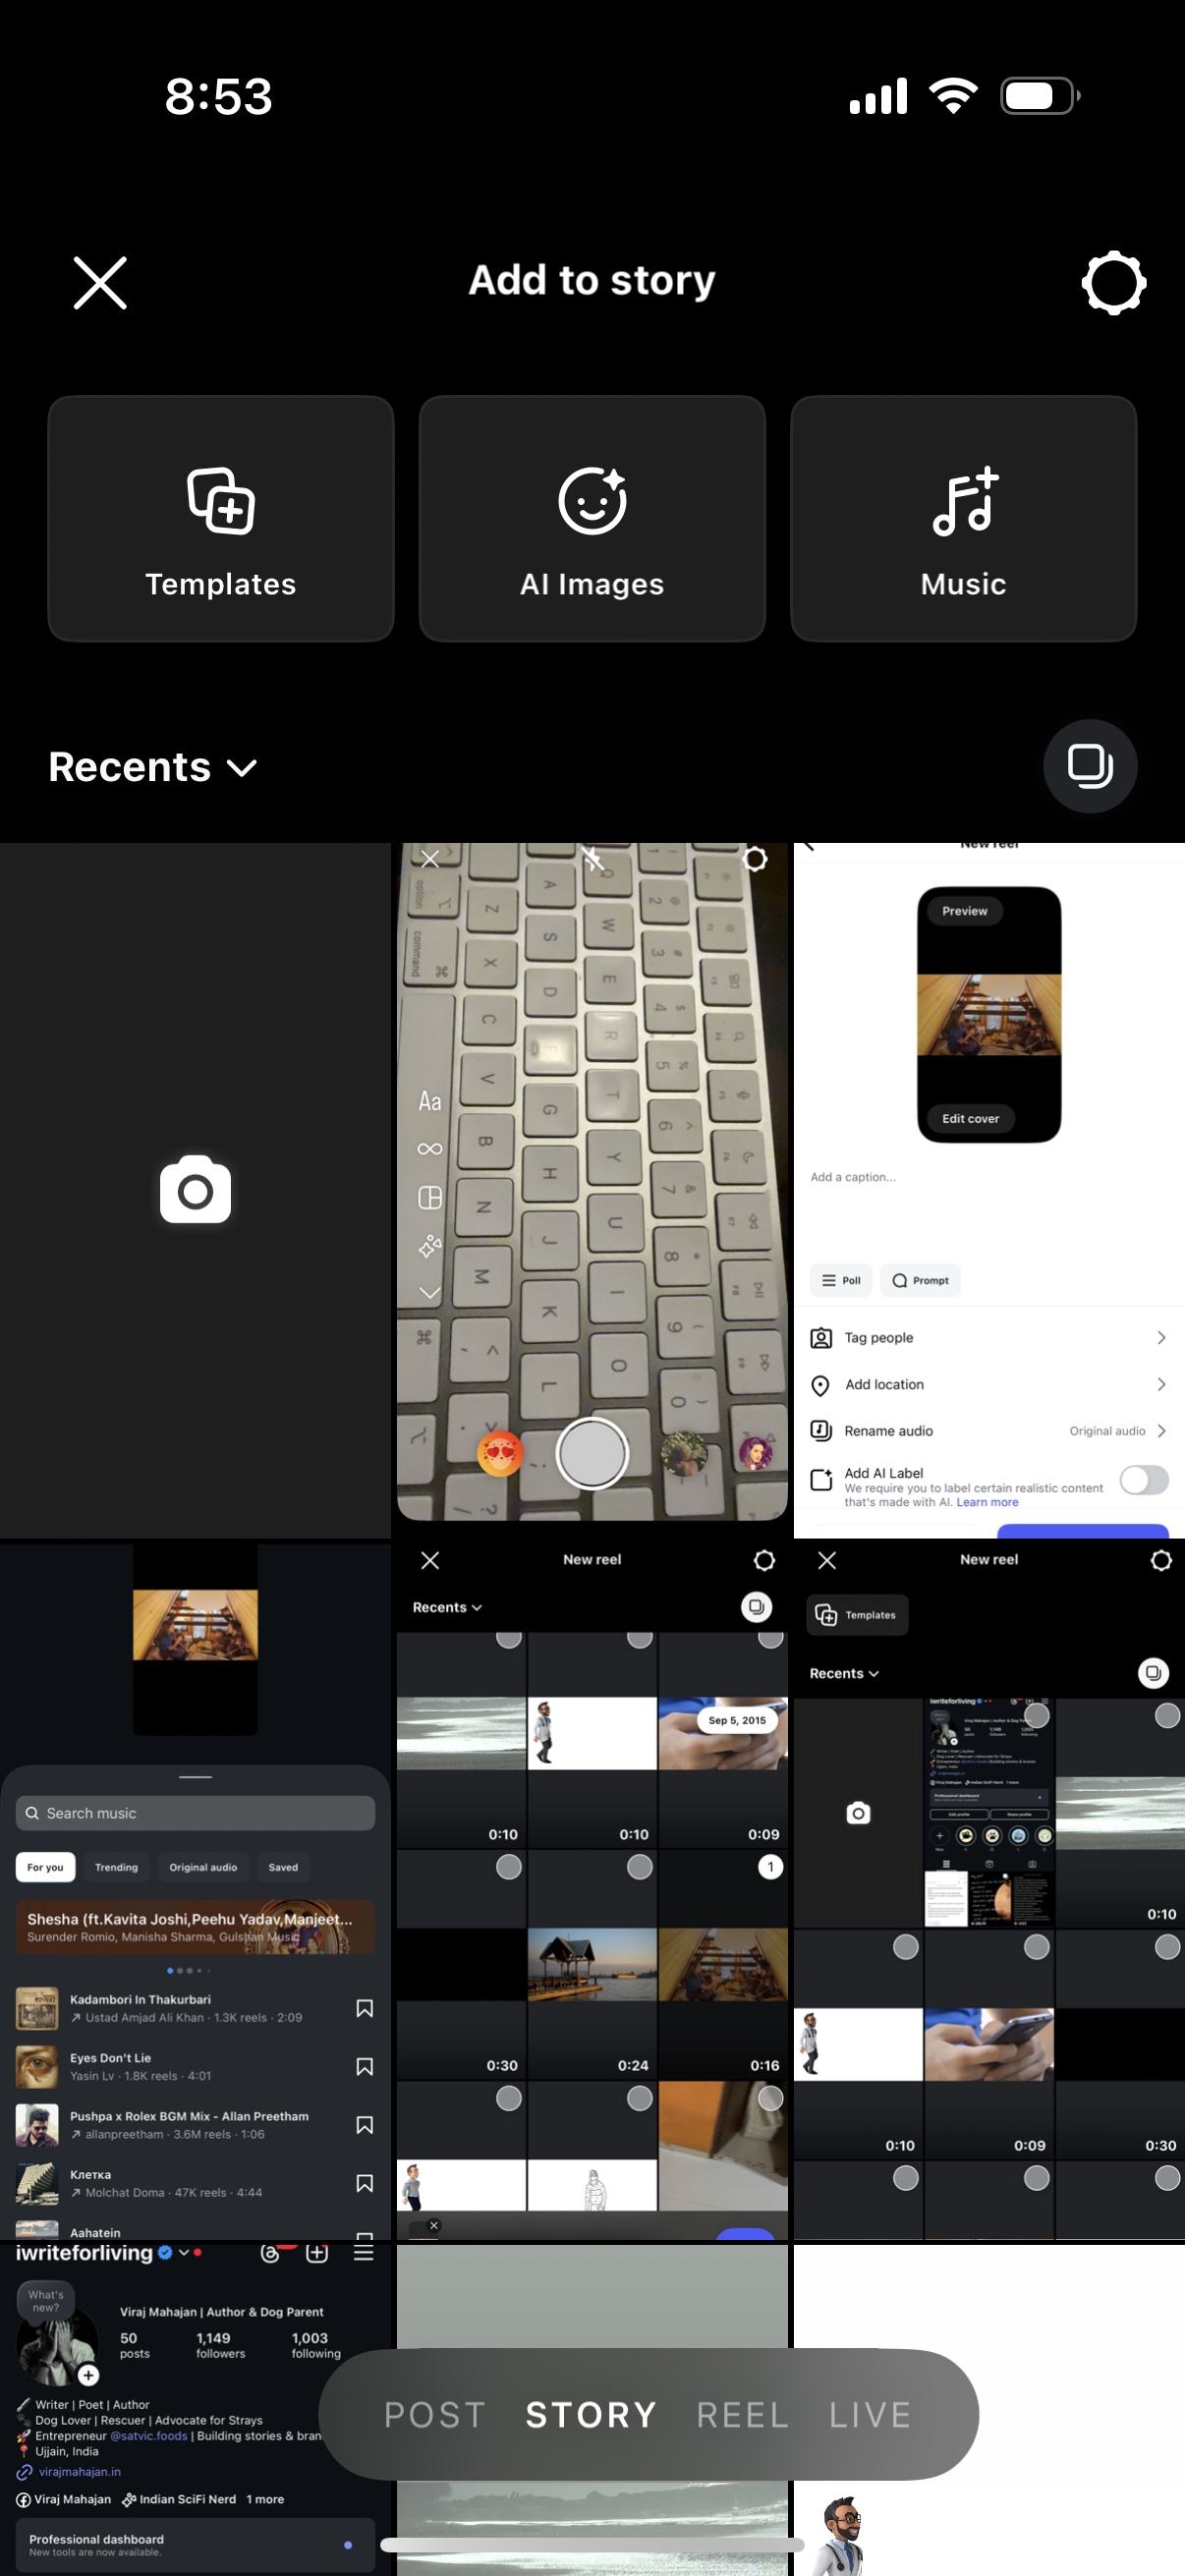
Step 3
The next page will give you options to edit the story using Instagram’s creative tools like resize, text to add, GIF, filters, add music, and more. Once all the customizations are done, click on the “->” button at the bottom right of the screen to share the Instagram story with your close friends or with everyone.
Batch Instagram Video Resizer on Win and Mac
Part 4. Steps for Uploading an Instagram Feed
Posting to your Instagram feed is more than just uploading a photo or video: doing it wrong can result in poor reach and low engagement. Optimizing your Instagram feed post involves not just choosing the right visuals, but also knowing how to edit and share them in the right way.
Here’s how you can easily upload the media files to your Instagram feed to get maximum views.
Step 1
Launch the Instagram app on your mobile and click “+” at the bottom center of Instagram. From multiple options, select “Post.”
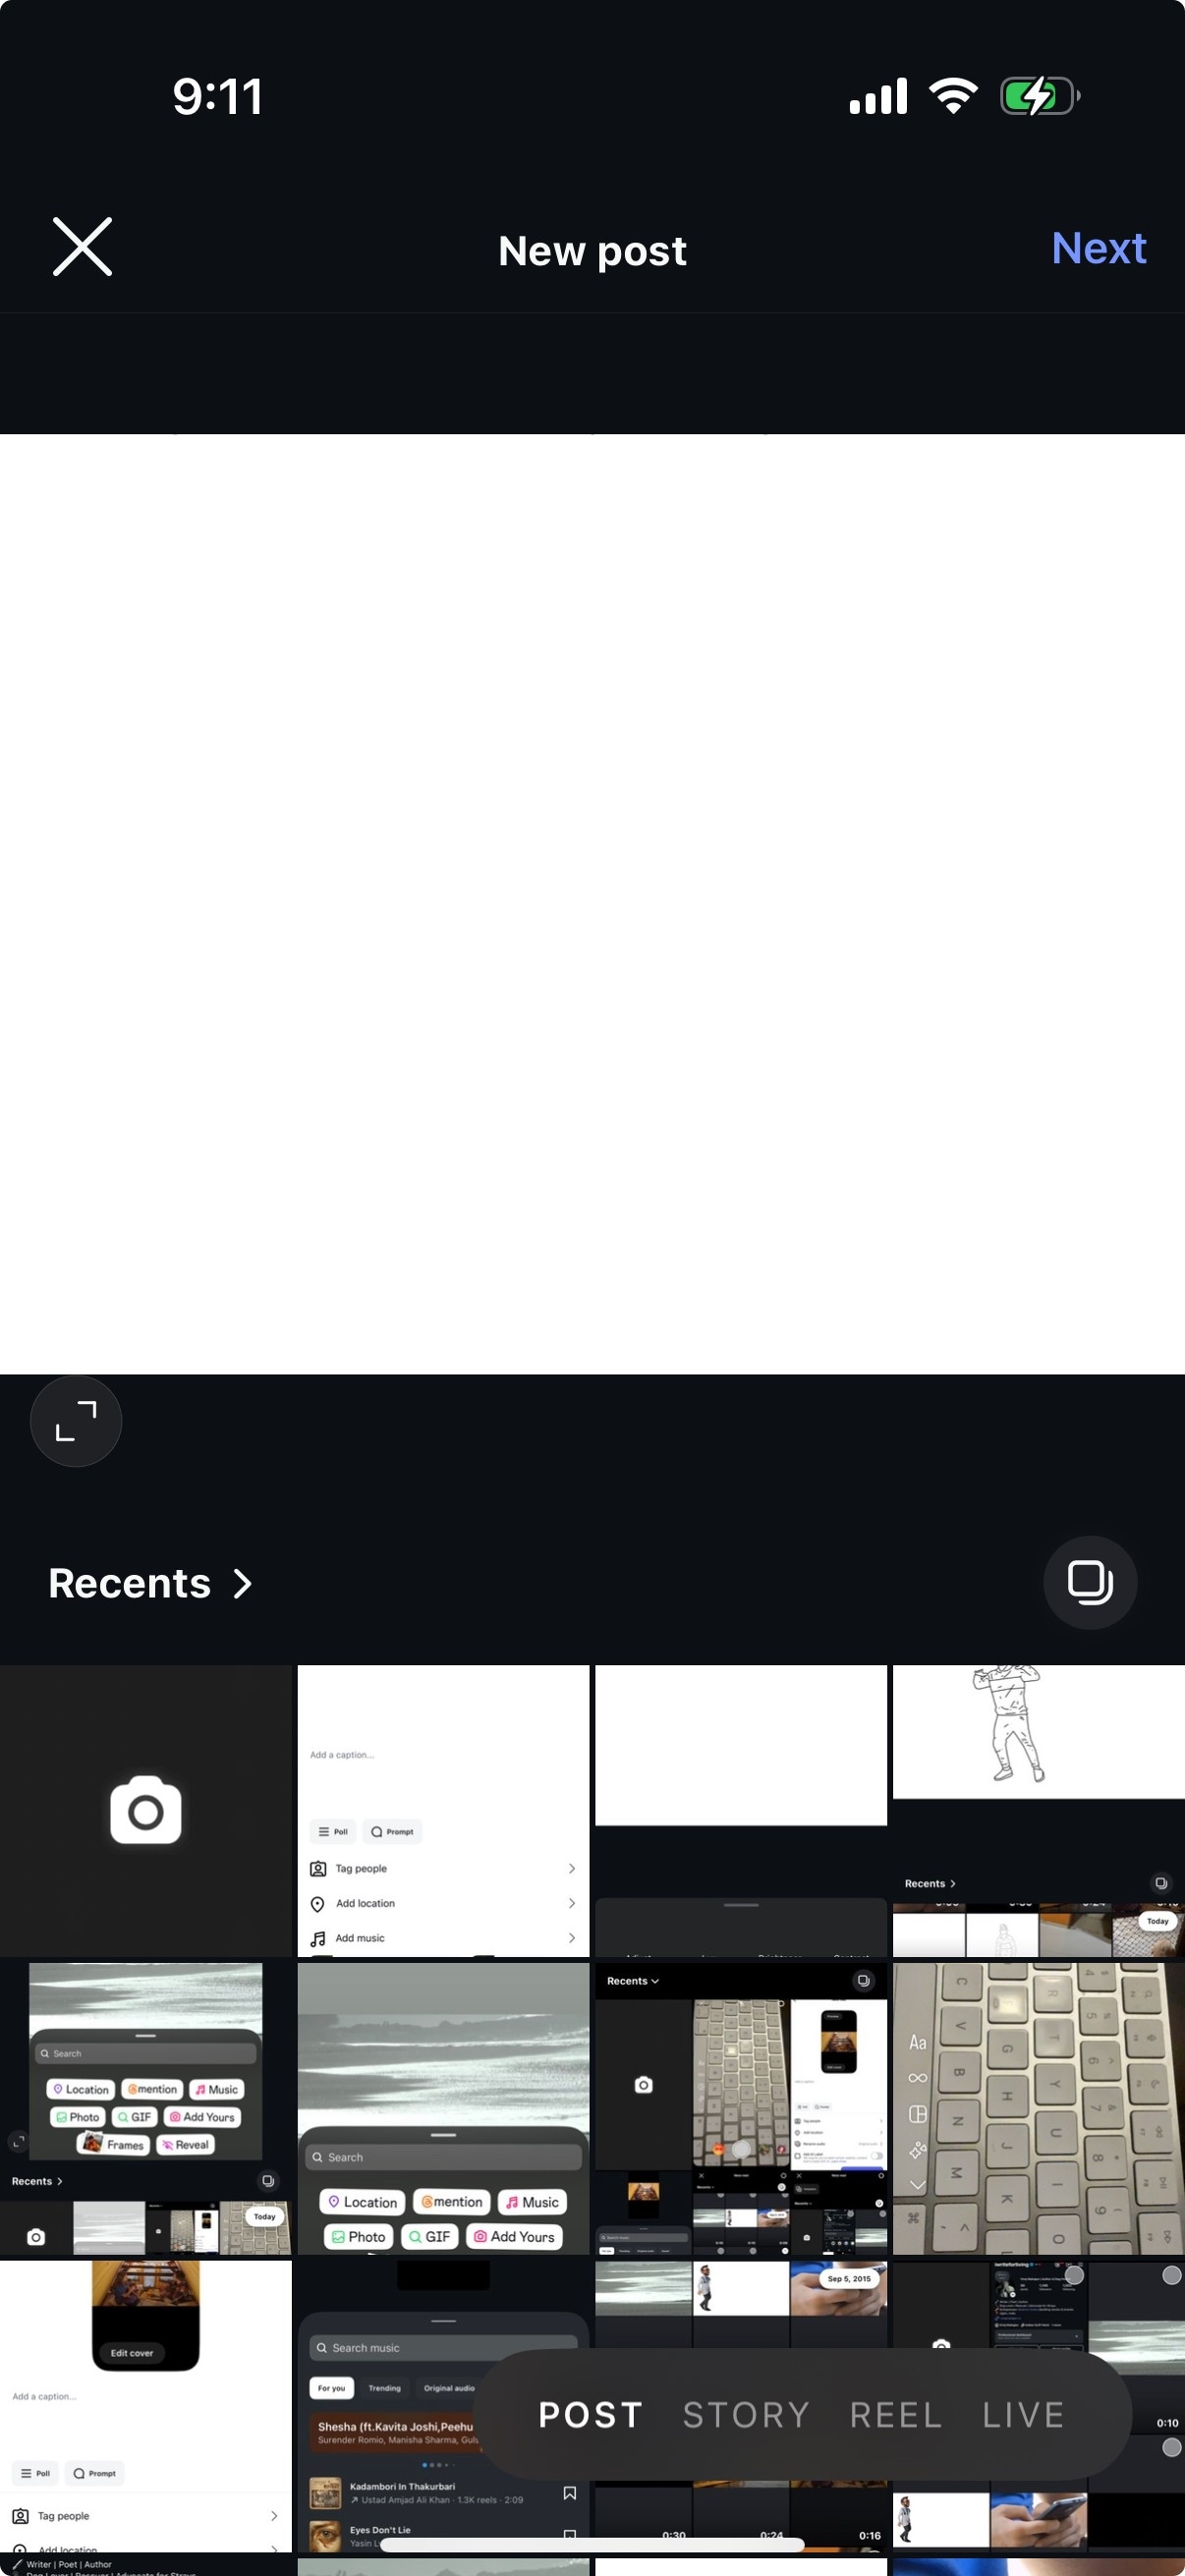
Step 2
Choose a high-quality image or video from your phone’s gallery. Make sure the content fits well within Instagram’s preferred aspect ratio, which we mentioned in the above table.
Step 3
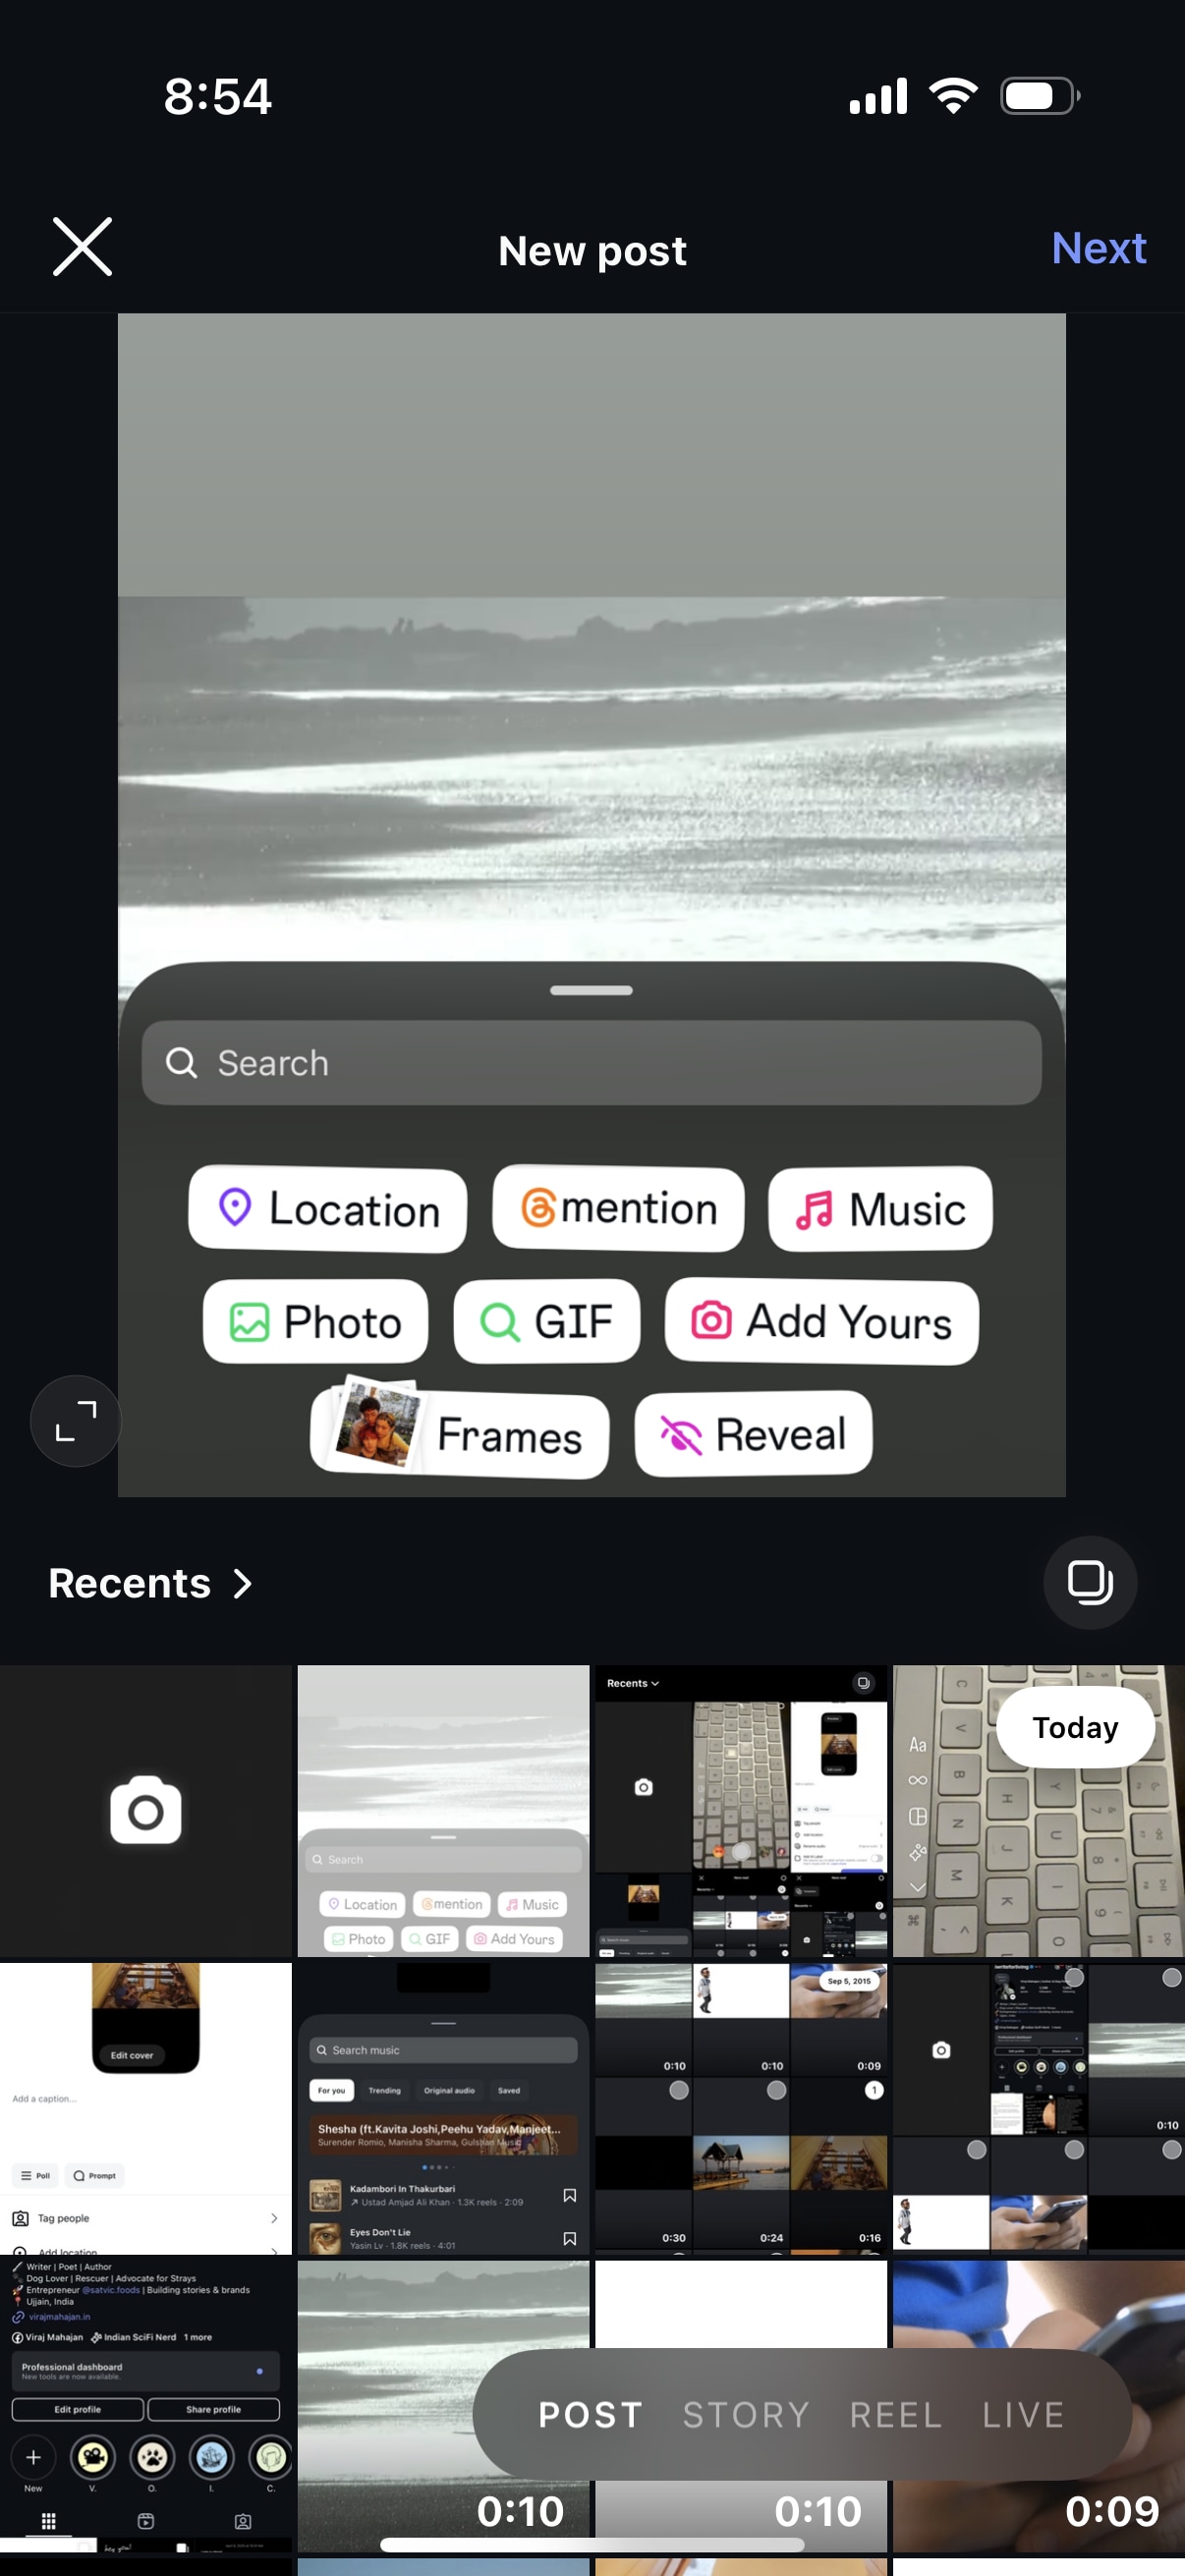
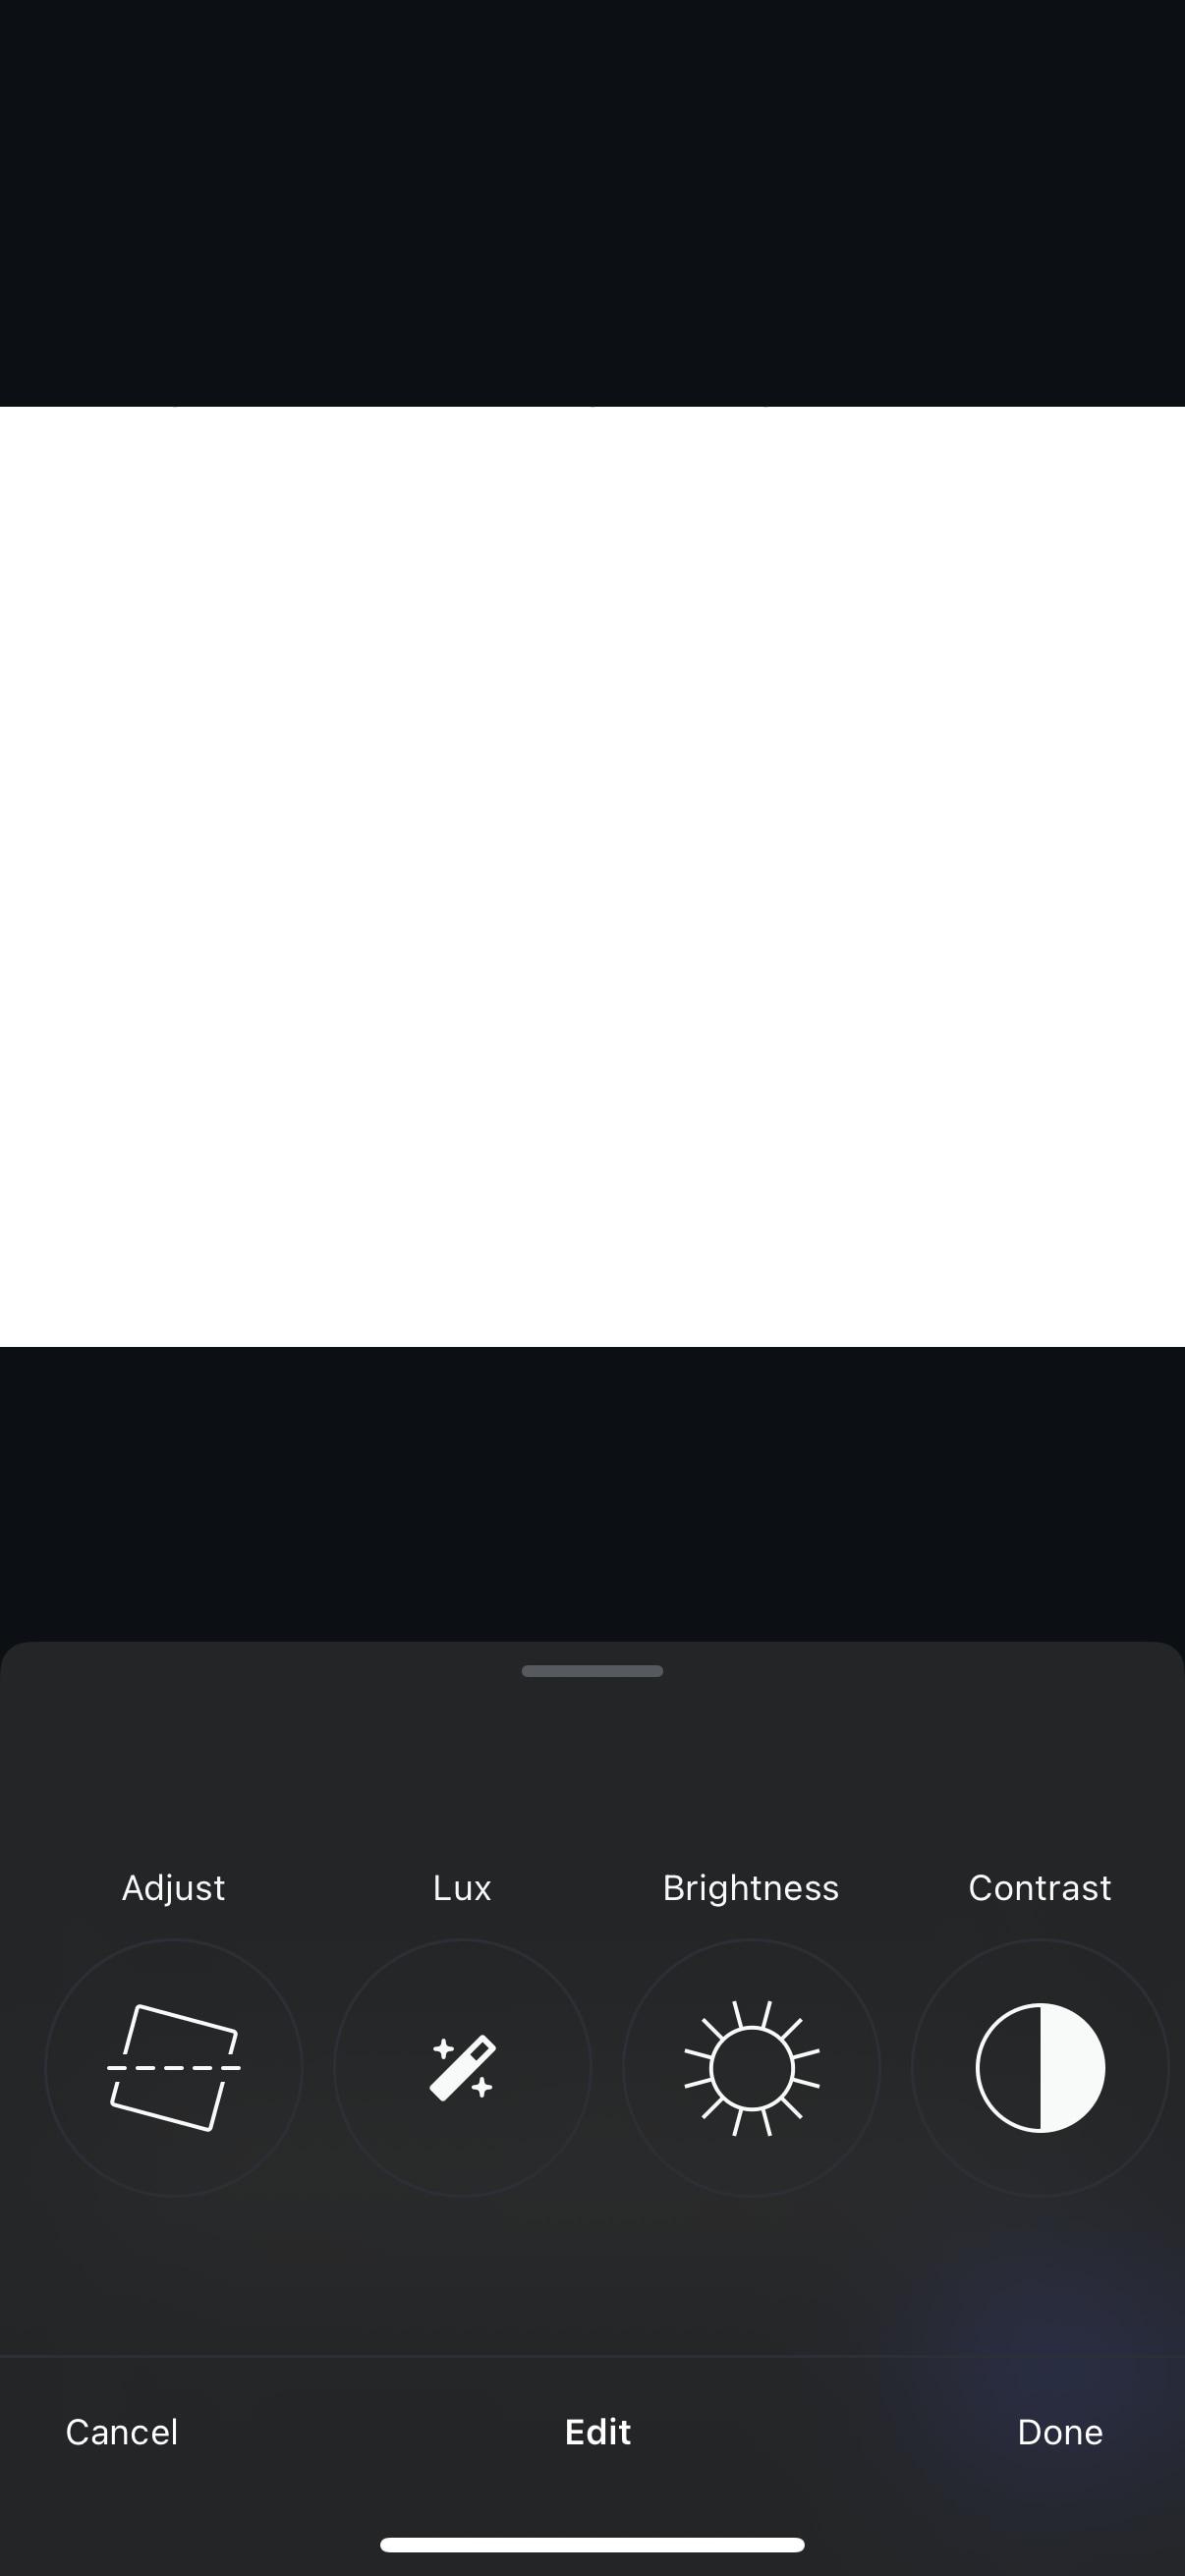
After selecting your media, click on “Next.” From here, you can apply filters or manually adjust brightness, contrast, structure, and saturation to enhance your media file. Make sure the content looks appealing and professional.
Step 4
Once you are satisfied with the edits, click “Next” at the bottom of the screen. Now, you can add a clear caption and relevant hashtag, tag people, add location, and add music to make your content more accessible to a local audience. Once you are done, Share the media with your Instagram community.

Part 5. How to Batch Resize Instagram Video Size?
Content creators often shoot and edit multiple videos or images at a time. So, it becomes time-consuming and confusing when they have to sit to manually edit them. Especially the resize option, which is considered a tedious task when you have shot the video in the wrong format. Thankfully, you can rely on Wondershare UniConverter’s batch video size editor, making the editing process easier and more convenient.
Apart from resizing in batch, there are several important features of UniConverter, like:
- HDR Converter: UniConverter transforms standard videos into HDR-quality content, improving brightness, contrast, and color depth. This makes your Instagram videos look more dynamic and sharper, which helps them catch attention in feeds.
- AI Video Enhancer: With just one click, this AI-powered tool can boost resolution, balance colors, and sharpen video clarity.
- AI Subtitle Translator: UniConverter can auto-generate and translate subtitles in 120+ languages, which makes it more accessible to your global audiences on Instagram.
- Video Stabilization: It smooths out shaky camera movement and delivery steady, pro-level footage. This feature compensates for unwanted motion and makes it ideal for handheld vlogs, fast-moving reels content, and behind-the-scenes videos.
- AI Scene Detection: Intelligent scene detection removes unnecessary segments from your video, such as silences or low-action parts. This ensures that your video file contains only important moments.
Now that you have understood how can you post a long video on Instagram, here’s how you can batch resize your Instagram videos in UniConverter:
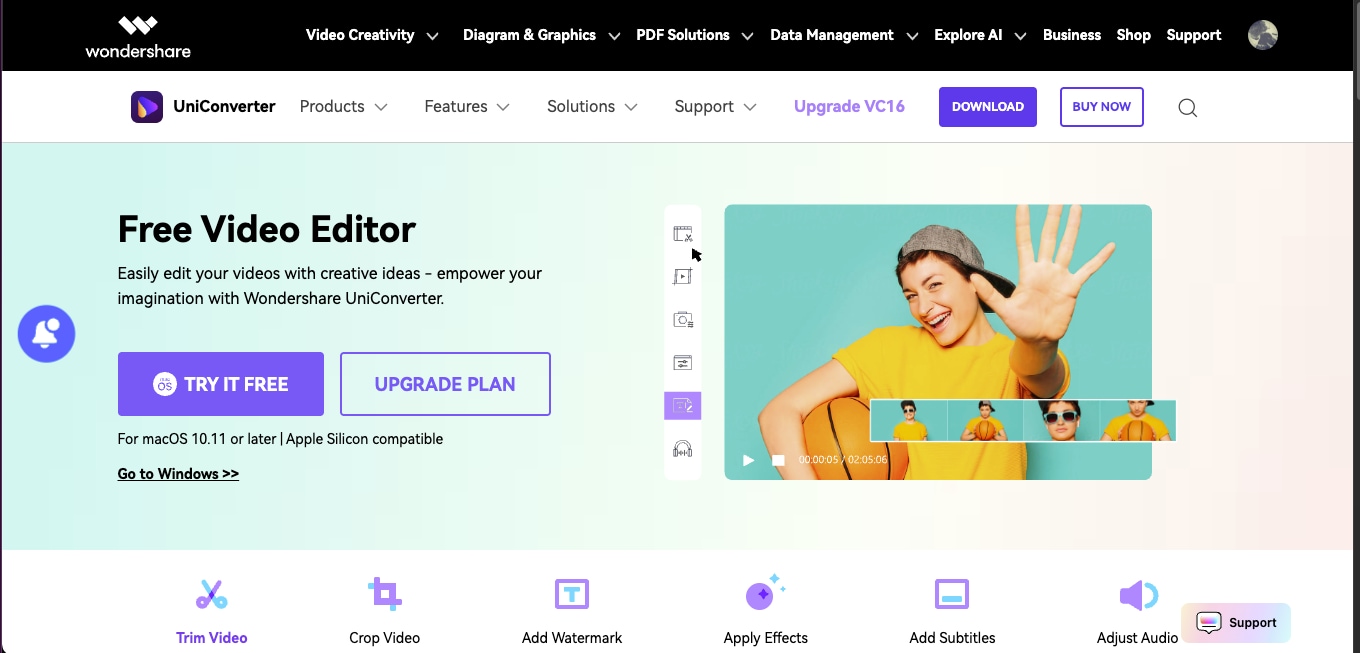
Step 1
From the UniConverter’s homepage, head to the Video section in the middle and click on Video Editor.

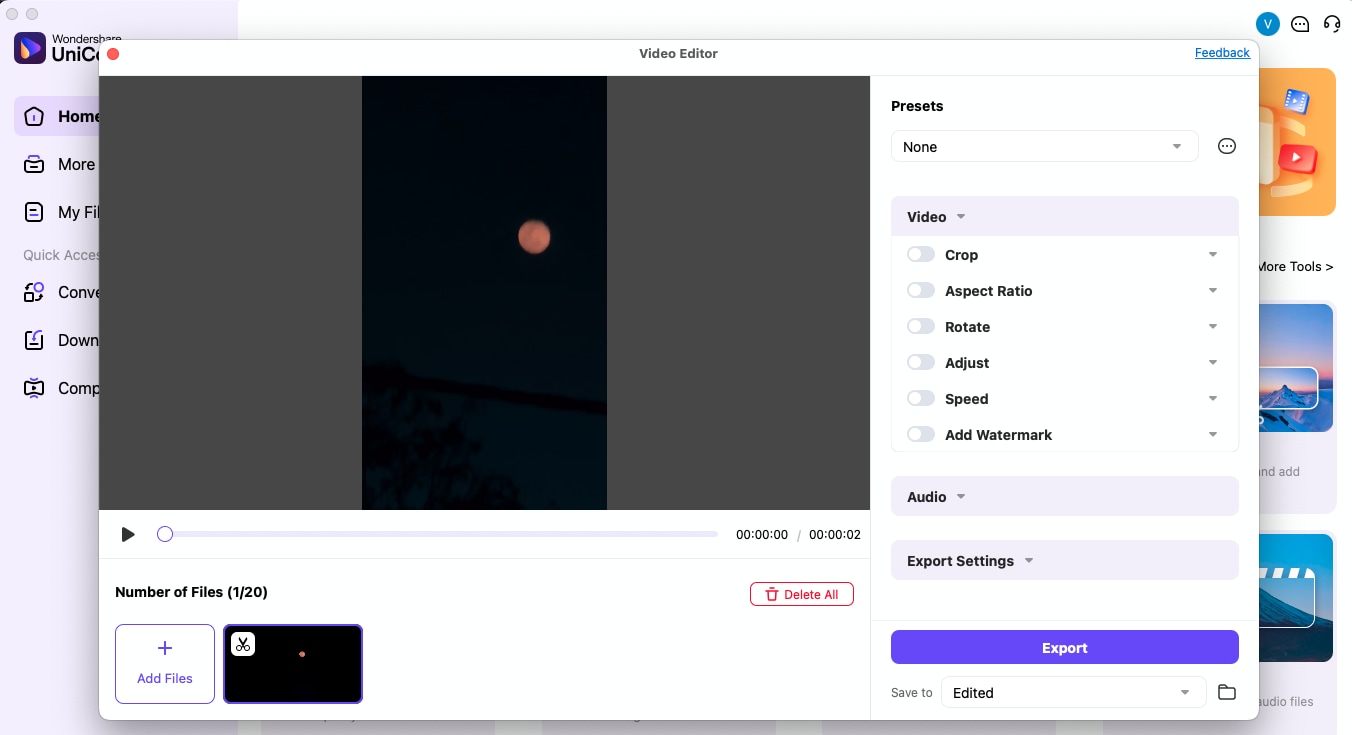
Step 2
From here, a pop-up will appear asking you to import a media file from your system. This AI-powered batch converter allows you to resize up to 20 videos simultaneously. Once the media files are added, you will see a Video Editor pop-up where you can make desired changes.
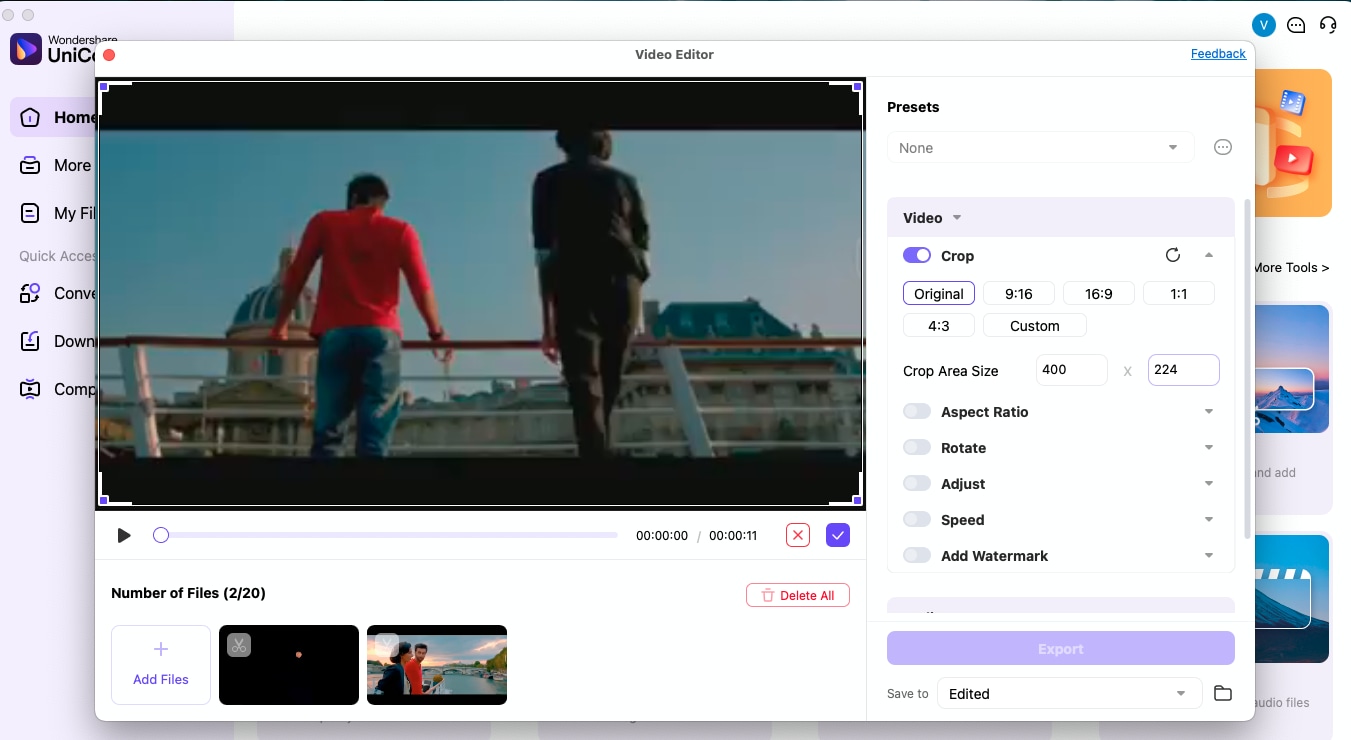
Step 3
On the right side of the Video Editor page, click on “Crop” to crop and resize the videos according to your preference. For Instagram stories and reels, select the 9:16 format, and for Instagram feeds, you can choose between 4:3 or 1:1 size options.
Step 4
You can further modify your video by checking different features like rotation, speed, and color adjustment. Once you are satisfied, click on “Export” to download the modified videos to your computer.
Part 6. Expertise Experience in Making Attractive Videos for Instagram
It is essential to understand how to grab attention quickly while creating an Instagram video. The ideal video length on Instagram usually falls between 1-3 minutes. The span to grab the attention is short, so you have to make the most of it. Here are some of the expert tips to help you create eye-catching and visually impacting Instagram videos:
- Use Readymade Templates: You can rely on clean, pre-designed templates for attractive videos. Instagram prompts you to check out the most trending templates that can save time and have a higher chance of getting good views.
- Hook Your Audience: The first three seconds of your video should connect with your audience. It is always recommended to start your video with a bold text, a question, and a surprising visual or statement.
- Add Subtitles: Adam Mosseri shared during a podcast that half of the reels are watched without any sound. So, you need to understand that on-screen texts or subtitles play a crucial role in getting the right engagement.
- Stick to Your Goal: Telling a compelling story in a short video can be challenging. Plan your videos carefully and focus on clear objectives. Be specific, break your content into stages, and avoid unnecessary fillers.
- Adjust Light: You don’t need to have a professional lighting kit to make your video look fantastic. Try to shoot your video under natural light. You can also edit the video brightness using UniConverter’s video adjusting tools.
Part 7. Tips for Making an Eye-catching Thumbnail for Instagram
An eye-catching thumbnail can make the difference between someone watching your video and scrolling past it. Since thumbnails are the first thing users see before clicking on a video from your feed, making them as compelling as possible is essential.
Here are some expert tips to make an eye-catching thumbnail for Instagram:
- Use High-Quality Images: Use clear, HD-quality images as your Instagram thumbnail, as these photos look appealing to the eyes and appear more professional. Try improving images to 4K resolution with UniConverter AI Image Enhancer.
- Simple Design: Don’t add too many designs or multiple colors. Most people get confused when too much text or color is on the screen.
- Instagram Specifics: Consider the specs for Instagram thumbnails like size, resolution, and format. If you missed out on following these rules, your thumbnails may look distorted or cropped.
- Color Psychology: It is important to know how colors can stir feelings in your viewers. Choose the color that connects well with your target audience. Pick the vibe you want to build for your brand. For instance, yellow shows a positive aura, and blue suggests trust and calmness.
- Easy-to-Read Fonts: Instagram users are endlessly scrolling. A simple, easy-to-read font ideally catches someone’s attention and quickly showcases what the reel is about.
Conclusion
If you’ve been asking yourself, How can I post a video on Instagram in a way that gets views, the answer lies not just in content, but in how you prepare and publish it. Success on Instagram comes from how you prepare, optimize, and publish your videos. When it comes to sharing the video, every small step matters. It does not matter how well you have shot your video, but what matters is how well you are polishing it or adding attractive thumbnails to increase the engagement.
If you have a large chunk of media files and you need to resize them in one go, you can always check out UniConverter’s built-in AI features that let you resize the videos as per your requirement. Additionally, you can use its other AI features to adjust the colors or automatically add subtitles. Download Wondershare UniConverter’ today and check out how easy it is to batch resize your videos before you publish them on Instagram.
Batch Instagram Video Resizer on Win and Mac
FAQs
-
1. How to get views on your Instagram videos?
You can have more views by uploading high-quality visuals, trending videos, eye-catching thumbnails, and trendy hashtags. Post during peak hours and active engagement with your audience also make a difference. -
2. What is the 5-3-1 rule on Instagram?
The 5-3-1 rule is an effective Instagram engagement strategy. According to the rule, you need to like 5 posts from your target audience and comment on 3 similar posts to grow by 1 follower every day. It is the most organic way to grow your Instagram presence and encourage authentic interactions. -
3. How can I post a YouTube video on Instagram?
First, download your YouTube video, then resize and trim it using UniConverter to fit Instagram’s video length and format requirements. Choose where to post (Reel, story, or Feed), then upload the version. To boost performance, you should also include a hook, engaging thumbnail, and hashtag. -
4. How long can a video be on Instagram?
For in-feed videos, you can upload content up to 60 minutes long, while stories allow clips up to 60 seconds. Instagram Reels supports videos up to 90 seconds, which makes them ideal for quick and engaging content. Lastly, Instagram lets you live stream for 4 hours.

