

Sharing moments on Instagram has become second nature, but Live Photos often leave users frustrated when they don’t upload as expected. Many wonder why Instagram doesn’t support them directly, while others struggle to keep the motion effect intact. If you’ve tried posting Live Photos only to see them turn into still pictures, you’re not alone.
The good news is there are simple and effective ways to share them without losing their charm. This guide breaks down easy methods, creative tricks, and even a bonus hack to help you post Live Photos seamlessly on Instagram in 2025.
In this article
- What is Live Photo and Does Instagram Support Live Photos?
- How to Post Live Photos on Instagram by Uploading to Stories
- How to Post Live Photos on Instagram by Boomeranging the Live Photo
- How to Post Live Photos on Instagram by Converting Live Photo to Video
- How to Post Live Photos on Instagram by Adding Special Effects
- Bonus: How to Easily Batch Convert Live Photos for Instagram
- Conclusion
- FAQs
Part 1: What is Live Photo and Does Instagram Support Live Photos?
What is a Live Photo?
Live Photo is an innovative camera feature introduced by Apple, available on iPhone models starting from the iPhone 6s. Unlike a traditional still image, a Live Photo captures 1.5 seconds of video and audio before and after the shutter click, bringing pictures to life with subtle motion and sound. This makes Live Photos feel more immersive, preserving the exact moment as it happened rather than just a frozen frame.
On Android devices, a similar feature exists under the name Motion Photo. While both Live Photo and Motion Photo share the same purpose—adding movement to static pictures—their formats differ. Live Photos are made up of a JPEG file (the still image) and a MOV file (the short video clip) combined together. Motion Photos, on the other hand, are typically stored in a single MP4 or video-embedded file, making them easier to share across different platforms.
In essence, Live Photos are a hybrid of photo and video, designed to enhance storytelling on iPhones. However, since Instagram doesn’t natively support Live Photos in their original format, users often face the challenge of converting or adapting them before posting.
Does Instagram support Live Photos?
Many iPhone users wonder if Instagram fully supports Live Photos, and the answer is mixed. Instagram does not allow Live Photos to be uploaded in their original animated form everywhere on the platform. In most cases, they appear as still images unless you convert them into videos or use special modes like Boomerang.
When you post a Live Photo to your Instagram Feed, it shows up only as a static picture. To make it move, you’ll need to turn it into a looping video using the Boomerang effect.
For Instagram Reels, Live Photos aren’t directly supported either—you must first convert them into a standard video file before uploading.
The only place Instagram plays Live Photos natively is in Instagram Stories, where the animation and sound work automatically when viewed.
However, if you send a Live Photo through Direct Message, it will again appear as a still image without motion.
In short, Instagram partially supports Live Photos, but only in Stories. For Feeds, Reels, or DMs, you’ll need to use quick workarounds like Boomeranging or video conversion to preserve the animated effect.
Part 2: How to Post Live Photos on Instagram by Uploading to Stories
If you've ever wondered how to share a Live Photo on your Instagram Story, you're in luck—Instagram lets you convert them into a captivating Boomerang in just a few taps:
Open the Instagram app on your iPhone and tap the camera icon (+) (or “Your Story” at the top-left) to start a new story post.
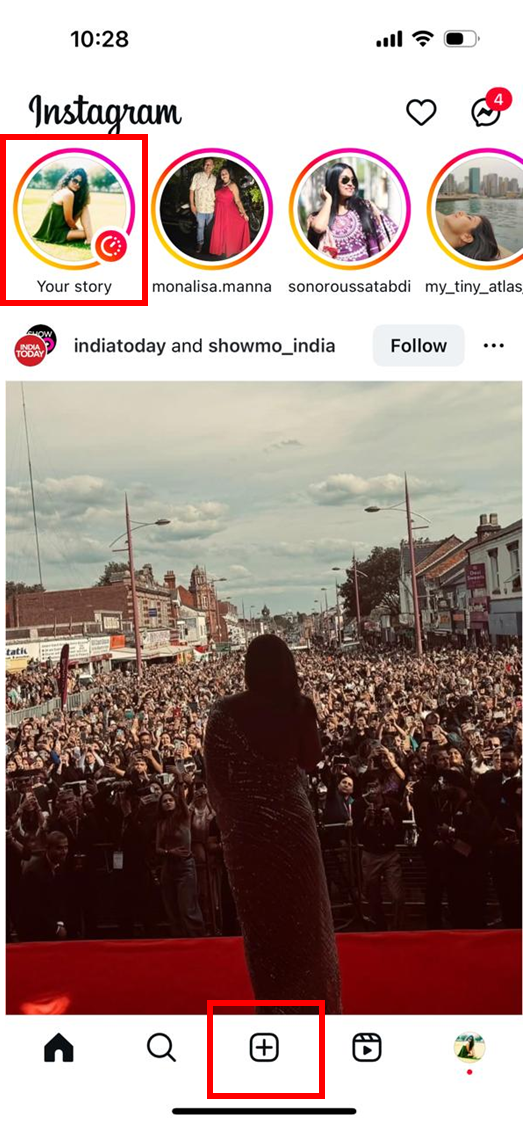
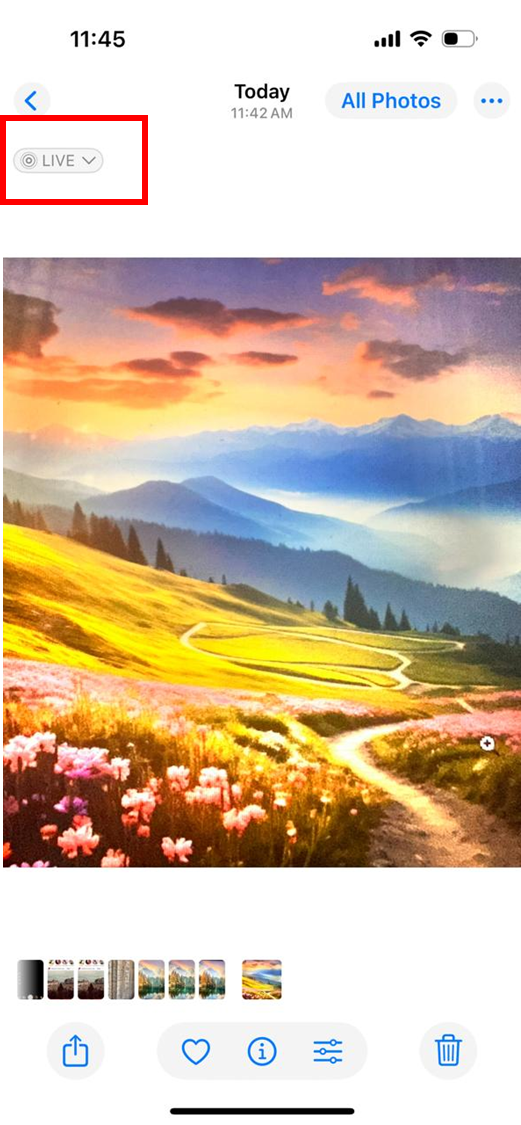
Swipe up or tap the photo gallery to browse your Live Photos and select the one you want to post.
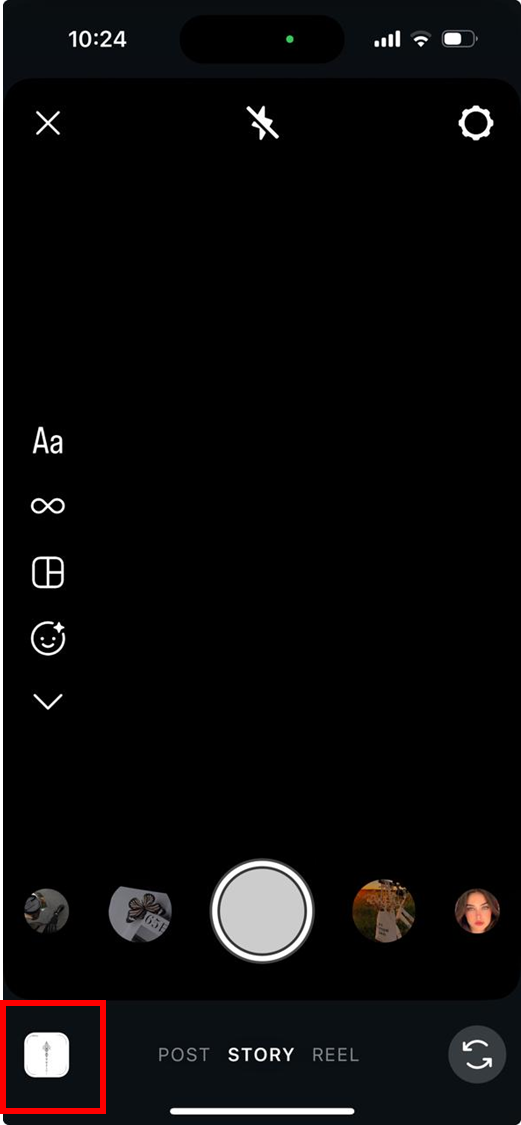
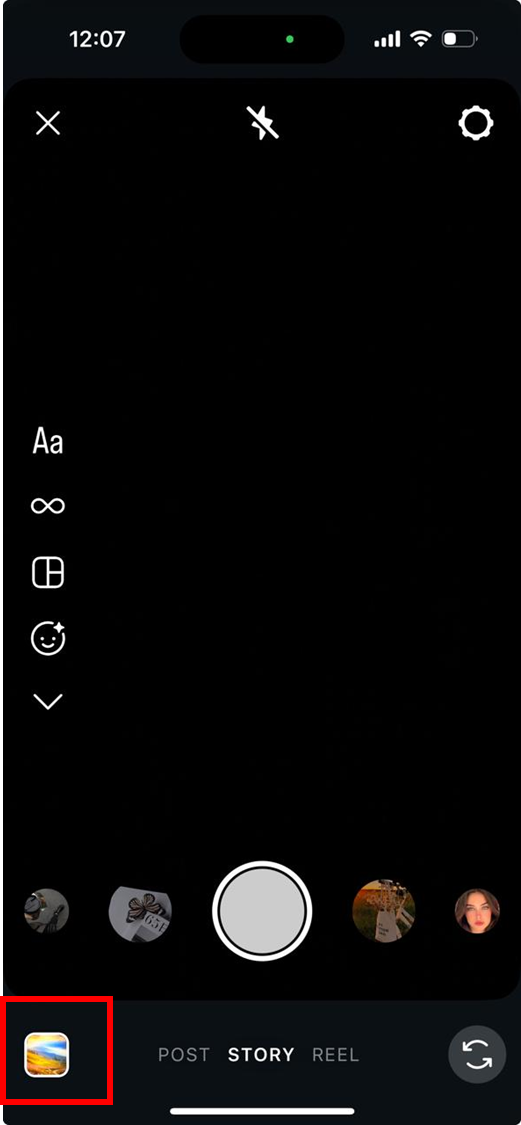
Press and hold the selected Live Photo—Instagram will automatically recognize it as a Live Photo and bring up the Boomerang option, often displaying the “Boomerang” label or the infinity (∞) icon.
Once converted to a Boomerang, you can choose from looping styles—such as classic, slow-motion, echo, or duo—via the editing toolbar.
Add enhancements like text, stickers, filters, or music to personalize your content.
Tap Done, then tap Your Story (or “Send To…”) to publish the Boomerang-style Live Photo to your story.
That’s it—your Live Photo now appears in your Story as a fun, motion-filled Boomerang that plays automatically and engages viewers.
Tip for Visual Flow:
Including the screenshot above from iDownloadBlog helps readers visualize the exact steps: selecting a Live Photo, pressing to Boomerang, and adding finishing touches before sharing.
Would you like me to create similar step-by-step sections (with visuals) for other methods like converting to video, adding effects, or batch conversion?

Super Easy to Use Batch Live Photo Converter
Part 3: How to Post Live Photos on Instagram by Boomeranging the Live Photo
One of the easiest ways to share a Live Photo on Instagram is by turning it into a Boomerang. A Boomerang is a short looping video that plays forward and backward, making Live Photos more fun and dynamic. Follow these simple steps to transform your Live Photo into a Boomerang before posting:
Open Instagram on your iPhone and tap the “+” icon to create a new post or swipe right to access the Story camera.
Swipe up on the screen (or tap the gallery icon) to open your camera roll and select a Live Photo.
Press and hold on the Live Photo for a few seconds—Instagram will automatically recognize it and convert it into a Boomerang. Once the Boomerang is created, you can edit the loop style (classic, slow-mo, echo, or duo) to give it more creative flair.
Add stickers, text, filters, or music to enhance the Boomerang before sharing. Finally, tap Your Story or Share to publish it as a looping Live Photo on Instagram.
This method not only keeps the motion effect intact but also adds an engaging, playful twist that makes your post stand out.
Part 4: How to Post Live Photos on Instagram by Converting Live Photo to Video
Since Instagram doesn’t natively support Live Photos in Feeds or Reels, one of the most reliable ways to share them is by converting them into a standard video file. This ensures the motion and sound remain intact while making the file fully compatible with Instagram’s upload system. Here’s how to do it:
Open the Photos app on your iPhone and select the Live Photo you want to convert.
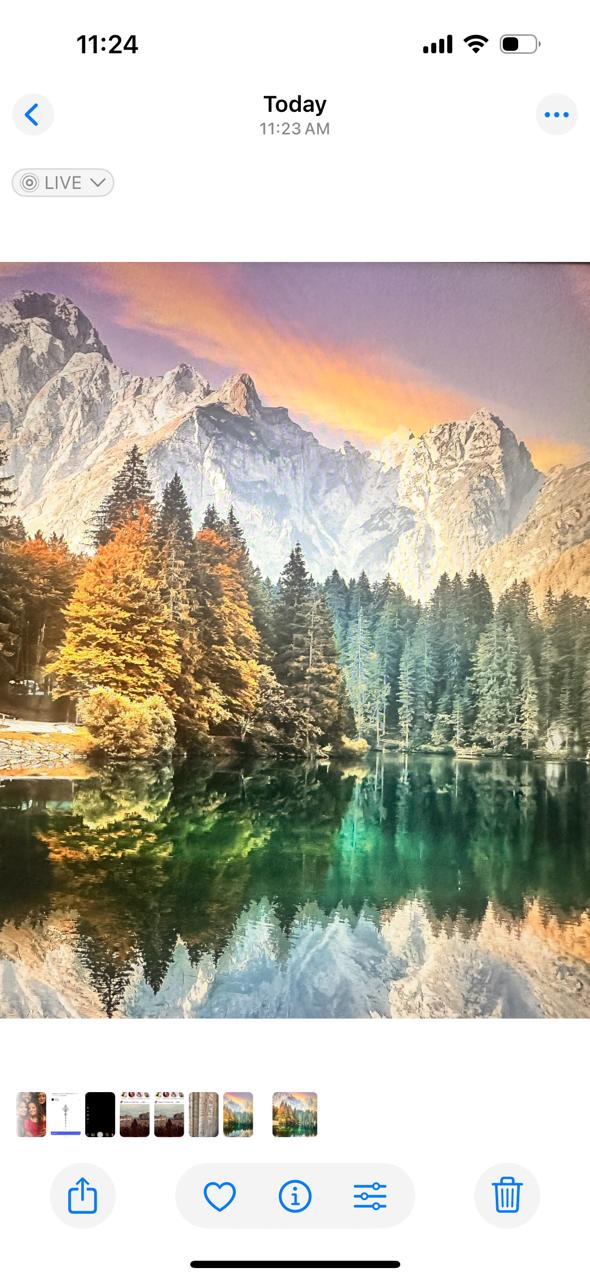
Tap the three dots in the top-right corner of the screen.
From the options, choose Save as Video. Your iPhone will automatically create a video version of the Live Photo and save it to your camera roll.
Now, open Instagram and tap the “+” icon to create a new post or reel.
Select the newly saved video version of your Live Photo from the gallery.
Edit as needed—add filters, text, stickers, or music—and then tap Share to publish it on your Feed or Reels.

This method guarantees your Live Photos play smoothly on Instagram, with both movement and sound preserved. It’s a quick, hassle-free way to turn a fleeting moment into an engaging post.
Part 5: How to Post Live Photos on Instagram by Adding Special Effects
Adding special effects is another creative way to make your Live Photos stand out before sharing them on Instagram. Apple’s Photos app includes built-in effects that transform Live Photos into unique loops or long-exposure shots, making them more visually appealing. Here’s how to do it:
Open the Photos app on your iPhone and choose the Live Photo you want to edit.
Click on “Live” to reveal the Effects menu.
Select from options like:
- Loop – Turns the Live Photo into a seamless repeating video.
- Bounce – Plays the Live Photo forward and backward, like a Boomerang.
- Long Exposure – Blends frames to create a blurred motion effect.
Once you’ve applied the desired effect, tap the Share icon and choose Save as Video if needed. Open Instagram and upload the edited Live Photo to Stories, Reels, or Feed just like a normal video.
Add Instagram’s own stickers, filters, or music to enhance your post even further before publishing.
These effects give your Live Photos a polished, artistic look and make them more engaging when shared on Instagram.
Part 6: Bonus: How to Easily Batch Convert Live Photos for Instagram
If you want to post multiple Live Photos on Instagram without converting them one by one, Wondershare UniConverter is the best solution. It supports batch conversion, ensures compatibility, and lets you customize settings for Feed, Reels, or Stories.
Step 1: Install and launch UniConverter
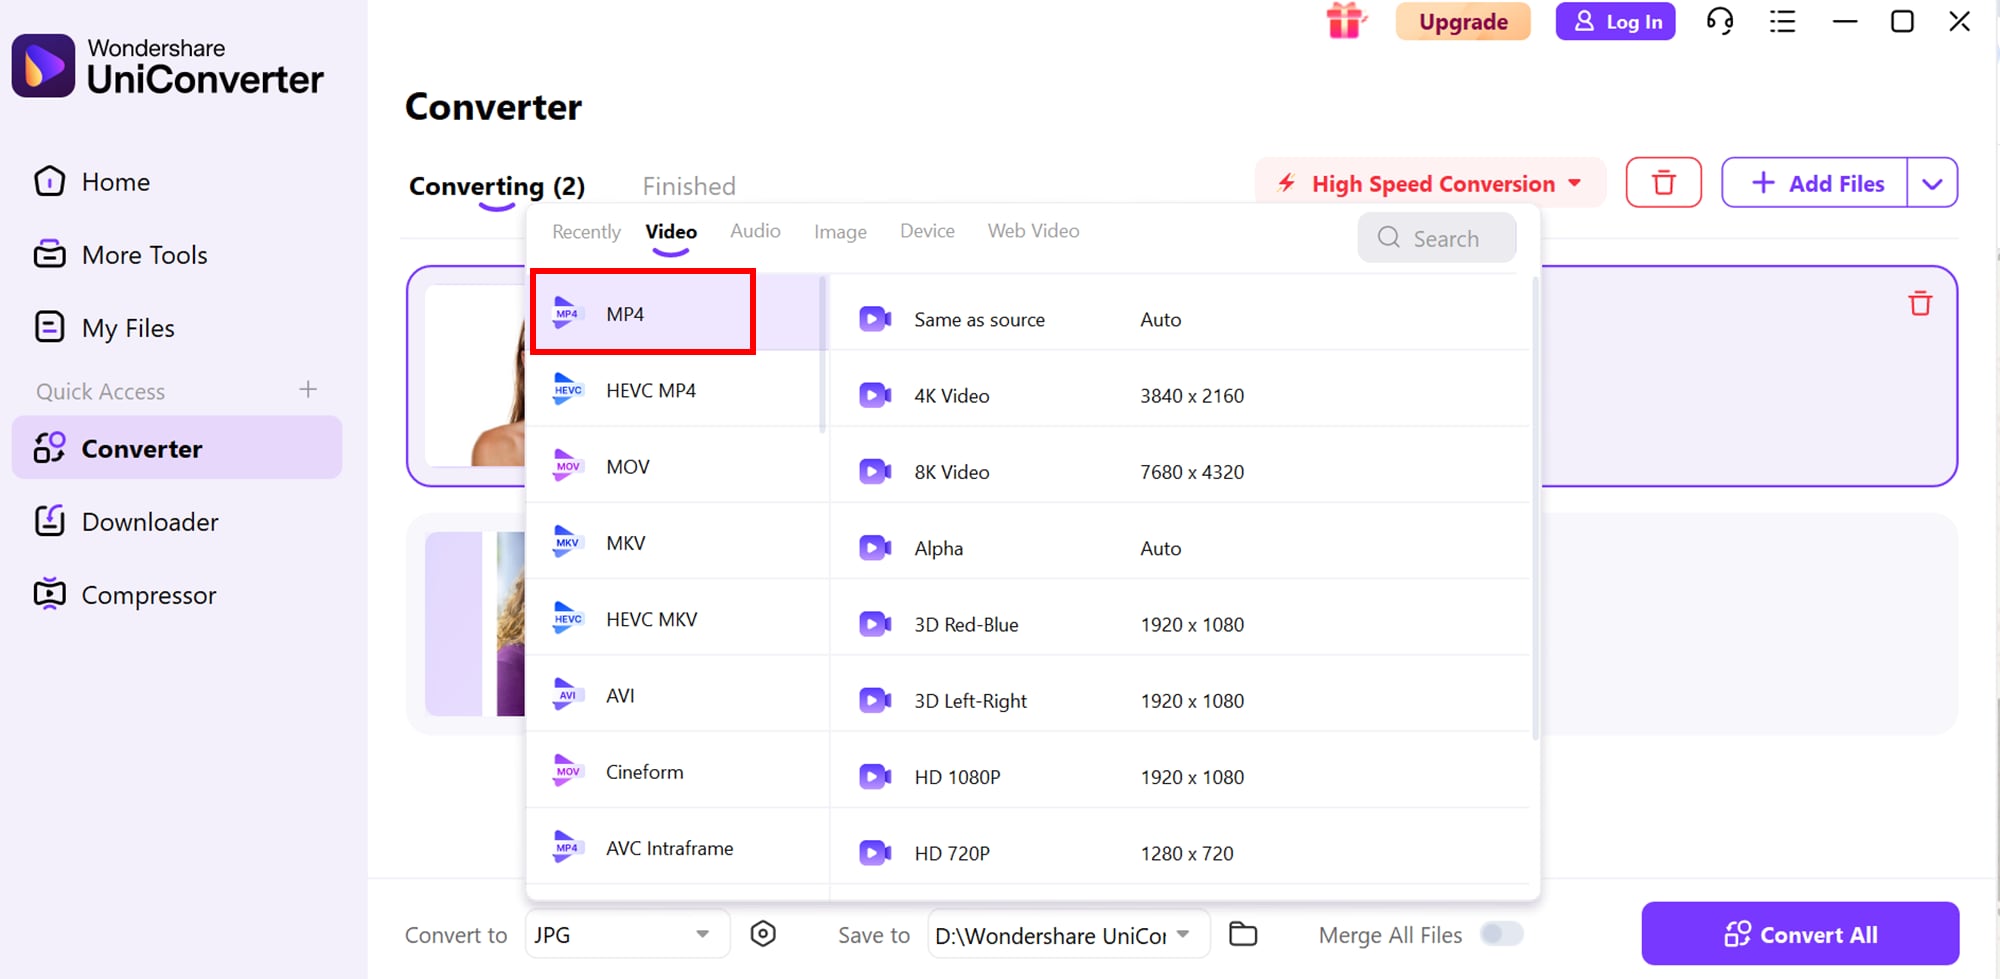
Download Wondershare UniConverter on your Windows or Mac device. Open the software and select the Video Converter tool from the main dashboard.

Step 2: Import and set output format
Drag and drop all your Live Photos (MOV + JPEG files) into the workspace. From the format options, choose MP4 since it’s the most Instagram-friendly. Adjust resolution and aspect ratio—1080x1920 works best for Stories and Reels, while 1080x1080 is perfect for Feed posts.
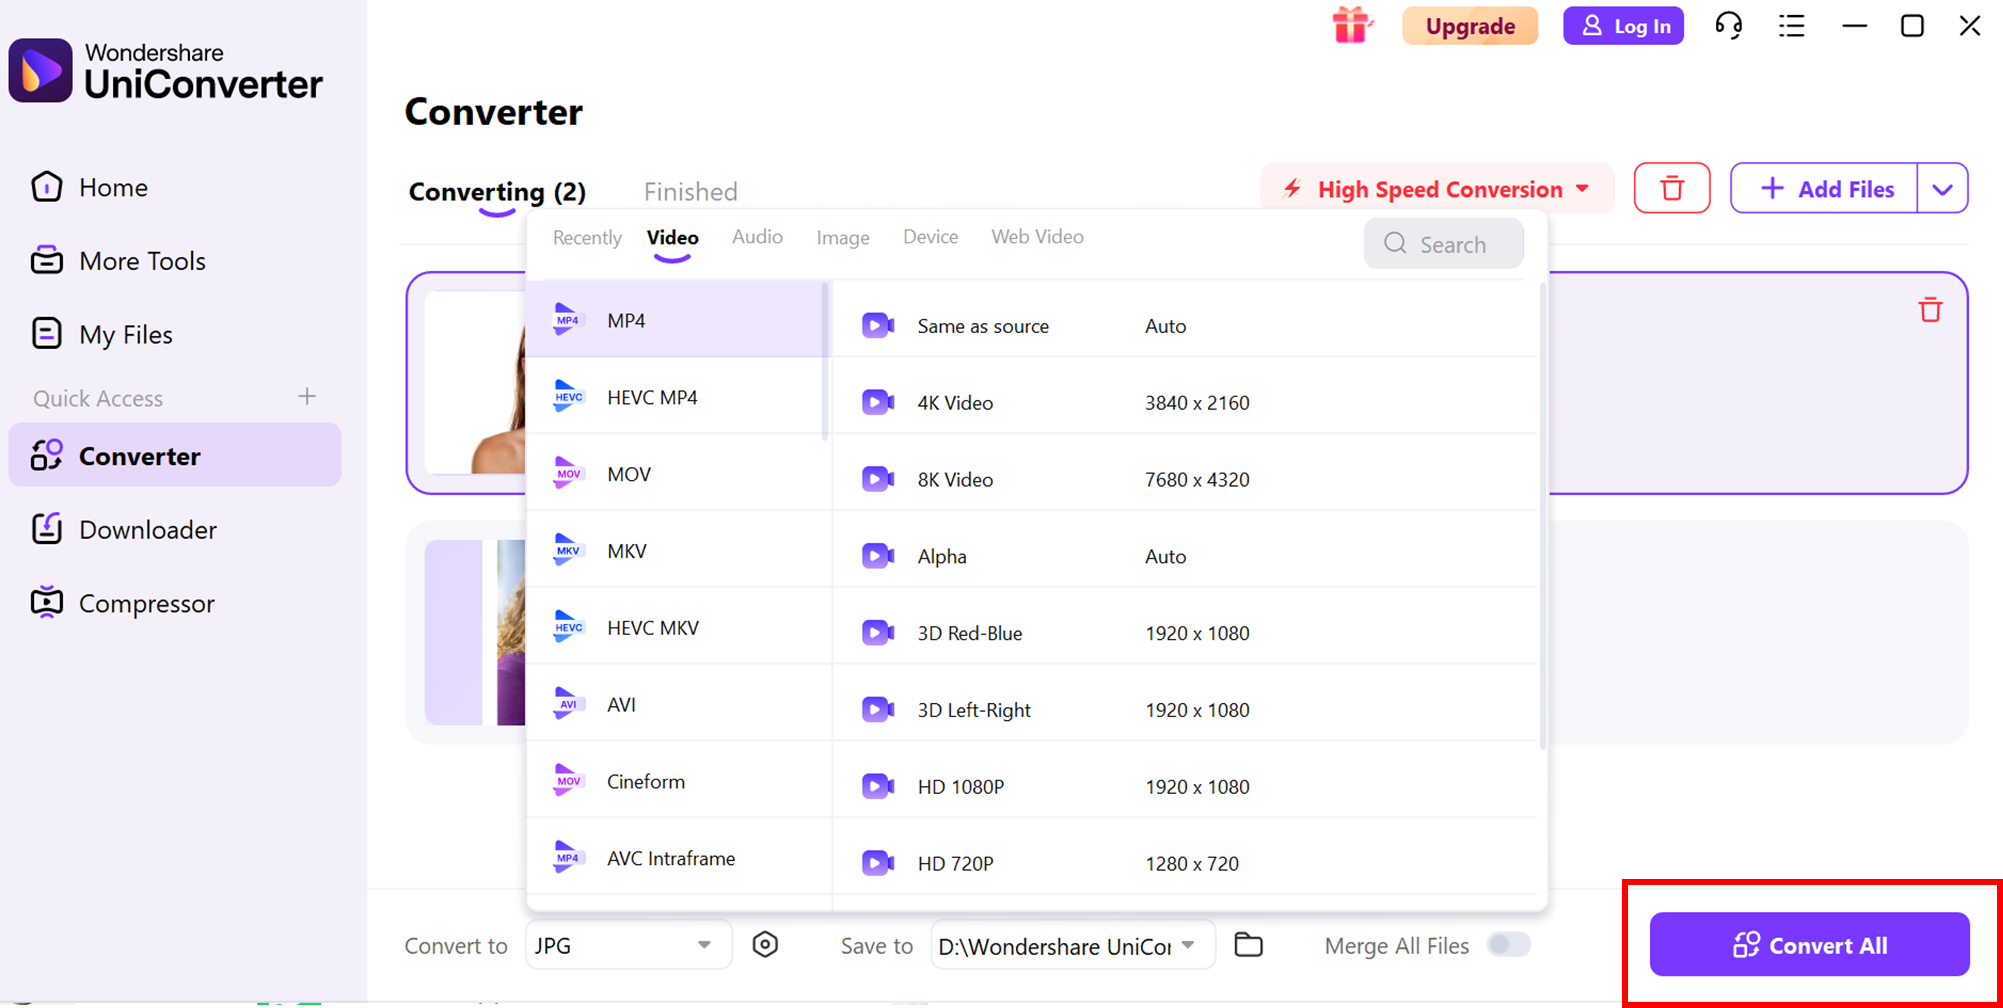
Step 3: Convert and upload
Click Convert All to process every file in one go. Once the conversion is done, transfer the videos to your iPhone or Android device. Now, simply open Instagram and upload them to your Stories, Feed, or Reels with full motion and sound intact.
This 3-step method saves time, keeps quality high, and makes sharing Live Photos on Instagram completely hassle-free.
Conclusion
Posting Live Photos on Instagram doesn’t have to be confusing. We covered everything from understanding what Live Photos are to sharing them via Stories, Boomerang, video conversion, and adding creative effects. Each method ensures your photos retain motion, sound, and impact when shared on Instagram.
For users who want a streamlined approach, Wondershare UniConverter offers the perfect solution. It allows you to batch convert Live Photos into high-quality MP4 videos, optimized for Instagram’s Feed, Stories, and Reels. With fast processing and customizable settings, it removes the hassle of manual conversion and saves valuable time.
Super Easy to Use Batch Live Photo Converter
FAQ
-
1. Do Live Photos lose quality when converted to video for Instagram?
No, Live Photos generally retain their quality when converted to video. However, the resolution may adjust slightly to match Instagram’s upload standards, which is why choosing the right output format is important. -
2. Can Android users post iPhone Live Photos on Instagram?
Yes, but only after converting them to a video format. Since Live Photos are an Apple-exclusive feature, Android devices treat them as standard still images unless they are exported as MP4 files. -
3. Are Live Photos supported in Instagram Reels?
Not directly. Instagram Reels requires video uploads, so you’ll need to convert a Live Photo into a short video before posting it. This ensures smooth playback and compatibility. -
4. Is there a way to batch-convert Live Photos instead of one by one?
Yes, tools like Wondershare UniConverter make it easy to batch-convert multiple Live Photos into MP4 videos at once, saving time and ensuring Instagram-ready quality. -
5. What’s the difference between Loop and Bounce effects on Live Photos?
Loop creates a seamless forward replay of the motion, while Bounce plays the Live Photo forward and then backward, similar to a Boomerang. Both can be saved as videos and uploaded to Instagram.

