Why Choose UniConverter as Your AI Image Upscaler
AI Super Resolution for Sharper Image Enlargement
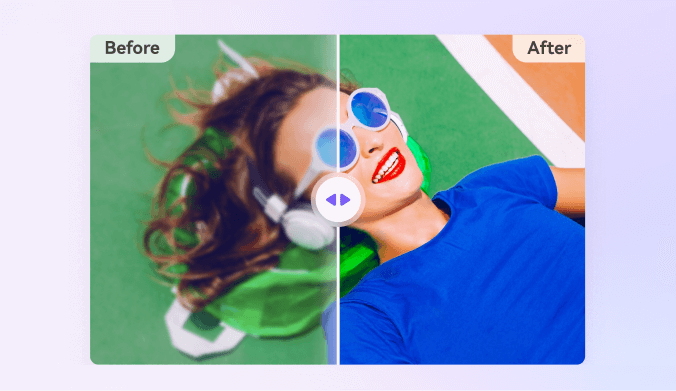
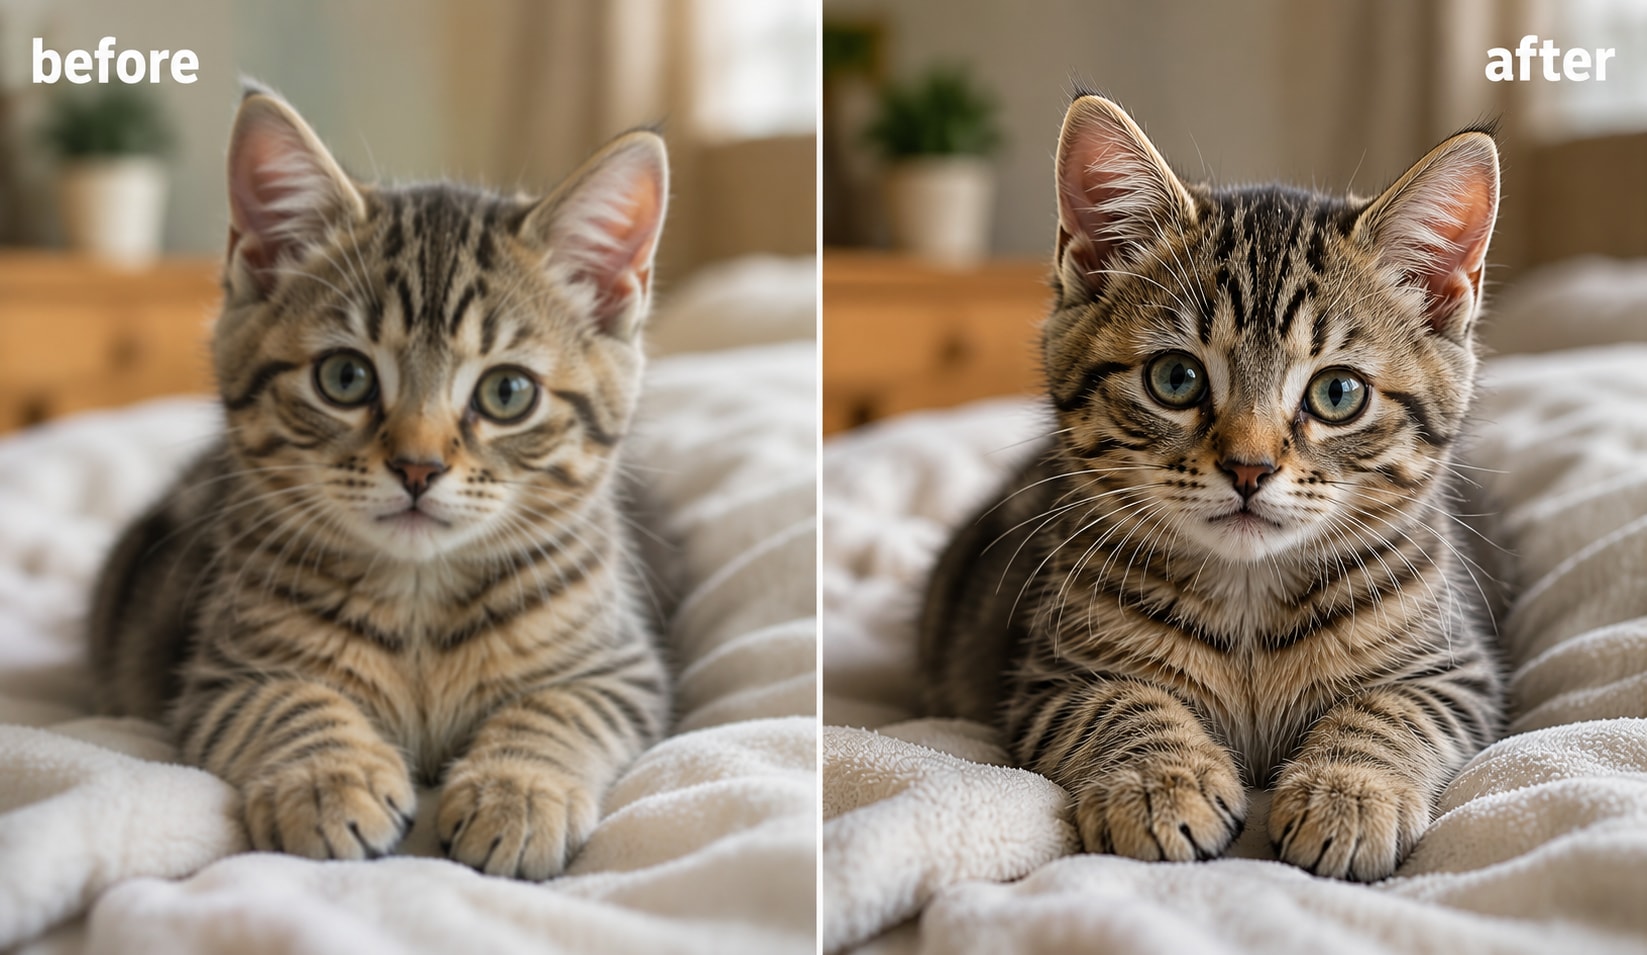
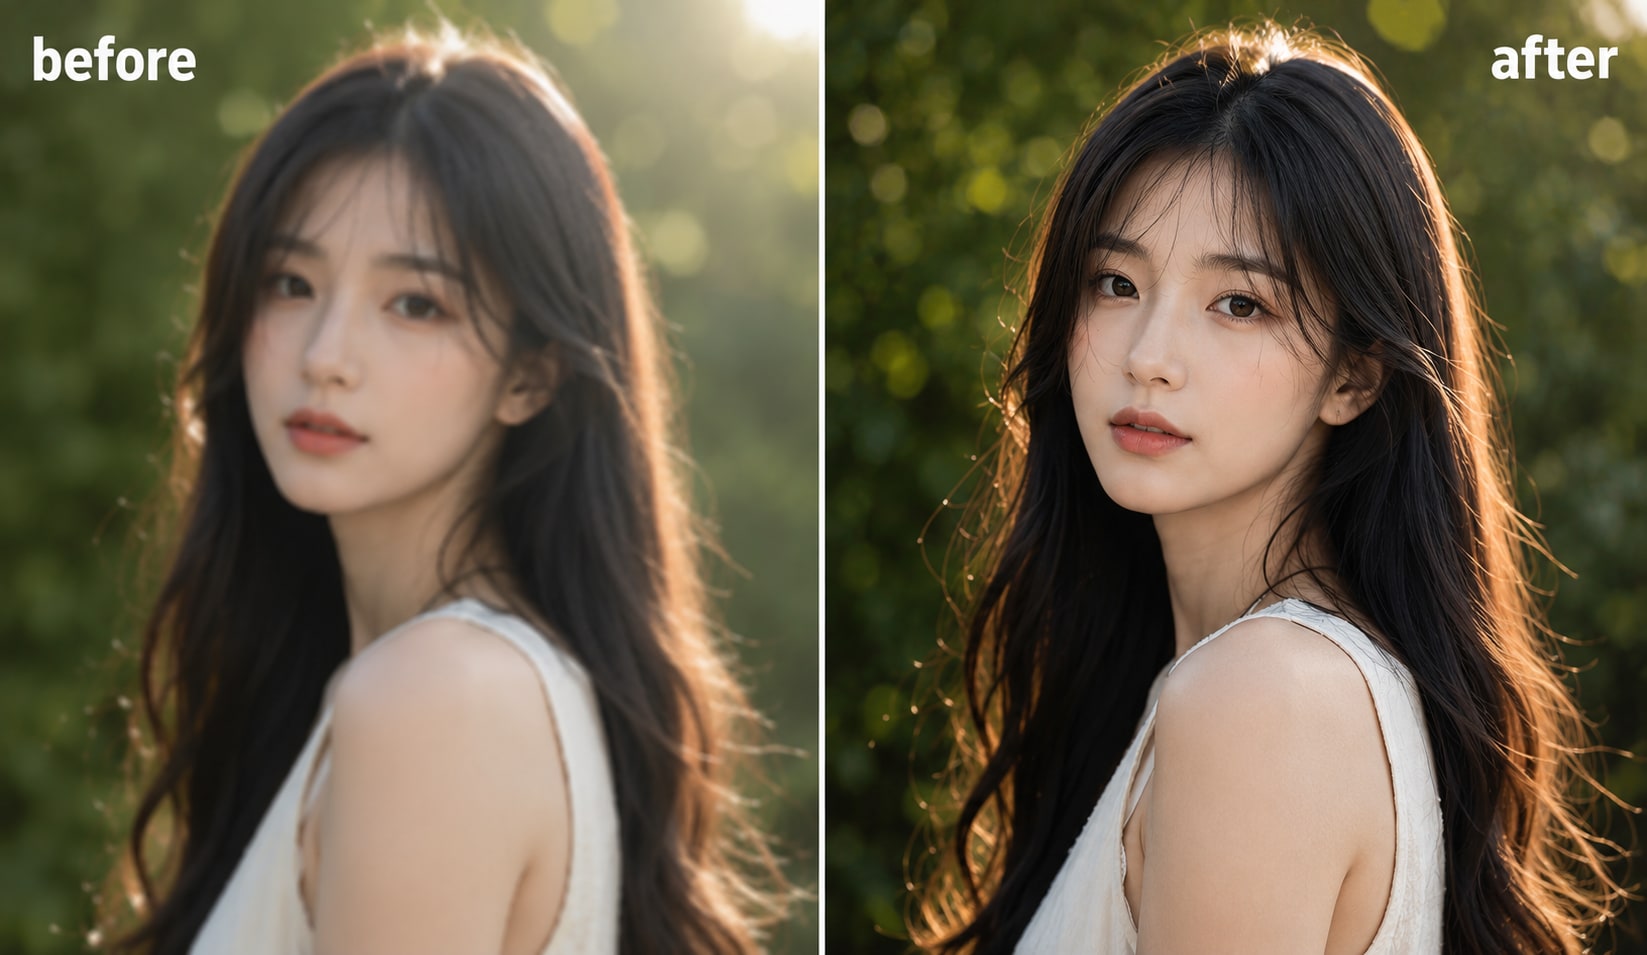
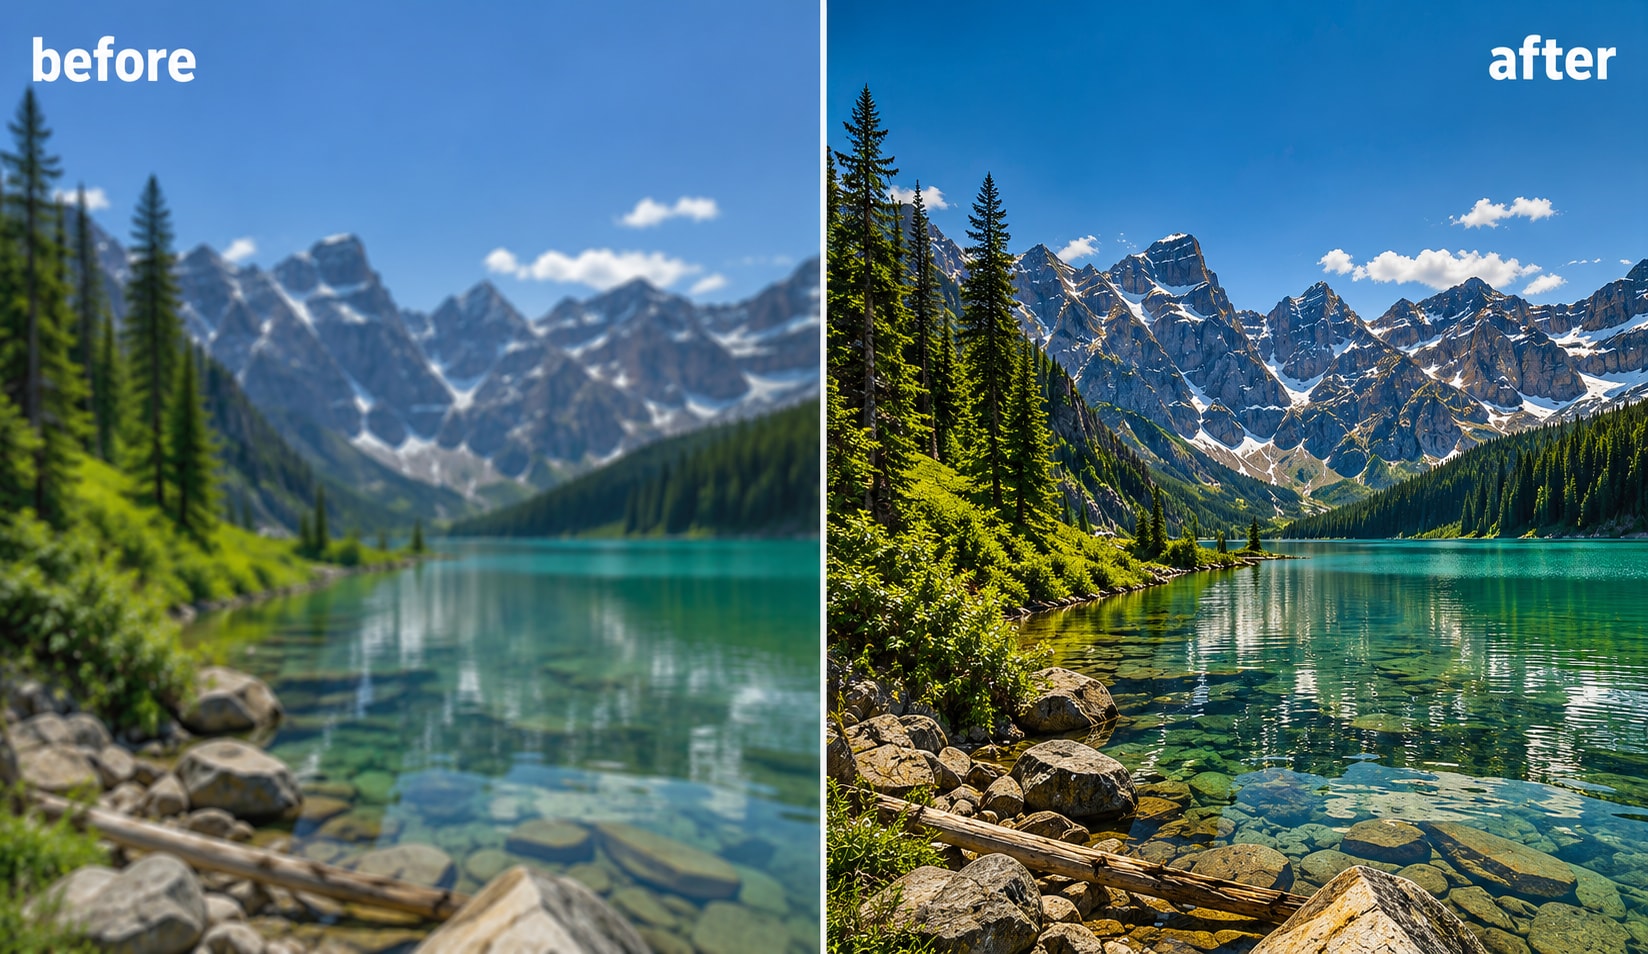
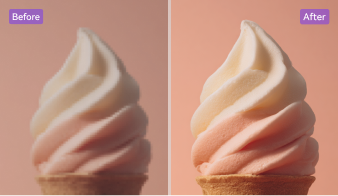
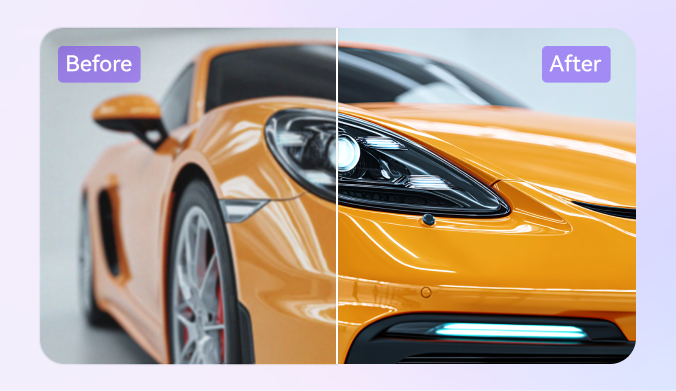
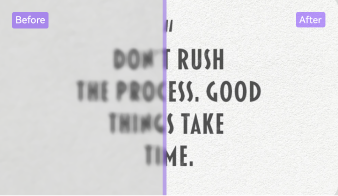
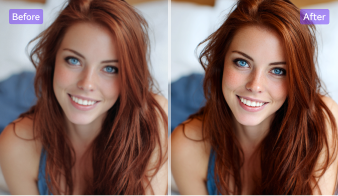
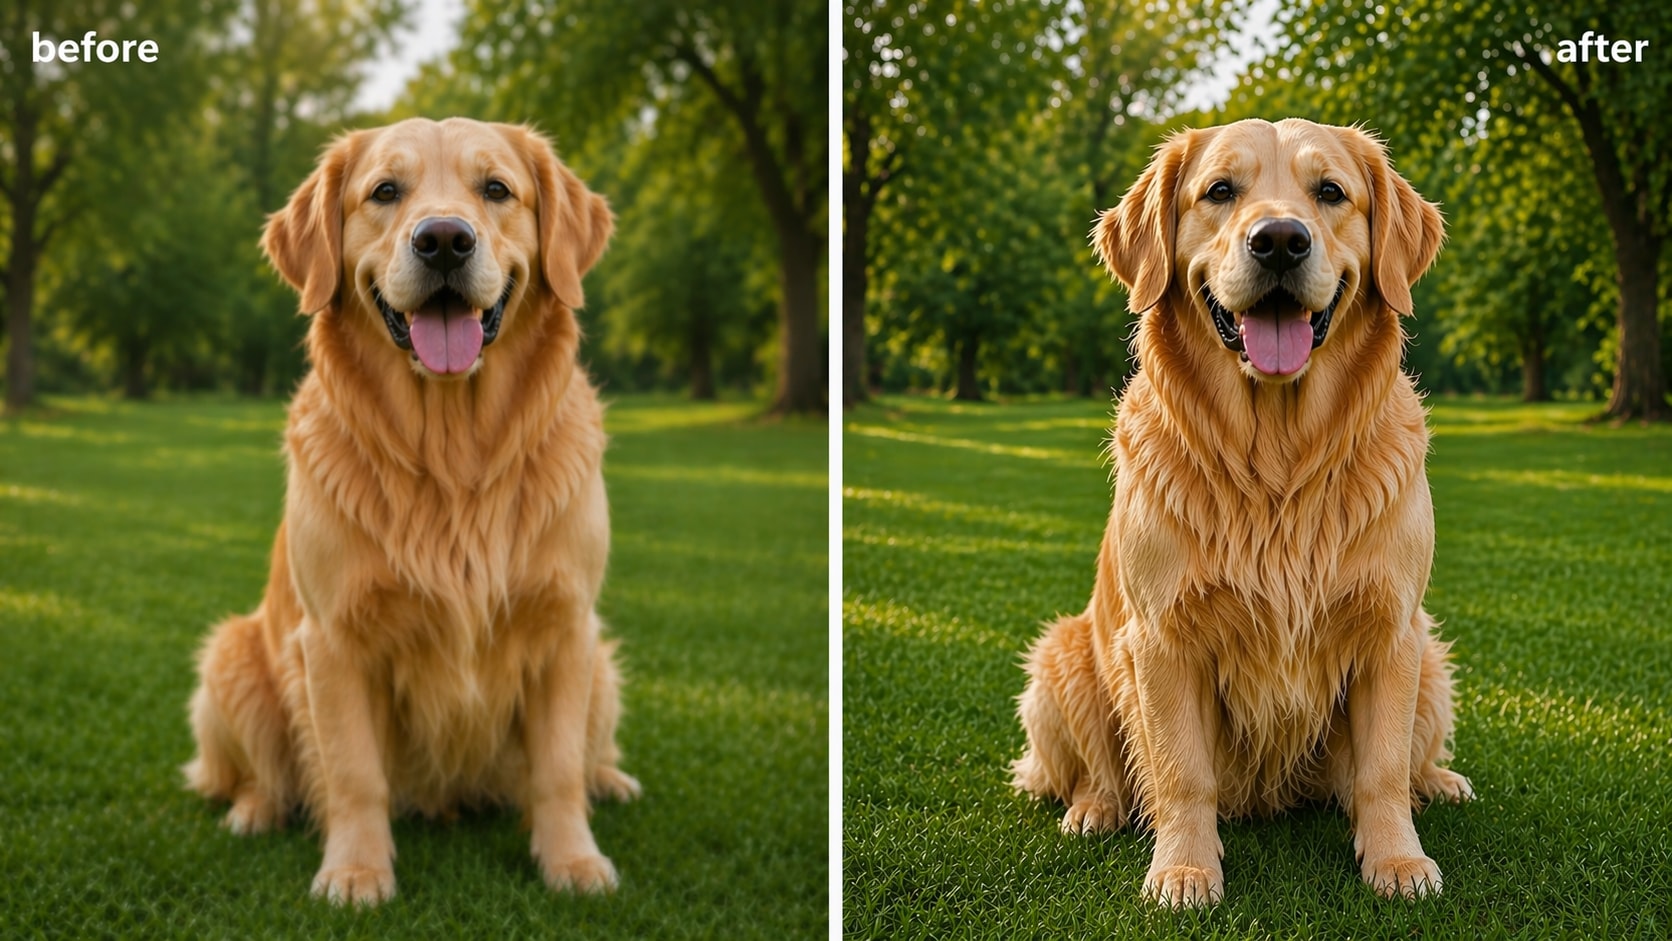
UniConverter AI Image Upscaler uses AI super resolution to enlarge images while refining edges, textures, and visible detail. Unlike conventional resizing that mainly interpolates existing pixels, AI upscaling infers additional visual information from the source. The result can look clearer and less pixelated, but AI-generated detail should not be treated as an exact recovery of information missing from the original image.
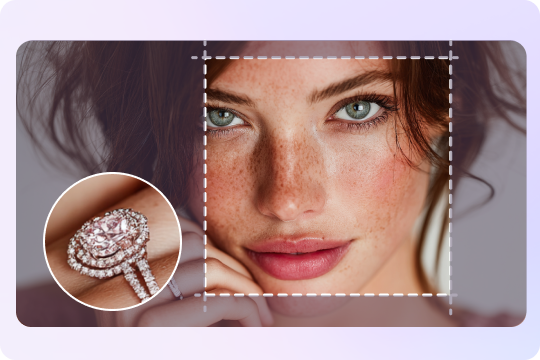
Upscale Images by 2X, 4X, or 8X
Choose 2X, 4X, or 8X enlargement according to the size you need. Final pixel dimensions are calculated from the original image size, so a source image can reach 4K, 8K, or higher resolutions when the selected factor is large enough. This is more accurate than treating 4K, 8K, or 16K as fixed output presets.
Free Online Upscaling + Full Desktop Workflow
Use the online AI image upscaler for quick browser-based enlargement without installing software. Move to UniConverter Desktop when you need to process a larger image set, combine upscaling with other Image Enhancer tools, or manage a repeatable workflow with batch import and Export All.
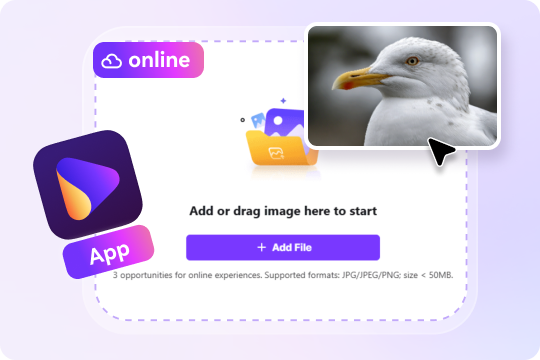
Batch Upscale Up to 200 Images on Desktop
The verified desktop Image Enhancer workflow accepts JPG, JPEG, PNG, and BMP files and supports up to 200 images in one batch. Turn on Image Upscaler for 2X, 4X, or 8X enlargement, then combine it with other Image Enhancer tools only when the source image has a separate problem such as face blur, damage, or color issues.
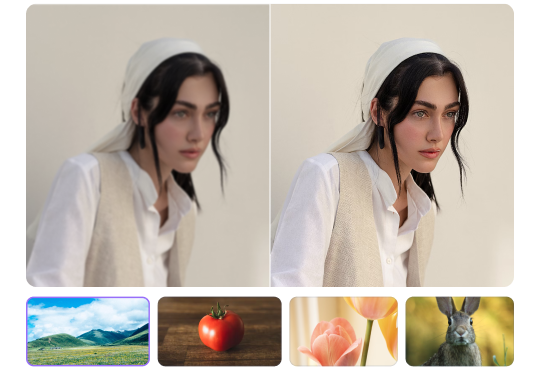
How 2X, 4X, and 8X Upscaling Changes Image Resolution
AI upscaling multiplies the source width and height by the selected factor. The examples below show why 4K, 8K, or higher output depends on the starting image rather than a fixed resolution button.
| Original Image | 2X | 4X | 8X |
|---|---|---|---|
| 640 × 480 | 1280 × 960 | 2560 × 1920 | 5120 × 3840 |
| 1280 × 720 | 2560 × 1440 | 5120 × 2880 | 10240 × 5760 |
| 1920 × 1080 | 3840 × 2160 | 7680 × 4320 | 15360 × 8640 |
Higher pixel dimensions do not guarantee that every missing original detail can be recovered. AI may infer plausible texture and edge information from the source image.
When Image Upscaling Is—and Is Not—the Right Fix
Upscaling is designed to increase image dimensions and resolution. If the source has a different quality problem, use the corresponding Image Enhancer tool instead of expecting resolution enlargement to solve everything.
| Image Problem | Use Image Upscaler? | Recommended Direction |
|---|---|---|
| Image is too small | Yes | Use Image Upscaler at 2X, 4X, or 8X. |
| Need more pixels for reuse or printing | Yes | Upscale first, then verify the final pixel dimensions for the target output. |
| Blurry or low-quality face | Sometimes | Use Face Enhancer in the desktop Image Enhancer workflow when facial detail is the main issue. |
| Missing texture or visibly weak detail | Sometimes | Use Detail (GenAI) when stronger generative detail reconstruction is appropriate. |
| Scratches or damaged old photo | No, not by itself | Use Advanced Repair or Enhanced Repair, then upscale if a larger output is needed. |
| Wrong or faded color | No | Use Old Photo Colorizer or Color Corrector. |
| Noise, glare, or lighting problems | No | Use the corresponding Noise Reduction, Remove Glare, or Lighting Correction scenario. |
Where a Free AI Image Upscaler Helps Most
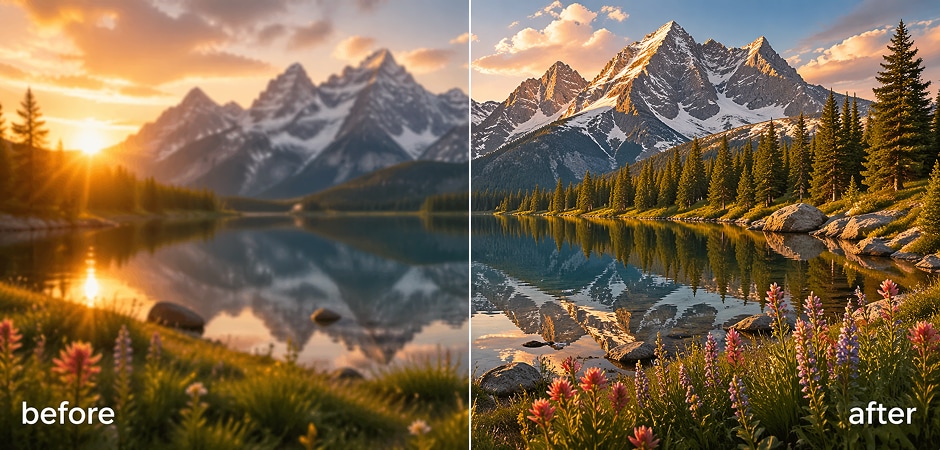

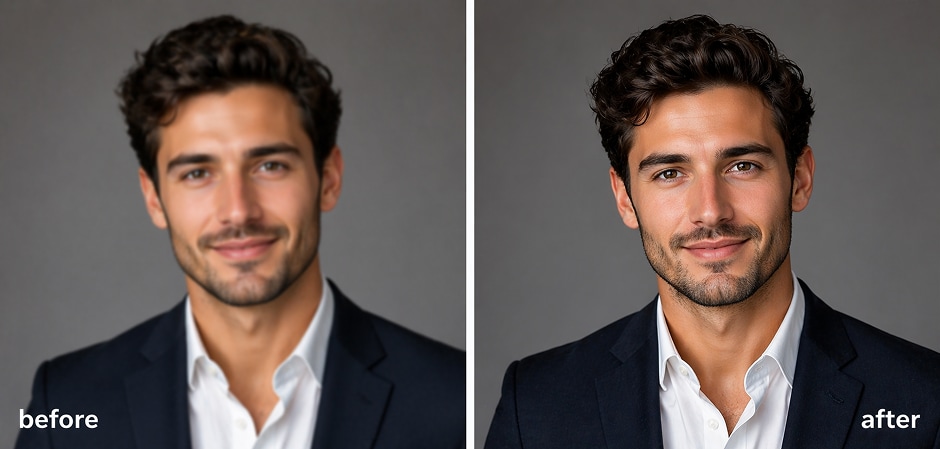
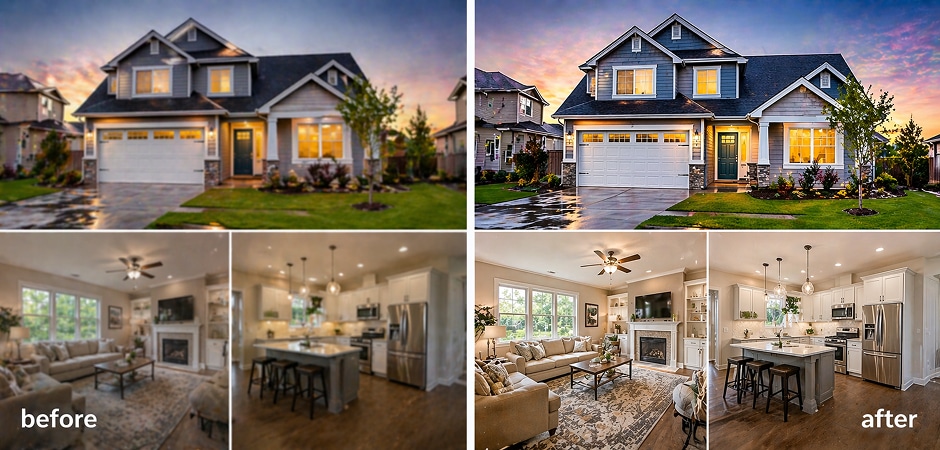
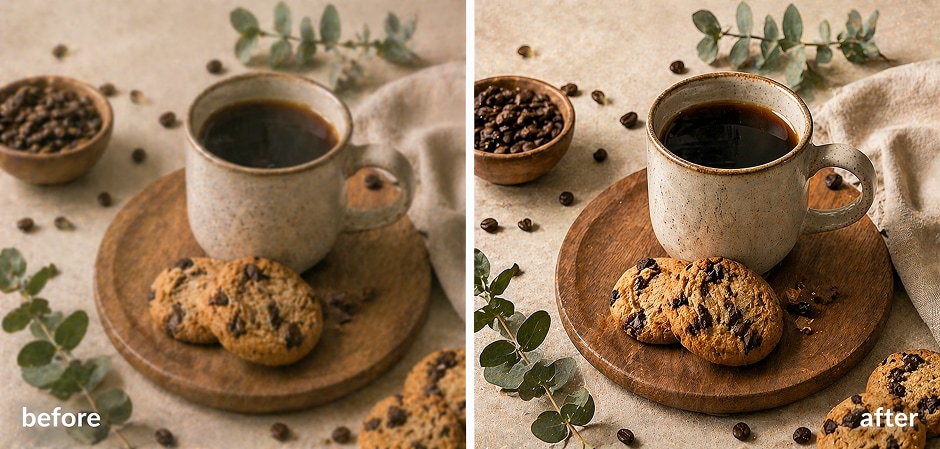
Upscale Photos for Printing and Posters
Upscale small photos before printing when you need more pixels for posters, photo books, presentations, or canvas output. Choose 2X, 4X, or 8X based on the source size, then check the final pixel dimensions against the print size you plan to use. Upscaling can improve the enlarged result, but it does not replace print-resolution or DPI checks.
Upscale Product Images for Ecommerce
Use AI upscaling when product photos are too small for storefront zoom, marketplace listings, or campaign layouts. For large catalogs, the desktop workflow can import up to 200 images in one batch. If a product photo also has color, lighting, or noise problems, handle those separately with the corresponding Image Enhancer tools.
Upscale AI Art From Midjourney and DALL·E
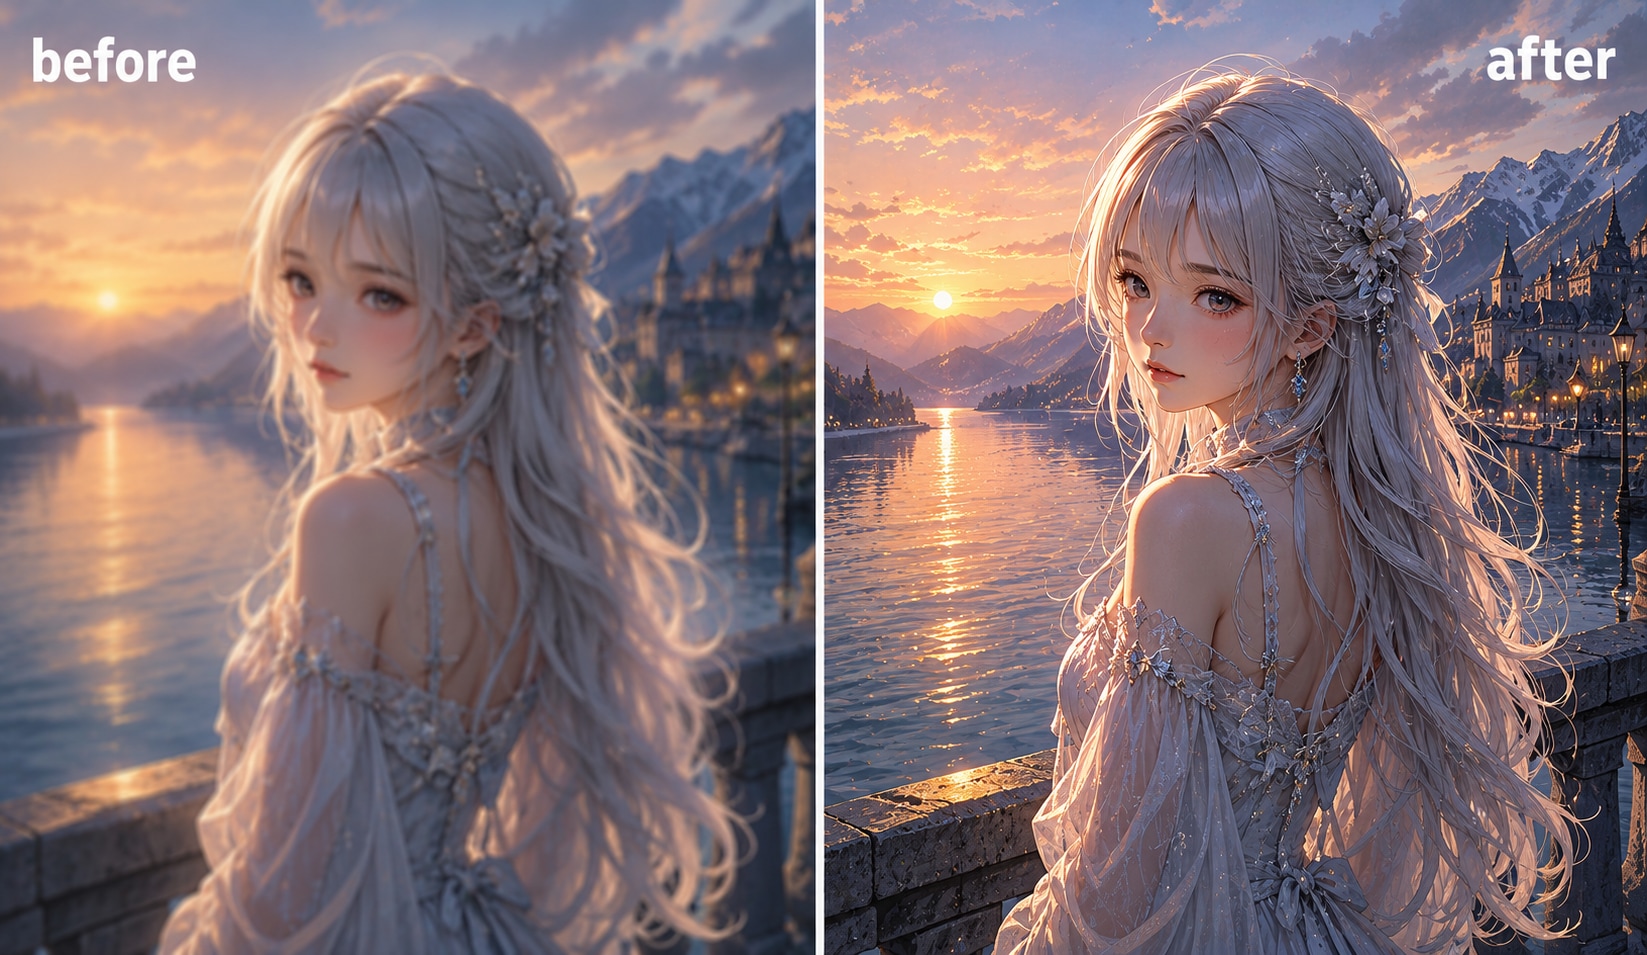
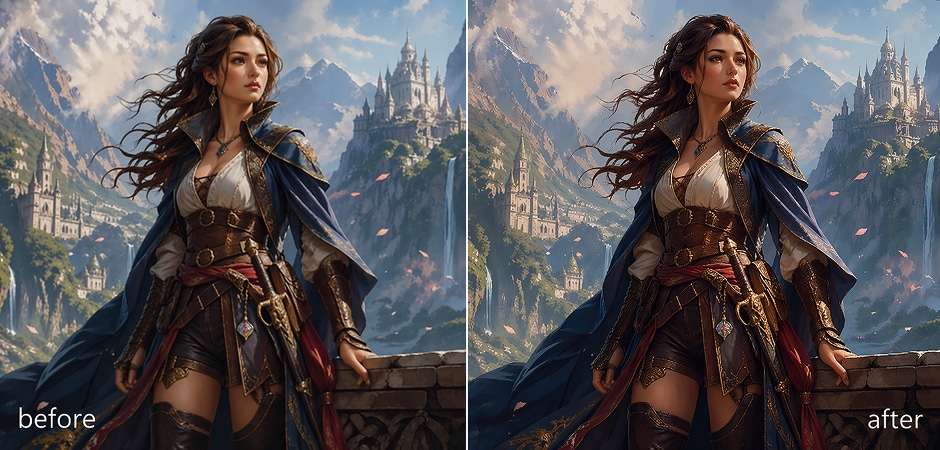
Enlarge AI-generated art for wallpapers, presentation graphics, digital prints, and portfolio assets without relying on conventional pixel stretching. If the source artwork needs stronger texture reconstruction rather than just more pixels, use Detail (GenAI) in the desktop Image Enhancer workflow before or alongside upscaling.
Upscale Anime Images and Illustrations
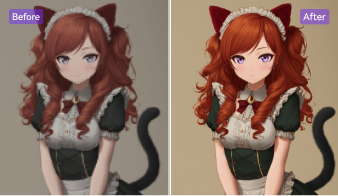
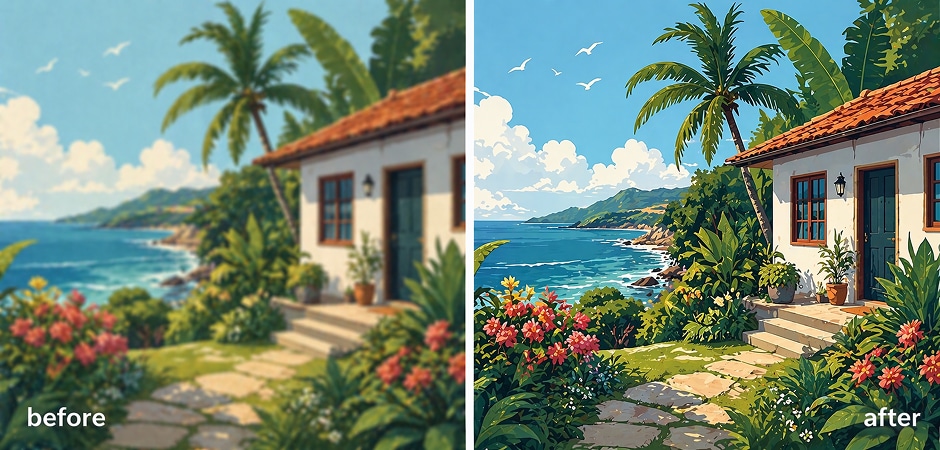
Increase the resolution of anime screenshots, character art, manga panels, and digital illustrations for larger displays or printing. Upscaling focuses on image dimensions and edge clarity; for a more specialized anime workflow, you can also explore the related Anime Upscaler.
Restore and Upscale Old Photos
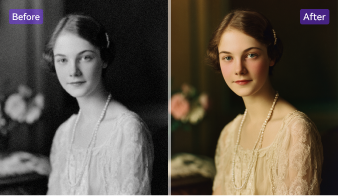
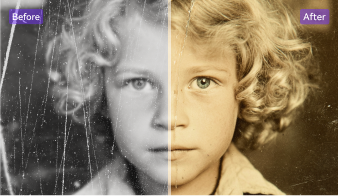
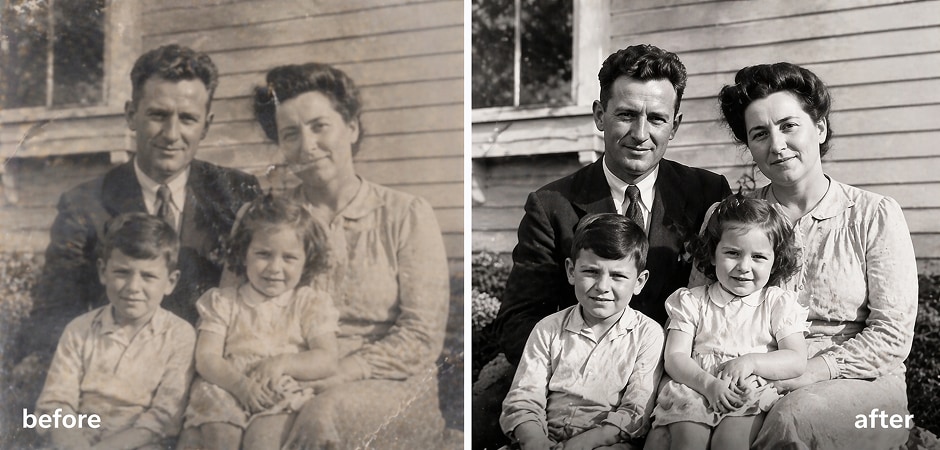
Use Image Upscaler when an old or scanned photo needs a larger output. If the image also contains scratches, damage, faded color, or weak facial detail, use the dedicated photo restoration, repair, color, or face tools first, then upscale the restored result as needed.
Upscale Portraits and Selfies
Use Image Upscaler to increase the pixel dimensions of profile photos, selfies, headshots, and older portraits. When the main problem is a soft or low-quality face rather than image size, use the dedicated Face Enhancer in the desktop Image Enhancer workflow.
Upscale Real Estate and Property Photos
Upscale interior and exterior photos when the source files are too small for property pages, brochures, or digital ads. Resolution enlargement should be treated separately from lighting, glare, and color correction; those problems are better handled with the corresponding desktop Image Enhancer scenarios.
Upscale Social Media Photos for Instagram and TikTok
Upscale small source images before reusing them in social posts, thumbnails, covers, banners, or campaign graphics. This can provide more pixels for layout and cropping, but it cannot reverse every artifact introduced by earlier compression or repeated downloads.
How to Upscale an Image Online in 3 Steps
Upload your photo, choose an upscale mode, and download a sharper high-resolution image in seconds.

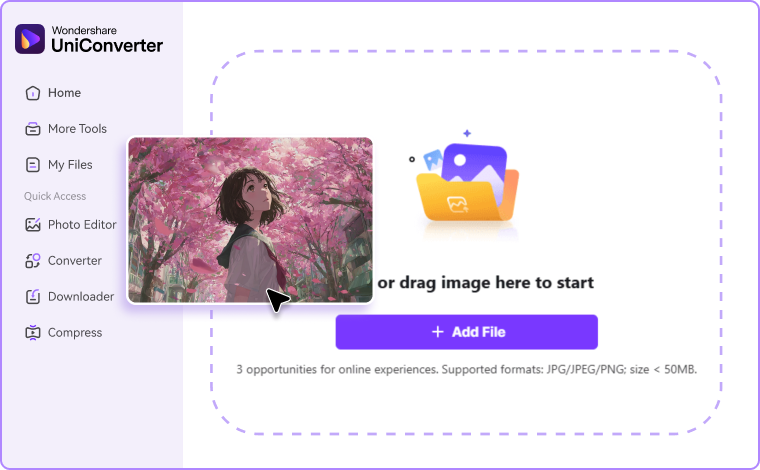
Upload your photo to the UniConverter online AI Image Upscaler by dragging and dropping the file or selecting it from your device.

Choose Image Upscaler and select 2X, 4X, or 8X according to how much larger you want the image to be.

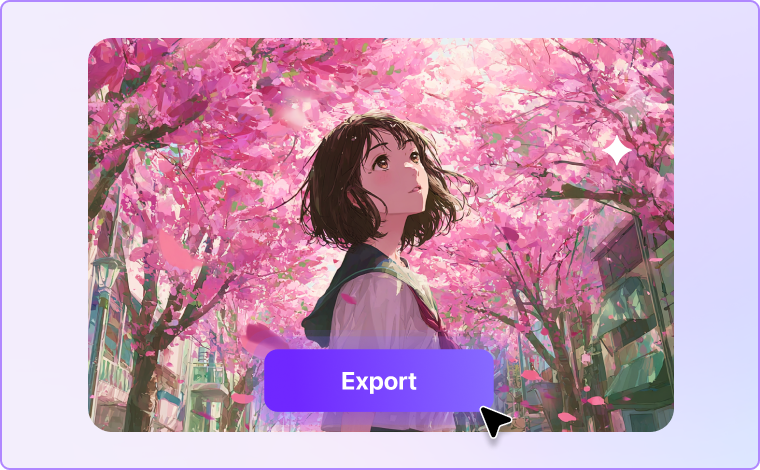
Preview the upscaled result, check that edges and textures still look natural, and download the higher-resolution image. Final pixel dimensions depend on the original size and the selected upscale factor.
Free Online Image Upscaler vs. UniConverter Desktop
Both workflows support AI image upscaling, but they serve different jobs: the online tool is built for quick browser-based use, while the desktop Image Enhancer is the stronger choice for batch work and multi-step image enhancement.
| Capability | Free Online AI Image Upscaler | UniConverter Desktop |
|---|---|---|
| Access | Browser-based; no installation required | Desktop Image Enhancer workflow |
| Upscale Factors | 2X / 4X / 8X | 2X / 4X / 8X |
| Best For | Quick, lightweight image enlargement | Repeated, batch, and multi-tool image workflows |
| Batch Workflow | Use desktop when you need high-volume processing | Import up to 200 images at a time |
| Verified Desktop Formats | Accepted online formats are shown in the uploader | JPG, JPEG, PNG, BMP |
| Additional Image Tools | Selected online models | Gentle, Detail (GenAI), Face Enhancer, Repair, Color, and more |
Use the online tool when you only need a quick upscale. Move to desktop when volume, repeatability, or additional image-quality problems make a fuller workflow more useful.
How to Batch Upscale Images With UniConverter Desktop
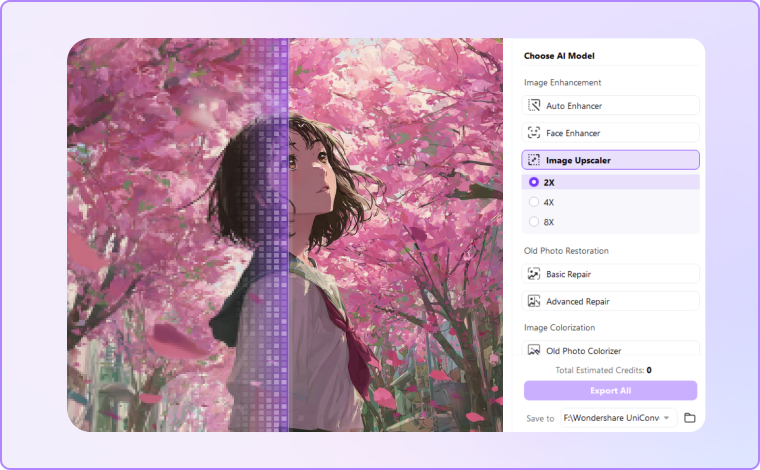
The desktop Image Upscaler sits inside Image Enhancer, where you can combine resolution enlargement with other tools and export a larger image set in one workflow.
- Open Image Enhancer: From UniConverter, go to Home → Image → Image Enhancer.
- Import the images: Add individual files, select multiple images, or import a folder. The verified desktop workflow supports up to 200 images at a time.
- Choose the upscale factor: Turn on Image Upscaler and select 2X, 4X, or 8X.
- Add other enhancement only when needed: Use Gentle or Detail (GenAI), Face Enhancer, Repair, Old Photo Colorizer, or Color Corrector when the source has a separate quality issue.
- Check and export: Choose the save location, review the displayed estimated AI Credits, and use Export All to save the processed images.
FAQs About AI Image Upscaling
What is an AI image upscaler?
Can I upscale an image without losing quality?
Is UniConverter Image Upscaler free online?
Can I upscale an image to 4K or 8K?
What image formats does the desktop Image Upscaler support?
What is the difference between an AI image upscaler and a regular image enlarger?
Does AI upscaling recover the original details of a photo?
Can I batch upscale multiple images?
Should I use the online or desktop Image Upscaler?