8 Solutions to Record a Voiceover on iMovie
by Kayla Morrison • 2026-01-21 18:55:16 • Proven solutions
No matter how professional your movie might be, it might not be complete without a proper voiceover. Luckily, you don't need to possess any specialized knowledge to add a voiceover to your movie. With Apple’s iMovie, it's effortless to do that plus many other basic video editing tasks. So today, we want to discuss how to do a voiceover on iMovie and other top-class voice recorders.
- Part 1. How to Do a Voiceover on iMovie Mac
- Part 2. Top 6 Ways to Make a Voiceover in iMovie Online Free
- Part 3. The Easiest Way to Record Voiceover
Part 1. How to Do a Voiceover on iMovie Mac
So, how do you do a voiceover on iMovie? In this part, you'll know how to create an award-winning movie in iMovie with voiceover narration. It's even possible to do it while watching your movie play. Below are the detailed steps to add voice narration on video:
Step 1: Launch iMovie and add your video you intend to edit and then drag-n-drop it on the timeline.
Step 2: Next, place the playhead where you'd like to start recording the voiceover and then tap the Record Voiceover button or the Microphone icon.
Step 3: Before you start doing a voiceover, you'll need to adjust some parameters by clicking the settings icon beside the red record button. You can change the input source, volume, or even mute the project. For a proper volume level, keep the bar at a 50-60% level.
Step 4: Finally, to start recording, tap the red Record Button and wait until the countdown of three is over to begin recording. Use the Spacebar to stop recording.
Part 2. Top 6 Ways to Make a Voiceover in iMovie Online Free
You can also narrate voiceover using some websites. They are free and straightforward to use as well. Even better, you don't have to install any third-party app on your computer. Below are my top six picks:
1. Rev
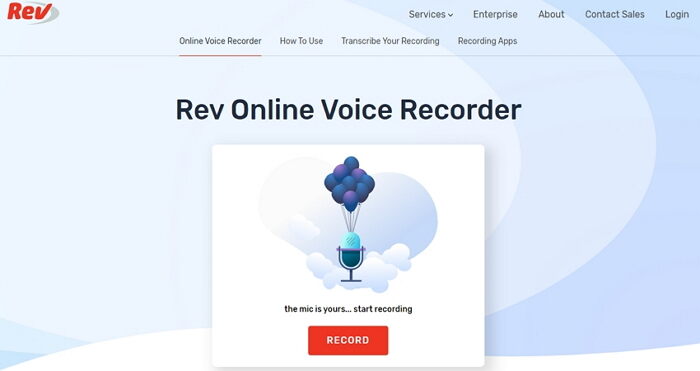
Rev is a free, open-source app that will record your audio and output it as an MP3 format at no cost. Simply click the Record button to speak to your device and then download the audio. You can also transcribe the online voice recordings to text with 100% accurate transcription. However, you’ll need to pay a dollar per minute with 12-hour turnaround time. That aside, Rev is compatible with both desktop and smartphone browsers making it available to every user. Even better, smartphone users can get a dedicated app from either the App Store or Google Play, depending on your device.
Pros:
- Intuitive, ad-free interface.
- Offers transcription services.
Cons:
- No desktop app.
- Can’t record offline.
2. Animaker
With Animaker, creating high-quality voiceovers for your iMovie clips has never been easier. Here, you can develop voiceovers in more than 25 different languages and 50+ voices. Apart from that, users can create voiceovers with whispering sounds as well as add breathing effects for making your voice sound natural. You can even insert a pause in between your voiceover output. However, the number of exports per month on the free version is limited to five with a video length of two minutes.
Pros:
- Easy to navigate and use.
- Great customer support.
Cons:
- You must sign up first to use.
- Limited features on the free version.
3. Kapwing
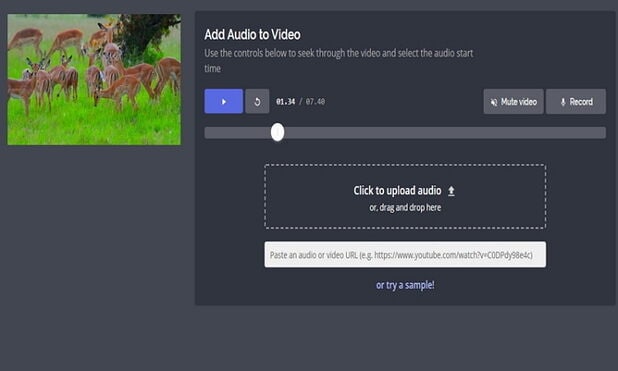
If you're looking for an extremely easy-to-use program to add a voiceover to your video, consider using Kapwing. With just three steps, you should have your video with a clear voiceover ready. You just have to upload your video and then click the “Record” button to start merging them to make a new MP4 video. You can even specify when the voiceover will begin playing on your video.
Pros:
- Several video editing tools.
- Simple to use.
Cons:
- Limited upload size.
- Cannot make voiceover video offline.
4. SpeakPipe
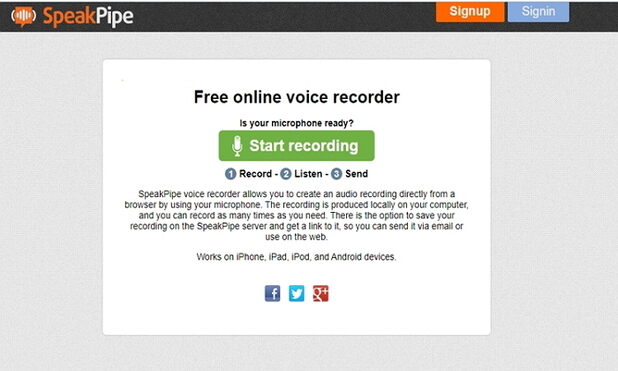
This is another voice recorder that works well on desktop, Android, iPhone, and iPad browsers. It uses a clean and minimalistic approach on its UI, making it simple to learn and use. To start recording on SpeakPipe, click the “Start recording” button. Your audio will be saved locally on your computer or the Speakpipe server. You’ll also get a download link to help you share the sound easily when the need arises.
Pros:
- Clear, minimalistic user interface.
- You can save files on SpeakPipe’s server for free.
Cons:
- Limited storage space.
- Requires a microphone to record.
5. Animoto
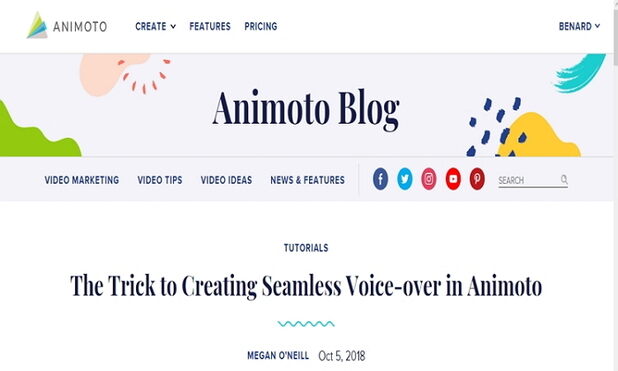
Animoto is a simple-to-use voice recorder that can quickly add voiceover to any block, although it can be confusing to use at first. That said, all typical web browsers support it. Here, you can make videos of any kind, be it marketing, personal, family, etc. However, Animoto is a subscription-based platform with monthly fees. For example, you’ll have to pay at least $8/month for the personal subscription.
Pros:
- Several video making tools.
- You're allowed to narrate on each slide.
Cons:
- Not a beginner-friendly tool.
- Personal subscription doesn’t support voice narration.
6. Online Voice Recorder
URL: https://online-voice-recorder.com/
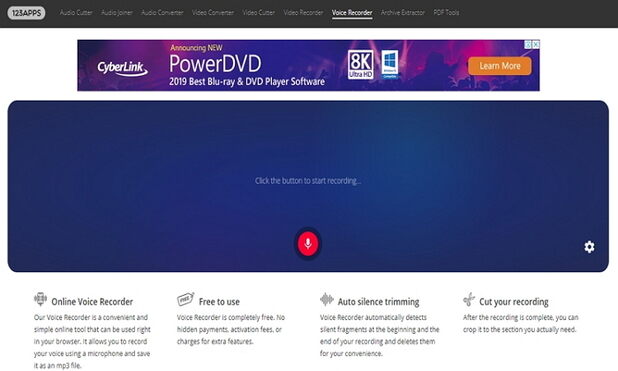
Closing our six best is Online Voice Recorder, which is a simple online tool with a lot of features. Here, you can record sounds quickly and save it as an MP3 file. It also offers the auto silence trimming feature, which automatically detects silent fragments found at the beginning and end of your recording. Another thing, you can cut your records to remove unwanted parts. Even better, users can adjust their microphone settings such as echo and volume thanks to the Adobe Flash Player.
Pros:
- Secure platform.
- Free to use.
Cons:
- Limited upload memory.
- Has some ads.
Part 3. The Easiest Way to Record Voiceover
Most free online voice recorders have serious drawbacks. For instance, you can’t record offline. Some are also challenging to use at first. In that case, downloading the Wondershare UniConverter is a no-brainer. With this tool, you can add a voiceover on your favorite video thanks to its screen recording feature. This feature will come in handy if you’re looking to make professional video tutorials, making Skype video calls, etc.
Wondershare UniConverter - Best Voice Recorder
- Built-in editor for cutting, trimming, adding subtitles, and many other file editing tasks.
- Convert movies files to optimized preset for almost all devices.
- Download videos from popular sites like YouTube, Dailymotion, Vevo, etc.
- 90X faster conversion speed than any conventional converters.
- Edit, enhance & personalize your videos file.
- Download/record videos from YouTube and other 10,000 video sharing sites.
- Versatile toolbox combines video metadata, GIF maker, video compressor, and screen recorder.
- Supported OS: Windows 10/8/7, macOS 11 Big Sur, 10.15, 10.14, 10.13, 10.12, 10.11, 10.10, 10.9, 10.8, 10.7, 10.6.
Now follow these steps to add a voiceover on your video with Wondershare Voice Recorder:
Step 1 Launch the voice recorder.
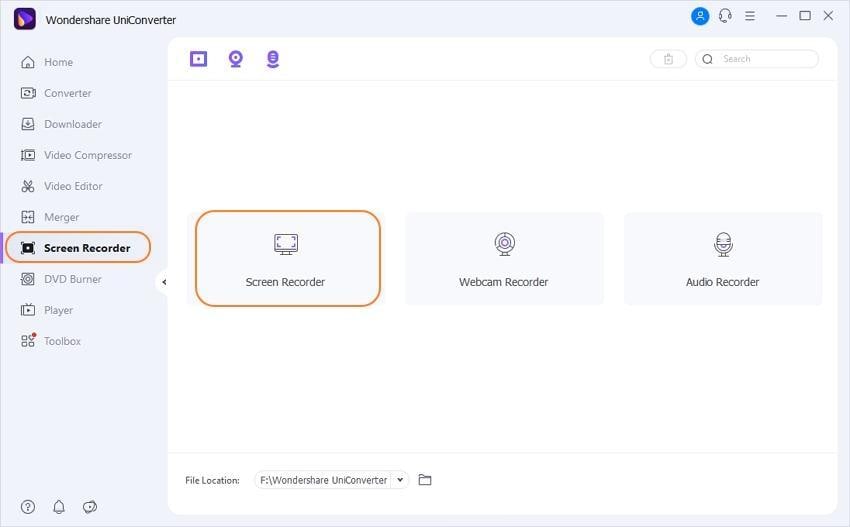
Launch Wondershare UniConverter after installing it and then tap the Screen Recorder section.
Step 2Set your recording preference.
Open your video using your favorite media player. Next, do the following on the Wondershare Voice Recorder:
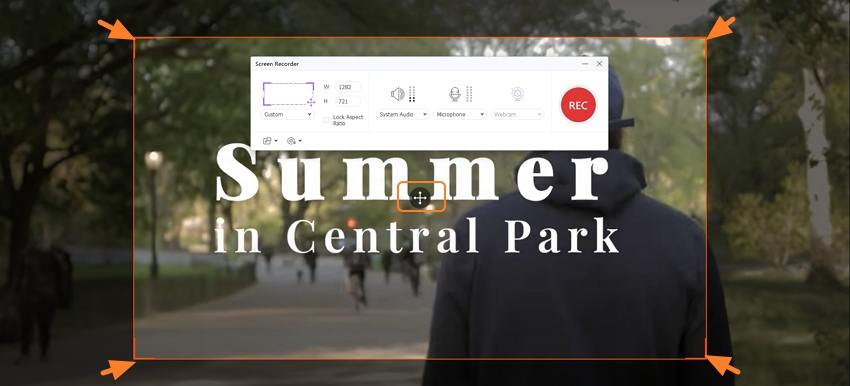
- Drag the frame to properly set your capture area by adjusting the length, width, and height.
- An alternative way is clicking the drop-down button in the Capture Area and then choose either Full or Custom screen.
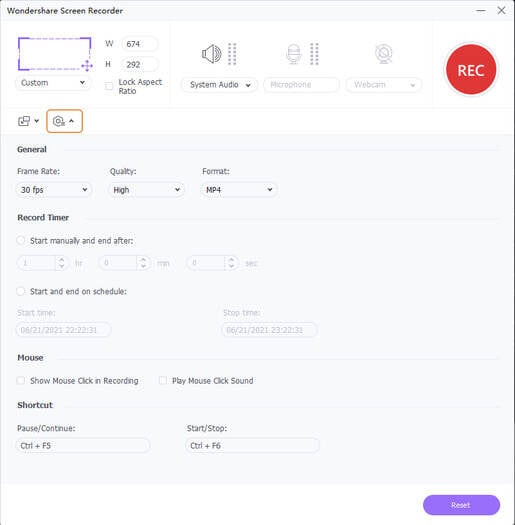
- Click the red icon below the REC button to open the full settings window. From there, you can set keyboard shortcuts, record timer, frame rate, mouse functions, and more.
Step 3 Start recording.
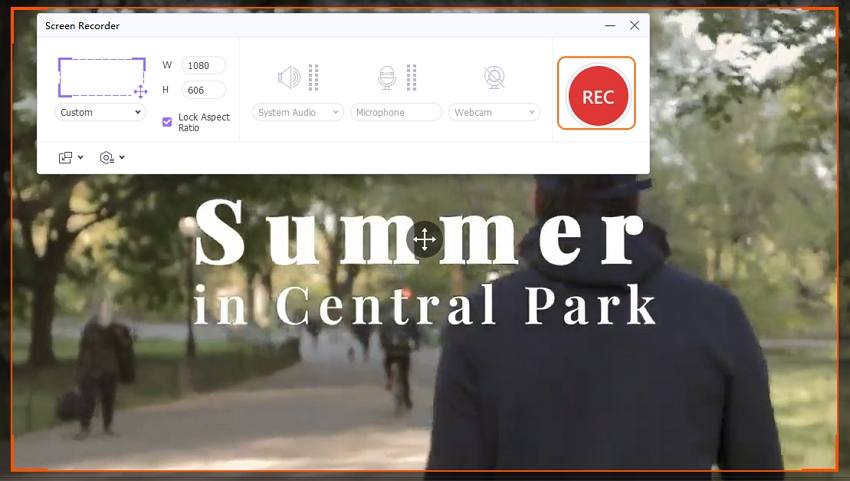
Lastly, tap the red REC button to start recording. You’ll have 5 seconds countdown before that. To stop recording, press the Ctrl+F6 on your keyboard or click the Stop button.


Kayla Morrison
staff Editor